The Import Books function in Mass Imports allows institutions to bulk upload book records into Classter using an Excel file. This process helps in adding library resources, saving time, and ensuring consistency in data entry.
The Import Books process involves uploading an Excel file, mapping its fields to Classter’s data structure, verifying the imported data, and finalizing the upload.
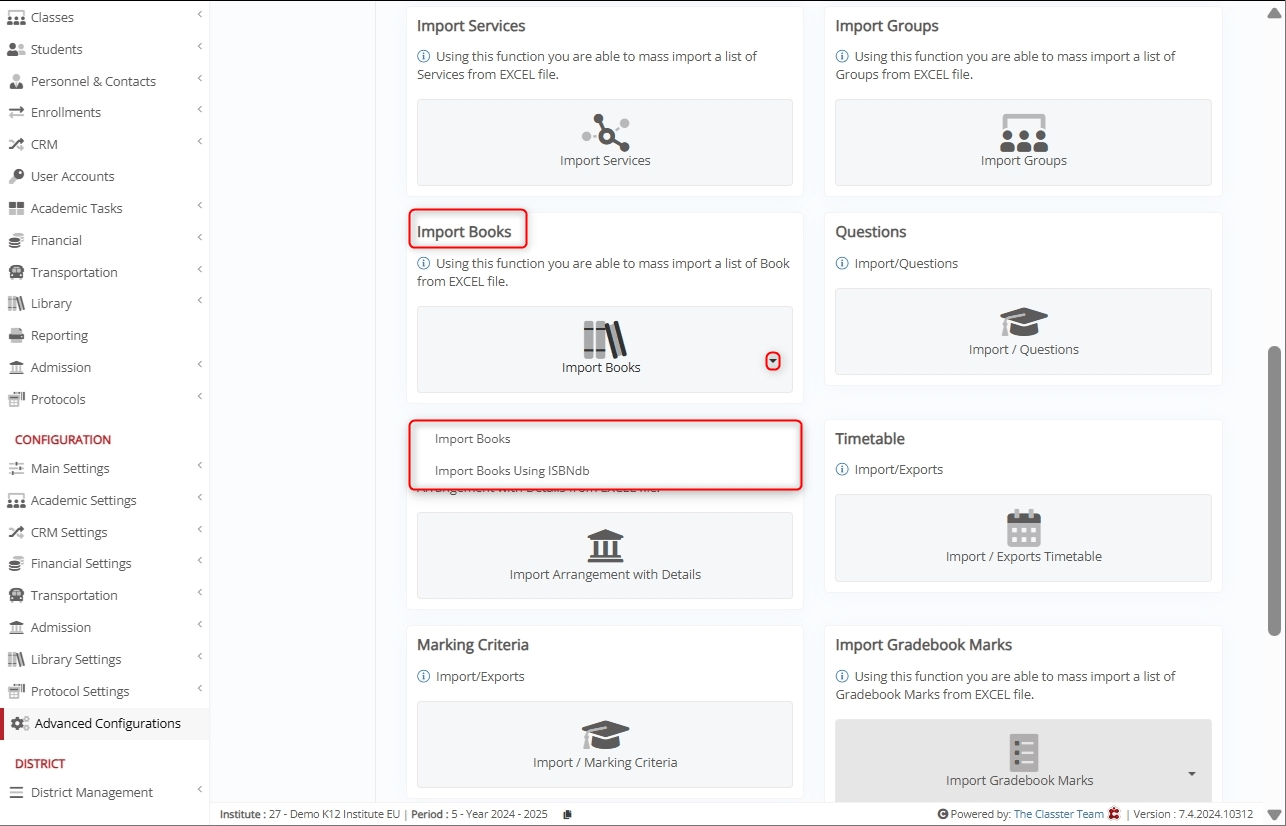
Supported Use Cases
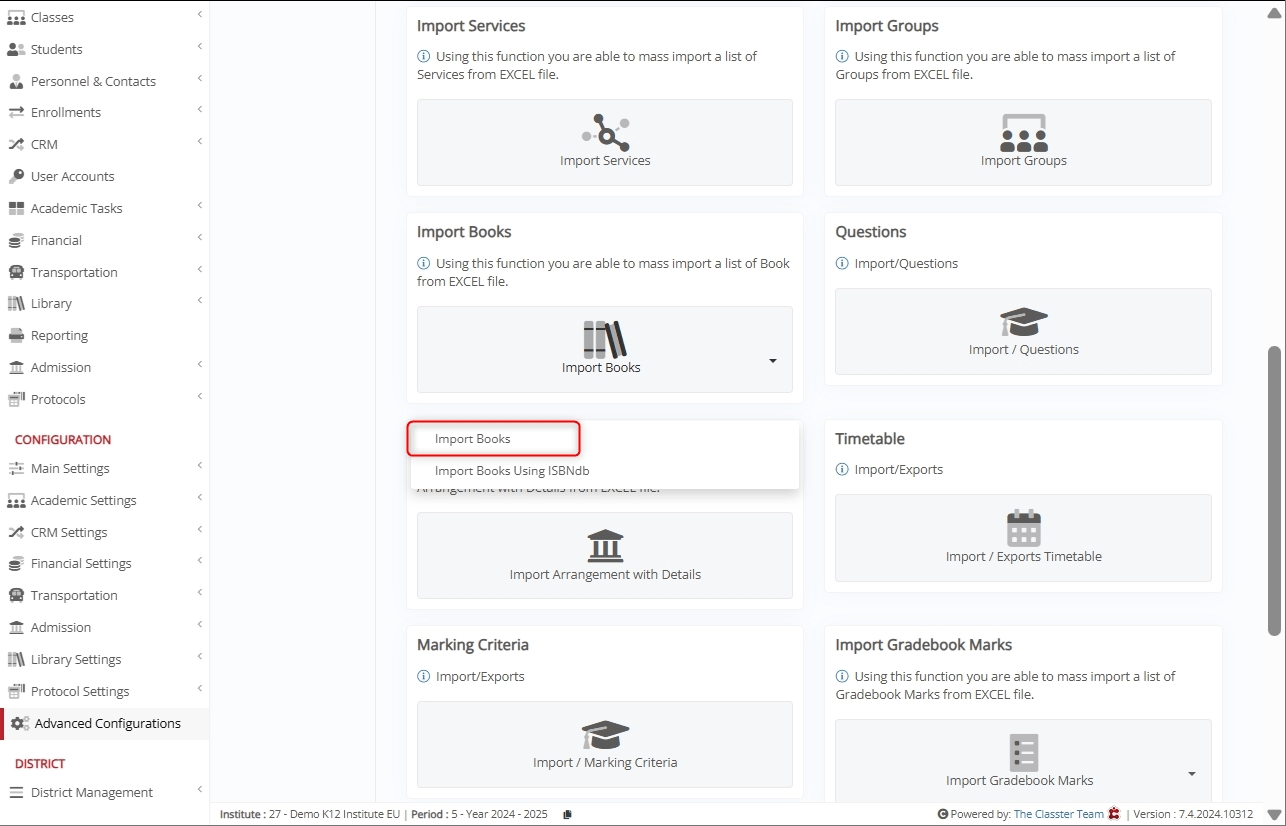
- Import Books: Upload book records in bulk using an Excel file.
- Import Books using ISBNdb: Auto-fetch book details using ISBN-10, and/or ISBN-13.
Key Considerations
- Some fields are mandatory, while others are optional.
- Ensure the first row of your Excel file contains column headers for easier mapping.
- Data should be clean and consistently formatted to avoid import errors.
- Proper field mapping is essential to ensure accurate book record creation or updates.
How to Import Books
Follow these steps to successfully use the Import Books function.
Navigate to Import Books
Log in to your institute and go to: CONFIGURATION > Advanced Configuration > Mass Imports / actions > Import Books.
Select an Excel File to Import
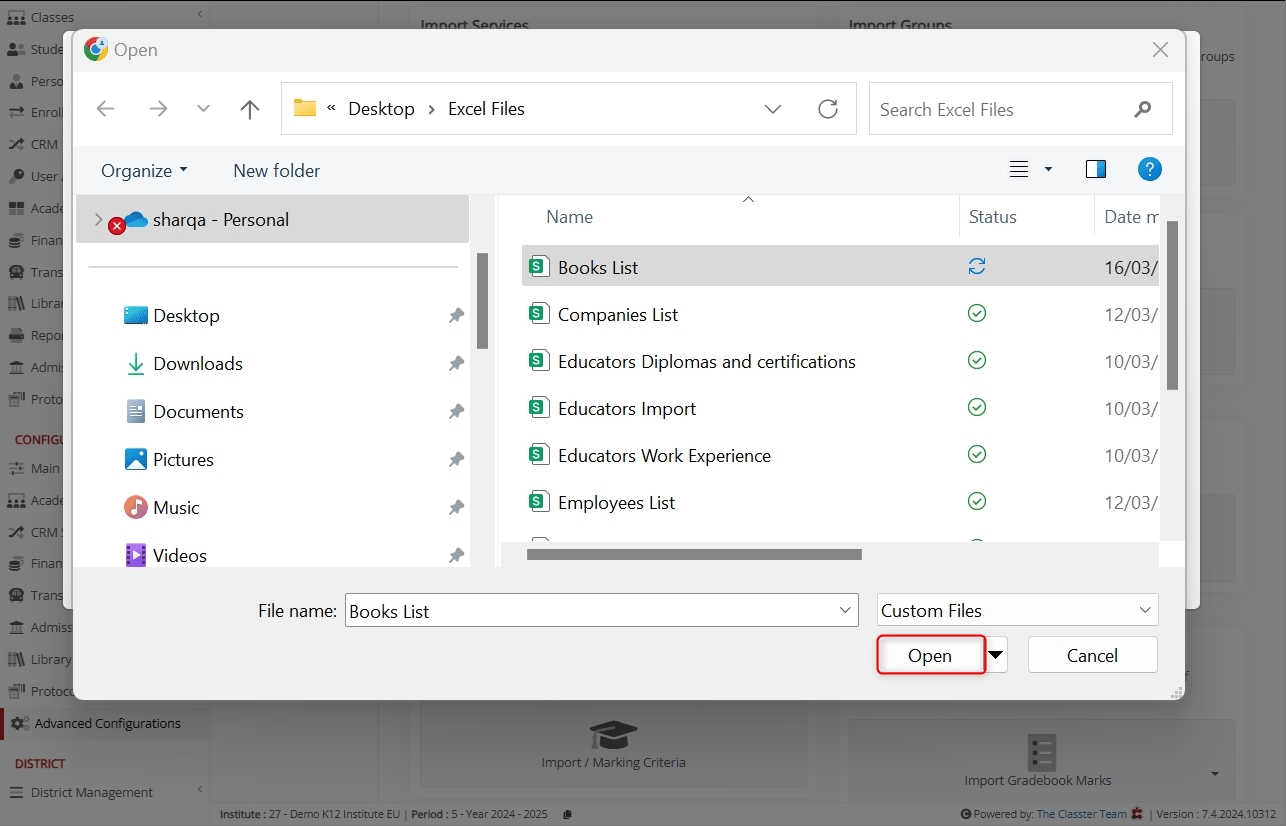
Click Choose File to upload an Excel file containing all the required books’ records.
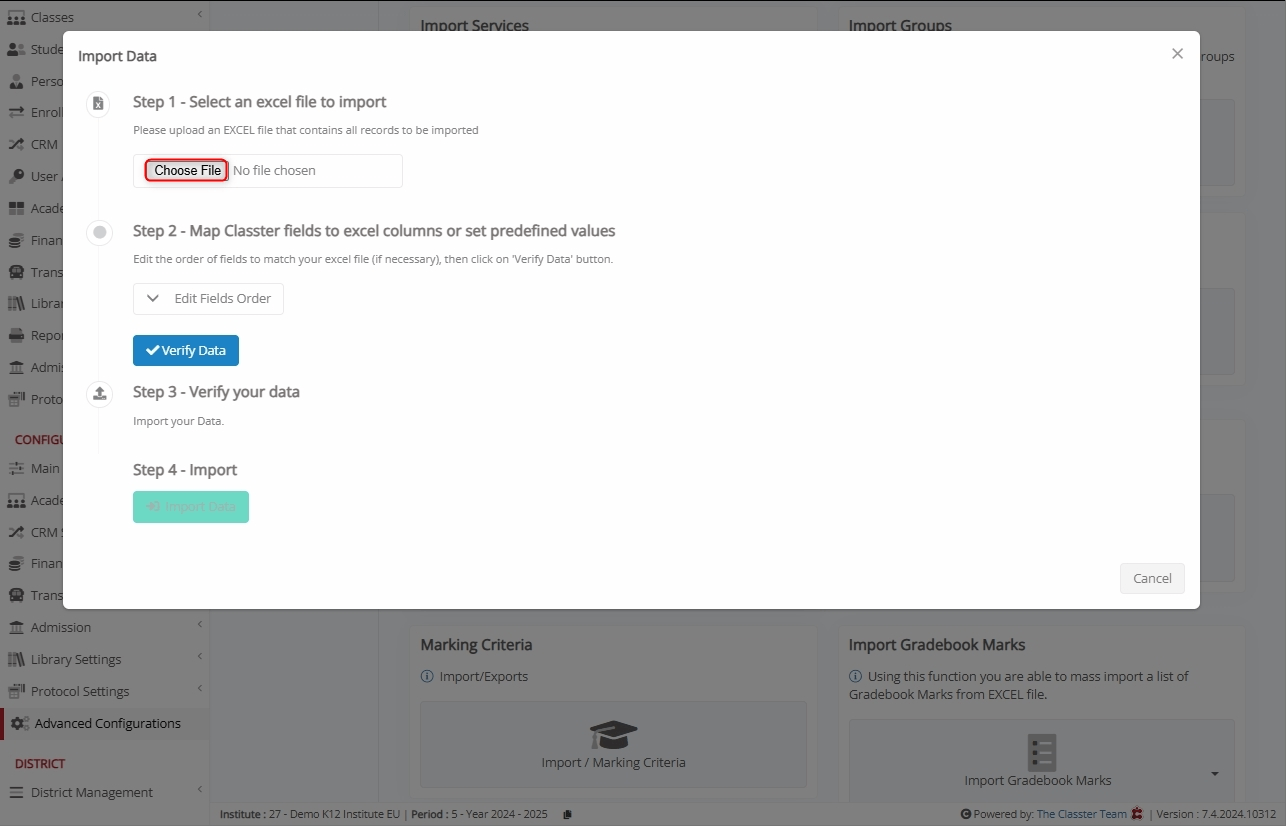
Choose the desired file and click Open.
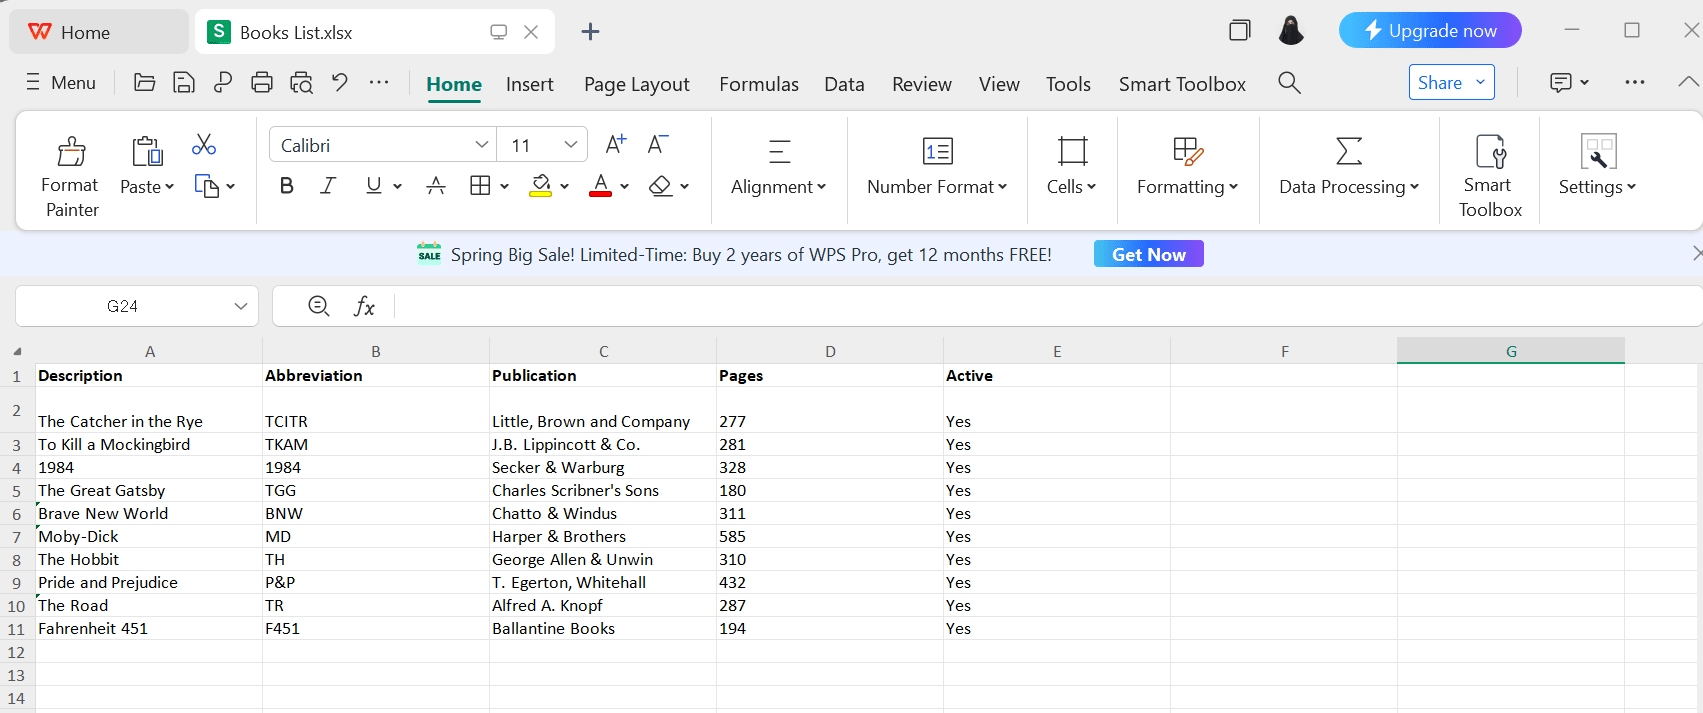
Here’s how the uploaded Excel file looks like.
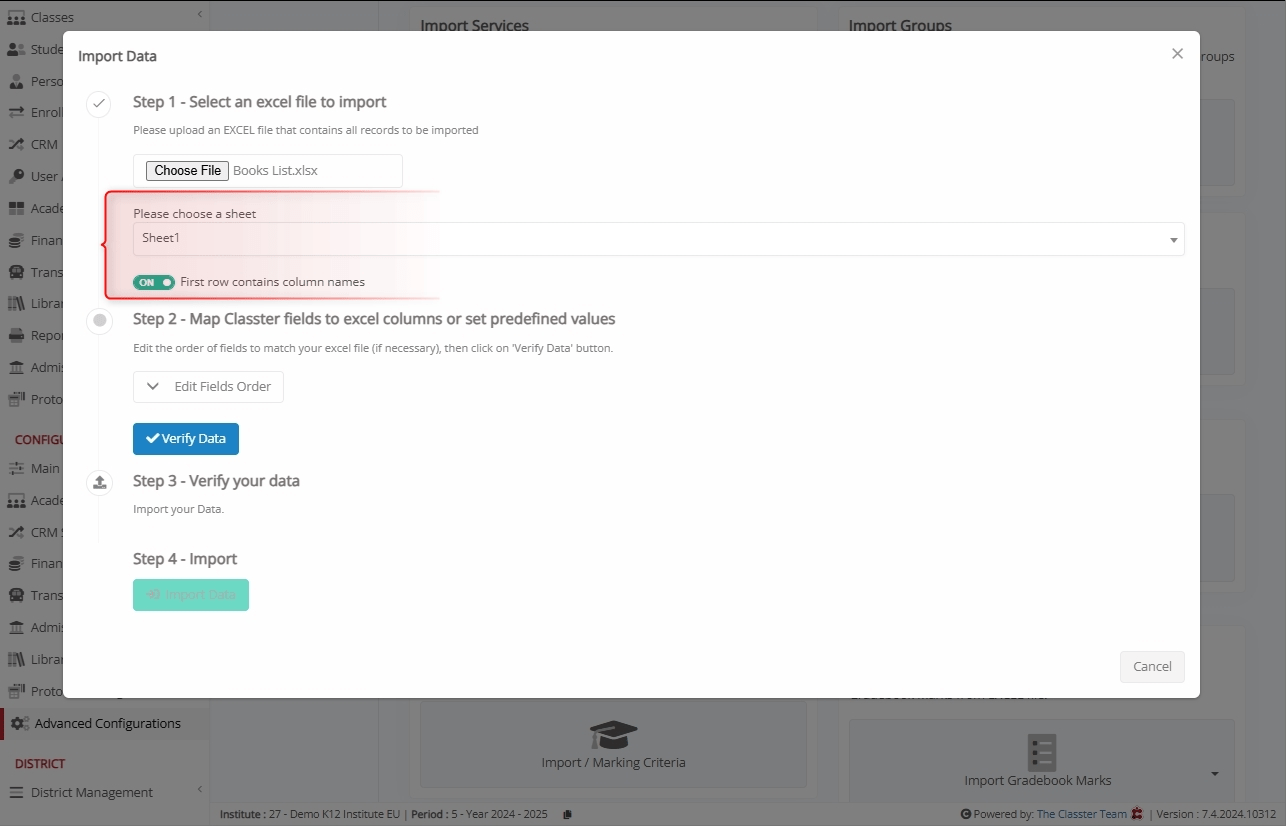
File Selection Options:
- Choose a Sheet: Select the correct sheet from the uploaded Excel file.
- First Row Contains Column Names: Ensure the first row is used for headers to simplify mapping.
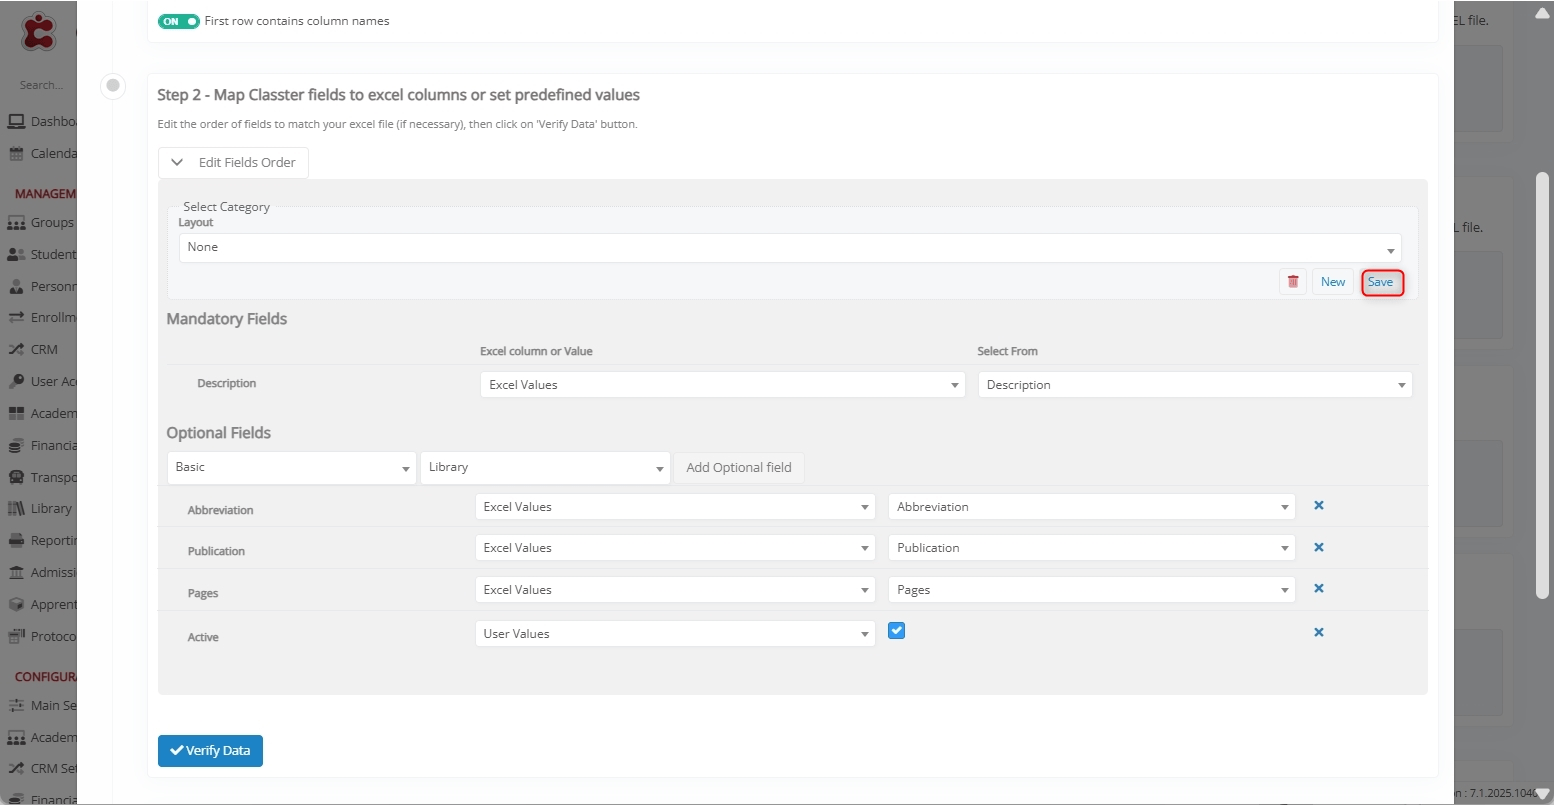
Map Classter Fields to Excel Columns or Set Predefined Values
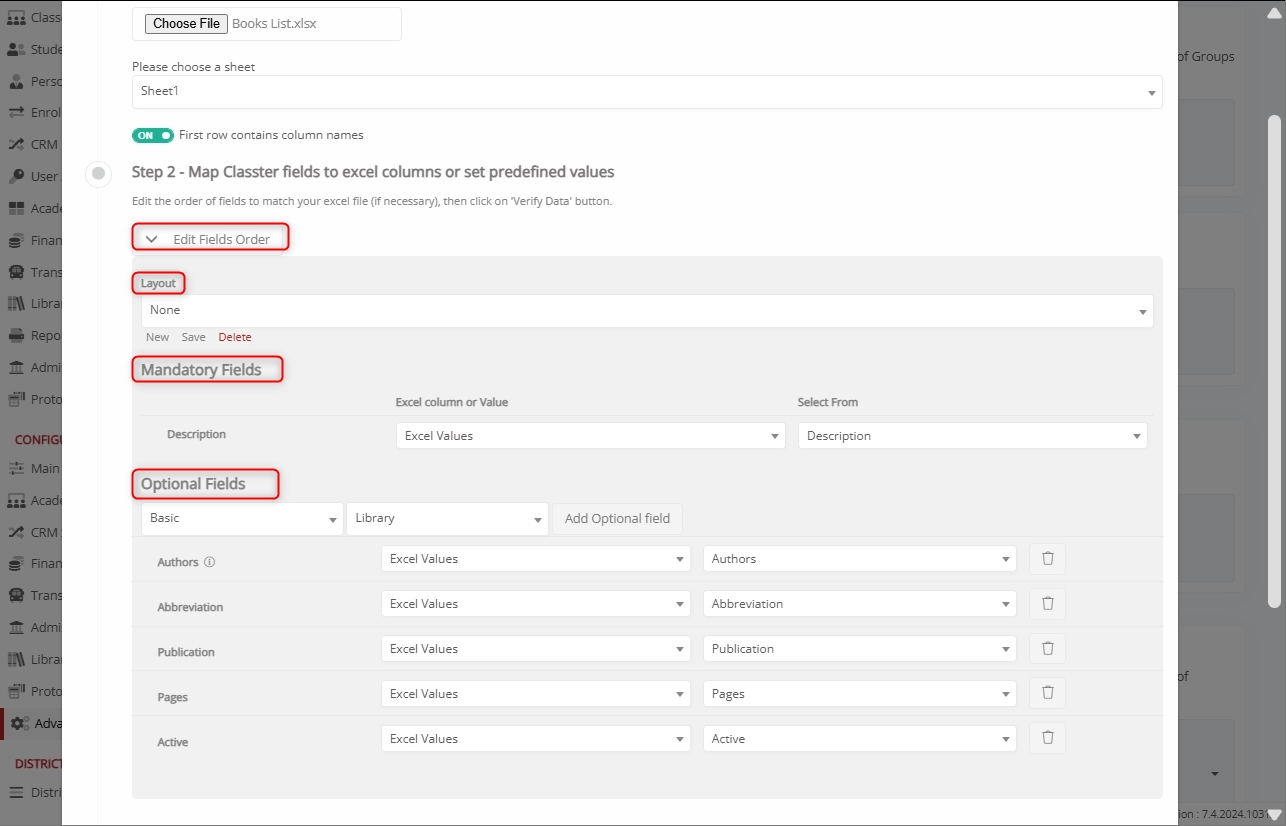
Before proceeding, click Edit Fields Order and first configure the layout.
Mandatory Fields:
These fields must be mapped correctly to proceed. Note that mandatory fields may vary based on the institution’s configuration.
- Description: Book title or main identifier.
Mapping Method: Excel Value VS User Value
When mapping fields, you can choose between two methods:
- Excel Value: Values are taken directly from each row of the uploaded Excel file. In this case, during mapping, use the “Select from” dropdown to choose the corresponding Excel column.
- User Value: A predefined value is applied to all Books data in the Excel file. This value is manually set during the import process. In this case, from the “Select from” dropdown, select a specific value instead of an Excel column.
Optional Fields:
To enhance the import books process, you can include Optional fields in your Excel and map them during this step.
Here’s how:
- Navigate to the Optional Fields section.
- Use the first dropdown to select a category as Basic.
- Choose supported fields of the selected category from the second dropdown, such as:
- Library: Specifies the library to which the book belongs (e.g., Main Library).
- Authors: Indicates the author(s) of the book, values separated using semicolons.
- Abbreviation: Represents a short or abbreviated name for the book for easy identification.
- Number of Copies: Defines how many copies of the same title are available in the library.
- Volume: Indicates the book’s volume or part number if it belongs to a multi-volume series.
- Book Code: A unique internal code or identifier assigned to each book for cataloging purposes.
- Pages: Displays the total number of pages contained in the book.
- Summary: Provides a brief description or abstract summarizing the book’s content.
- ISBN 10: Standard 10-digit International Standard Book Number used for older publications.
- ISBN 13: Standard 13-digit International Standard Book Number used for modern publications.
- For Ages: Defines the recommended _Student_ age group or educational level suitable for the book.
- Publication: Specifies the publisher or publication name associated with the book.
- Price: Indicates the purchase cost or listed retail price of the book.
- Book Link: Contains a URL or hyperlink directing to an online source, eBook, or related reference.
- Used In SUBJECTS: Lists the subjects or academic courses where the book is used as a reference.
- Active: Defines whether the book record is active or inactive.
Map each field to its corresponding Excel column or assign a predefined value.
Save Layout
After mapping fields and configuring the import layout, navigate to the Layout section and click Save.
Specify the Layout name and click Save.
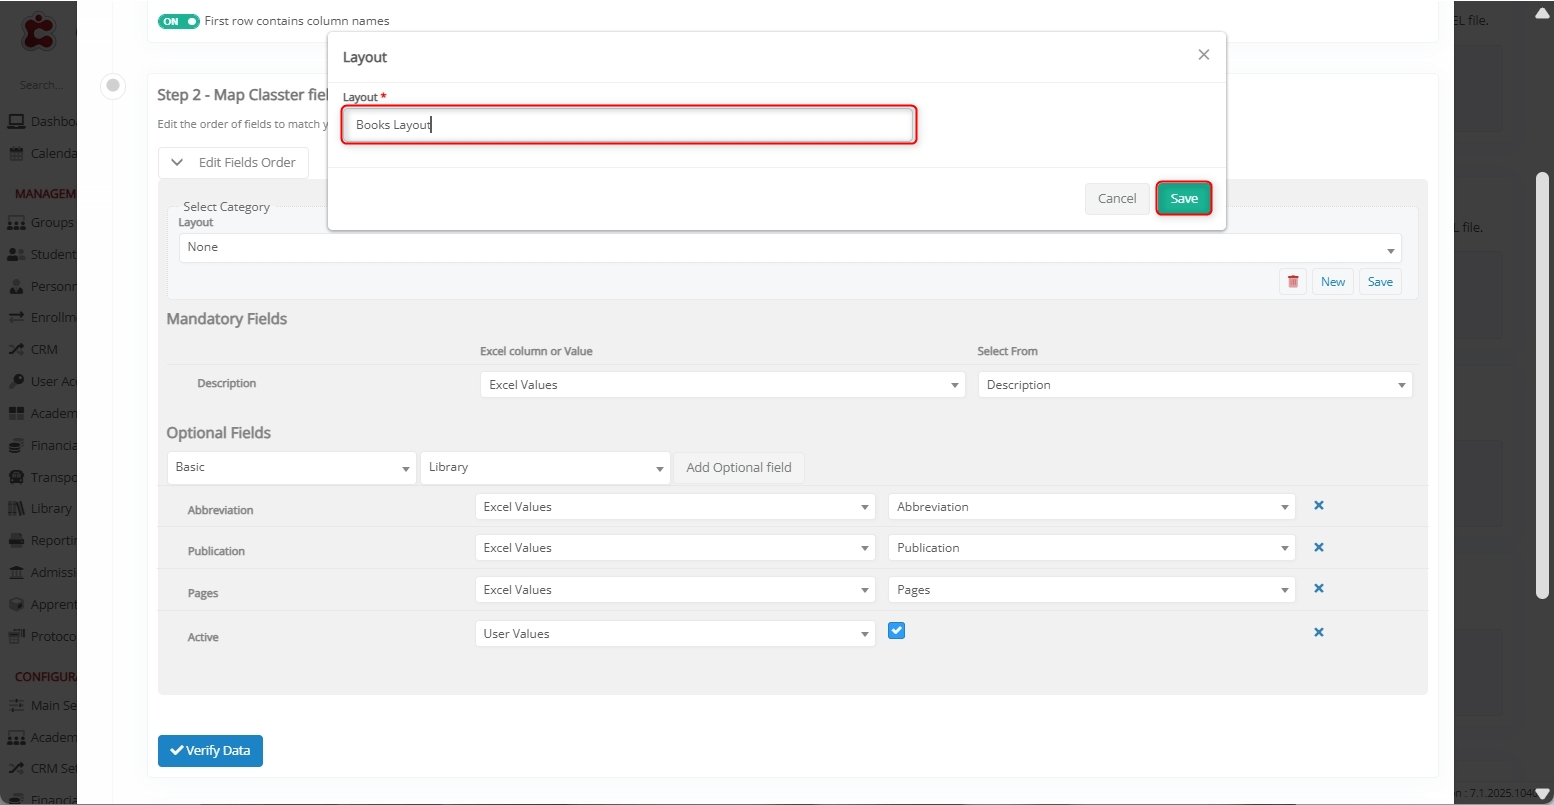
Benefits of Saving the Layout
- Quickly reuse the same field mapping in future imports.
- Saves time and ensures consistency when working with Excel files that follow the same structure.
- Reduces the chances of human error by applying a pre-approved layout.
So, next time you use Excel with the same format, simply choose your saved layout from the dropdown and proceed directly to verification.
Verify Data
Click the Verify Data button to validate the uploaded records.
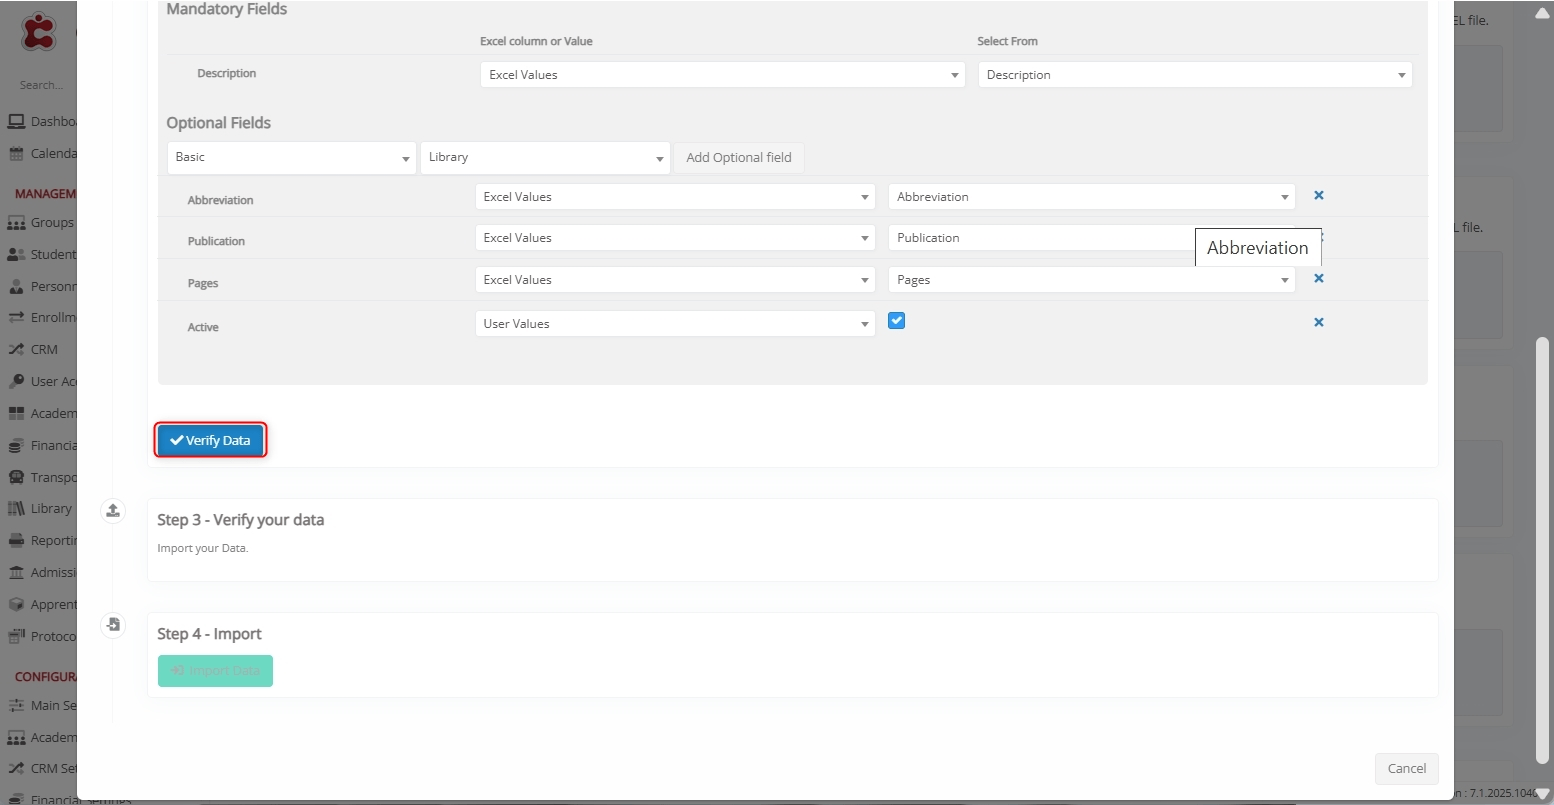
Handling Errors
If errors are detected (e.g., missing fields or incorrect column formatting), Classter highlights the corresponding fields in red for correction.
Ensure that:
- All required fields contain valid values.
- There are no duplicate entries causing conflicts.
- The uploaded Excel file column structure matches the expected format.
Import Data
Once mapping is complete:
- Classter validates the data.
- If the data is correctly aligned, you see a preview of the records.
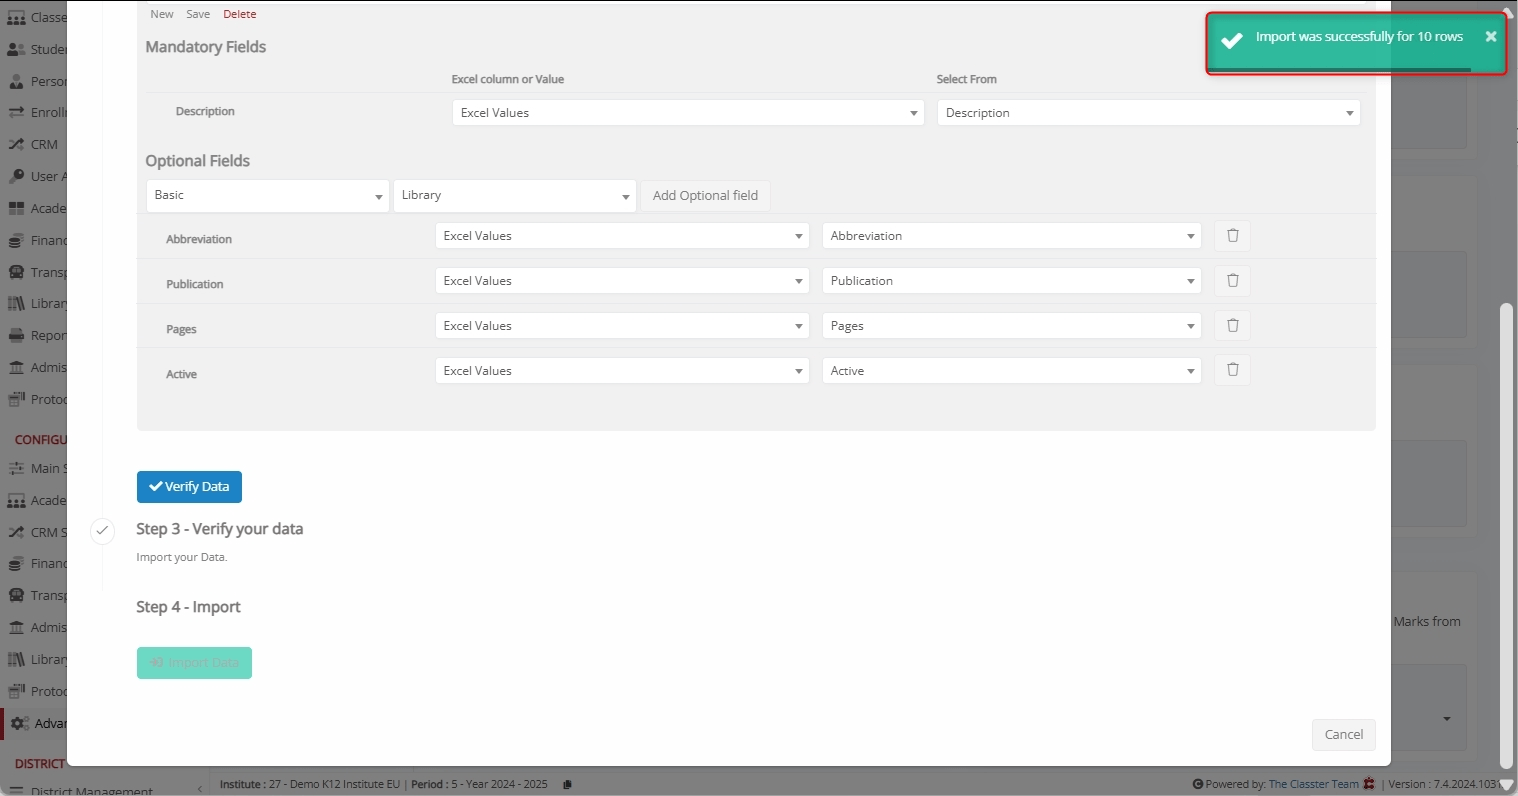
- In such a case, click the Import Data button to complete the process.
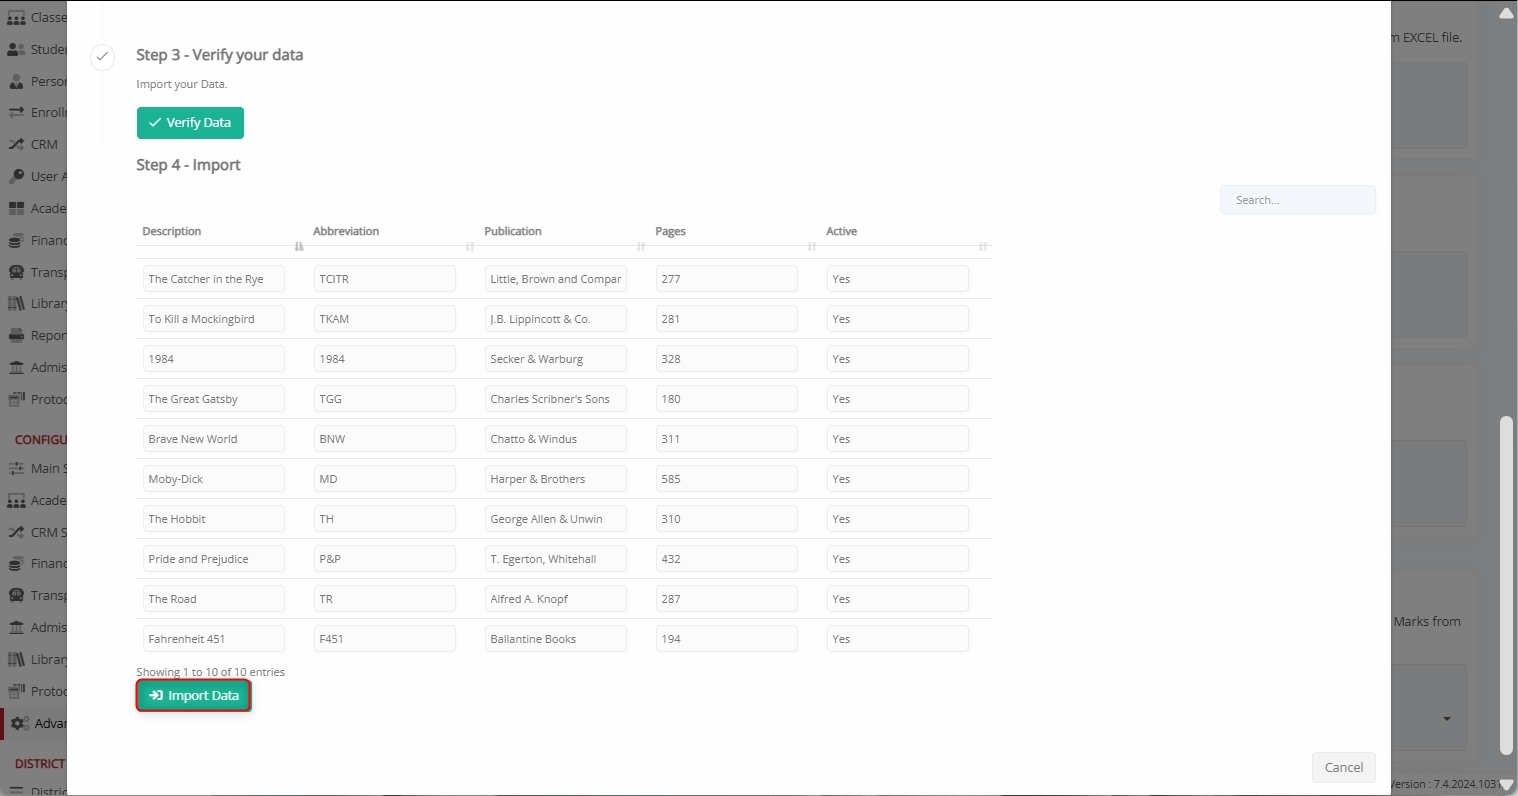
A confirmation message appears once the import is successful.
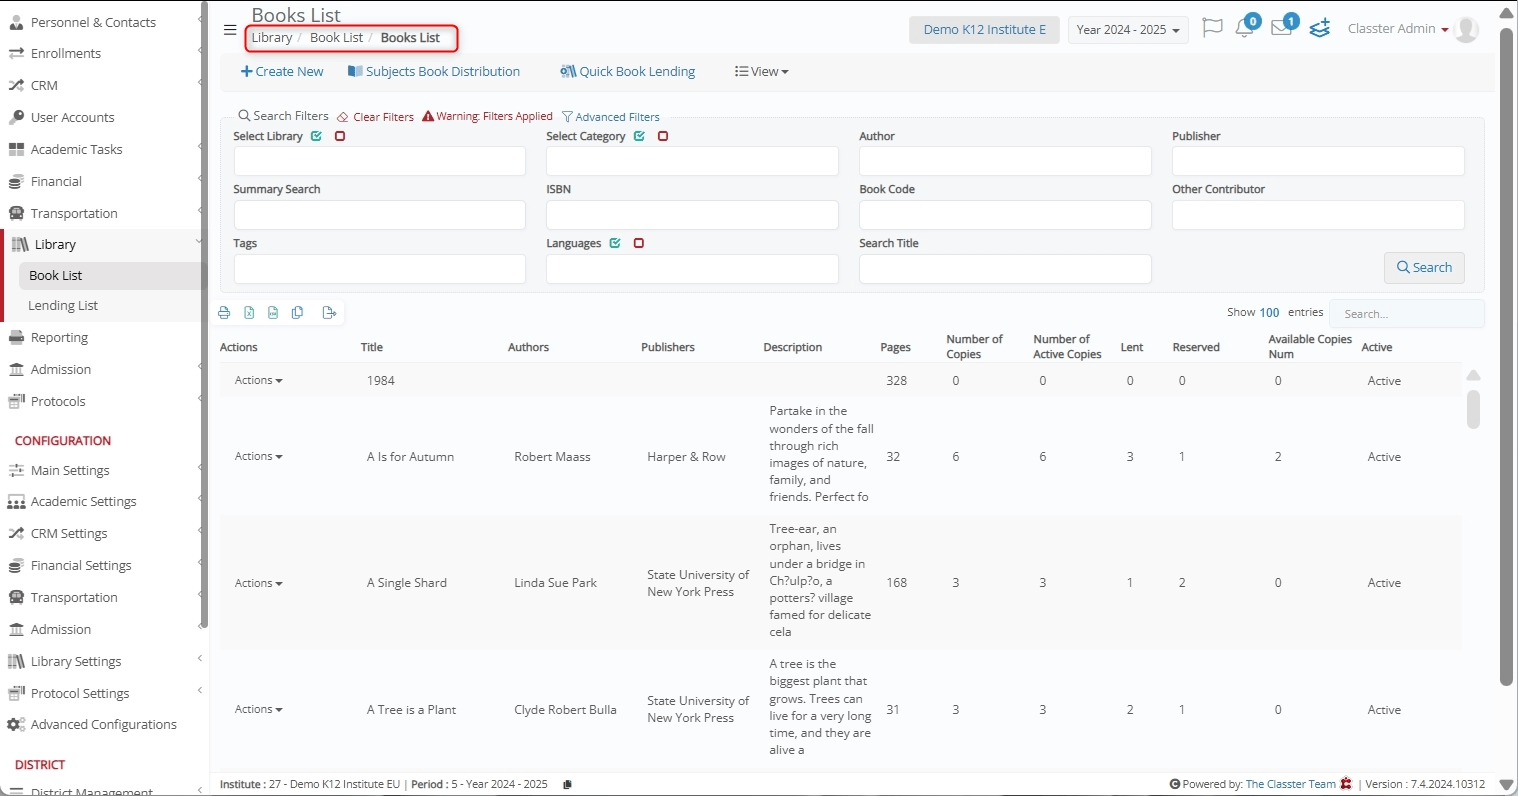
View Imported Books
Once the import is completed, you can view the books’ data by navigating to Library > Books List.