

Watch the how-to video

Subjects are connected with {Years} and {Streams}. The subjects are created here and assigned to the relevant teachers of any institution. Here you can create or delete subject as well as plan them timewise and content wise. To reach the page you must follow the path: Dashboard > Configuration > Main Settings > Subjects (Figure 26).
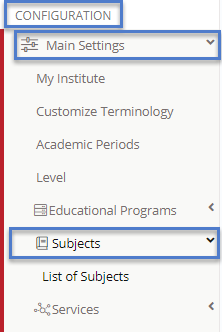
Figure 26
List of Subjects
Here you can see and configure all existing subjects as well as create and edit them. The path to this page is: Dashboard > Configuration > Main Settings > Subjects > List of Subjects (Figure 27 card view).
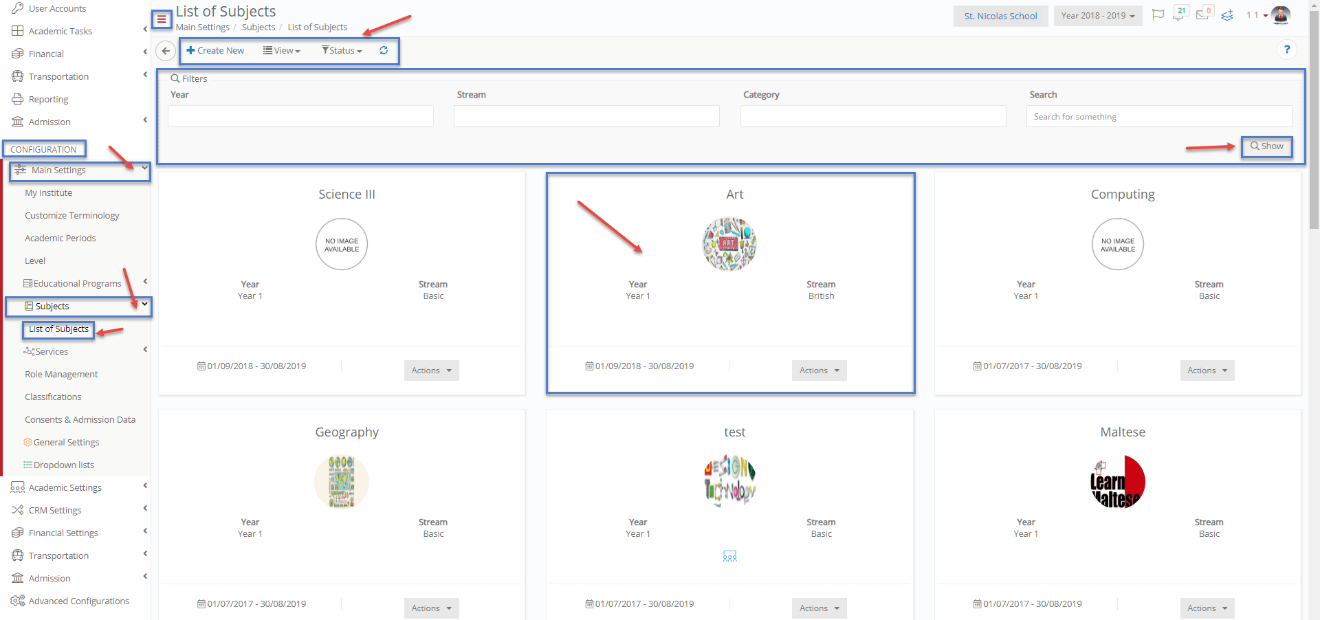
Figure 27
On this page you will see the following (Figure 27):
- View subjects in a Card or Grid view by clicking on the View button and choosing either option. You can also choose the viewsubject per class page (Figure 28).

Figure 28
- You can filter subjects from the Status dropdown button e.g active or inactive.
- From the search field you may locate the subject you wish to change.
- You can also use the Year, Stream or Category dropdown lists to filter subjects.
- Click on the +Create New button to create a new subject.
- By clicking on the subject card, you can edit it.
- You can also click on the action buttons on each subject card and then click on view button to view them.
- Click on the refresh button to refresh page.
Grid View
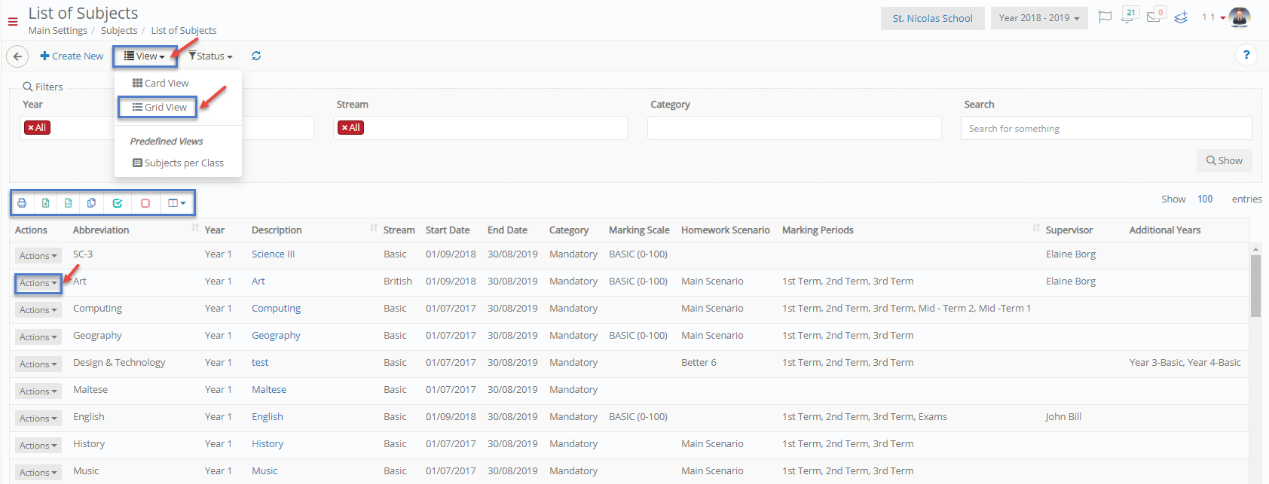
Figure 29
On this page you will see the following (Figure 29):
- View subjects in a Card or Grid view by clicking on the View button and choosing either option. You can also choose the viewsubject per class page (Figure 30).
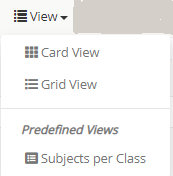
Figure 30
- You can filter subjects from the Status dropdown button e.g active or inactive.
- From the search field, you may locate the subject you wish to change.
- You can also use the Year, Stream, or Category dropdown lists to filter subjects.
- Click on the +Create New button to create a new subject.
- By clicking on the subject card, you can edit it. By selecting more than one subject you can delete them all.
- You can also click on the action buttons on each subject and then click on the edit or delete button.
- Click on the refresh button to refresh page.
- In this view you can also print, copy or export the list of subjects you want.
- From the manage columns button, you can add or remove columns from the list.
Subject Per Class View
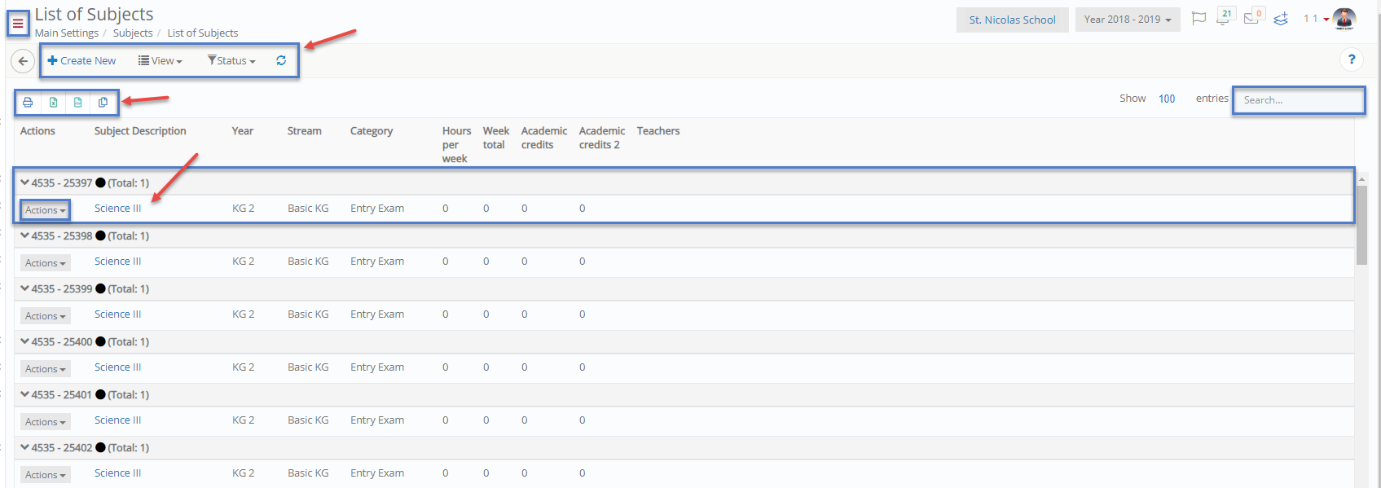
Figure 31
On this page you will see the following (Figure 31):
- View subjects in a Card or Grid view by clicking on the View button and choosing either option (Figure 32).

Figure 32
- You can filter subjects from the Status dropdown button e.g active or inactive.
- From the search field you may locate the subject you wish to change.
- Click on the +Create New button to create a new subject.
- By clicking on the subject action button, you can edit it.
- In this view you can also click on the action buttons on each subject and then click on the remove from class button to remove a subject from a specific class.
- Click on the refresh button to refresh page.
- In this view you can also print, copy or export the list of subjects you want.
Create Subjects
Once you click on the create new button (Figure 49), you will be transferred to the creation page (Figure 33).
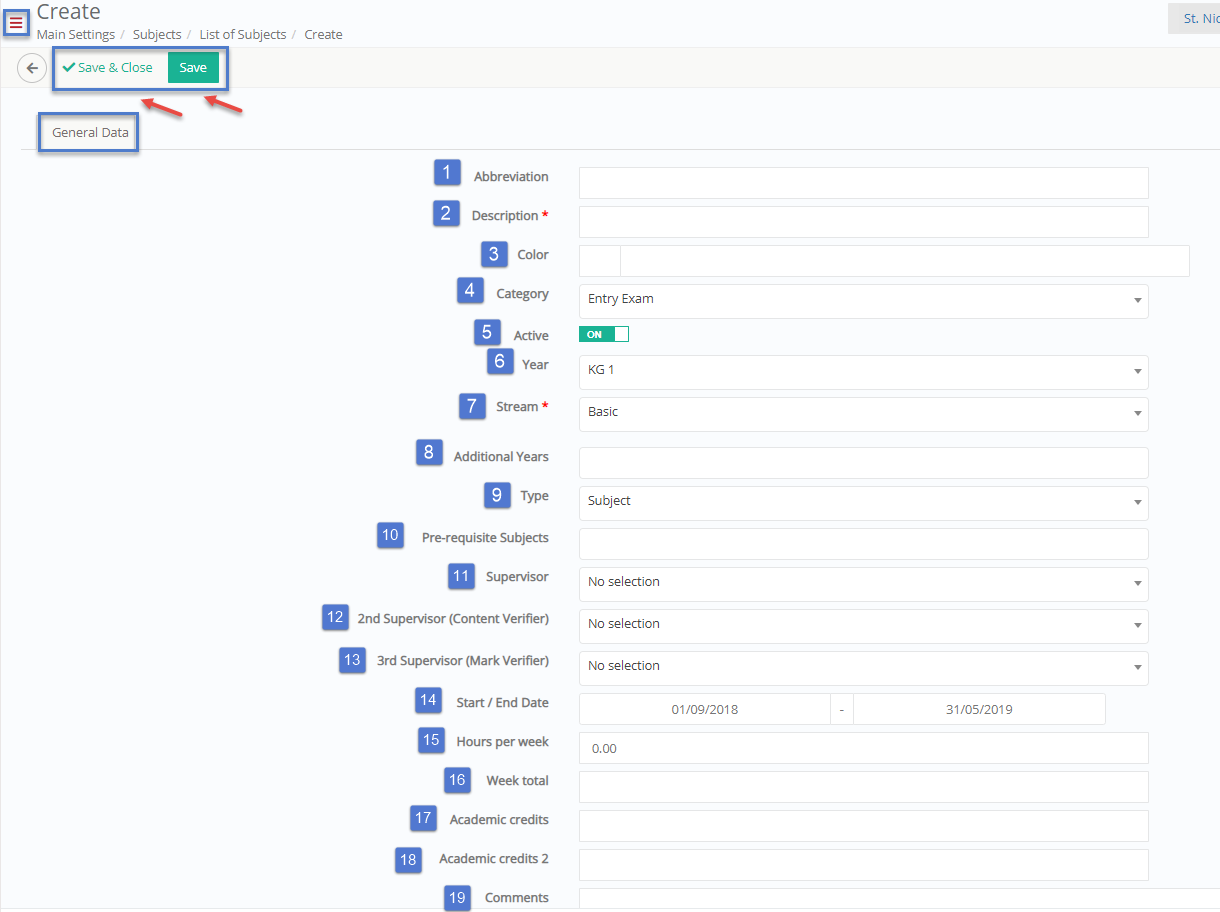
Figure 33
On this page you will see the following (Figure 33):
General Data Tab
- Abbreviation field: here you can add the shortcode for the new subject e.g EN1.
- Description field: here you can add the description of the subject e.g Intro to English.
- Color field: here you can choose a color to signify this subject in subject lists.
- Category option: here you can add the subject to a specific category of subjects e.g Mandatory.
- Active switch: if this is turned on then this subject will be available for use.
- Year option: connect this subject to a specific year e.g KG1.
- Stream option: here you can connect this subject to a stream e.g Basic.
- Additional Years field: here you can add connections to other years as well.
- Type option: you must choose a type to classify this subject. Since this is a subject you can choose e.g Subject type.
- Pre-Requisite Subjects option: here you can decide if the subject you are creating will have pre-requisite subjects in order for a student to enroll in them e.g I need to have taken Introduction to Accounting in order to enroll in Managerial Accounting.
- Supervisor option: here you can assign a teacher as the supervisor of this subject e.g Eleine Borg.
- 2nd Supervisor (Content Verifier) option: here you can choose a second supervisor responsible for verifying content that is uploaded to the system e.g verify absences.
- 3rd Supervisor (Mark Verifier) option: here you may choose a 3rd supervisor responsible for verifying the assessment marks, given by the teacher of the subject.
- Start/End Date option: Here you can set the time parameters for this subject. Enter the date the subject will begin and the end date to set the day the subject is supposed to end.
- Hours per week field: enter the hours of teaching for this subject per week.
- Week total field: enter the total academic hours for this subject every week.
- Academic credits field: specify how many credits this subject is worth to the student’s academic program or towards achieving graduation.
- Academic credits 2 field: second field for subject credits in case this subject offers different types of credits (If Applicable).
- Comments text box: this text box is here for you to enter any data about the subject that could be helpful to the student.
Once you have filled in the fields, options, and anything else that was required click on the ‘Save & Close’ button to save this new subject and return to the list of subject’s page.