

- Click on ‘Create New’ button and select the type of contact you want to create i.e., Institute’s Employee, Company that is a student’s payer, Institute’s Supplier, other Institutes (e.g., state schools or competitors) or other Contacts (e.g., partners or general contacts) (Figure 251).
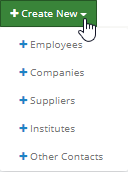
Figure 251
- Register employee’s basic data (Figure 252).
Note:
- Fields with a red asterisk are mandatory
- The ‘Categories’ field options are set by the admin. (follow the path Main Settings → Dropdown Lists → Type: Teachers → Dropdown Lists → Edit list)
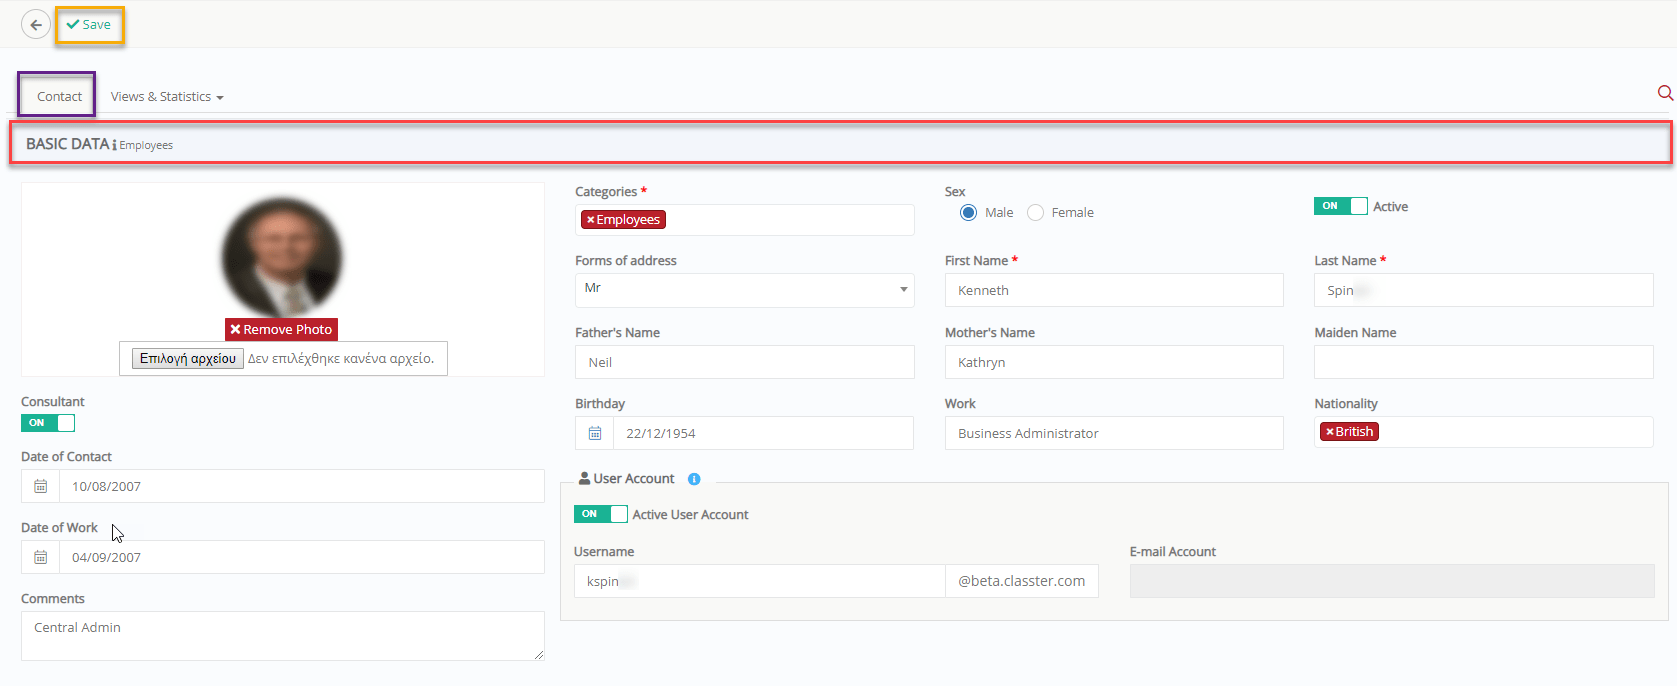
Figure 252
- Register employee’s contact such as address, phone numbers and email, and other data such as ID card, passport info and tax data (Figure 253).
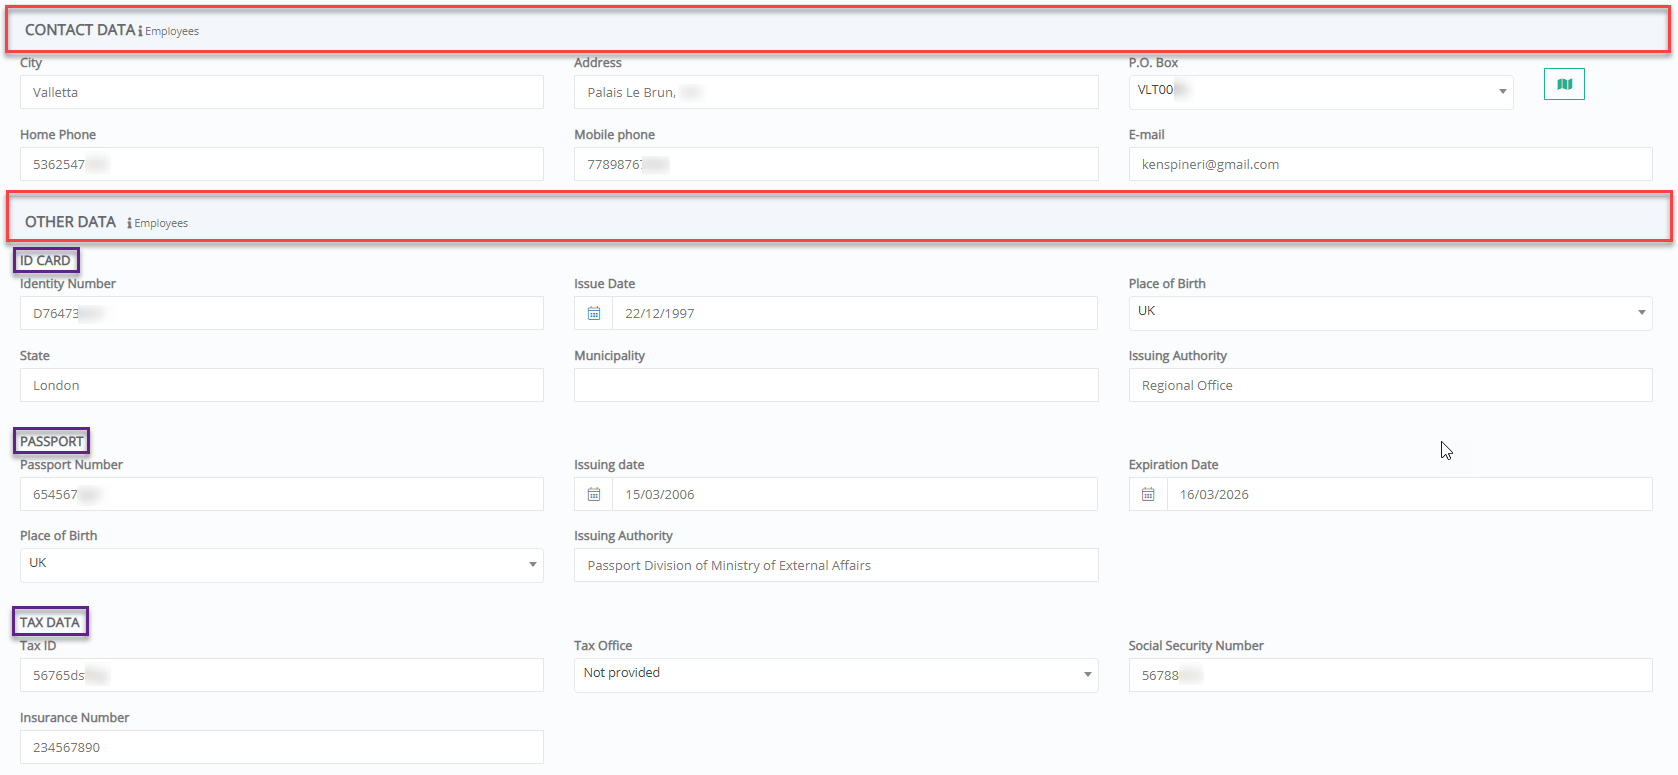
Figure 253
Note: Fields in Special Data area are available, only if set by the admin (Figure 254). (Check Endnote xv)

Figure 254
- Click on ‘Save’.
View
- Use the Filters area to show specific types of employees or contacts e.g., Type: Employees, Category: Bus Drivers (Figure 255).
- You can use the search tool to find a specific employee.
- Use the buttons shown below to print or export the selected entries.
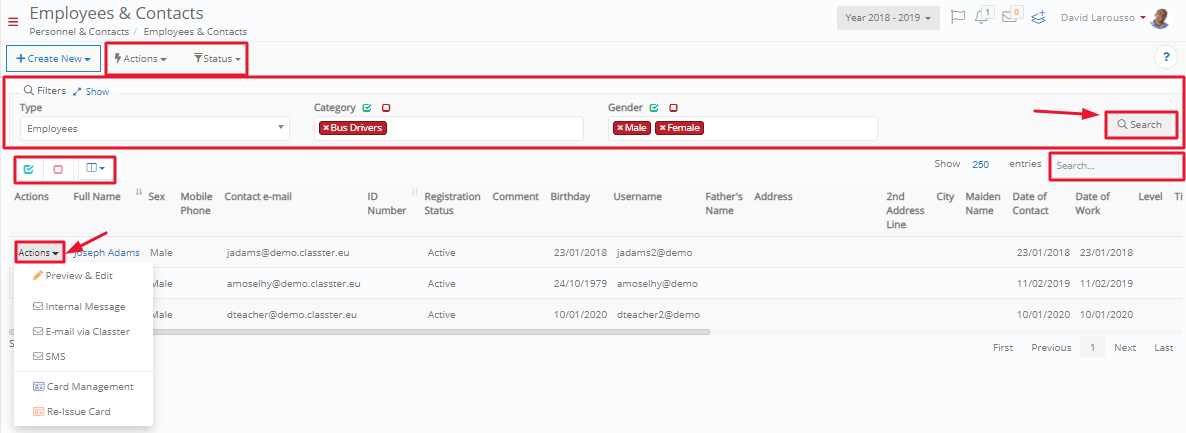
Figure 255
Edit
- Use the ‘Actions’ menu to preview or edit the employee’s data, send him/her an internal message, email, or SMS, and create or re-issue an employee’s card or card management.
Delete
- Select the entries you want to delete
- Click on ‘Actions’ menu > Delete (Figure 256).
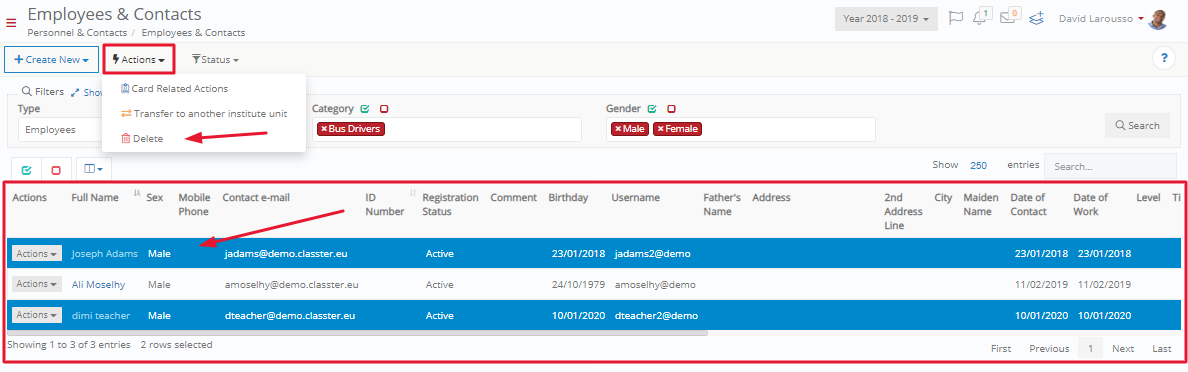
Figure 256
- Click on ‘Actions’ menu you can also make card related actions or transfer employee to another institute unit (Figure 256a).
![]()
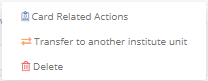
Figure 257