

Prerequisites
Please visit the Zoom Integration – Basic Configuration Manual and make sure you’ve followed all steps correctly, before moving forward.
Set Up
Logged in as administrator:
Navigate to Main Menu > Configuration > Advanced Configurations > Third – Party Integrations > click on Zoom (Figure 16)
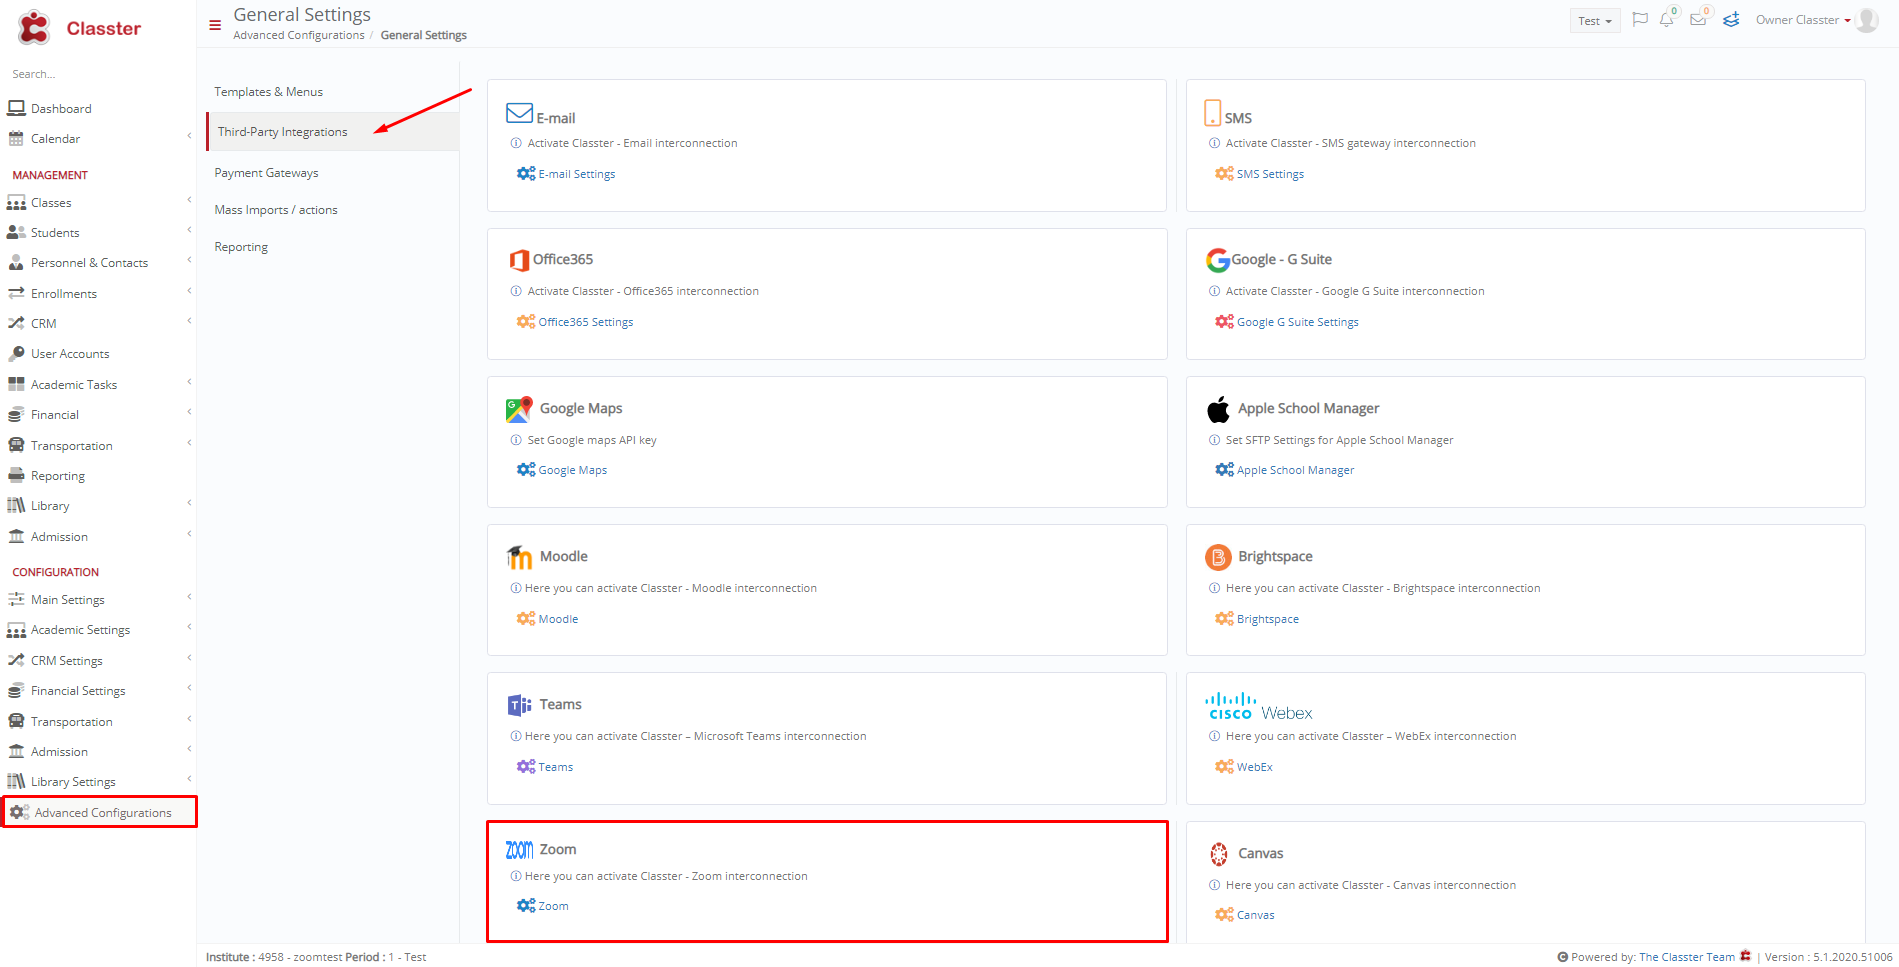
Figure 16
Choose Classter Classroom from the drop-down menu.
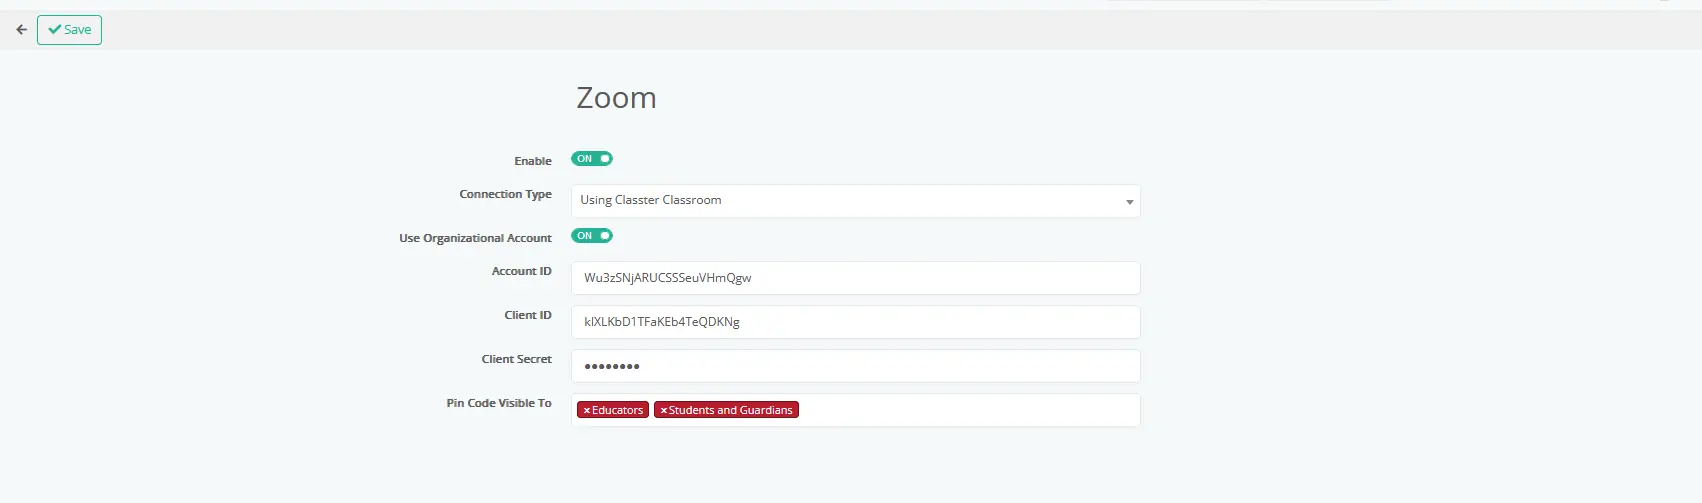
Figure 17
Finally, if everything is correct, click on “Save”.
Create Classroom
From the main menu, click on Academic Settings > Timetable > Classrooms (Figure 18).
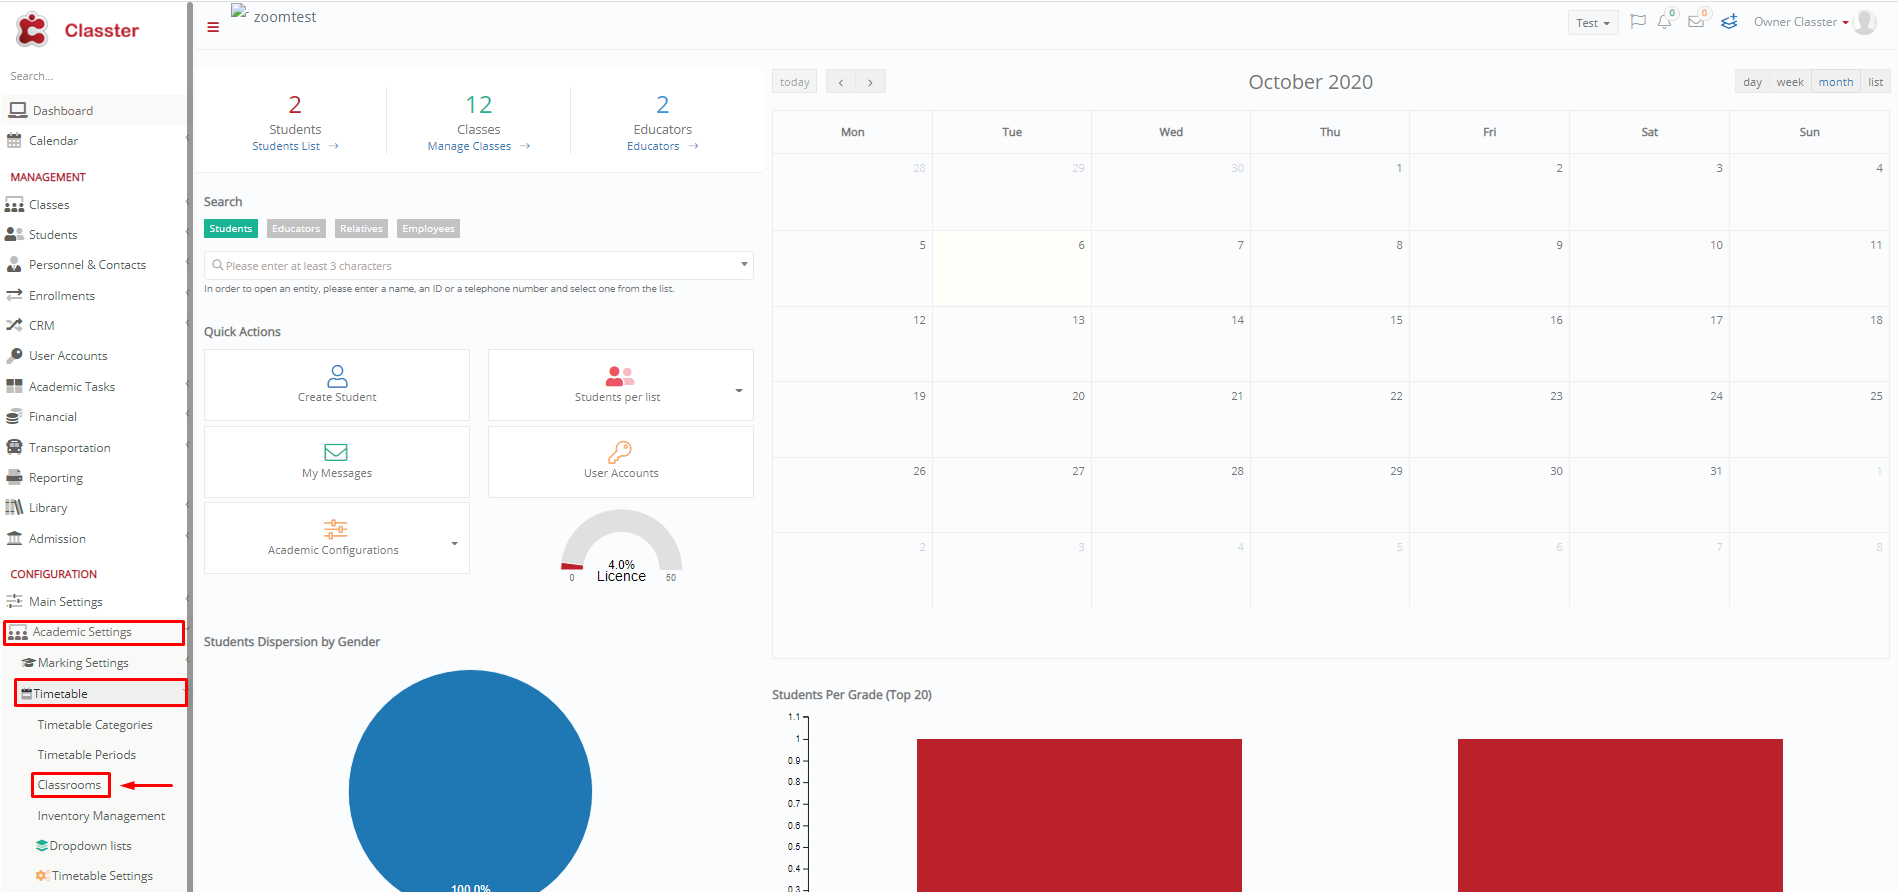
Figure 18
Once you click on the Classroom menu button, you will see the following page (Figure 19).
Here you can create a room for online meetings (zoom1, zoom2) or choose an existing classroom and enter the username and password.
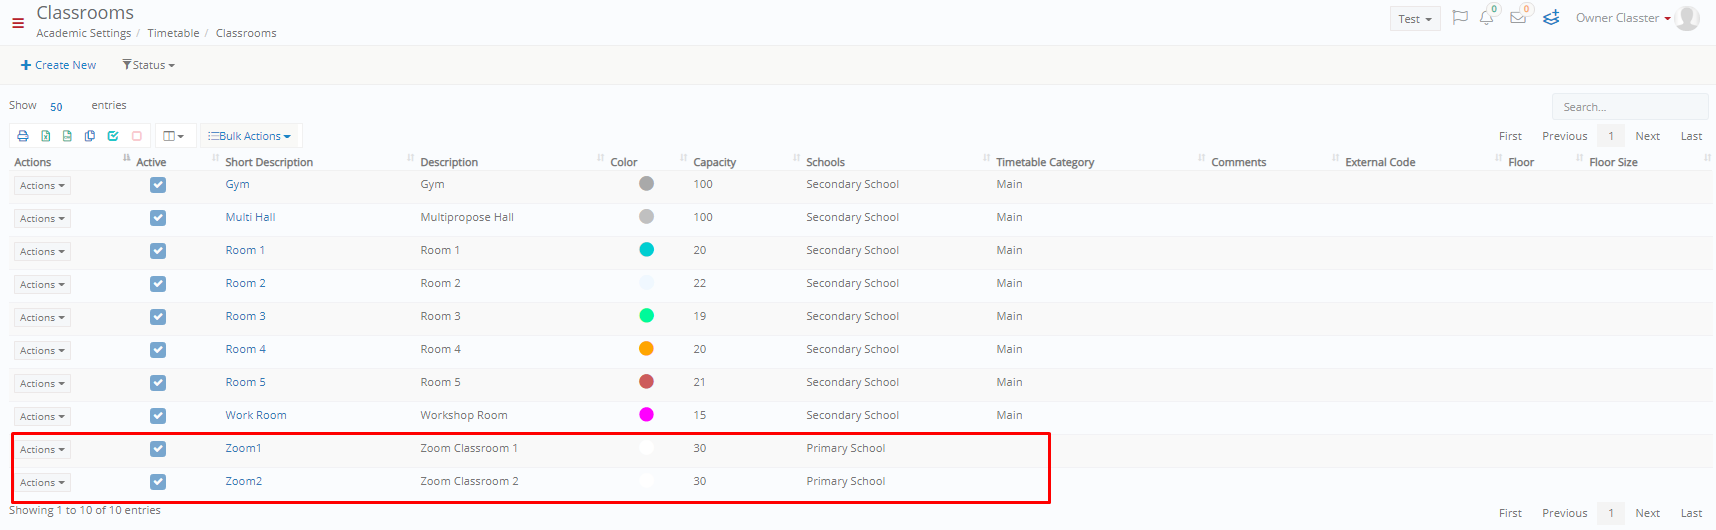 Figure 19
Choose or Create the classroom Zoom 1 and fill in the Short Description, Description, Schools fields (Figure 20). On the bottom of this page, you will see the ‘Third Party Integrations Page’.
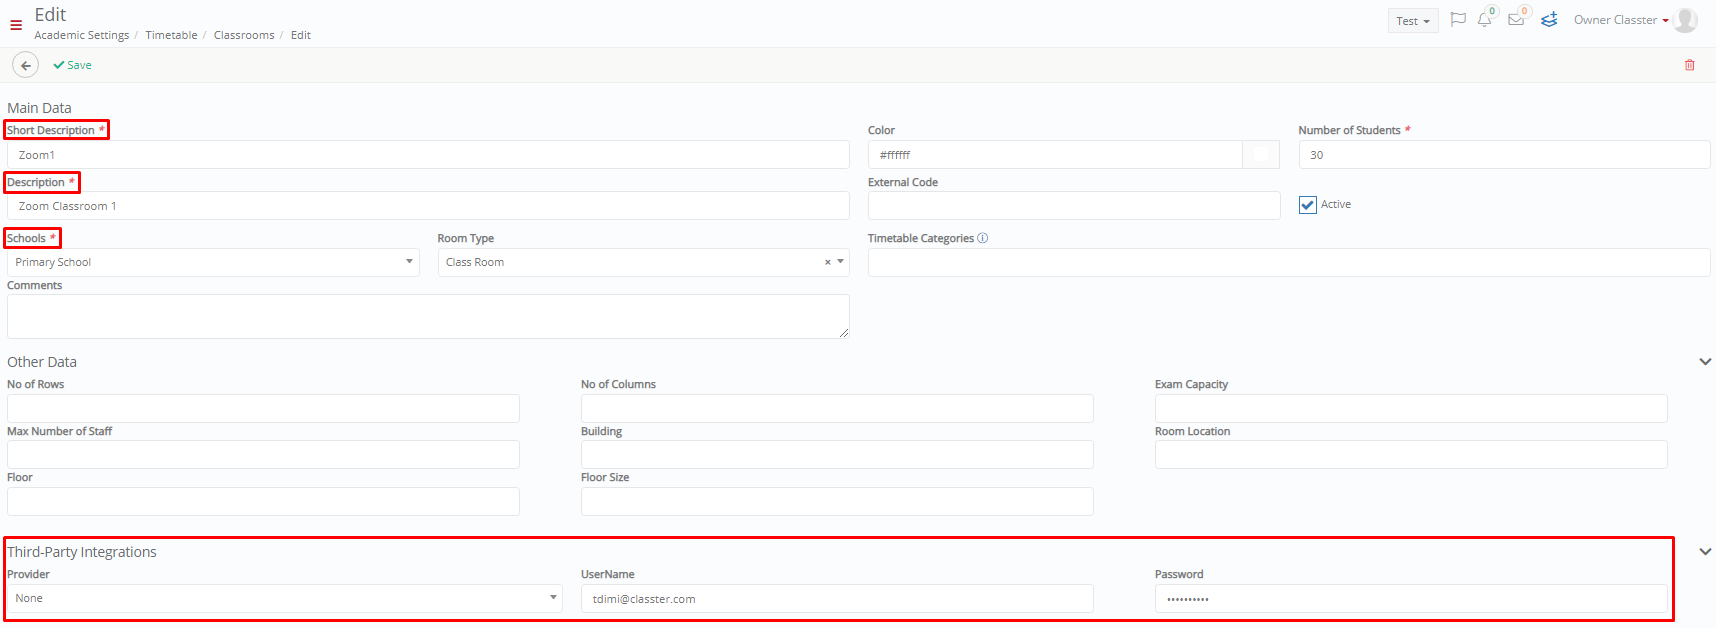 Figure 20
In the Third-Party Integrations section, choose as the Provider ‘Zoom’ (Figure 21).

Figure 21
To fill in the Username and password fields in the third-party integration section of the classroom, go to your Zoom dashboard, then User Management and click Users (Figure 22)
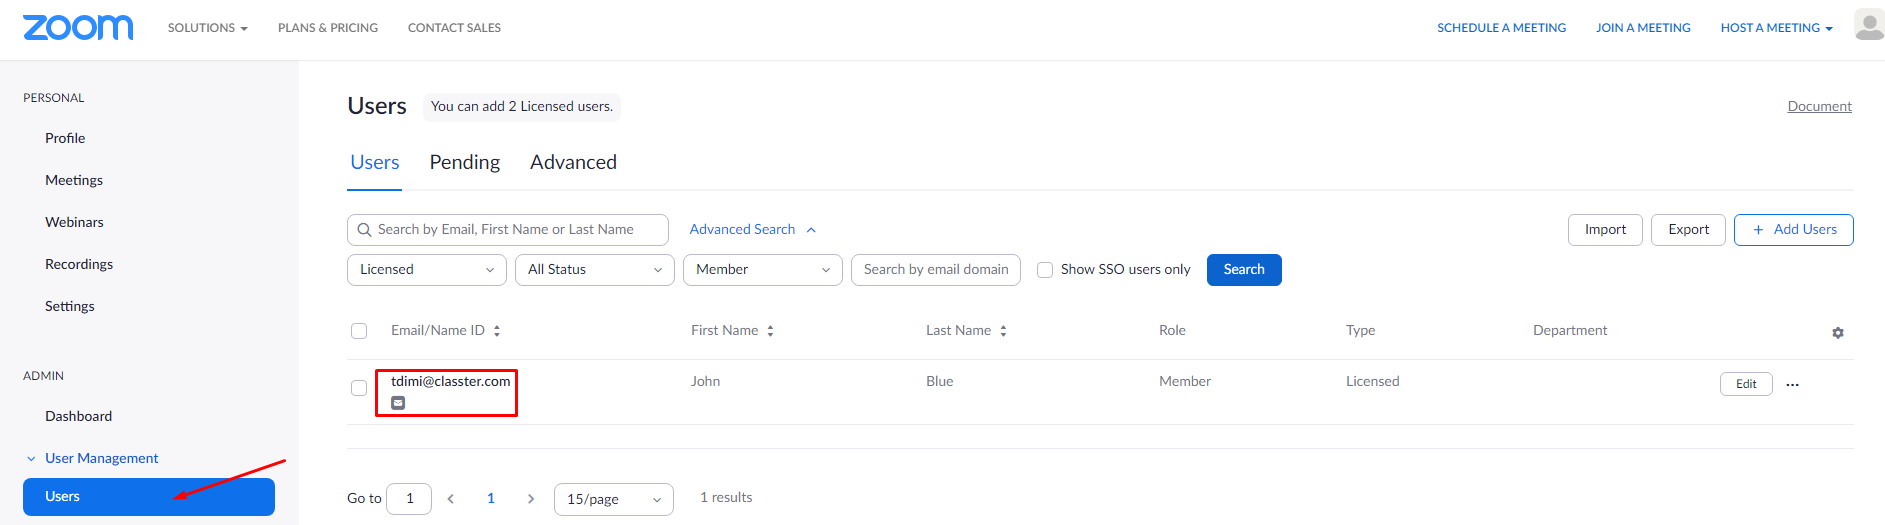 Figure 22
Click on the specific user (Figure 22) to view the user profile (Figure 23)
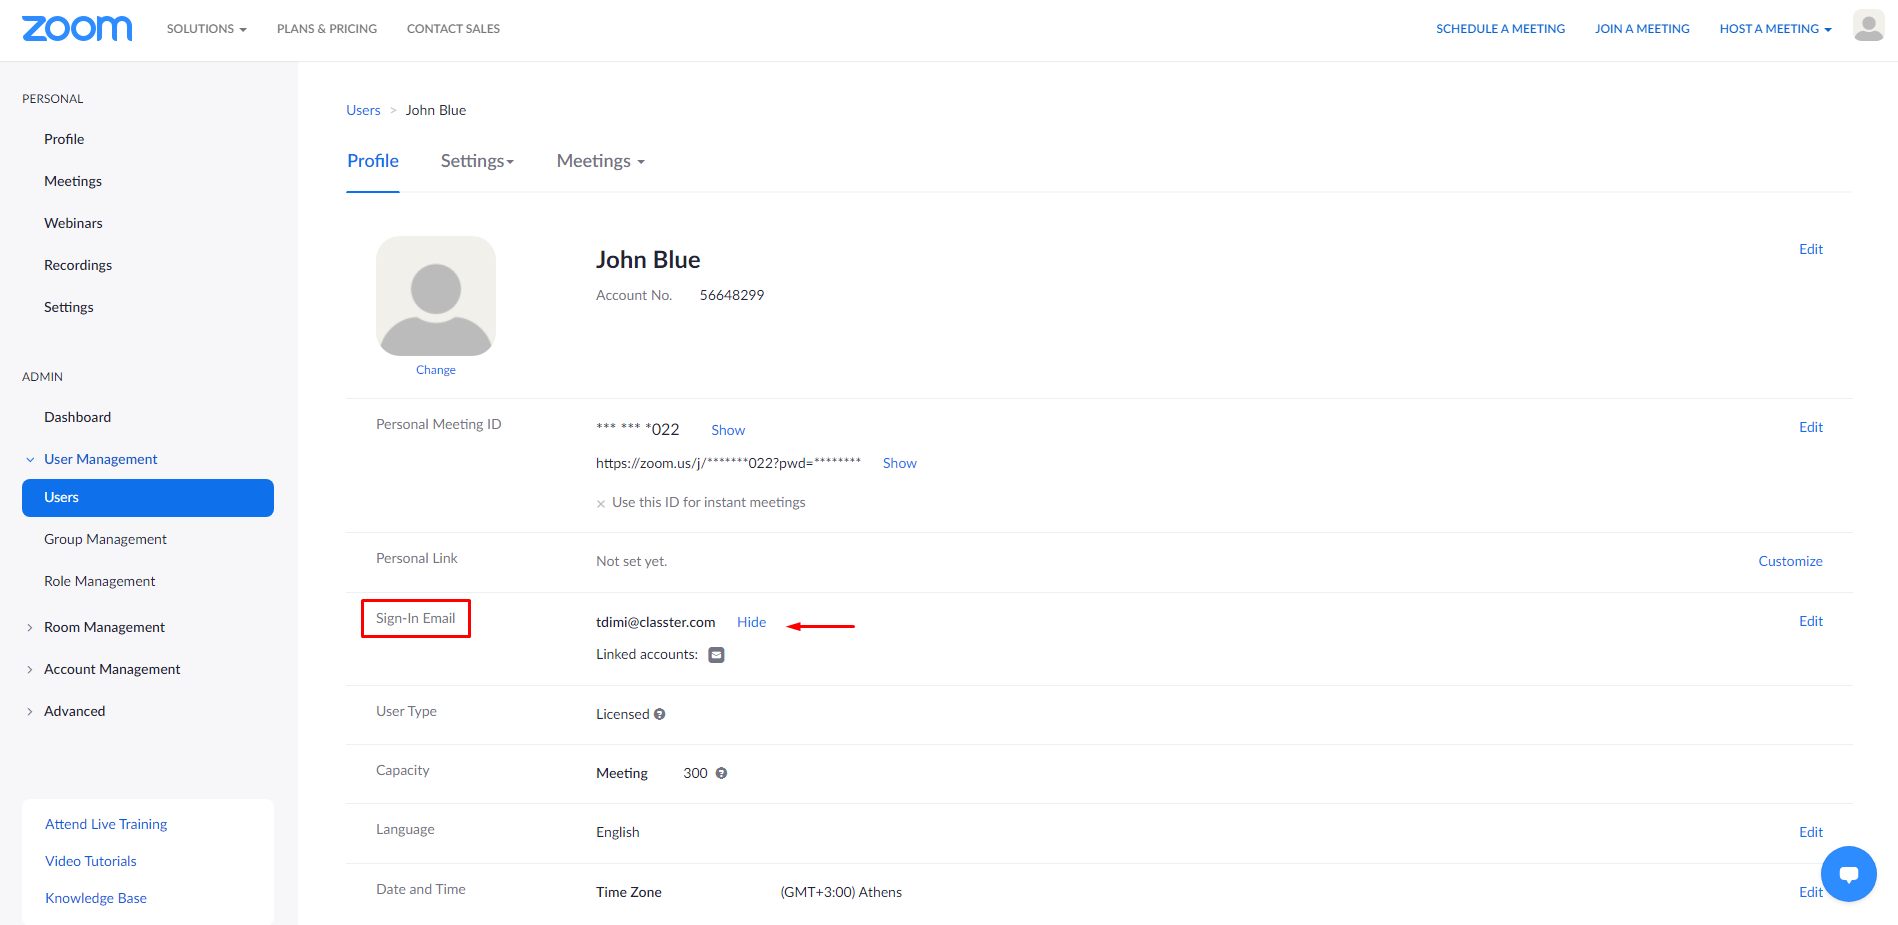 Figure 23
- Select and copy the “Sign-in Email” of the user and paste it in the “Username” field in Classter.
- Scroll down and copy the password from the Password field and paste it on Classter (Figure 24).
Note: The password must either be known (via communication with the user) or to be edited and then be resetted in order for you to be able copy it.
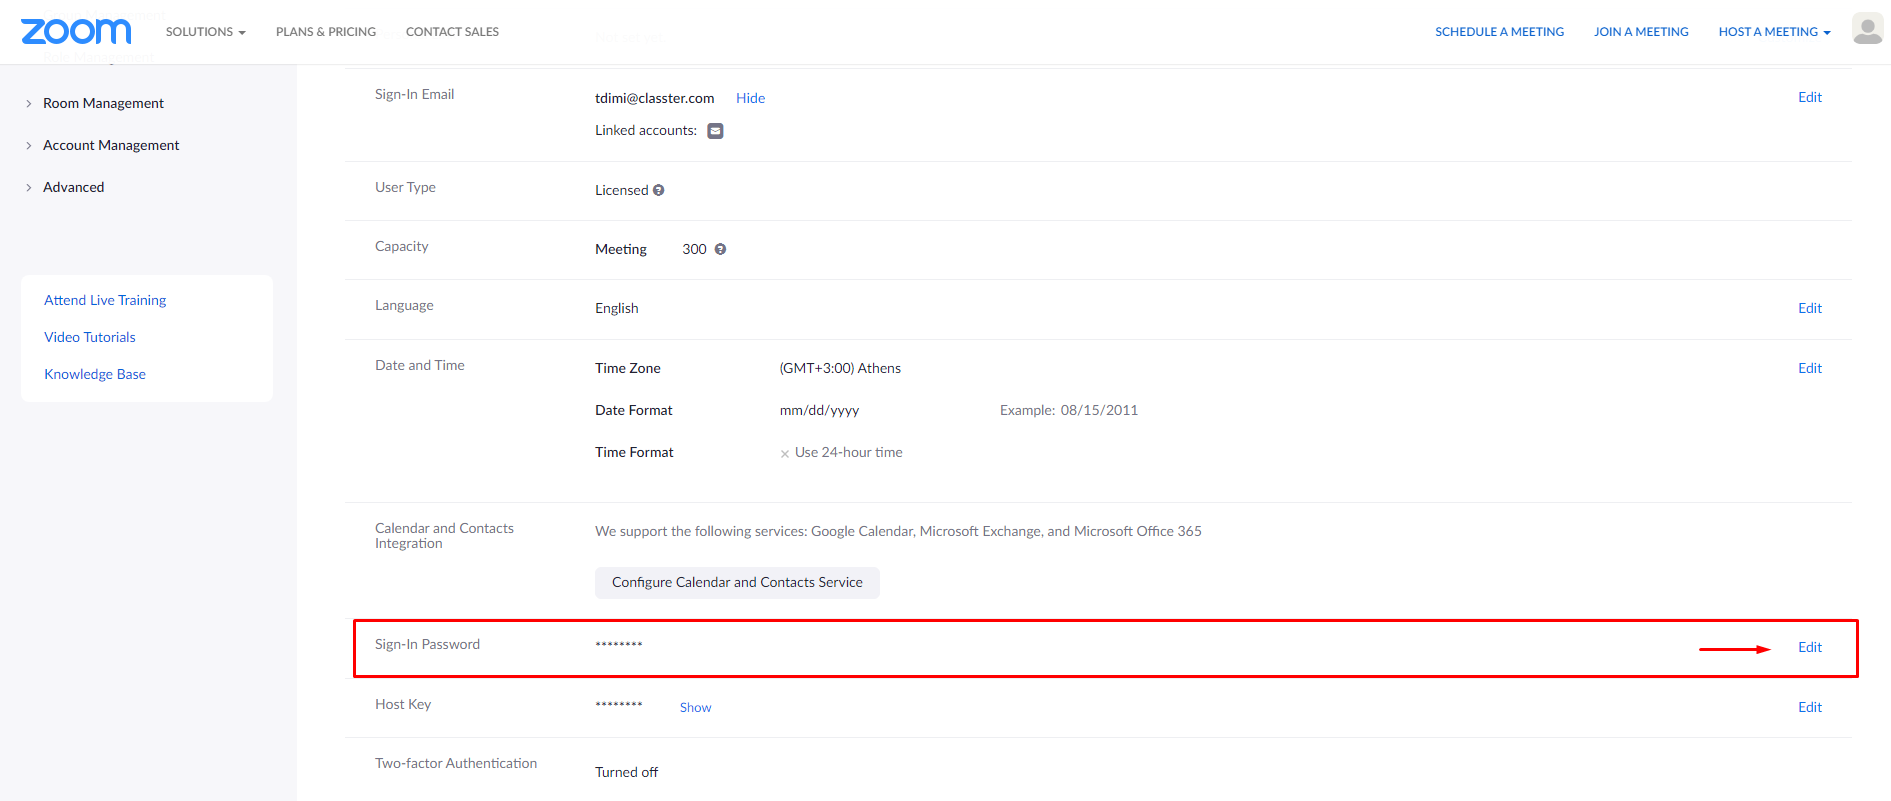 Figure 24
Paste the Username and Password from Zoom to the Classter Classroom page (Figure 25).
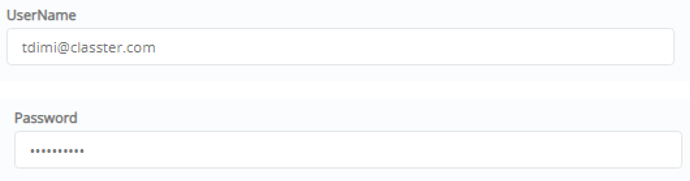 Figure 25
Once you have filled in all the information for the classroom, click on the ‘Save’ button (Figure 26).
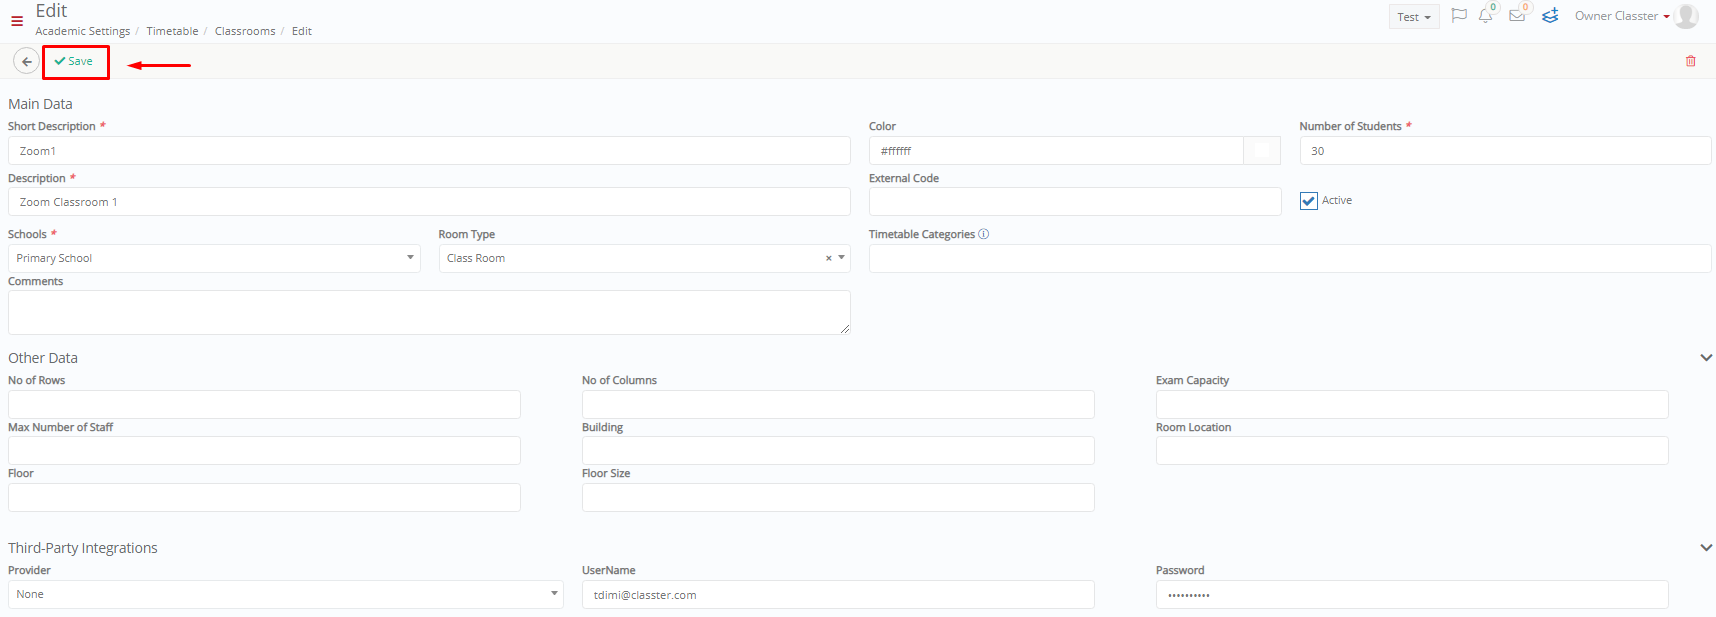 Figure 26
From now on, every time you use the classroom you created (ex zoom1) you will be automatically creating a Zoom meeting.
Create a Session using a Zoom Classroom
Create a Session
From the main menu, click on Academic Tasks > Session & Homework > Session List > Click on the +Create button (Figure 27 & 28).
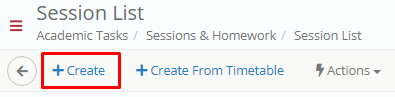 Figure 27
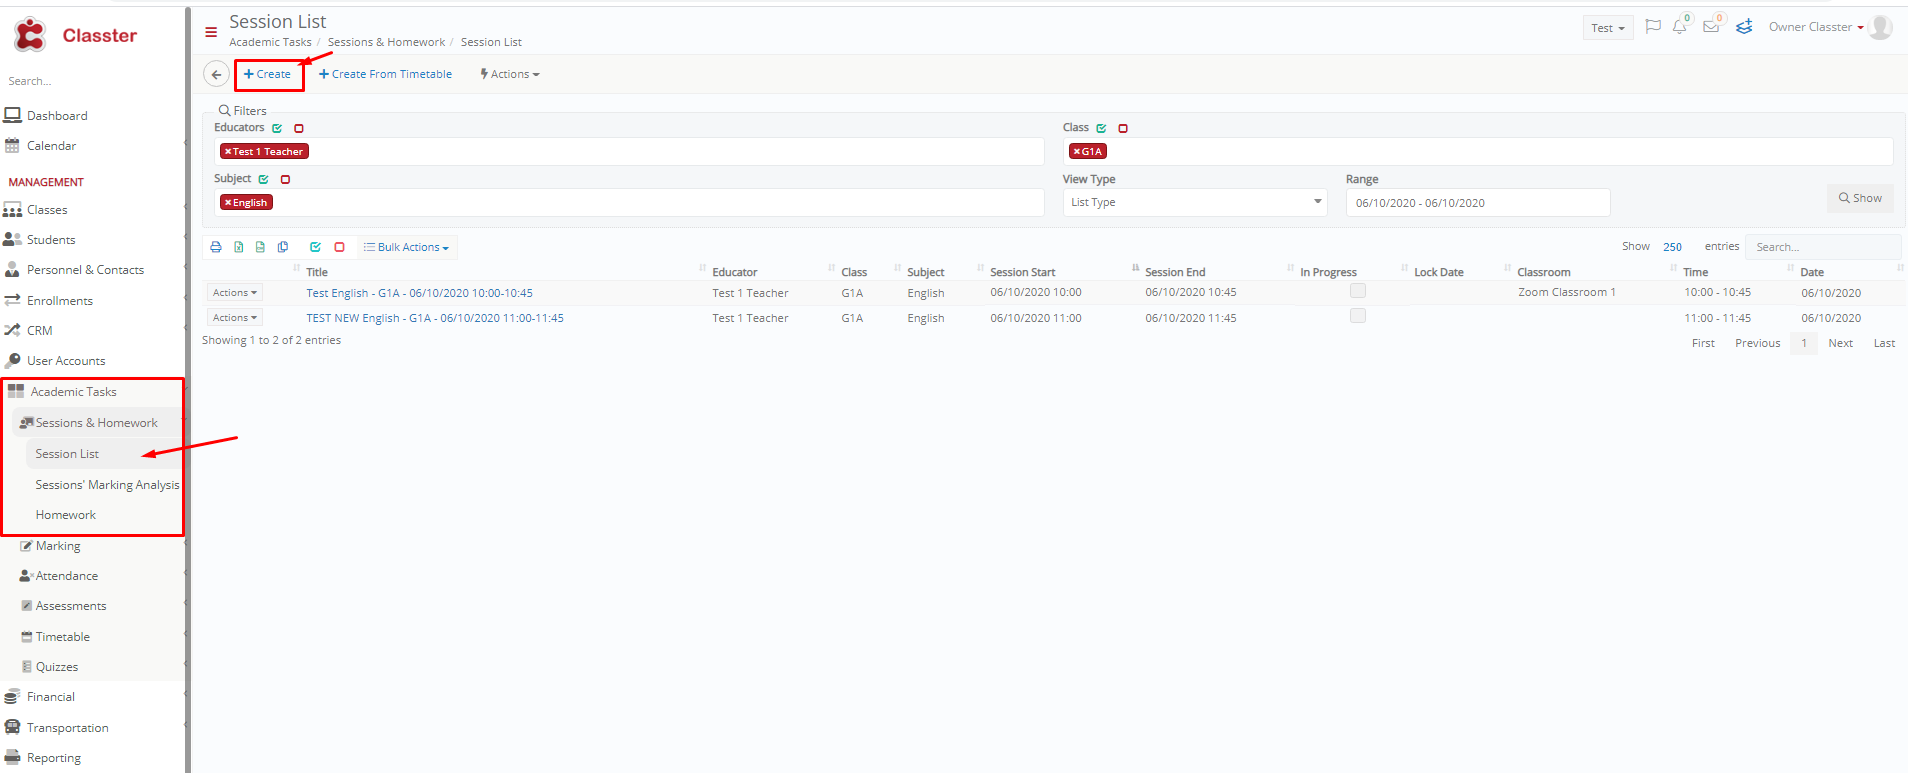 Figure 28
On the Session Creation page fill in the fields Educator, Class, Subject and choose from the Classrooms dropdown menu a classroom, in this case, Zoom Classroom 1 and save (Figure 29 & 30).
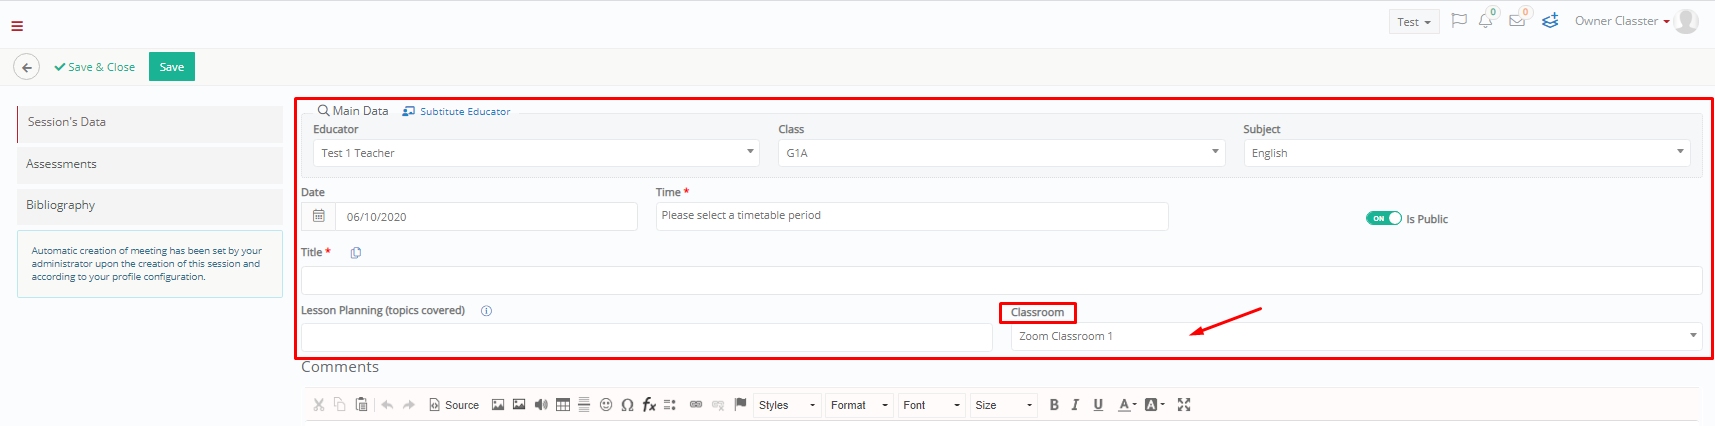 Figure 29
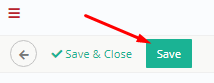 Figure 30
Once you create & save the session on Classter you will be able to see that the session you created appeared on Zoom (Figure 31).
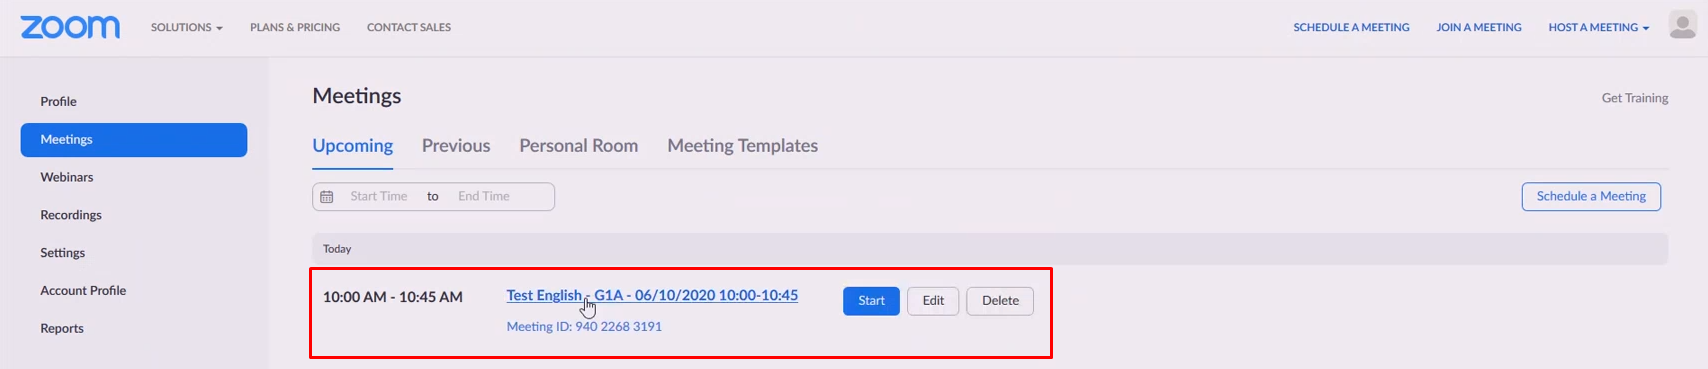 Figure 31
As a Lecturer, you can see the session appear in the lecturer’s calendar (Figure 32).
 Figure 32
If you click on the session you see in the lecturer’s calendar, you will open the following pop-up window (Figure 33).
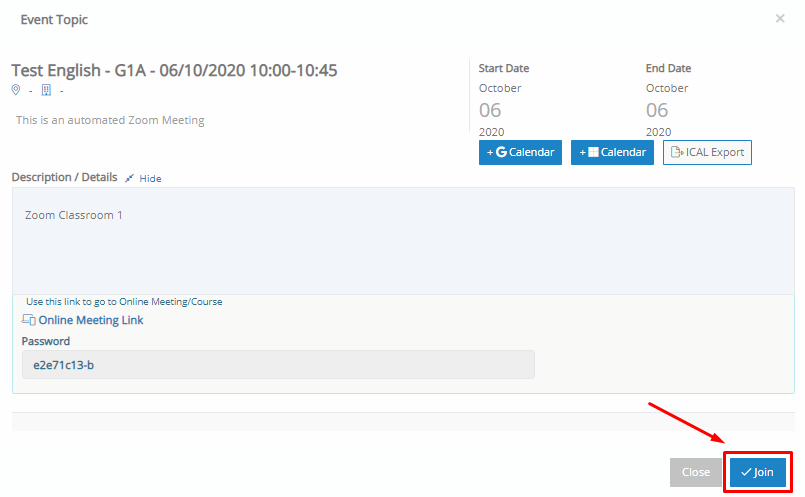 Figure 33
- Click to join the session to open the Zoom meeting.
- By clicking on Join you will view the following page (Figure 34).
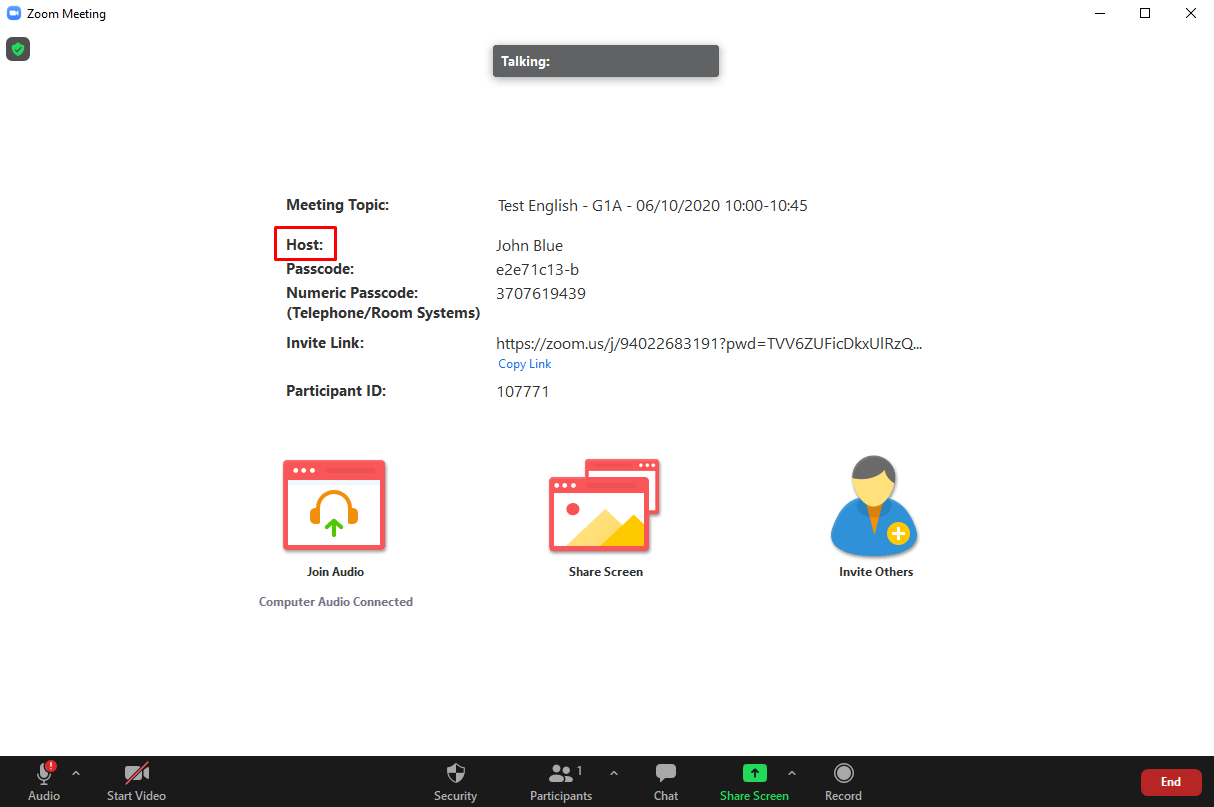
Figure 34
- The lecturer appears as the host of the Zoom meeting, he can click on the Join button to join the Zoom meeting (audio only).
Note: Join Audio appears as an option because in this case, the user may not have an enabled cam.
As a student or parent, you can see the session on the calendar as well (Figure 35).
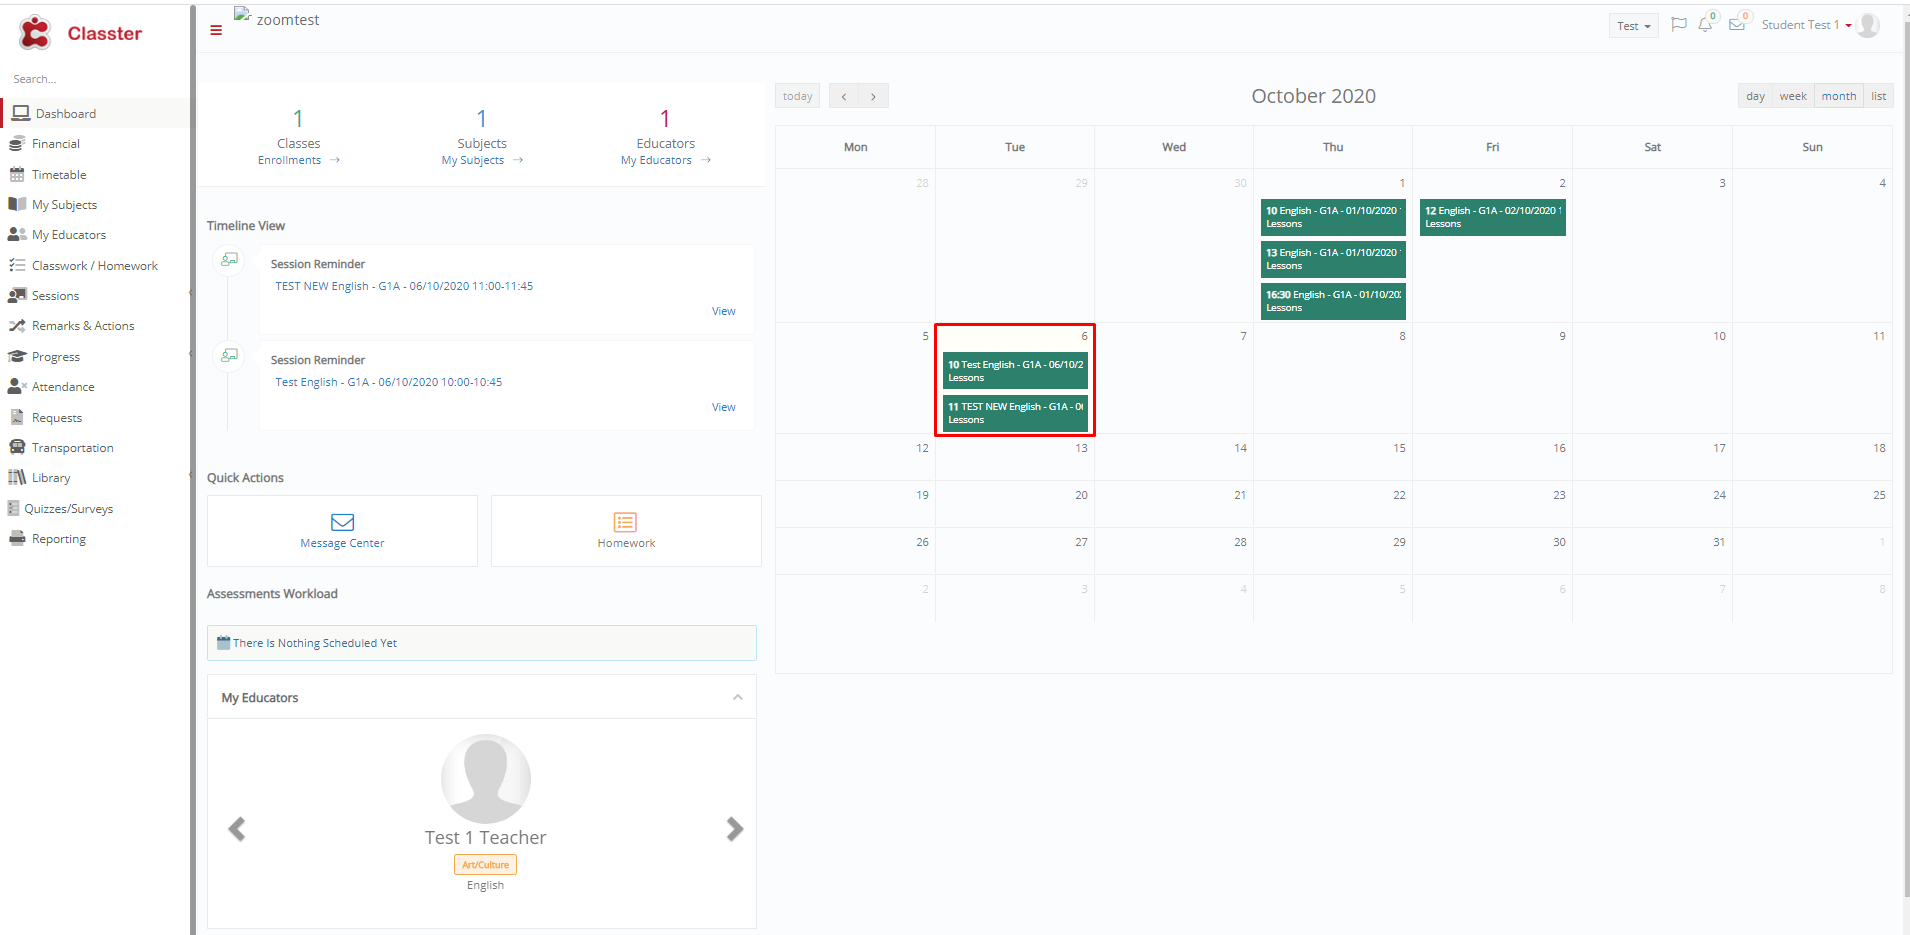 Figure 35
If you click on the session you see in the Student’s or Parent’s calendar, you will open the following pop-up window (Figure 36).
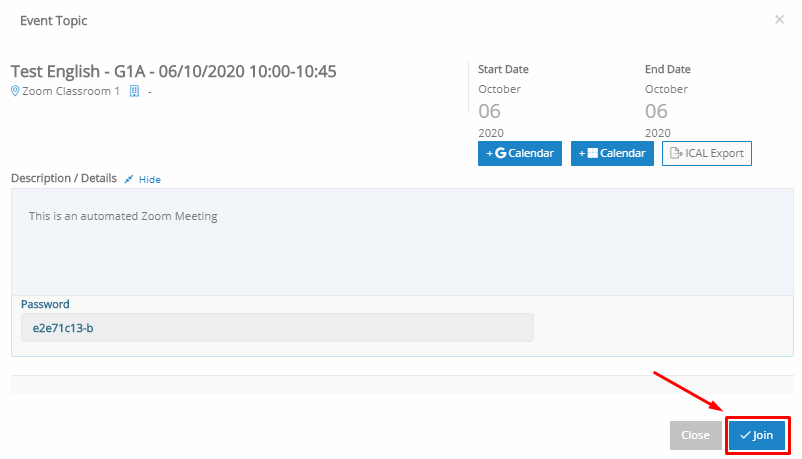 Figure 36
- Click on the Join button (Figure 36).
- Once you do, you will be taken to the following page (Figure 37).
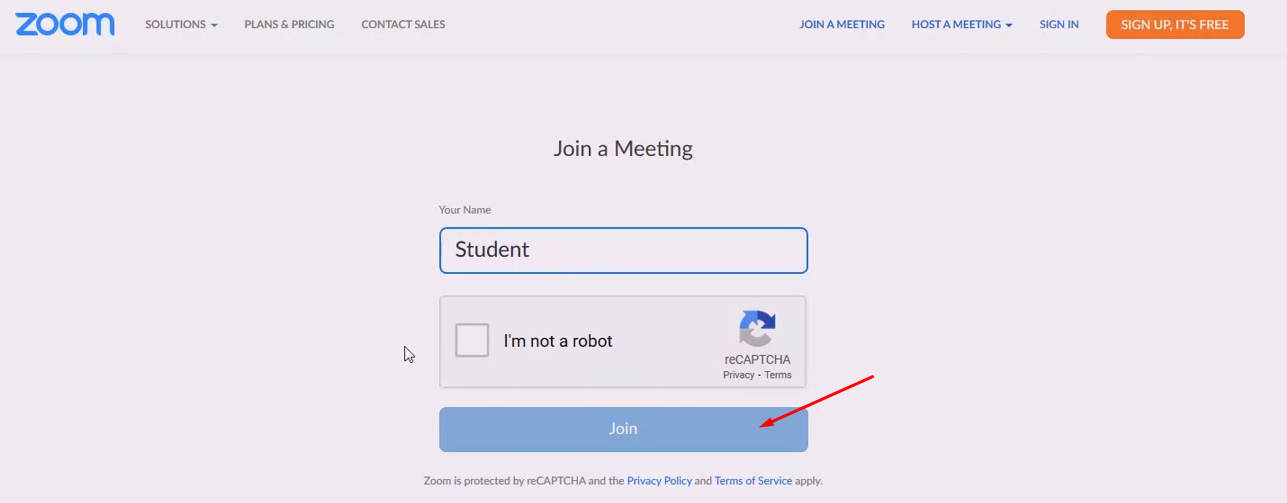
Figure 37
Fill your name, click on the I’m not a robot button, and then you will be able to click on Join to join the Zoom meeting (Figure 37).
 Figure 38
Once you have reached the lobby of the Zoom meeting, you can click on the Join meeting button (Figure 38).
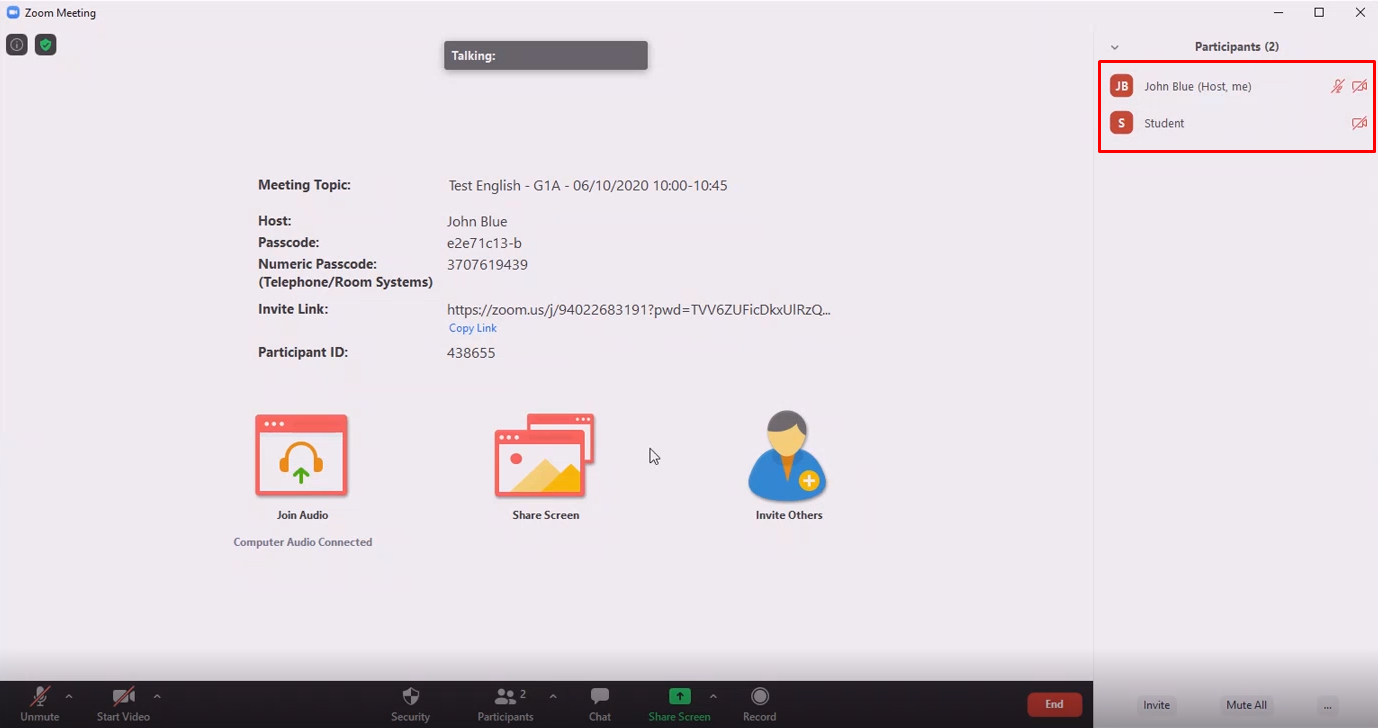 Figure 39
Congratulations, you have joined your Zoom meeting for the session (Figure 39).
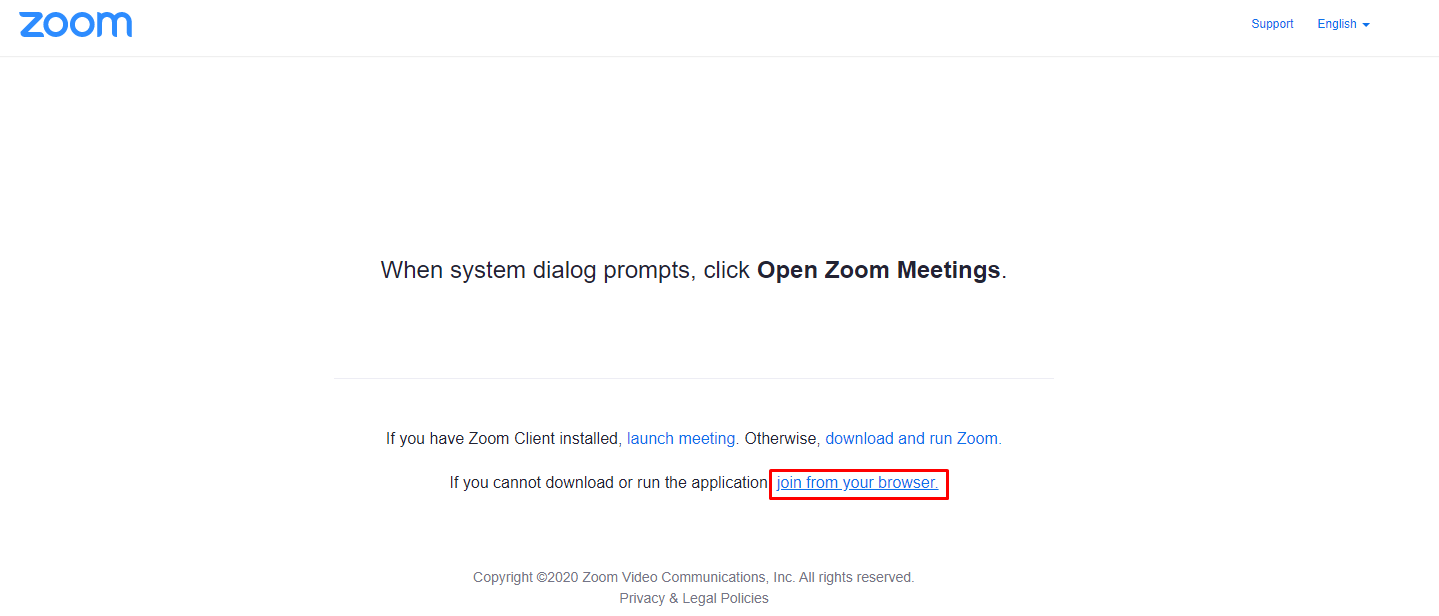 Figure 40
If you do not have the Zoom app on your computer, you can choose to join via the web application.
If you see this screen, click on join from your browser button.