

Many educational organizations provide their students with an institutional e-mail, either by using Office 365 or with Google Workspace.
Classter can integrate those so that when a student is registered in the system, an email account is automatically created.
Furthermore, the integrations work as a single sign-on, meaning that from that point on, the students can log into the system by using the credentials of the external provider (email address & password).
To achieve that, the first step that needs to be completed are the integrations; the one for the provider, Office 365 or Google Workspace, and Mailgun. (Figure 1)
For more information on how to configure the integrations, look at this Article or contact us.
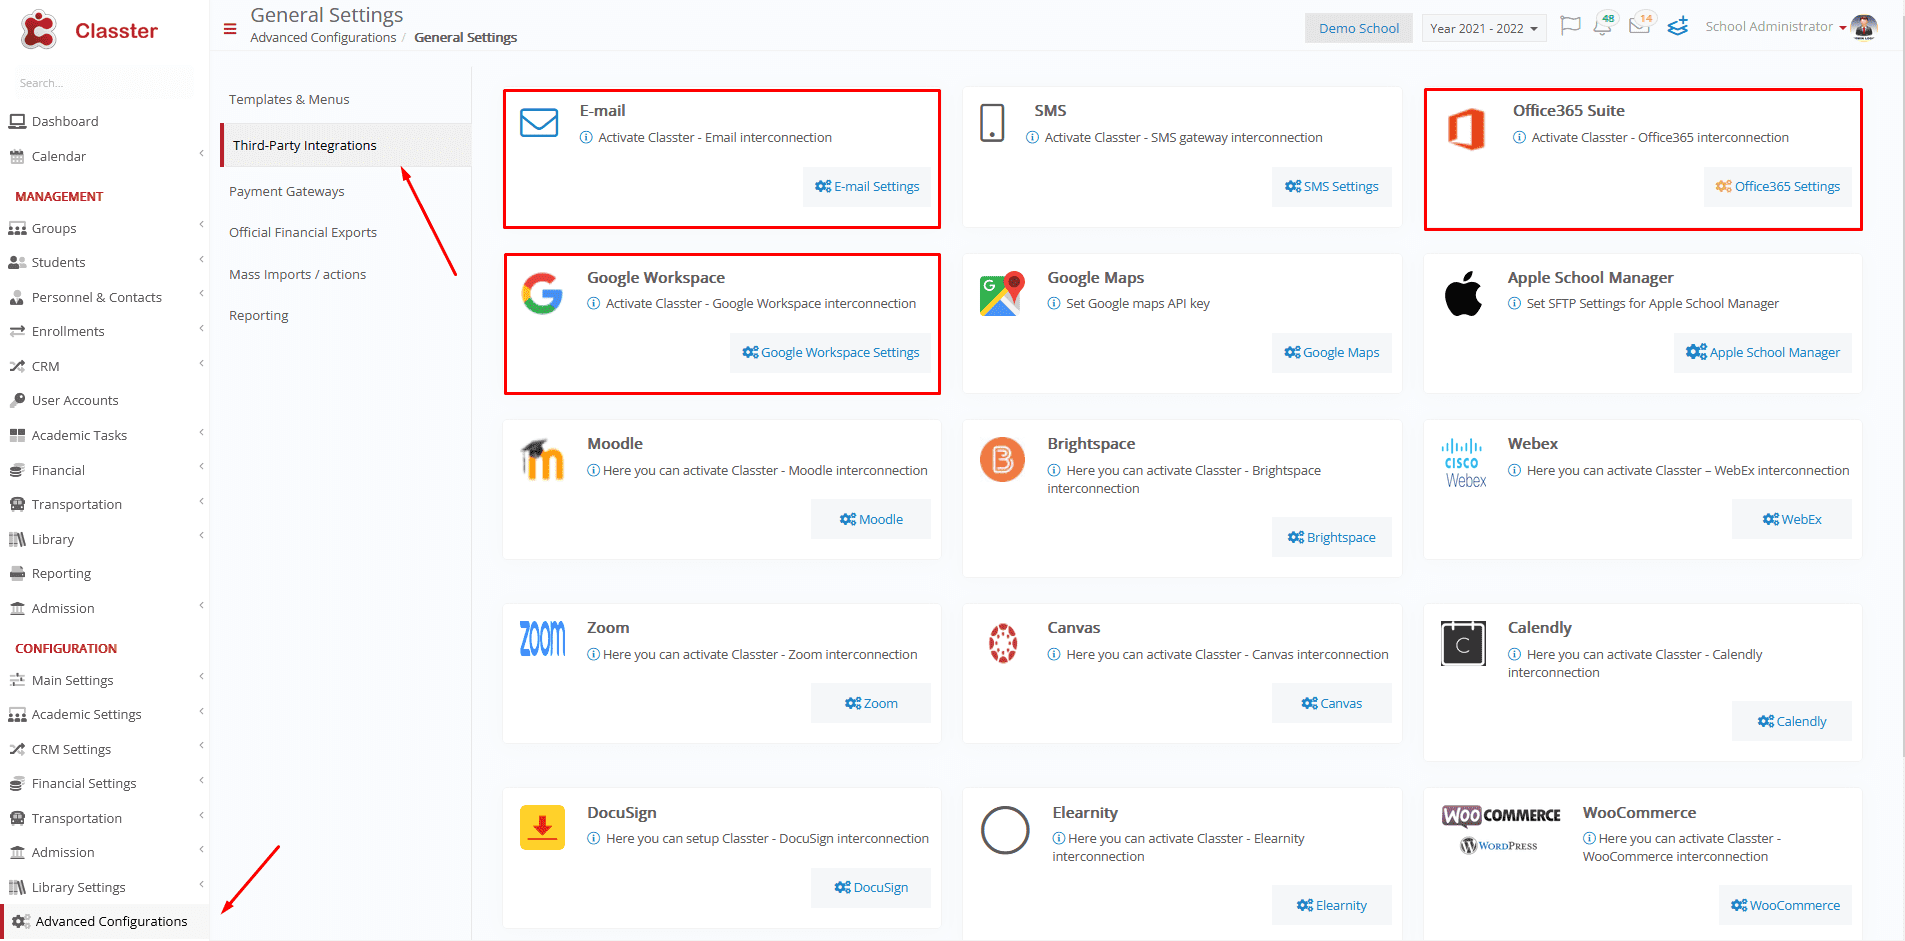
Figure 1
The second step is to configure when the Provider account will be created. The most common setup is when the student gets Registered in the system, meaning that the system now considers them a student and not an applicant, but it can be set a different way, giving the student a provider account during the admission process.
In any case, this is achieved by connecting the student status with the creation of the Provider email.
To achieve that, navigate in CONFIGURATION > Main Settings > Dropdown lists, then select in the Type field the option Student and in the Dropdown lists field the option Status. (Figure 2)
Then select the appropriate Status in which you want the creation to happen and edit it.

Figure 2
When the pop-up window opens, you need to select the “Auto-creation of Provider Account” option in the Provider Action field and save the change. (Figure 3)

Figure 3
Now, every time a new Student receives this status, an email account from the provider will be created for him. That account can now be used for signing in to Classter.
The third step that needs to be completed is to make sure that the invitation to the student will be made automatically.
That is defined by a setting found in CONFIGURATION > Main Settings > General Settings > Security Settings and is called “Classter will send welcome email to user when a new Student account is created”.
When this box is checked, an automatic email will be sent to the student the moment the email account is created. (Figure 4 & 5)

Figure 4

Figure 5
Finally, the last thing to check is the configuration of the email Template that is sent. In Classter, all templates are in Advanced Configuration > Templates & Menus > Templates Editing. (Figure 6)

Figure 6
The template that will be automatically sent is the “New user creation without Account e-mail”. (Figure 7)

Figure 7
For more information on how to create/edit templates, check out the Templates & Menus | Advanced Configurations Manual, especially the section about Templates Editing.
Once all the steps described above are completed, every time an applicant gets registered, a provider account will be created for him and the credentials will be sent so that the Student can log into the system with the new credentials.
Find more or post your questions on our Facebook Community Page. Also, watch our how-to videos on our YouTube channel.