

Academic Year
Use this option to select an academic year:
- Click on the drop-down button (Figure 3) and select an academic year from the available list.
The refreshed page will present the academic data of the selected year.
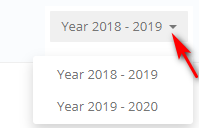
Figure 3
Note: The academic years available in the list, are subject to the access rights given by the administrator. The default (pre-selected) academic year is configured by the school administrator.
Office 365
- Click on the Office365 button (Figure 4), to access Office365 options such as your outlook email account, OneDrive files and personal calendar.
- Clicking on the My e-mail option or the My Calendar option will redirect you to Microsoft Outlook to view your Office 365 mails or to view your calendar entries.
Note: This function is available only if the school has provided you with an external provider account.

Figure 4
Interface Language
To select the interface language:
| Click on the ‘Languages’ button at the User Actions area. |  |
| Select your preferred language from the dopdown list. |  |
Note: More languages are available and can be added to the portal by the school administrator.
Announcements
| Click on the ‘Announcements’ button at the User Actions area. |
At the announcements page, you can see the announcements.
- You can seperately view the‘Unread’ or ‘Read’ ones by clicking the relevant button (Figure 5).
- You can also filter by category.
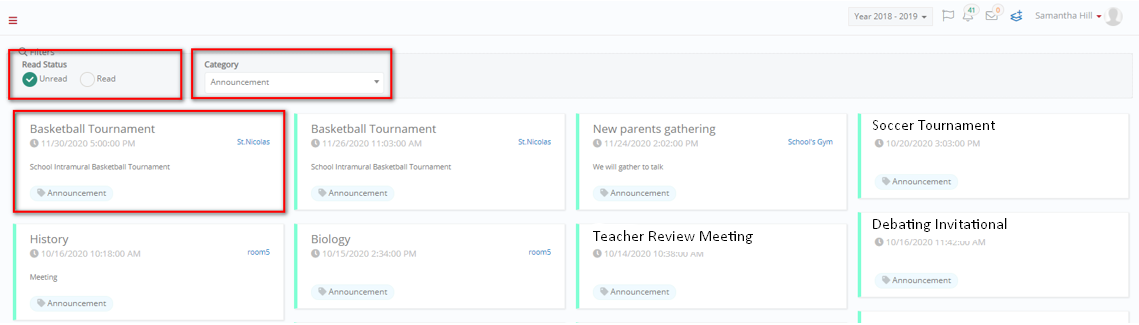
Figure 5
To view the details of an announcement:
- Click on the announcement tile to open it (Figure 5).
- At the announcement page you can see the title and the content of the announcement (Figure 6).
 Figure 6
- Click the ‘Back’ icon, to return to the list announcements (Figure 6).
Note: Once you read an announcement, it goes to the category ‘Read’. You can uncheck the marked as read button to keep the announcement in the unread list.
Message Center
The envelop icon, informs you of the number of unread internal messages, email, SMS, i.e., 4.
(Note that all messages (i.e., e-Mail or SMS) sent through Classter are also received/saved as internal messages)
Click on the envelop icon, to see a list of the last 3 unread messages. Click on the “Read All Messages” option, to enter your mailbox (message center).

Figure 7
Read All Messages
If you click on ‘Read All Messages’, it will redirect you to the Message Center where you can read or archive messages.
- Select Inbox or Sent items, to see the incoming or sent items (Figure 8). Messages are marked by their type (internal message, email, SMS). You can filter messages by:
- Selecting Message Type(s) you want to see, e.g., Email, SMS, or Internal Message. The available message types are subject to your institute’s configuration.
- Selecting Category(ies) you want to see, e.g., Academic Notification [1]
- Use the search button for free-text searching.
 Figure 8
- To read a message, click on the line of the message you wish to open (Figure 8).
- At the page ‘View Message’, you can read the message, print, reply [2] or archive it (Figure 9).
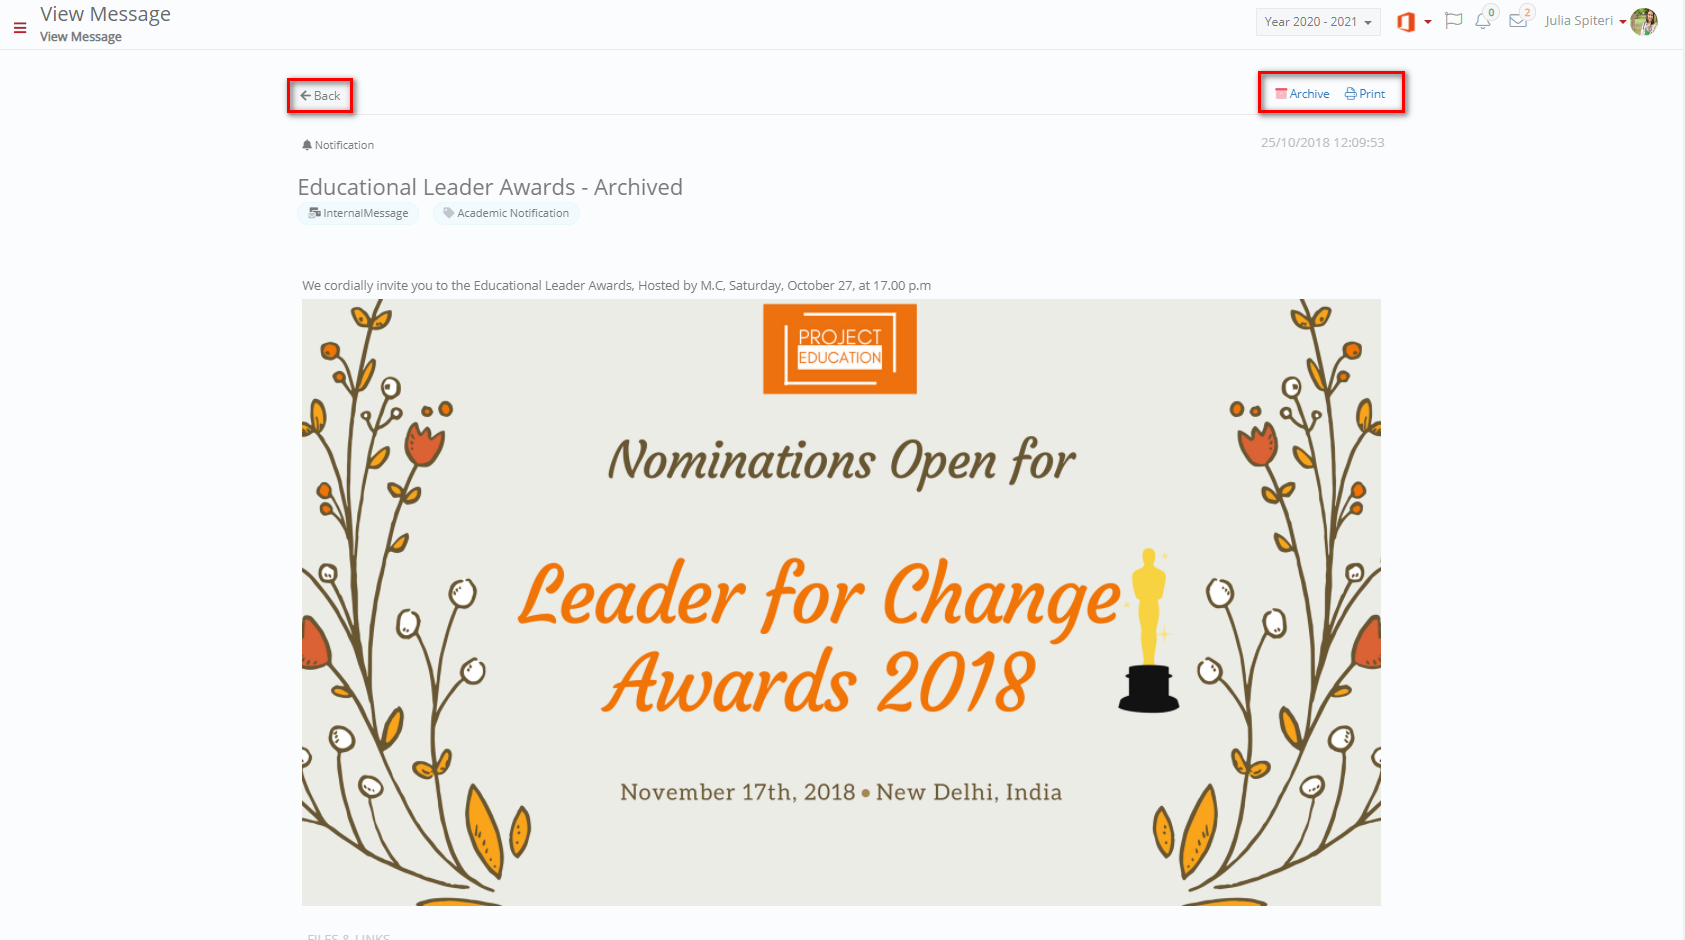 Figure 9
- Click on ‘Print’ to print out the message content.
- Click on ‘Reply’ to reply to the message.
Note: The reply button is available only if activated by the sender of the message - Click on the ‘Archive’ to remove a message from your inbox.
Note: Once you archive a message it will no longer be available in your inbox and you will not be able to retrieve it. Archived messages remain in the database. - Under the ‘Files & Links’ section you can view any attachments which were sent as part of the original message. Clicking on the attachment will download it to your device.
- In the list of incoming or sent messages, select one or more messages and then select ‘Archive selected messages’ from Bulk Actions to Archive it (Figure 10).
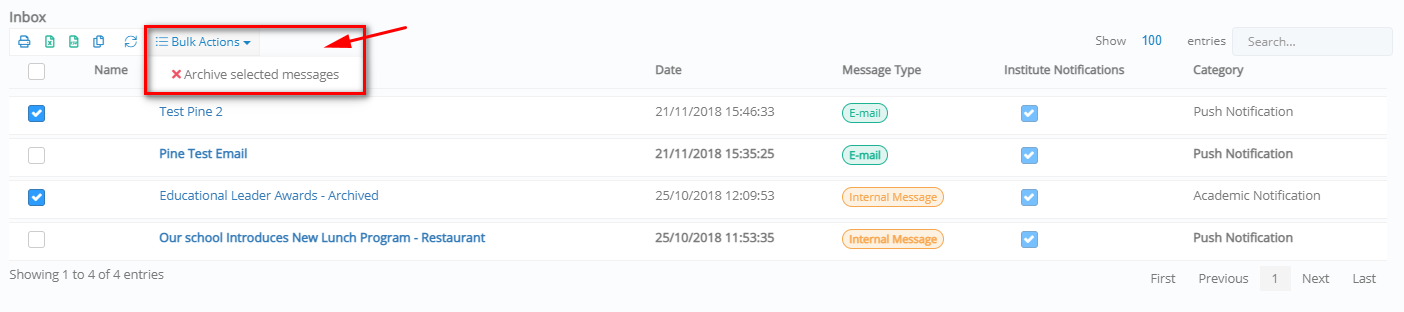 Figure 10
Messages History
Click on the Message Trace button, to get a historical view/analysis of all messages sent from the portal (Figure 11).

Figure 11
Note: This option is not available to alumni users.
User Profile
Edit Profile
To edit your profile, go to the User Actions area:
- Click on the red arrow next to your name label (Figure 12).
Figure 12
- Click on ‘My Profile’ (Figure 13).

Figure 13
- At the profile page (Figure 14), you can:

Figure 14
- Basic data – the fields here are read only. You can view your name full name, username, external provider email account, e.g., Office 365, and internal system code.
- Add or remove your photo.
- Security Preferences:
- Set a Preferred contact method: select the contact method by which you prefer receiving notifications from the school (the contact methods list is set by the admin).
- Hide / Show your birthday information from the timeline of other users.
- Themes: Select your preferred team, e.g., Light, Intense, High Contrast, Blue, or Red.
- Default Values (Advanced Actions):
- Messaging Signature: Create a default signature to be used when sending messages from the portal.
- Delete account: You can send a request to the school administrator requesting for the deletion of your account.
- After you have made your changes click on Save to save the profile changes.