

In this section you can manage admissions applications and users from the Application Management section. You can also view all applicants from all intakes in the Admission Users section.

Figure 405
Application Management
The application management section provides several filter options to allow you search for admission applicants (Figure 406):

Figure 406
- Application Intake: This allows you to filter applications by the application cycle. There can be multiple application intakes within an academic year.
- Level: This filter is used to filter out applications for a particular a specific level or a specific institute (for schools with multiple institutions).
- Grade Applied: This filter allows you to filter by the grade or the course applied to.
- SignUp External Provider: This filter option allows you to filter out those applicants who have signed using an external provider account.
- Application Type: This allows you to filter by application type. This could be a new application, course transfer, etc.
- Application Category: This is used to filter by application category. This could be normal applications or provisional applications.
- Student Status/Application Status: The student status or application status filters are used interchangeably and are used to filter applications by the student status (e.g., registered, applicant accepted offer, applicant rejected offer, etc.) or by the application status (e.g., draft, submitted, provisional acceptance, final reviewing, etc.)
- Application Priority: This allows you to filter by application priority. This is used especially where the applicant can apply to 2 or more courses/programs
- Application Date: This filter allows you to filter the application by the application date. You can use the following options to further restrict the search:
- Less than
- Less than or equal to
- Greater than
- Greater than or equal to
- Equal to
- Application Handler: This allows you to filter out applications that have been assigned to a particular employee to handle.
- Nationality: This filter option allows you to filter out applications by the nationality of the applicants.
- Filter out Applicants with no seat: Checking this option will filter out applications with no seat.
- Only Applications with Non-verified Qualifications: Checking this box will give you only those applicants who have admission qualifications that are yet to be verified.
- Filter out Registered Students (Official Registration): This will remove the applicants that have been successfully registered from the returned list.
In the returned list, you can use the Actions or Bulk Actions options to perform any of the following functions:
Actions
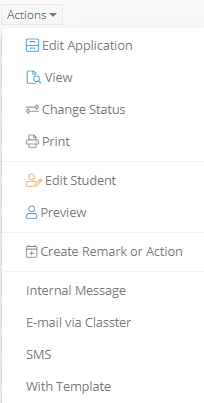
Figure 407
- Edit Application: Clicking on the edit application option redirects you to a new window where you can information like the application type, application category, intake, application status, eligibility, etc. You can also add general comments and add other criteria and points relevant to the application. Once done with the changes, you can click on the save or save & close buttons to save and continue working or save and return to the application management window, respectively (Figure 408).

Figure 408
- View: Use this option to view the application information. This will show basic information like the application intake, application status, application category, institute, course, and year/grade applied to. In some cases, you can also view consent and admission data information (Figure 409).

Figure 409
- Change Status: Use this option to change the current registration status of the applicant.
- Print: Use this option to print the student’s application form. This will show all the data provided by the applicant when submitting their application.
- Edit Student: The edit student option takes you directly to the student profile, where you can preview and edit the student data.
- Preview: The preview option gives you a preview of the applicant’s provided data. At the top of the page, you can click on Edit to update the applicant’s provided data (Figure 410). This will redirect you to preview and edit the student profile.
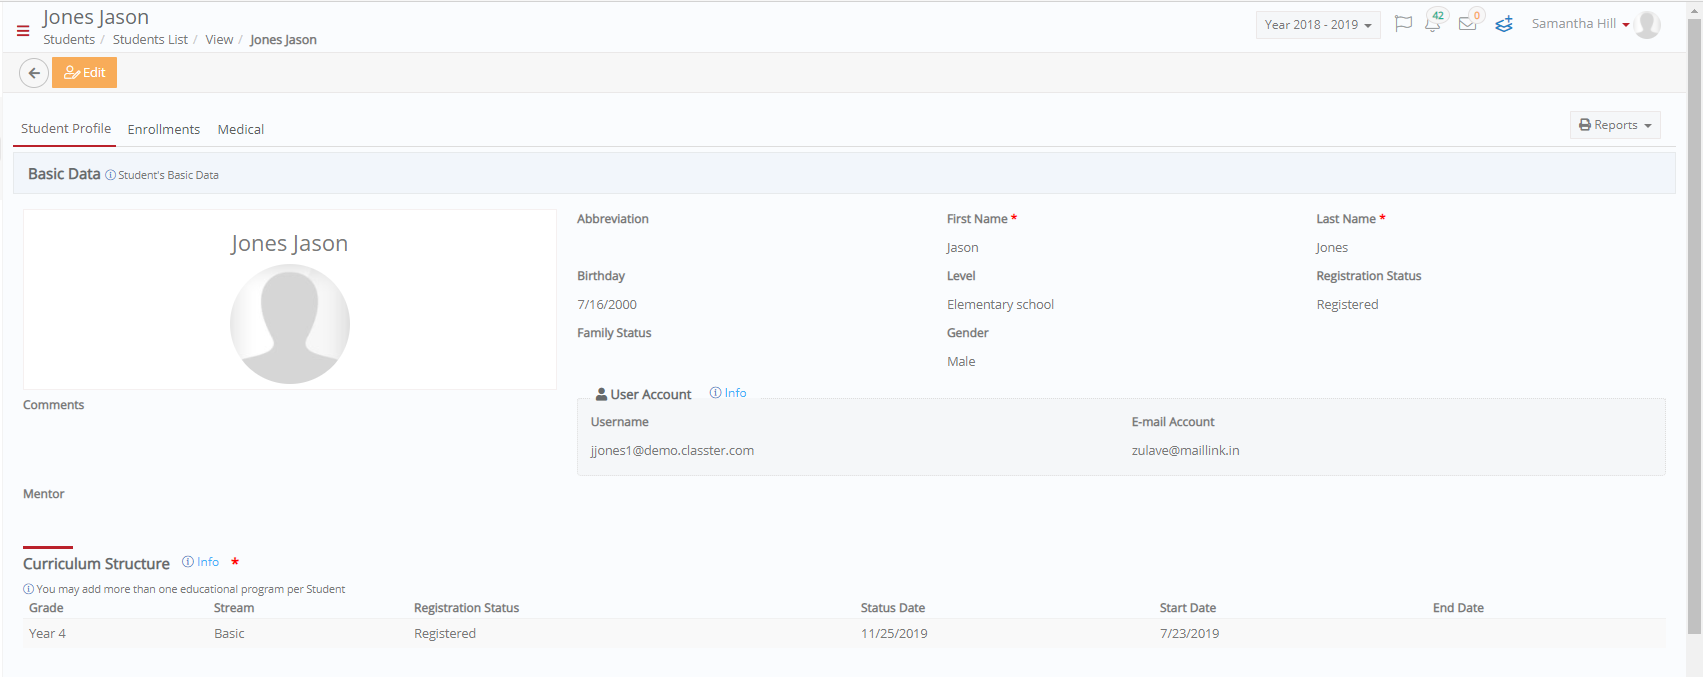
Figure 410
- Create Remark or Action: Use the ‘Create Remark or Action’ option to create CRM remarks and Actions related to the applicant’s admission application. E.g., to create an admission review or an admission board report.
- Internal Message: Use this option to send an internal message to the user. Internal messages are visible only on the Classter portal.
- Email via Classter: Use this option to send an email to the selected user.
- SMS: Use this option to send SMS’s to the selected admission user.
- With Template: Use this option to send messages to the parents or general contacts of selected admission users using a predefined template.
Bulk Actions

Figure 411
- Change Status: Use this option to change the current registration status of multiple applicants. E.g., to change from reviewed to provisional acceptance.
- Change Application Handler: Use this option to change the employee handling a group of applications.
- Calculate Entry Requirements: use this to check if selected applicants have met entry requirements.
- Calculate Application Points: Use this option to calculate the application points of the selected students based on the qualifications provided.
- Transfer to another institute unit: Use this option to transfer applicants who have been registered for a course or program to their relevant institutes, in cases of multi-institute setups.
- Application Message: Use this to send an application message to selected applicants. This could be an admission acceptance or rejection letter (Figure 412).

Figure 412
- Create Remark or Action: Use the ‘Create Remark or Action’ option to create CRM remarks and Actions related to the applicant’s admission application. E.g., to create an admission review or an admission board report.
- Internal Message: Use this option to send an internal message to the users. Internal messages are visible only on the Classter portal.
- Email: Use this option to send an email to the selected users.
- SMS: Use this option to send SMS’s to the selected admission users.
- Add to new calendar event: Use this option to create a new calendar event for the selected applicants
Admission Users
In the admission users’ section, you can manage all admission user types. This section provides the ‘User Type’ filter to allow you search users who fall under any of the below admission user types:
Admission Users: These are active applicants who have created and verified their accounts
Admission users with no verified email: These are admission users who have created their admission accounts but are yet to verify the emails linked to these accounts.
Initial Signups with no verification: These are users who created accounts but did not complete the initial verification.
Deleted Admission Users: These are admission users whose accounts have been deleted.
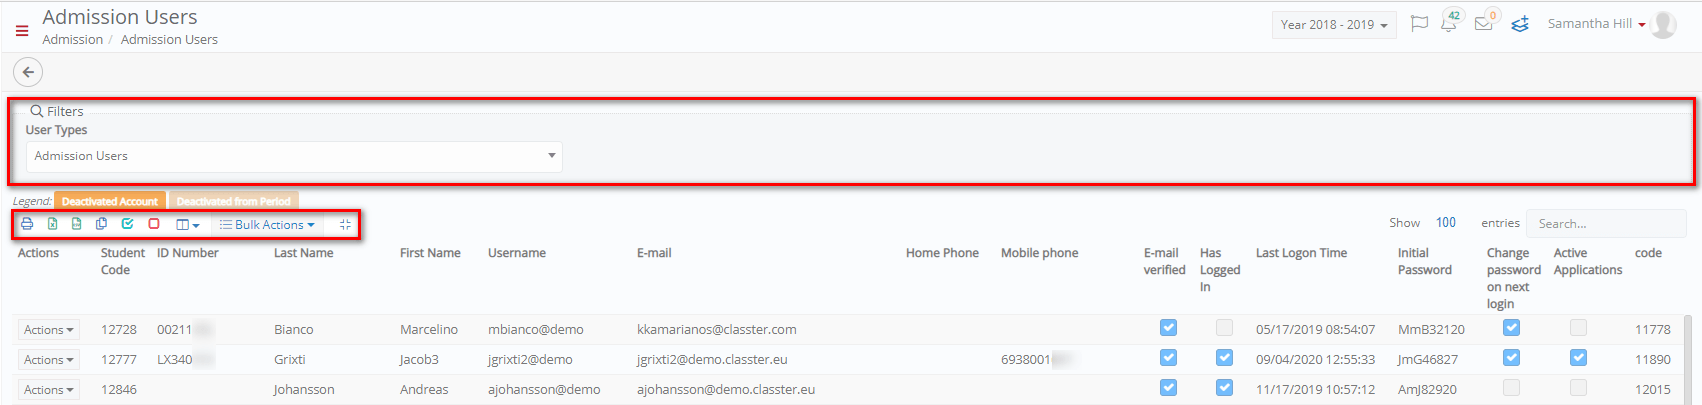
Figure 413
Each row has, in addition to the basic columns, the following columns which gives you the status of each admission user:
- E-mail verified: This column shows if the email address of the admission user has been verified.
- Has Logged In: This column shows if the user has logged in.
- Last Logon Time: This column shows the user’s last logon time.
- Initial Password: This column shows all users initial (default) password.
- Change password on next login: This column shows if a user needs to change their password the next time they logon to the Classter portal.
- Active Applications: This column shows if the user has an active admission application.
Note: Deactivated accounts are highlighted in orange (Figure 414).
![]()
Figure 414
From the Actions menu next to each admission user, you can perform any of the following functions.

Figure 415
- Edit Student: Clicking on the Edit Student option redirects to the student profile. Here you can edit and update the student information as described in the Preview & Edit Student section.
- Reset Password: Use this option to reset the user’s password to the initial password.
- Add/Edit Username: Use this option to update the existing username (Figure 416).

Figure 416
- Add/Edit Email: Update the email of the users using this option. Once updated, you will need to click on the Validate button to check and confirm that the email address is valid (Figure 417).

Figure 417
- Remove Email: Use this option to remove an email address.
- Change password in next logon: With this option, users are prompted to change their password the next time they log on to the portal.
- SMS Initial User Credentials: Use this option to send out the initial user credentials, as an SMS, to the selected user.
- Internal Message: Use this option to send an internal message to the user. Internal messages are visible only on the Classter portal.
- Email via Classter: Use this option to send an email to the selected user.
- SMS: Use this option to send SMS’s to the selected admission user.
- With Template: Use this option to send messages to the parents or general contacts of selected admission users using a predefined template.
From the Bulk Actions menu, you can perform any of the following functions on multiple admission users (Figure 418).

Figure 418
- Send Initial Invitation: Use this option to send initial invitation to multiple admission users.
- SMS Initial user Credentials: Use this option to send out the initial user credentials, as an SMS, to the selected users.
- Enable Accounts: Use this option to enable deactivated user accounts.
- Disable Accounts: Use this option to disable and deactivate user accounts.
- Internal Message: Use this option to send an internal message to the users. Internal messages are visible only on the Classter portal.
- Email: Use this option to send an email to the selected users.
- SMS: Use this option to send SMS’s to the selected admission user