

You can see all transactions in full detail for the selected period (Figure 96).
- Use the date filters.
- Use the Receipt number or Student filter to filter the list further.
- Click on the ‘Show’ button.

Figure 96
- Click on the Advanced Filters option to use more advanced filtering options. E.g. Payment method, Type, Transaction Category, Arrangement Types, etc.

Figure 97
At the results area you can see the overall totals.
- Click on the down arrow to show transactions (Figure 98).

Figure 98
Note: Use the horizontal scroll bar to navigate to all columns
- Use the ‘Actions’ button at each transaction entry to preview or delete the transaction (Figure 99).

Figure 99
-
- Preview Transaction. Use the ‘Exports’ menu to export the transaction e.g. to PDF or use the printer icon to print it (Figure 100).
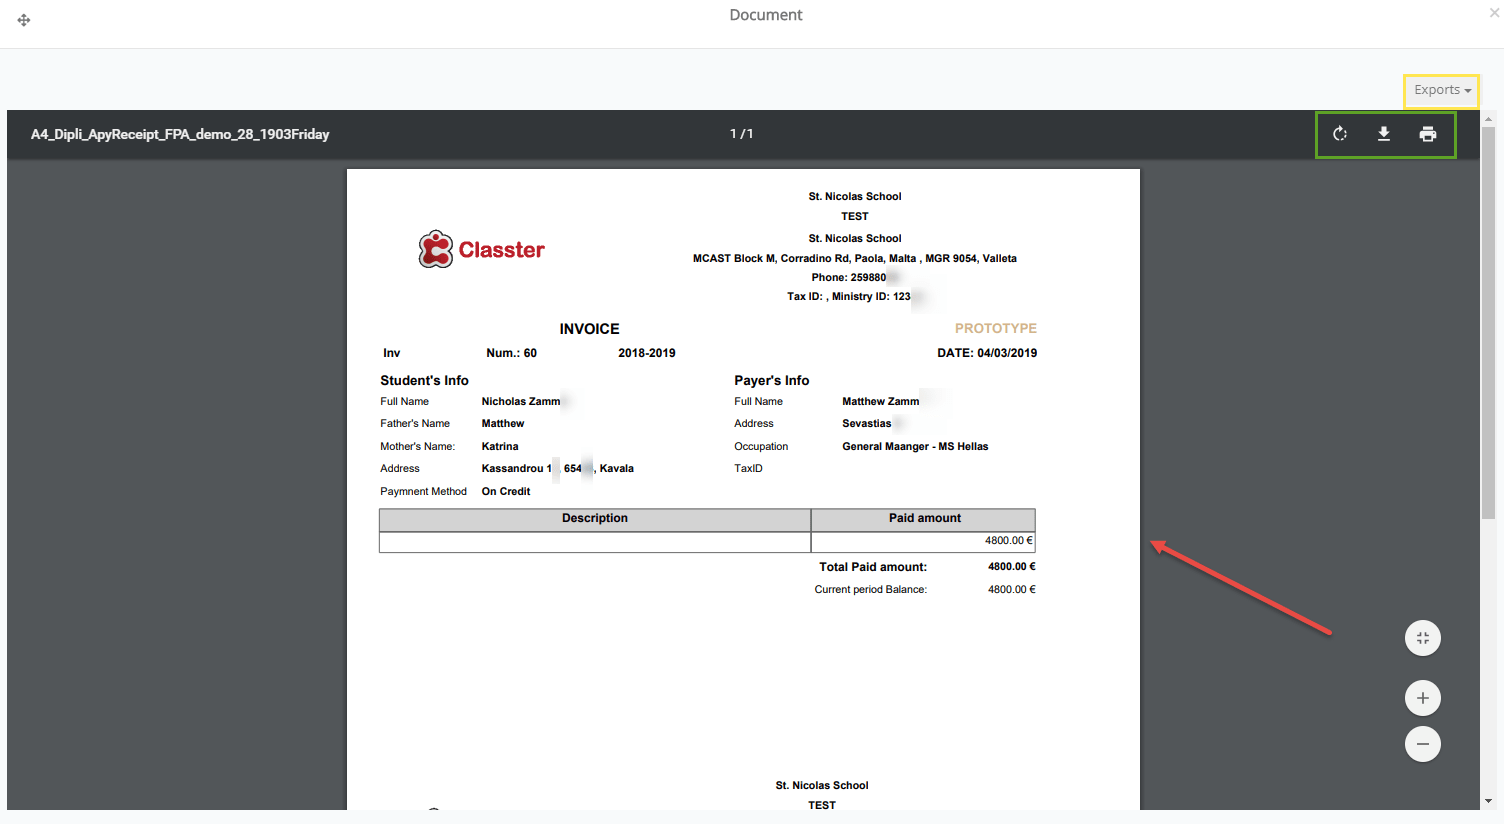
Figure 100
- Use the ‘Actions’ menu on the top of the page, to see details of Online payments (Figure 101).

Figure 101
- At the online payment page, use the filters to show the online payments for a selected period.
-
-
- You can activate the two available options to show either the payments that are not verified or the completed ones (Figure 102).
-
At the results you can see the type e.g. if it is a bank payment it will show the name of the bank, you can see the amount e.g. 600€, the student’s code and full name, and if the transaction is completed.

Figure 102
- Click on the Actions button beside each entry to view and print
-
-
- the Invoice & Payment for the student
- the payment receipt for the student
-