

Select the Discount Compatible Categories option from the dropdown list. On this page you can create and edit Discount Compatible Categories that you use to define which discounts are compatible that will then be available to users (Admins or Staff) in the financial forms and management sections.
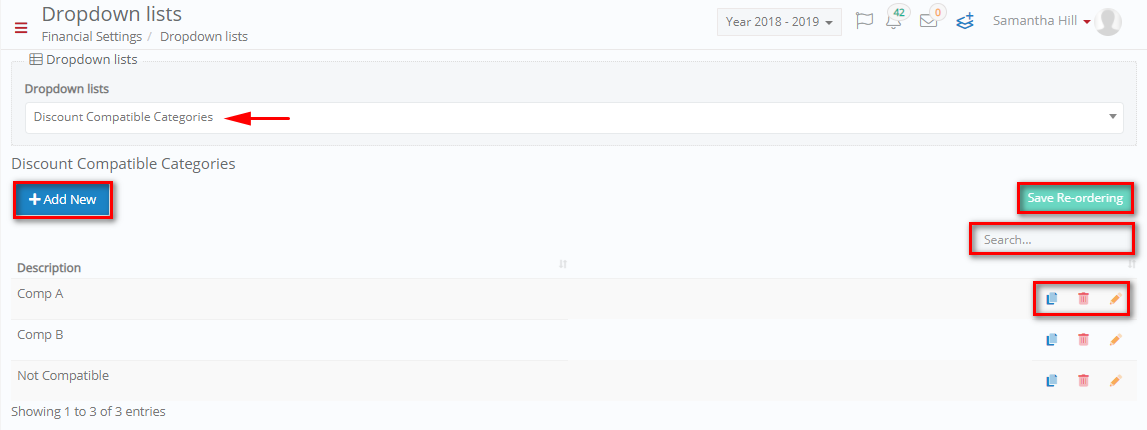
Figure 21
- On this page you can add new Discount Compatibility Category by clicking on the ‘+Add New’ button (Figure 21).
- You can copy, delete, or edit existing discount compatible categories by clicking on the respective buttons.
- Search for specific discount compatible categories by filling in the ‘Search’ field.
Add/ Edit Discount Compatible Categories
By clicking on the ‘+Add New’ button you will be able to see the following popup window (Figure 22).

Figure 22
- Fill in the Description field with the name of the new discount compatible categories e.g. Not Compatible.
- Click on the ‘Save’ button to save the new discount compatible categories.
- To edit the discount compatible categories, click on the edit button and make changes to the description field.
Discount/ Loan Types
Select Discount/ Loan Types from the dropdown field. On this page you can create and edit Discount/ Loan Types to be used to define the type of discounts available and what they include. This will then be available to users (Admins or Staff) in the financial forms and management sections.

Figure 25
- On this page you can add new Discount Types by clicking on the ‘+Add New’ button (Figure 25).
- You can copy, delete, or edit existing discount types by clicking on the respective buttons.
- Search for specific discount types by filling in the ‘Search’ field.
Add/ Edit Discount/ Loan Types
By clicking on the ‘+Add New’ button you will be able to see the following popup window (Figure 26).
To edit the discount/loan types, click on the edit button and make changes to the required fields.

Figure 26
In this window you can create Discount/Loan Types (Figure 26).
- Description: Add a description for this discount/loan type e.g. Alumni Discount.
- Value: Add the value of this discount e.g. 30 as it has been entered this can mean 30 euro.
- Percentage: Click on the Percentage checkbox to signify if the value entered is a percentage e.g. not 30 euro but 30%.
- Locked: Click on the Locked checkbox if you want to lock this discount category from being changed at form or management level.
- Discount: Click on the Discount checkbox to signify that this is a discount in the forms and management section.
- Discount Check Type: This option allows you to define what sort of check you wish to be done when you are about to use this discount type e.g. Warning would signify that if this discount is to be used in an improper way the system must warn the user but not block him from using it, setting the option to forbidden would make the use of this discount type forbidden if the parameters of its use are not met.
- Discount Category: Place this new discount type into a discount category. In the previous section we created a new discount category Alumni Discount and now you can place the Alumni discount type in the Alumni discount category by choosing it from the dropdown list.
- Refers To: The ‘Refers to’ dropdown list will give you the choices available to define where this discount can be applied e.g. For Tuition, Administrative Fees, Year, Stream or Subject.
- Years: The ‘Years’ dropdown list will show you the academic years/classes available so you may define specific classes were the discount type ‘Alumni Discount’ may be applied to.
- Services: The ‘Services’ dropdown list will show you the services available so you may define specific services were the discount type ‘Alumni Discount’ may be applied to. In this case we have decided that the discount type will not be applied to Services (As you can see in the Refers to dropdown list where we have excluded Services).
- Number of Siblings: This option helps set the maximum number of siblings from a family can benefit from this Discount type e.g. 2.
- Enter Date: Enter an end date for the validity of this discount e.g. 08/01/2021.
- Days for Prepayment: The ‘Days for Prepayment’ option sets how many days the student or payer has to fulfill his financial obligations.
- Click on the ‘Save’ button to save new Discount type.