

In this section, you can configure the various dropdown lists used for Academics and Marking (Figure 123).
![]()
Figure 123
Annual Result Categories
Does a student Pass, Fail or progress to next year?
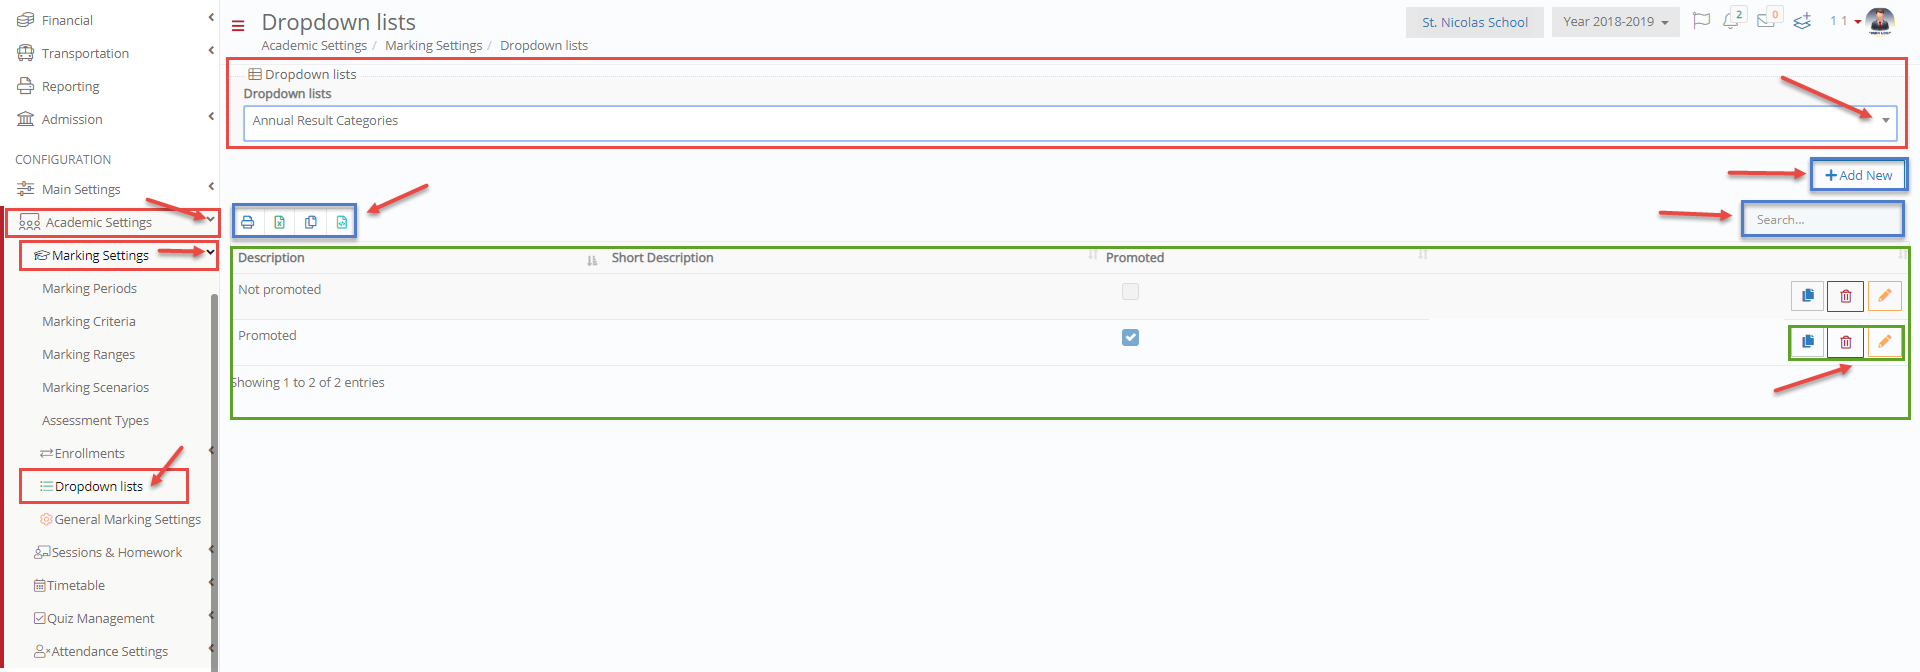
Figure 124
- Choose the Annual Result Categories list from the dropdown box at the top of the page (Figure 124).
- Click on the Export or Print buttons to export the list or to print out the list (Figure 124).
- Enter a specific description in the search box to locate it (Figure 124).
- You can click on the Create Copy button to create a copy of a list entry (Figure 124).
- Edit or Delete a category by clicking on the respective buttons (Figure 124).
- Click on the +Add New button to add a new category (Figure 124).
Once you click on +add new the following page will appear (Figure 125).
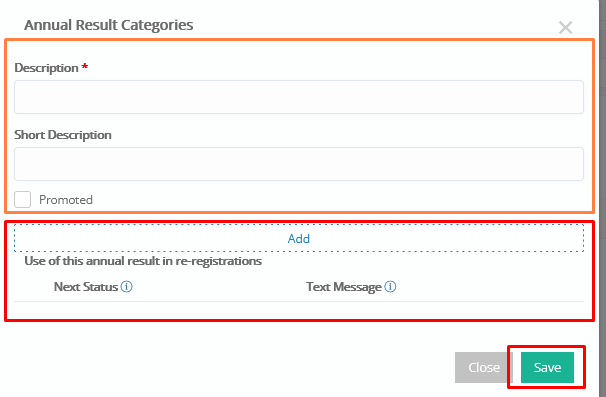
Figure 125
- Enter a description to this category and a short description (Figure 125).
- Check on the promoted box if this category will lead to promotion of the student to the next year (Figure 125).
- Add this category to students who are re-registering by clicking on the Add button (Figure 125).
- Click on ‘Save to save new category (Figure 125).
Edit Category
Once you have clicked on the edit category button then you will see the following (Figure 126).
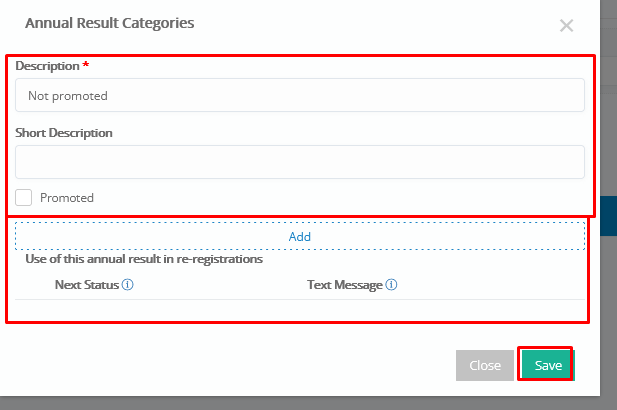
Figure 126
- Alter a description to this category and a short description (Figure 126).
- Check on the promoted box if this category will lead to the promotion of the student to the next year (Figure 126).
- Add or remove this category from students who are re-registering by clicking on the Add button (Figure 126).
- Click on ‘Save to save a new category (Figure 126).
Conducts
Create conduct categories for student’s behavior Good, Bad etc.
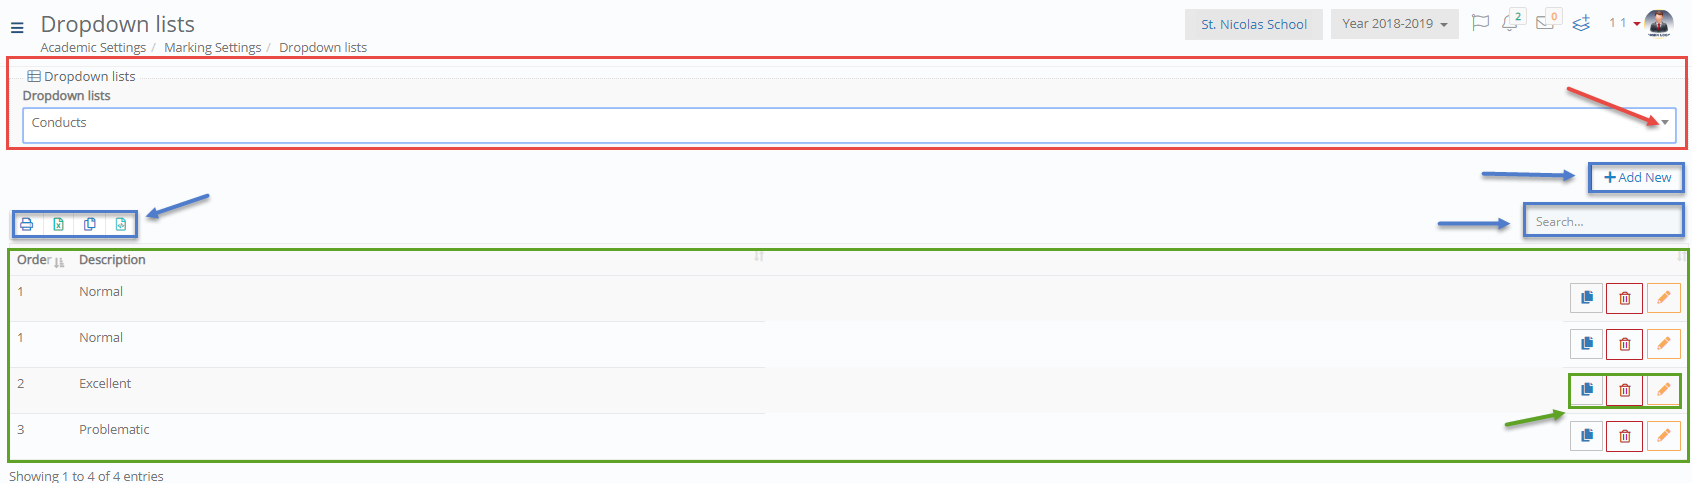
Figure 127
- Choose the Conducts list from the dropdown box at the top of the page (Figure 127).
- Click on the Export or Print buttons to export the list or to print out the list (Figure 127).
- Enter a specific description in the search box to locate it (Figure 127).
- You can click on the Create Copy button to create a copy of a list entry (Figure 127).
- Edit or Delete a category by clicking on the respective buttons (Figure 127).
- Click on the +Add New button to add a new Category (Figure 127).
Once you click on +add new the following page will appear (Figure 128).
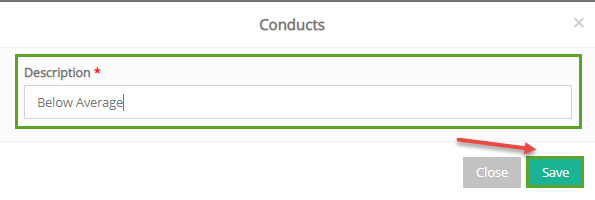
Figure 128
- Add a description e.g Below Average to signify the new Conduct Status (Figure 128).
- Click on ‘Save to save the new Conduct Status (Figure 128).
Edit Conduct Status
- Click on the edit button next to the conduct status to edit it (Figure 127).
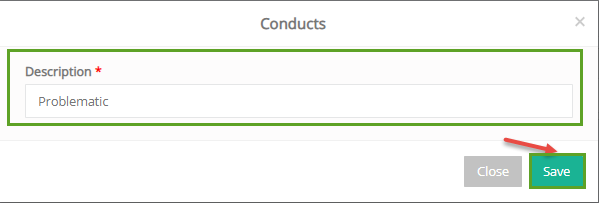
Figure 129
- Change the description to signify the new Conduct Status (Figure 129).
- Click on ‘Save to save the changes to the Conduct Status (Figure 129).
Examination Levels
What level of difficulty does an examination have Ease, Average etc.
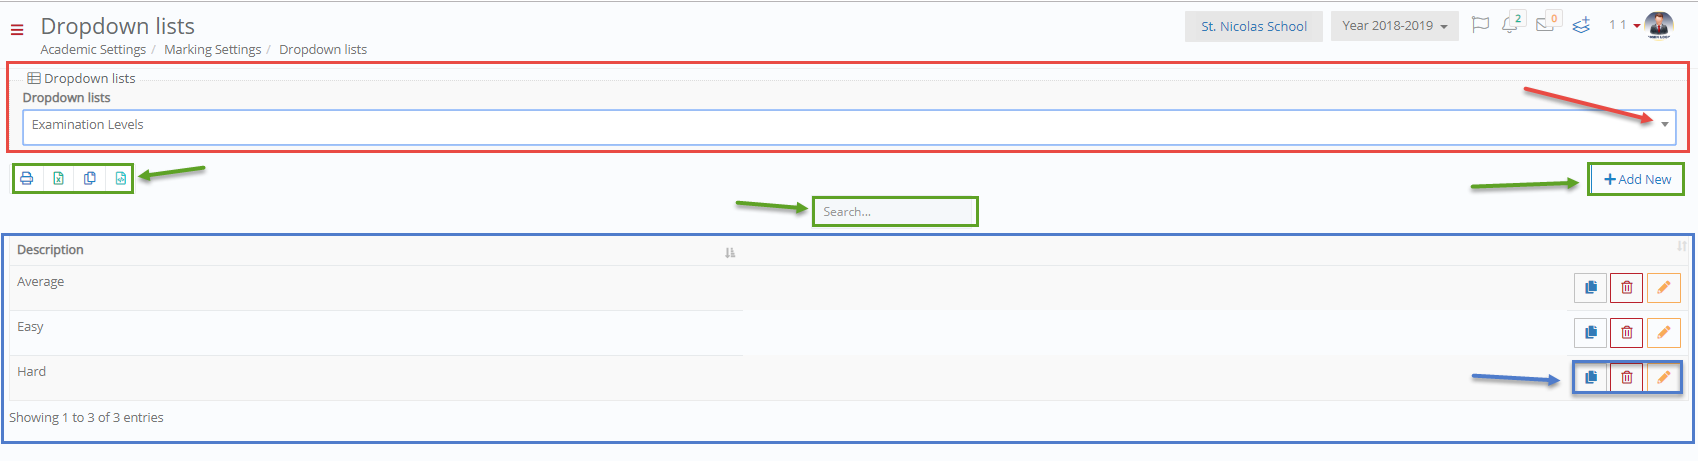
Figure 130
- Choose the Examination levels list from the dropdown box at the top of the page (Figure 130).
- Click on the Export or Print buttons to export the list or to print out the list (Figure 130).
- Enter a specific description in the search box to locate it (Figure 130).
- You can click on the Create Copy button to create a copy of a list entry (Figure 130).
- Edit or Delete a category by clicking on the respective buttons (Figure 130).
- Click on the +Add New button to add a new level (Figure 130).
Once you click on +add new the following page will appear (Figure 131).
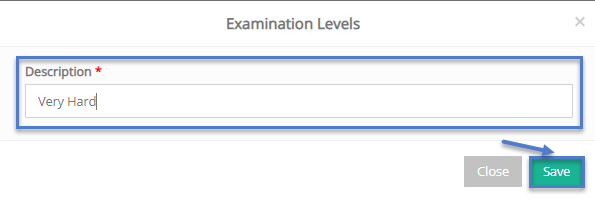
Figure 131
- Add a description e.g Very Hard to signify the new Examination level (Figure 131).
- Click on ‘Save to save the new Conduct Status (Figure 131).
Edit Examination Level
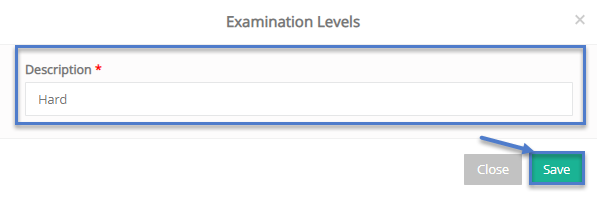
Figure 132
- Change the description to signify the new Conduct Status (Figure 132).
- Click on ‘Save to save the changes to the Conduct Status (Figure 132).
Examination Status
What stage is a student’s exam in Review, Draft etc.
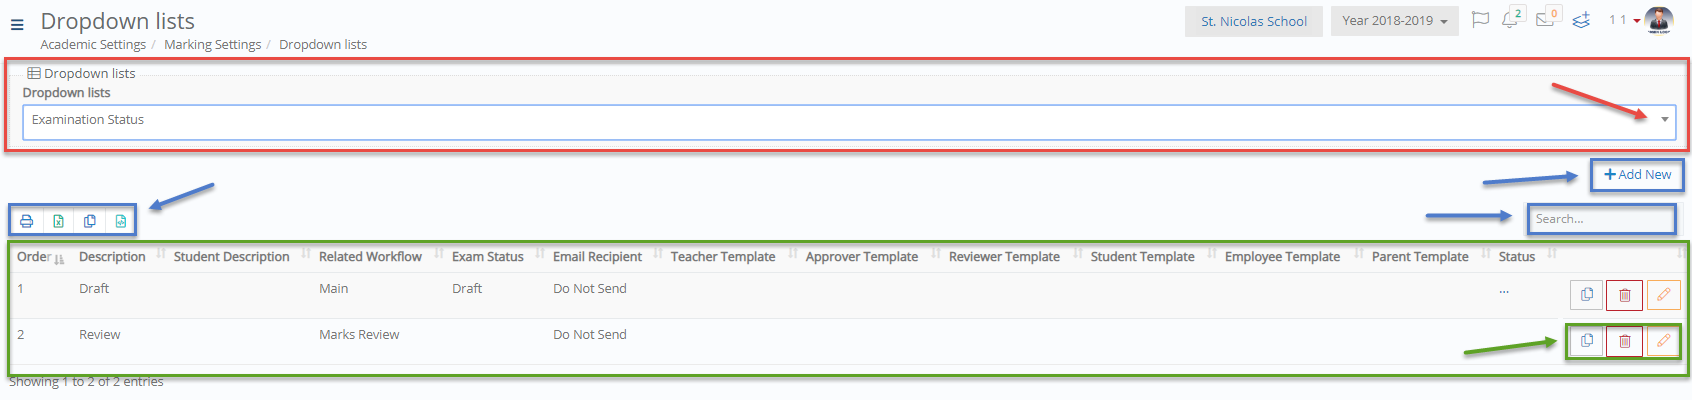
Figure 133
- Choose the Examination Status list from the dropdown box at the top of the page (Figure 133).
- Click on the Export or Print buttons to export the list or to print out the list (Figure 133).
- Enter a specific description in the search box to locate it (Figure 133).
- You can click on the Create Copy button to create a copy of a list entry (Figure 133).
- Edit or Delete a category by clicking on the respective buttons (Figure 133).
- Click on the +Add New button to add a new status (Figure 133).
Once you click on +add new the following page will appear (Figure 134).
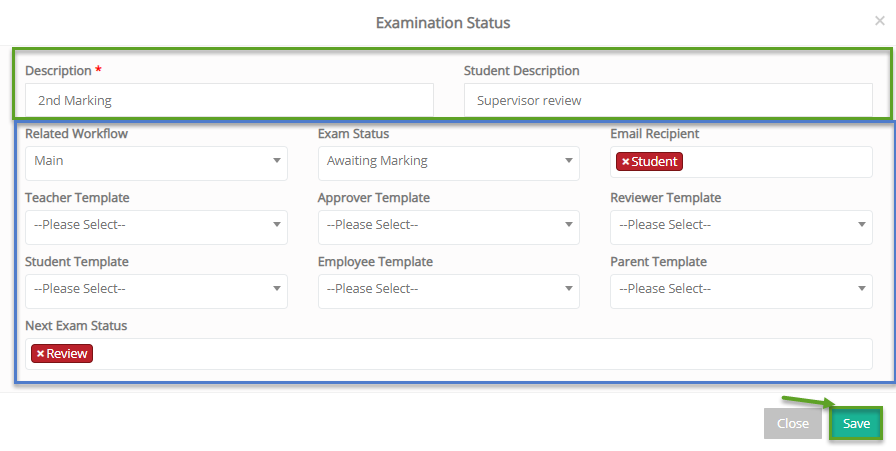
Figure 134
- Add a description e.g 2nd Marking and a Short Description e.g Supervisor review to signify the new Examination status (Figure 134).
- Add email recipient e.g student in order to inform student about his marking status (Figure 134).
- Select email templates according to the recipient Teacher, Approver, Reviewer, Student, Employee and Parent (Figure 134).
- Related workflow must be the default process followed for marking e.g Main (Figure 134).
- Exam Status is about where in the process/workflow you are at the moment e.g Awaiting Marking (Figure 134).
- Click on ‘Save to save the new Examination Status (Figure 134).
Edit Examination Status
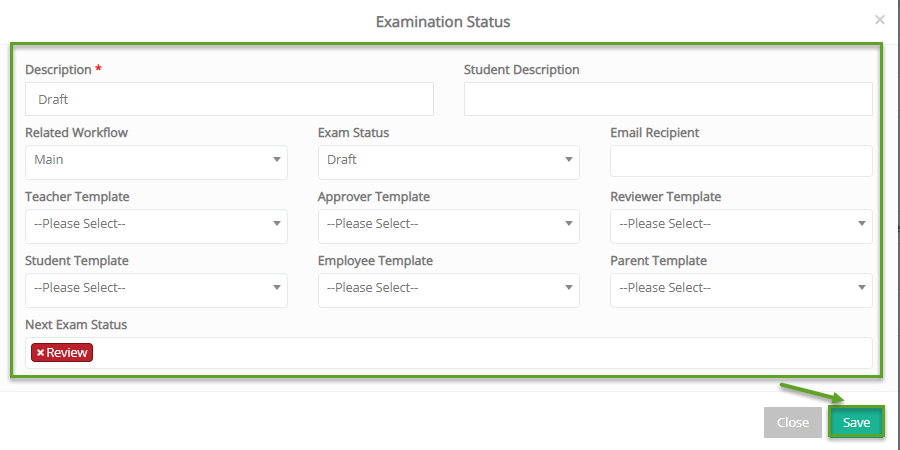
Figure 135
- Change a description and a Short Description to signify the new Examination status (Figure 135).
- Change email recipient (Figure 135).
- Select email templates according to the recipient Teacher, Approver, Reviewer, Student, Employee and Parent (Figure 135).
- Change related workflow must be the default process followed for marking (Figure 135).
- Change Exam Status (Figure 135).
- Click on ‘Save to save the Examination Status (Figure 135).
Practicum/Training Status
Follow the stages of a student’s Internship/Practicum or Training
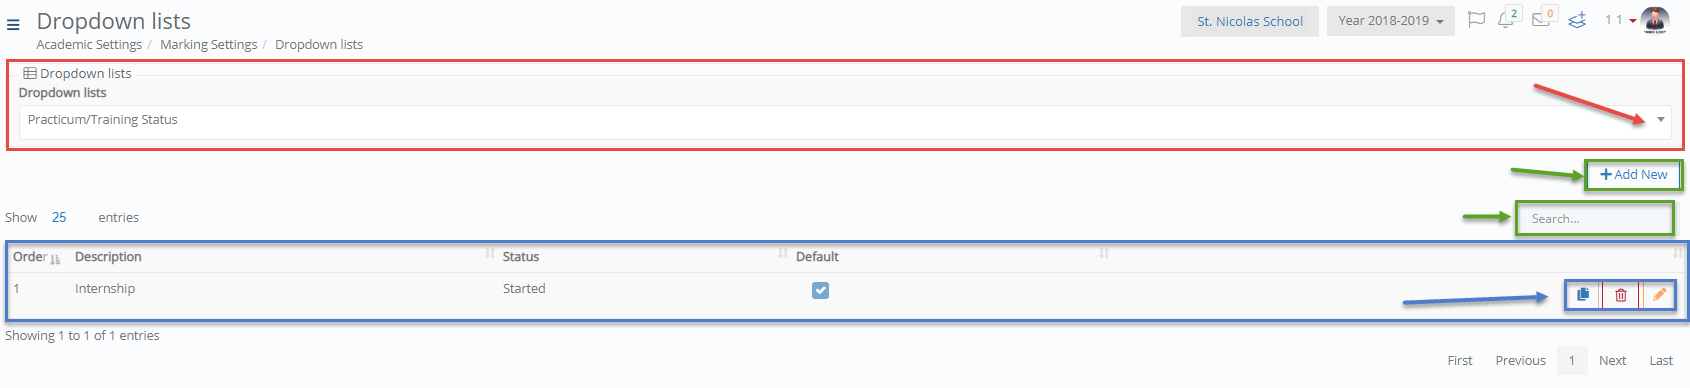
Figure 136
- Choose the Practicum/Training status list from the dropdown box at the top of the page (Figure 136).
- Enter a specific description in the search box to locate it (Figure 136).
- You can click on the Create Copy button to create a copy of a list entry (Figure 136).
- Edit or Delete a category by clicking on the respective buttons (Figure 136).
- Click on the +Add New button to add a new status (Figure 136).
Note: This Dropdown list is used mainly by Universities and High schools (IB)
Once you click on +add new the following page will appear (Figure 137).
New Practicum/Trainee Status
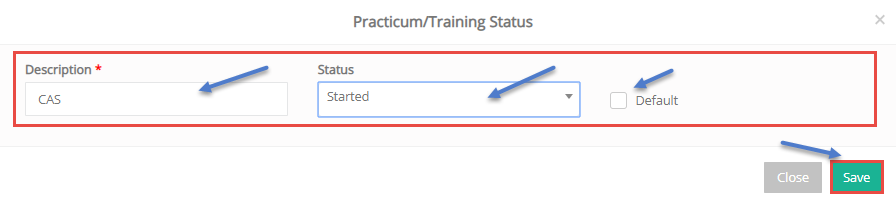
Figure 138
- Add a description e.g CAS to signify the new Practicum/Trainee Status (Figure 138).
- Add the status which represents the current status of the Practicum e.g Started (Figure 138).
- Set as default Status by ticking the box (Figure 138).
- Click on ‘Save to save the new Practicum/Trainee Status (Figure 138).
Edit Practicum/Trainee Status
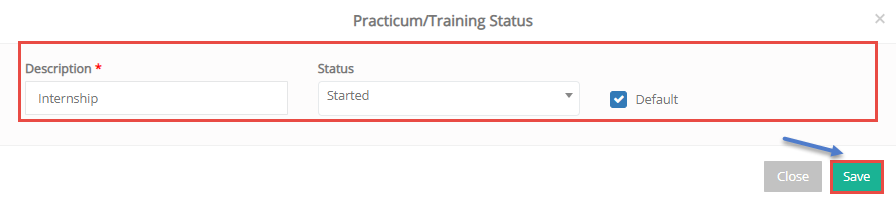
Figure 139
- Change the description (Figure 139).
- Change the status which represents the current status of the Practicum (Figure 139).
- Set as default Status by ticking the box (Figure 139).
- Click on ‘Save to save the changes to Practicum/Trainee Status (Figure 139).
 Theses Status
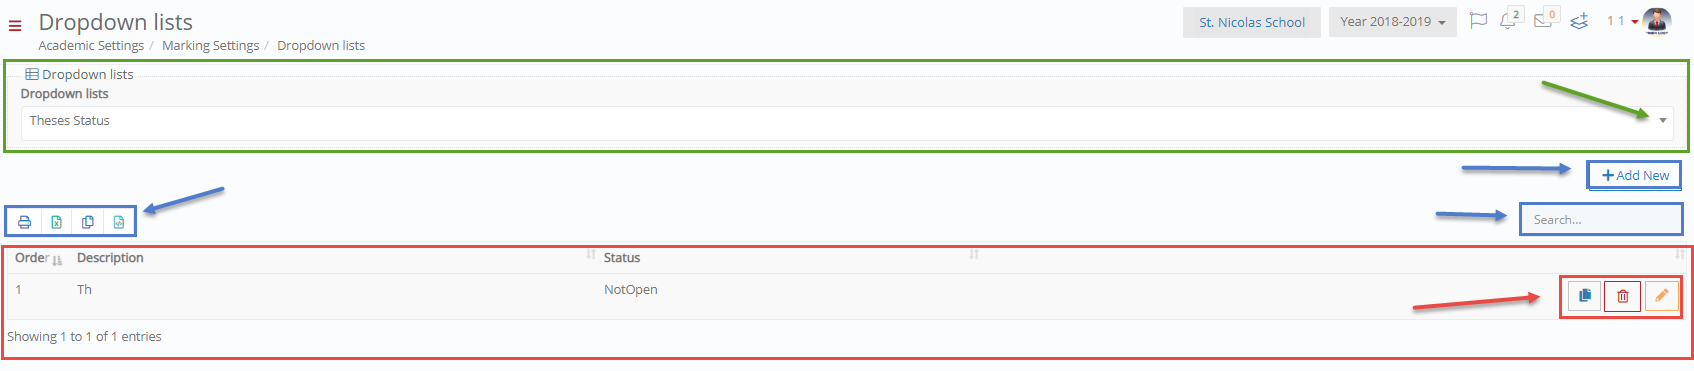
Figure 140
- Choose the Thesis Status from the dropdown box at the top of the page (Figure 140).
- Click on the Export or Print buttons to export the list or to print out the list (Figure 140).
- Enter a specific description in the search box to locate it (Figure 140).
- You can click on the Create Copy button to create a copy of a list entry (Figure 140).
- Edit or Delete a category by clicking on the respective buttons (Figure 140).
- Click on the +Add New button to add a new level (Figure 140).
Once you click on +add new the following page will appear (Figure 141).
New Theses Status
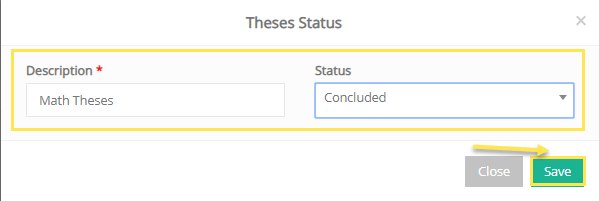
Figure 141
- Add a description e.g Math Theses to signify the new Theses Status (Figure 141).
- Enter a progress Status e.g Concluded (Figure 141).
- Click on ‘Save to save the new Conduct Status (Figure 141).
Edit Theses Status
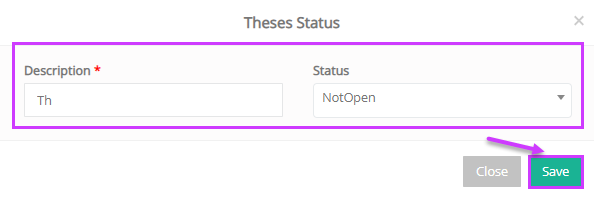
Figure 142
- Change a description (Figure 142).
- Update the progress Status e.g Concluded (Figure 142).
- Click on ‘Save to save the new Conduct Status (Figure 142).
General Note: All fields with a red Asterisk are mandatory fields and must be filed in order for you to be able to save your progress.