

To access the pointing system, we can go to the Quick Actions menu. Quick Actions Actions Menu Management Views: Pointing System

Figure 2
The Pointing System opens in a new window. It displays the Top 20 students and the Bottom 20 students.
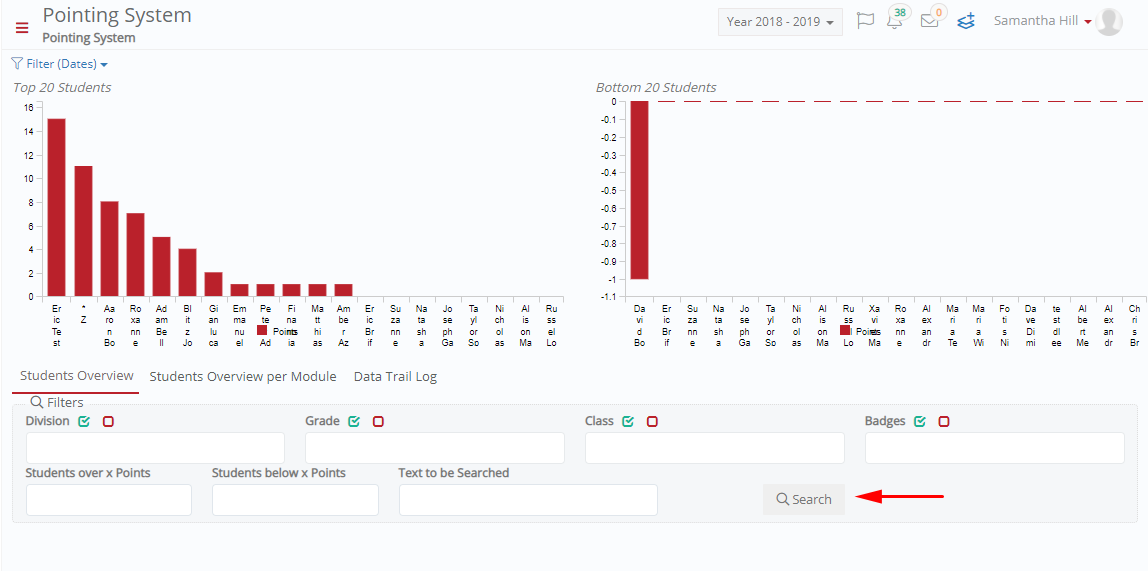
Figure 3
Student Overview
The student overview tab gives an overview of all the students and the badges and points they have received. This window will display results based on the filters selected.
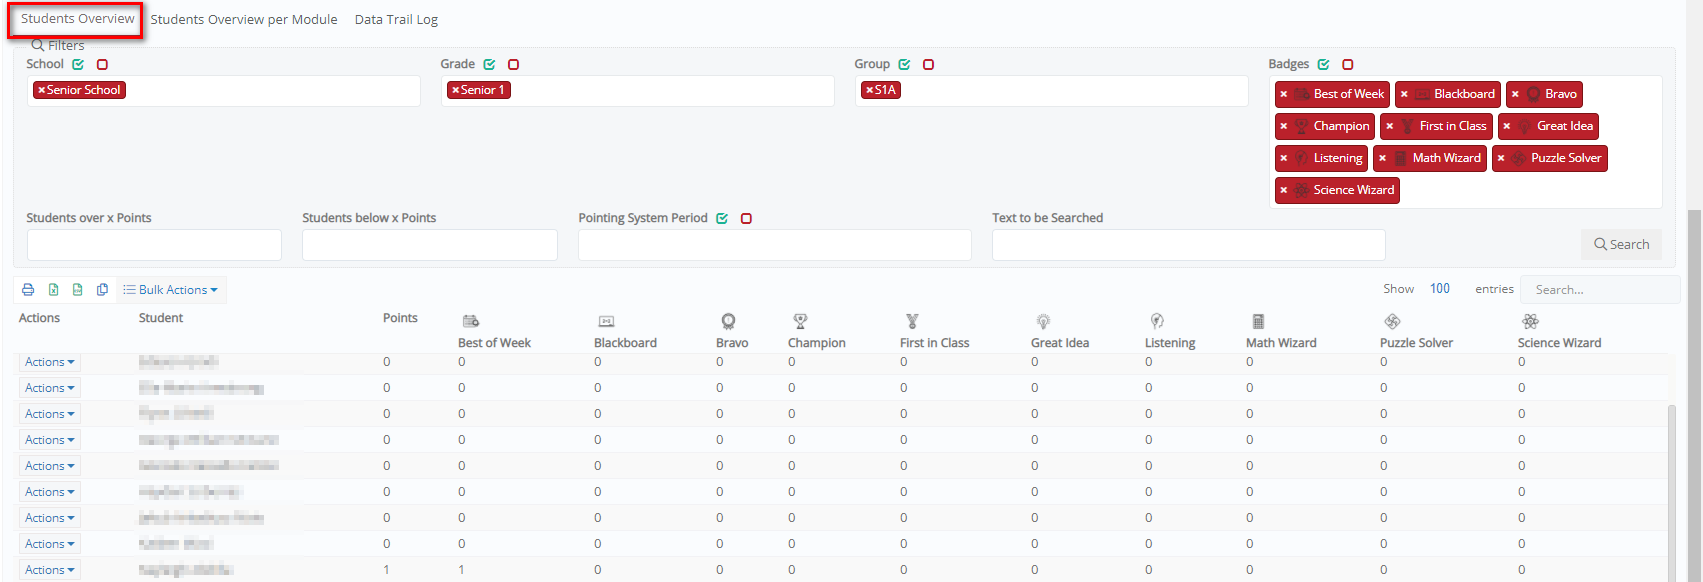 Figure 4
- Click on the Actions > Direct Assign Points button next to the student’s name to allocate more points to a student.

Figure 5
Note: You can use the Bulk Action, Direct Assignment Points to assign points to all students in a selected school, grade, or group (Figure 6). This is especially used at the beginning of a term or academic year when new points need to be allotted to all students.
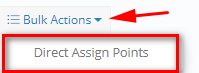
Figure 6
- In the Direct Assignment Points window,
- Select the type of points to be allocated: None, Neutral, Positive or Negative.
- Choose the date of allocation.
- Specify the number of points to be assigned.
- Add a comment (if necessary).
- Save.

Figure 7
Students Overview per Module
This tab gives the overview of the student’s points per module. There are additional filters for ‘Module over x points’ and ‘Module below x points’.
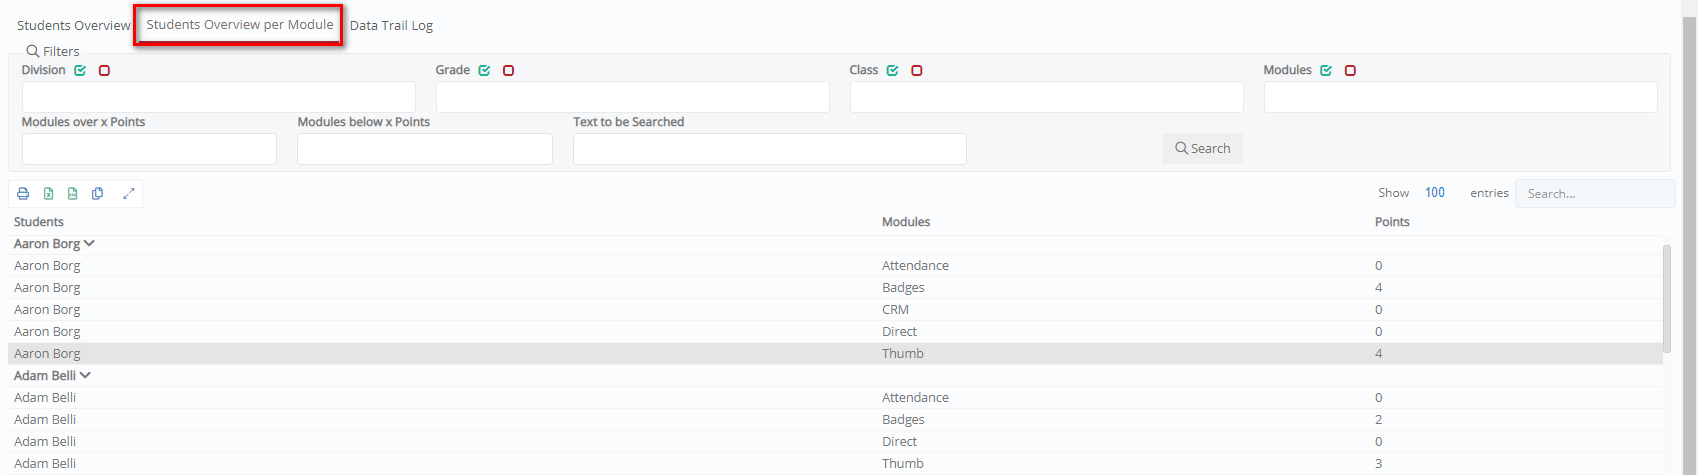 Figure 8
Data Trail Log
The data trail log gives a log of the points and badges that have been allocated to the students and the users who assigned the points.

Figure 9
Click on the Actions > Delete button next to the student’s name to delete the entry for that student.

Figure 10
Note: You can use the Bulk Action, Delete to delete all student entries (Figure 11).

Figure 11