

Dynamic Lists are auto-generated and in this dropdown list tab, you can add items to those dropdown lists. On this dropdown list, you are able to add items that are then found when creating CRM remarks, actions, incidents, feedback and meetings.
To reach this page follow the path: Dashboard > Configuration > CRM Settings > Dropdown lists > Dropdown List option/Dynamic Lists (Figure 33).

Figure 33
On this page we can see (Figure 33):
- From the dropdown list option, you can choose which dropdown list you wish to view. In this case Dynamic list dropdown list.
- You can use the search field to locate a specific dynamic list.
- You can print, copy or export the list of dynamic lists.
- You can click on the delete or edit button next to each dynamic list item on the list to delete or edit that dynamic list item.
- Click on the ‘+Add New’ button to add a new dynamic list item.
Add New Dynamic List Item
Once you click on the +Add New button you will see a popup window in which you will be able to create a new dynamic list item (Figure 34).
 Figure 34
On this popup window you can see (Figure 34):
- Description field: enter the description for this new dynamic list item e.g Award.
- Type option: choose what point type will be associated with this item e.g Positive.
- Points field: define the number of points gained or lost depending on the points type you have selected e.g in this case we selected a positive points type so if in the points field we add 2 points, that would mean if you win an award that would give you an additional 2 points.
Note that for this functionality to work, the Use Pointing System Radio button of the CRM Category must be switched ON. - Indicator option: this option can be configured to further categorize this dynamic list item.
If you click on the edit button (Figure 33) you will see the edit popup window. Follow the same steps as in creation (Figure 34).
Example of affected area in Classter Portal (Figure 34a)
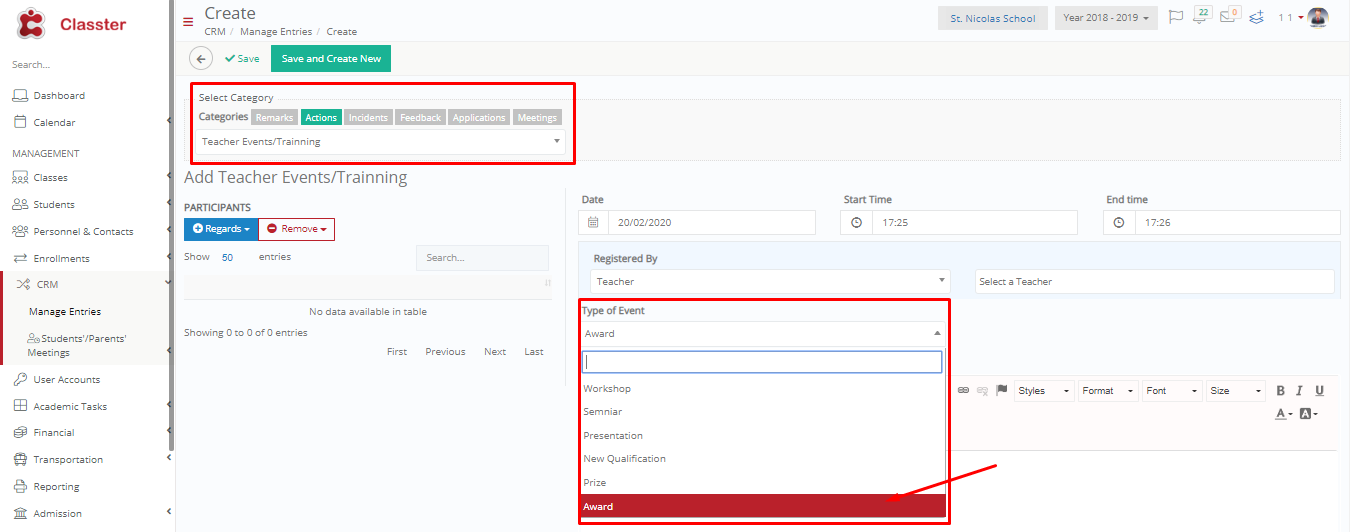
Figure 34a