

Watch the How-to Video

Select Calendar & Timetable at the main menu (Figure 15).
 Figure 15
My Calendar
The Calendar presents events, meetings or other academic tasks for specific days or periods. You can select to view the Calendar by month, week or day. You can navigate through different dates using the arrow buttons ‘<’ ‘>’, and you can return in the current day by clicking the ‘today’ button (Figure 16). To view your Calendar, follow the path: Calendar & Timetable>My Calendar.
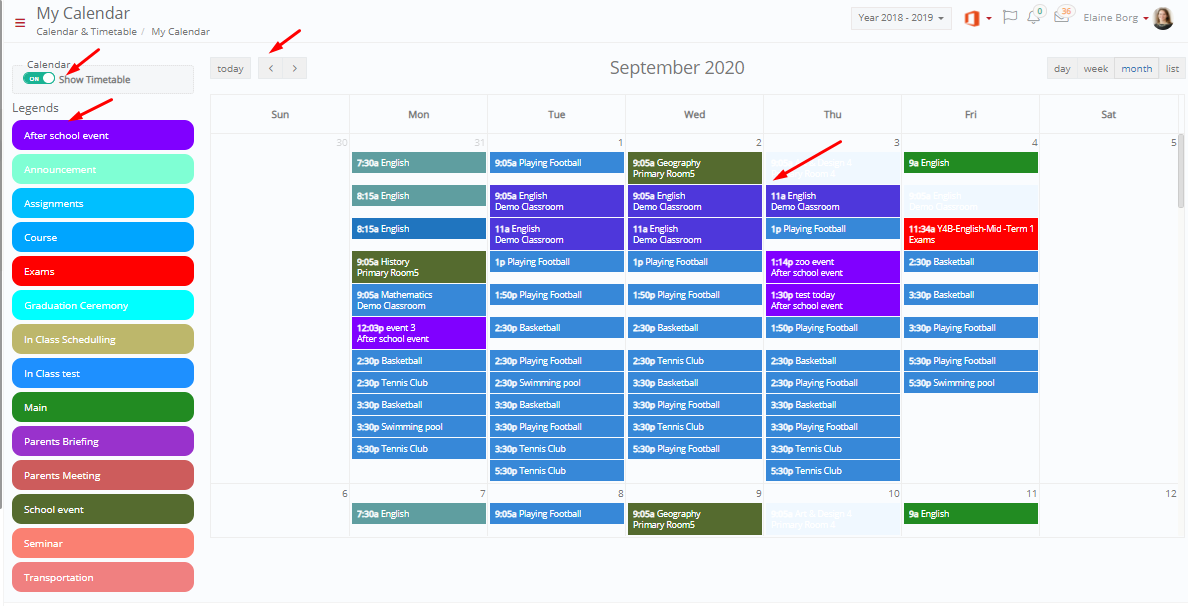 Figure 16
- You can turn on the ‘Show Timetable’ switch so you can view your institutions main timetable on the calendar. So, you will be able to see the timetable sessions as well as the various scheduled institutional events.
- Event and Timetable entries may appear differently when selecting them from the calendar.
- Click on the specific event on the calendar, to see its contents (Figure 17).
 Figure 17
- If you click on a calendar entry which is part of the timetable you will view a smaller window with the name of the subject, class name and the timetable period e.g 08.15-09.00.
 Figure 17a
Timetable
The Timetable presents the teacher’s weekly school timetable. This is the “static” and “default” timetable that you will follow during the academic year unless any changes occur (Figure 18). To view your timetable, follow the path: Calendar & Timetable>Timetable.
 Figure 18
- Select the “Location”, in case you teach in different locations or schools.[1]
- You may have multiple timetables available. In order to check it out select the “Categories” dropdown list, to check alternative or secondary timetables (e.g. timetable for Activities, Exams or Vacation periods) (Figure 19).
- You can turn on the ‘Enable Service Enrollments’ switch so you can see all the services you are currently involved with on your timetable schedule.
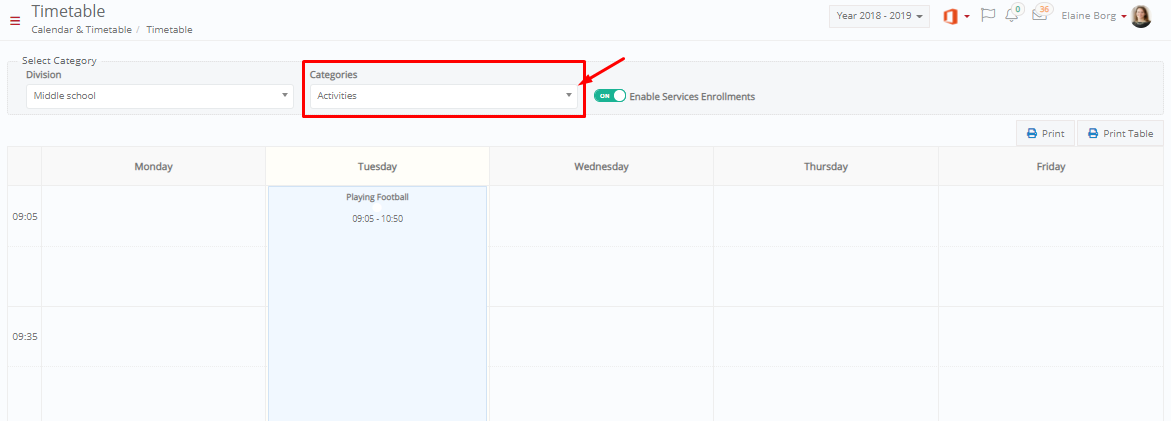 Figure 19
- Click on the “Print” button, to print the Timetable
- If you want the activities to be included in the report, select “Print” and “Yes” at the “Include Activities” dropdown list (Figure 20).
- Click on “Preview Report” to see the report
 Figure 20
- Click on the “Exports” button, to export the timetable to pdf, excel or word (Figure 21).
 Figure 21
- Click on ‘Print Table’ button (Figure 19) and you will open the system print window for direct printing (Figure 21a).
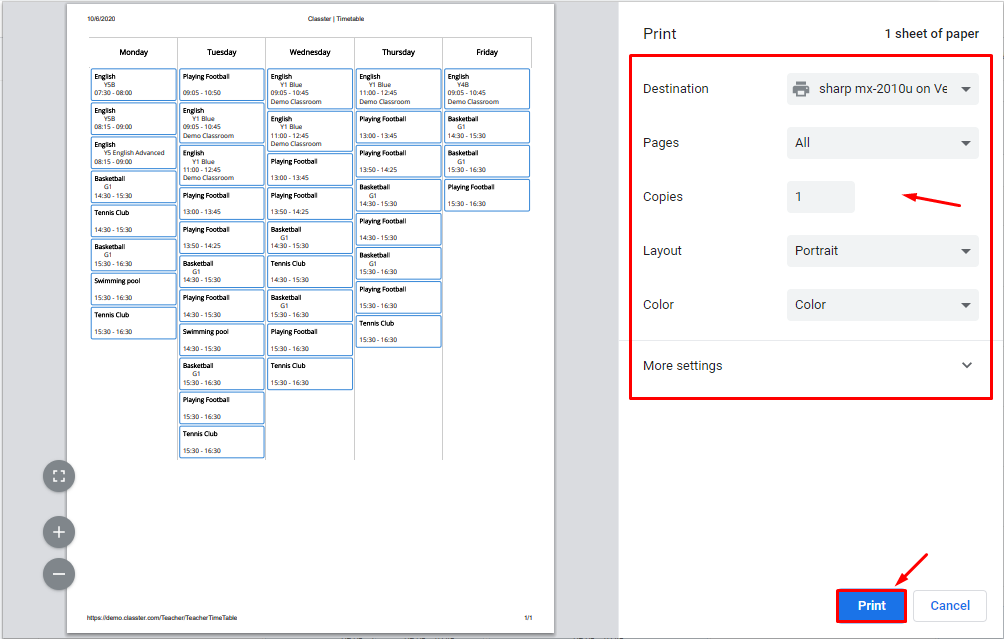 Figure 21a
- This window may vary according to your PC/Laptop operating system or printer.
- Make sure your printer is operational to proceed.
Note: Your academic institution may have customized or changed the timetable report and thus you get a completely different report than the one presented above.
- In Case that you have accounts in multiple educational institution that all use Classter, you will not be able to view here your overall timetable for all institutes. You can view all your classes here, only if all schools you work at are installed in one academic institution within Classter. ↑