

This is a how-to article for creating easily an online teaching session by using Classter and the video conference platform of your choice. Follow the steps below for creating the teaching sessions on Classter platform, based on the academic calendar of the educational institution, and send the online meeting link to the students.
This process will save you time from adding manually each student to the teaching session and it will give teachers the flexibility to create online teaching sessions in cases that the physical attendance is limited for students.
Create the Teaching Session
1. The teacher should log in to the Teacher’s Portal
2.Create a new Teaching Session
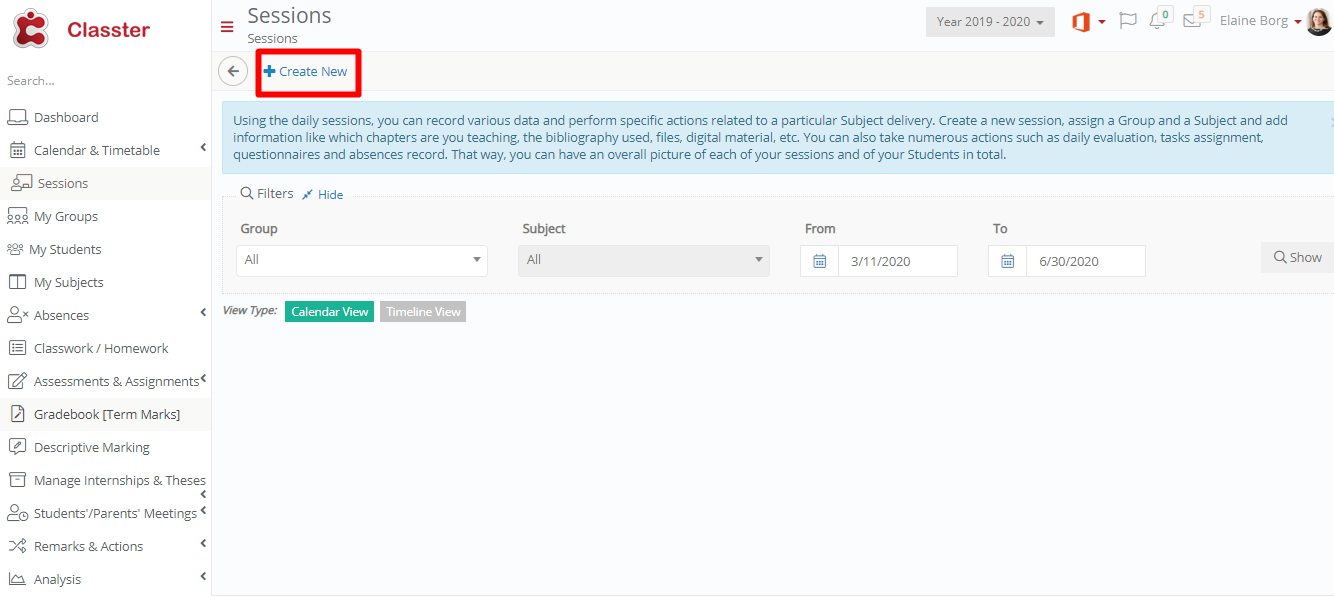
Image 1
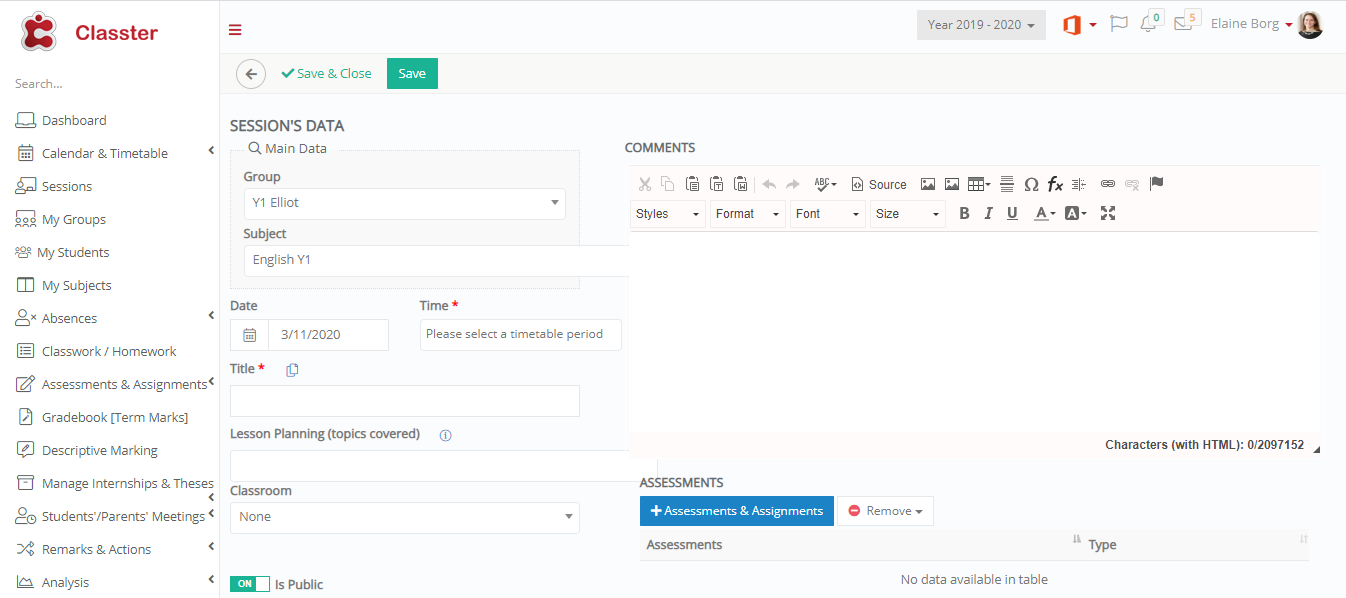
Image 2
3. Fill in all the required data for creating the Session and assign Group and Subject (find more details here).
4. In the Comments section, you can write instructions for the students on how they can join in the online session and you can paste the link that redirects at this particular video call. You can use any video conference platform of your choice (MS Teams, Zoom, WebEx etc.)
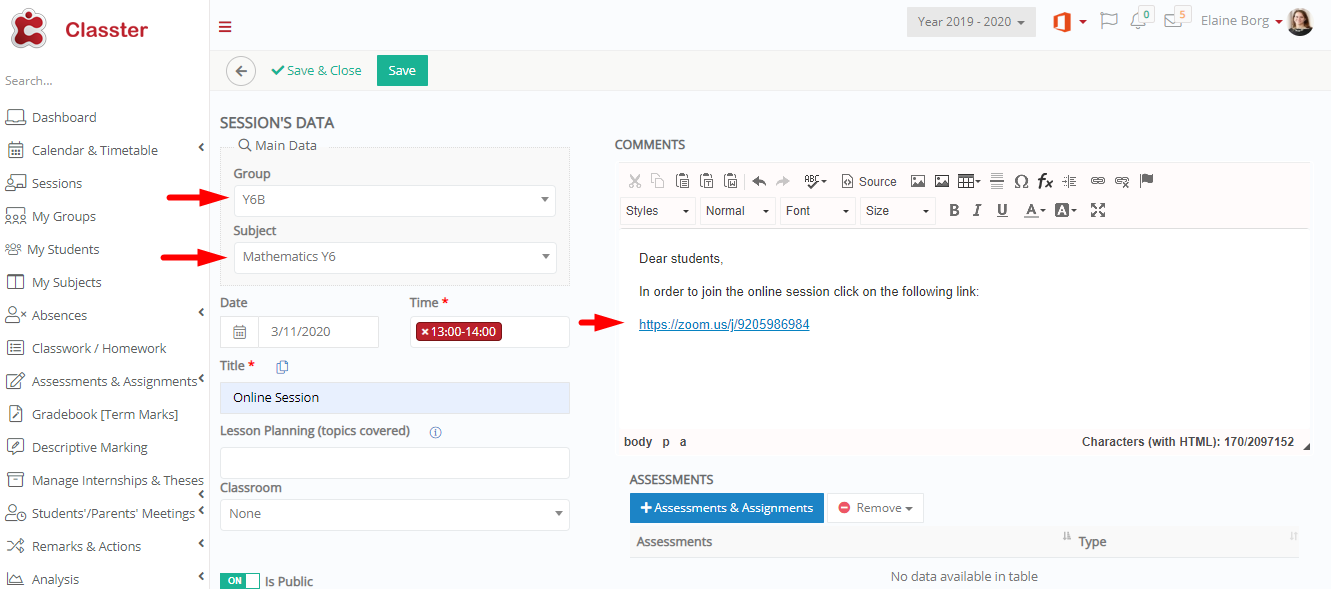
Image 3
5. Teachers can see the newly created session on their calendar
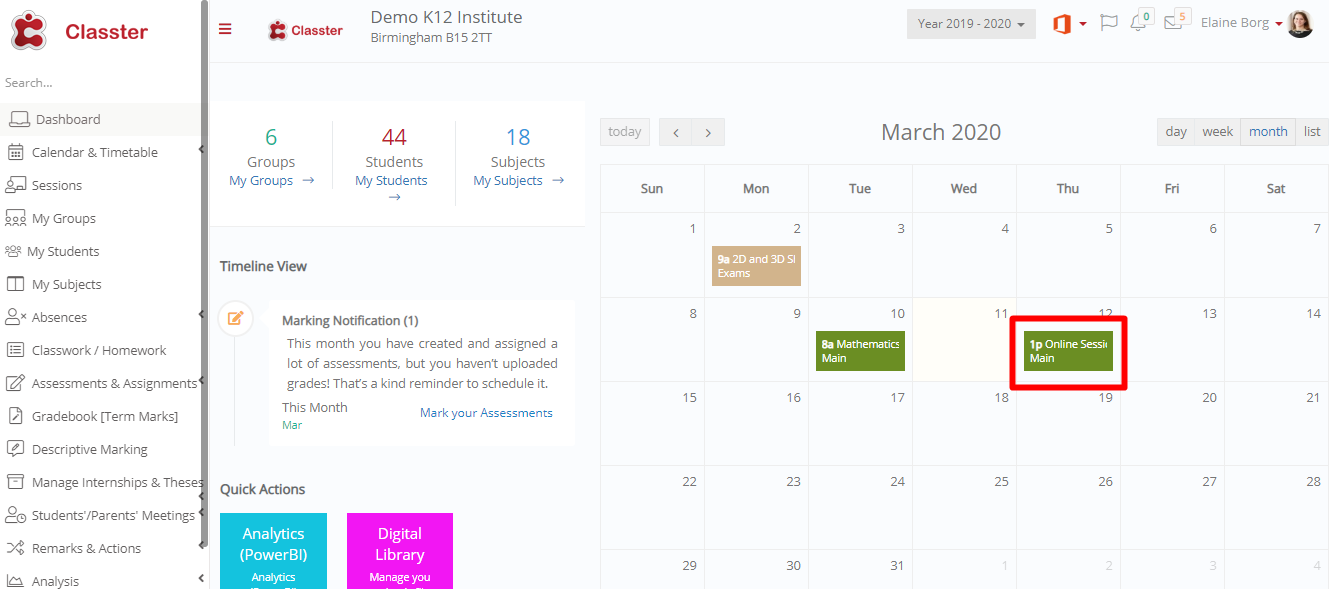
Image 4
6. If you click on it you can see the details of the session
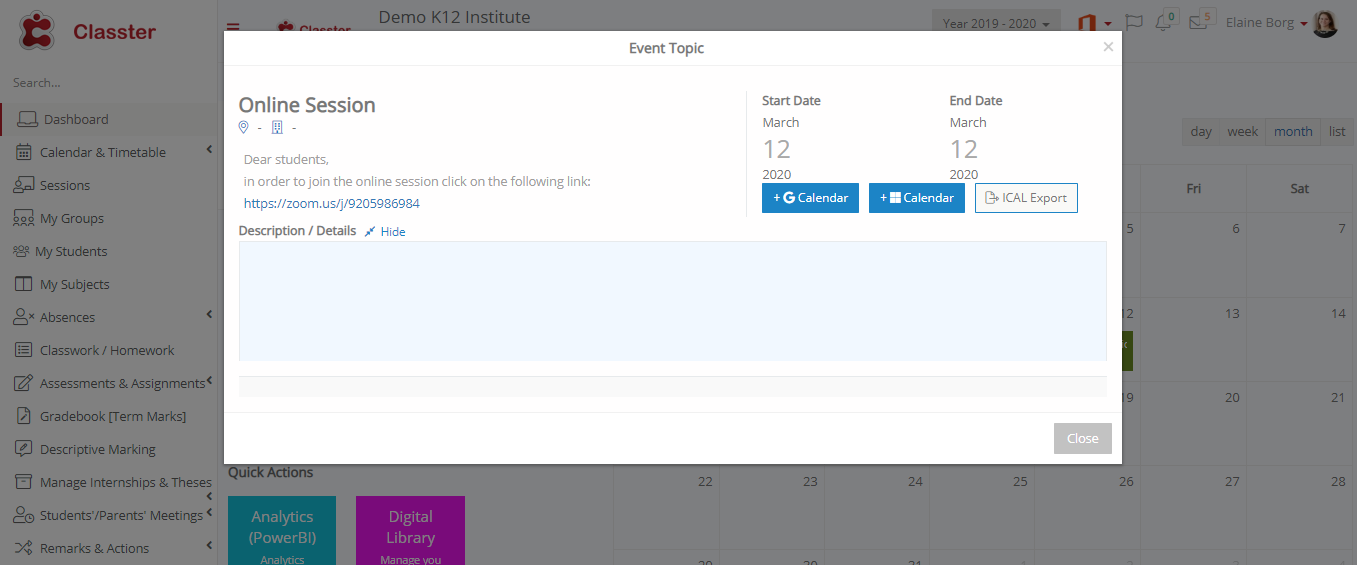
Image 5
Teachers and Employees can also notify students about the upcoming session through all the communication options that Classter offers (see more here).
Students can access the meeting link from the Student’s Portal
1. When a student will login to your account you will be able to see on your calendar the session created by your teacher.
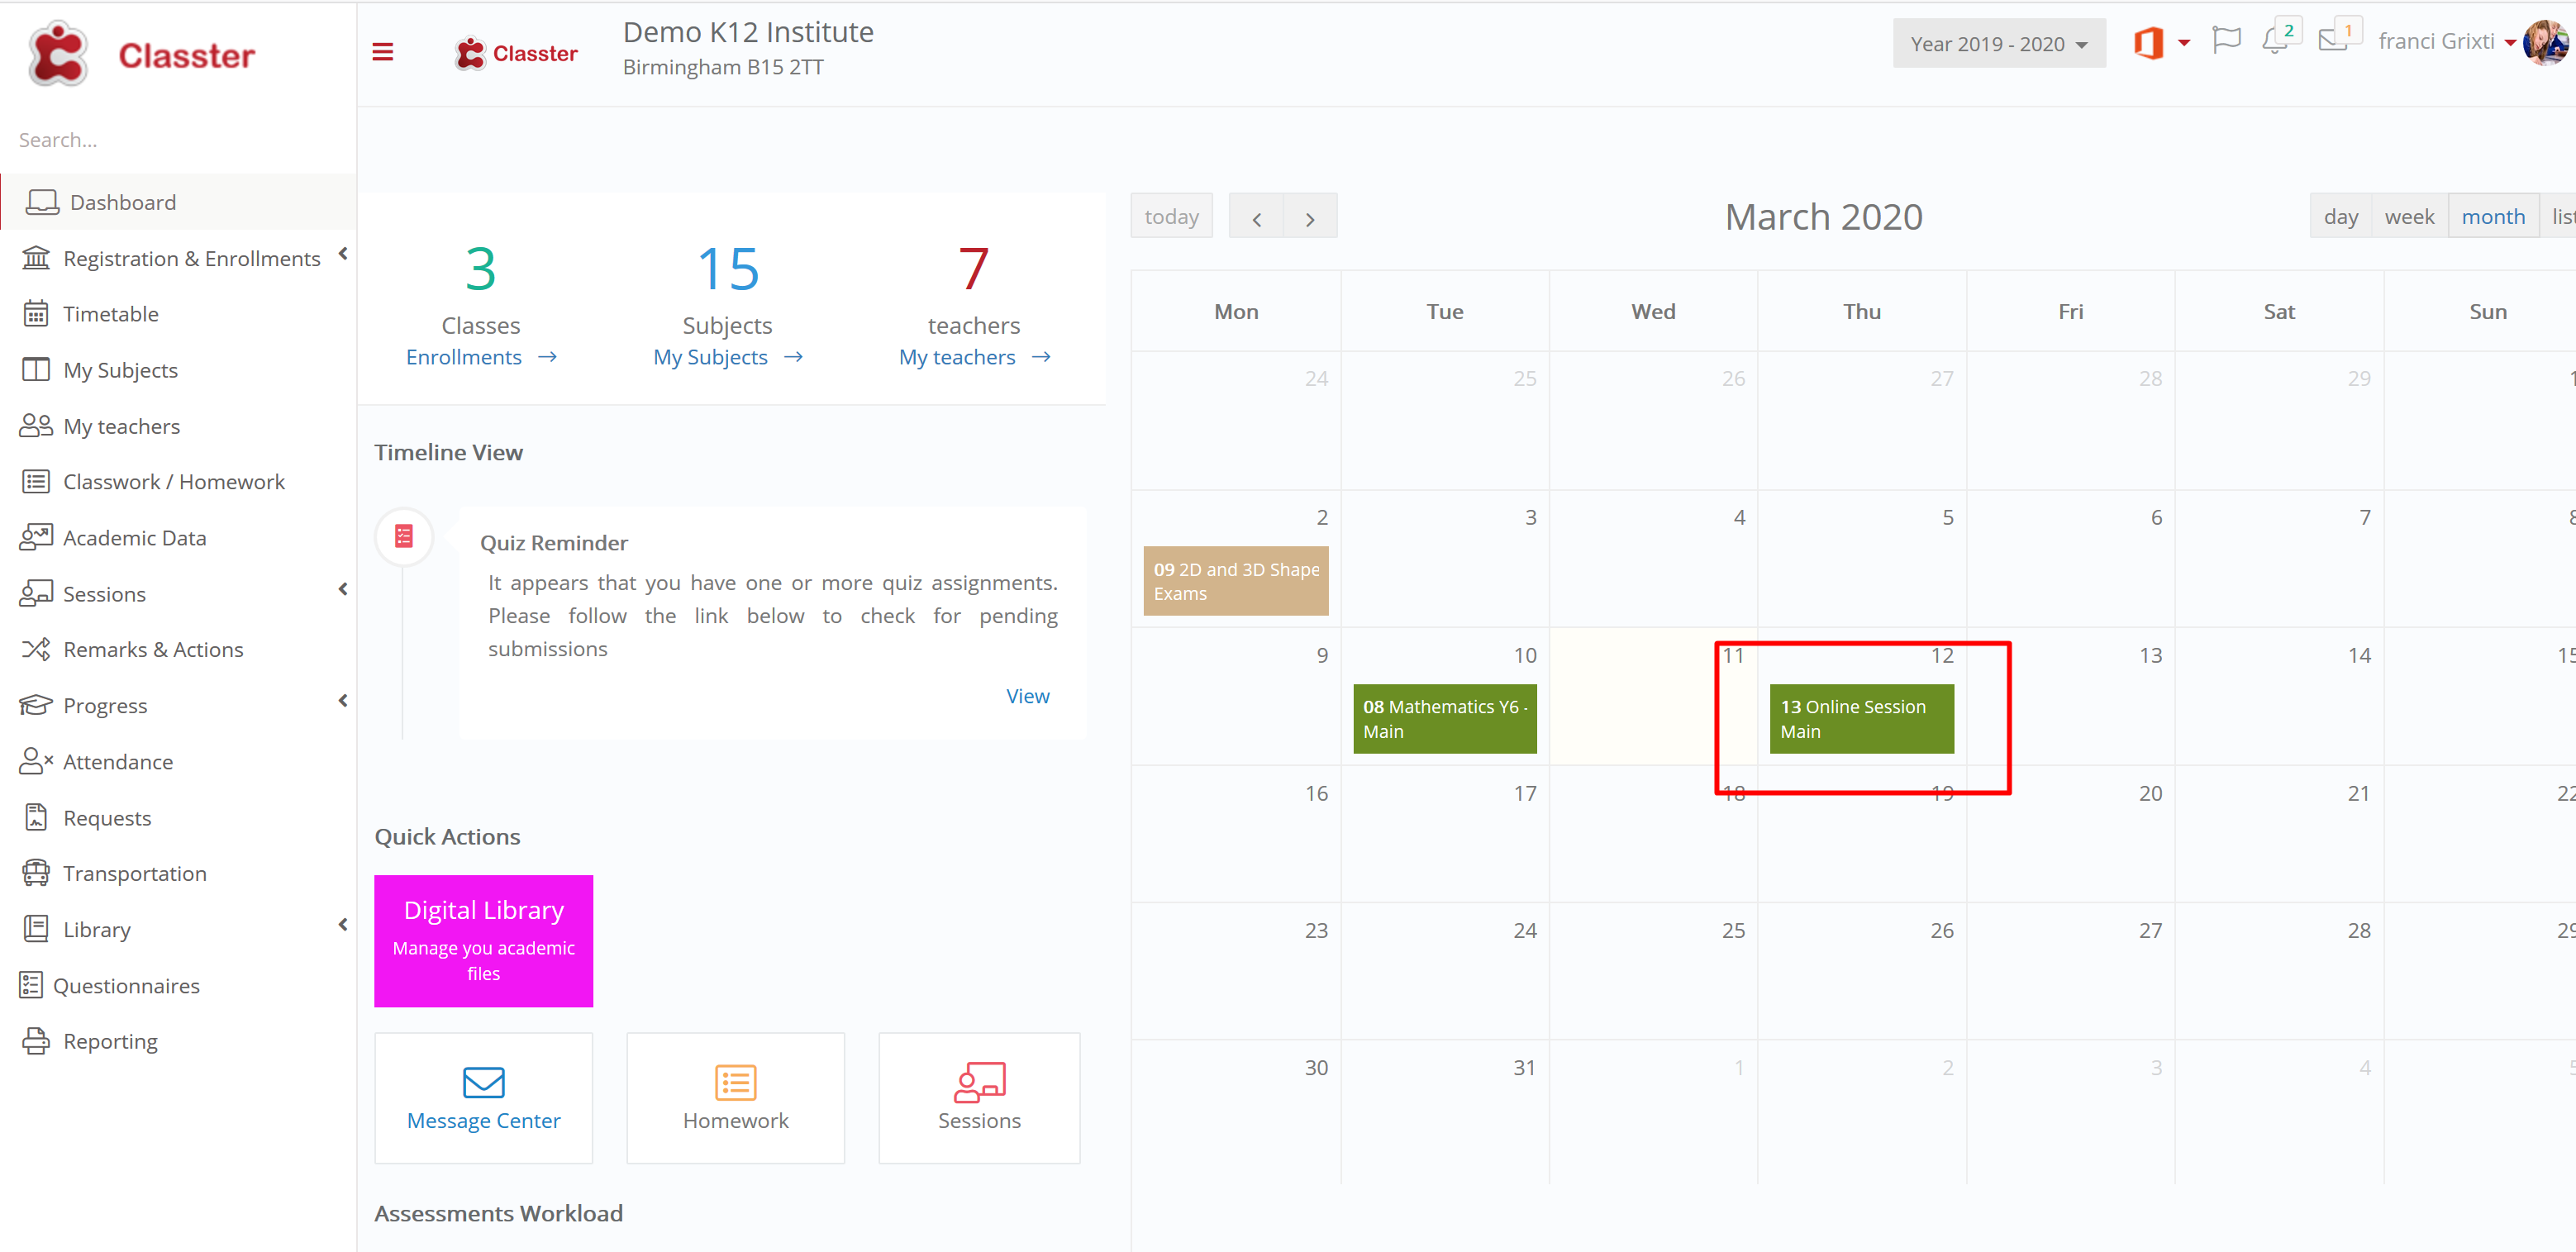
Image 6
2. The student opens the session and clicks on the link.
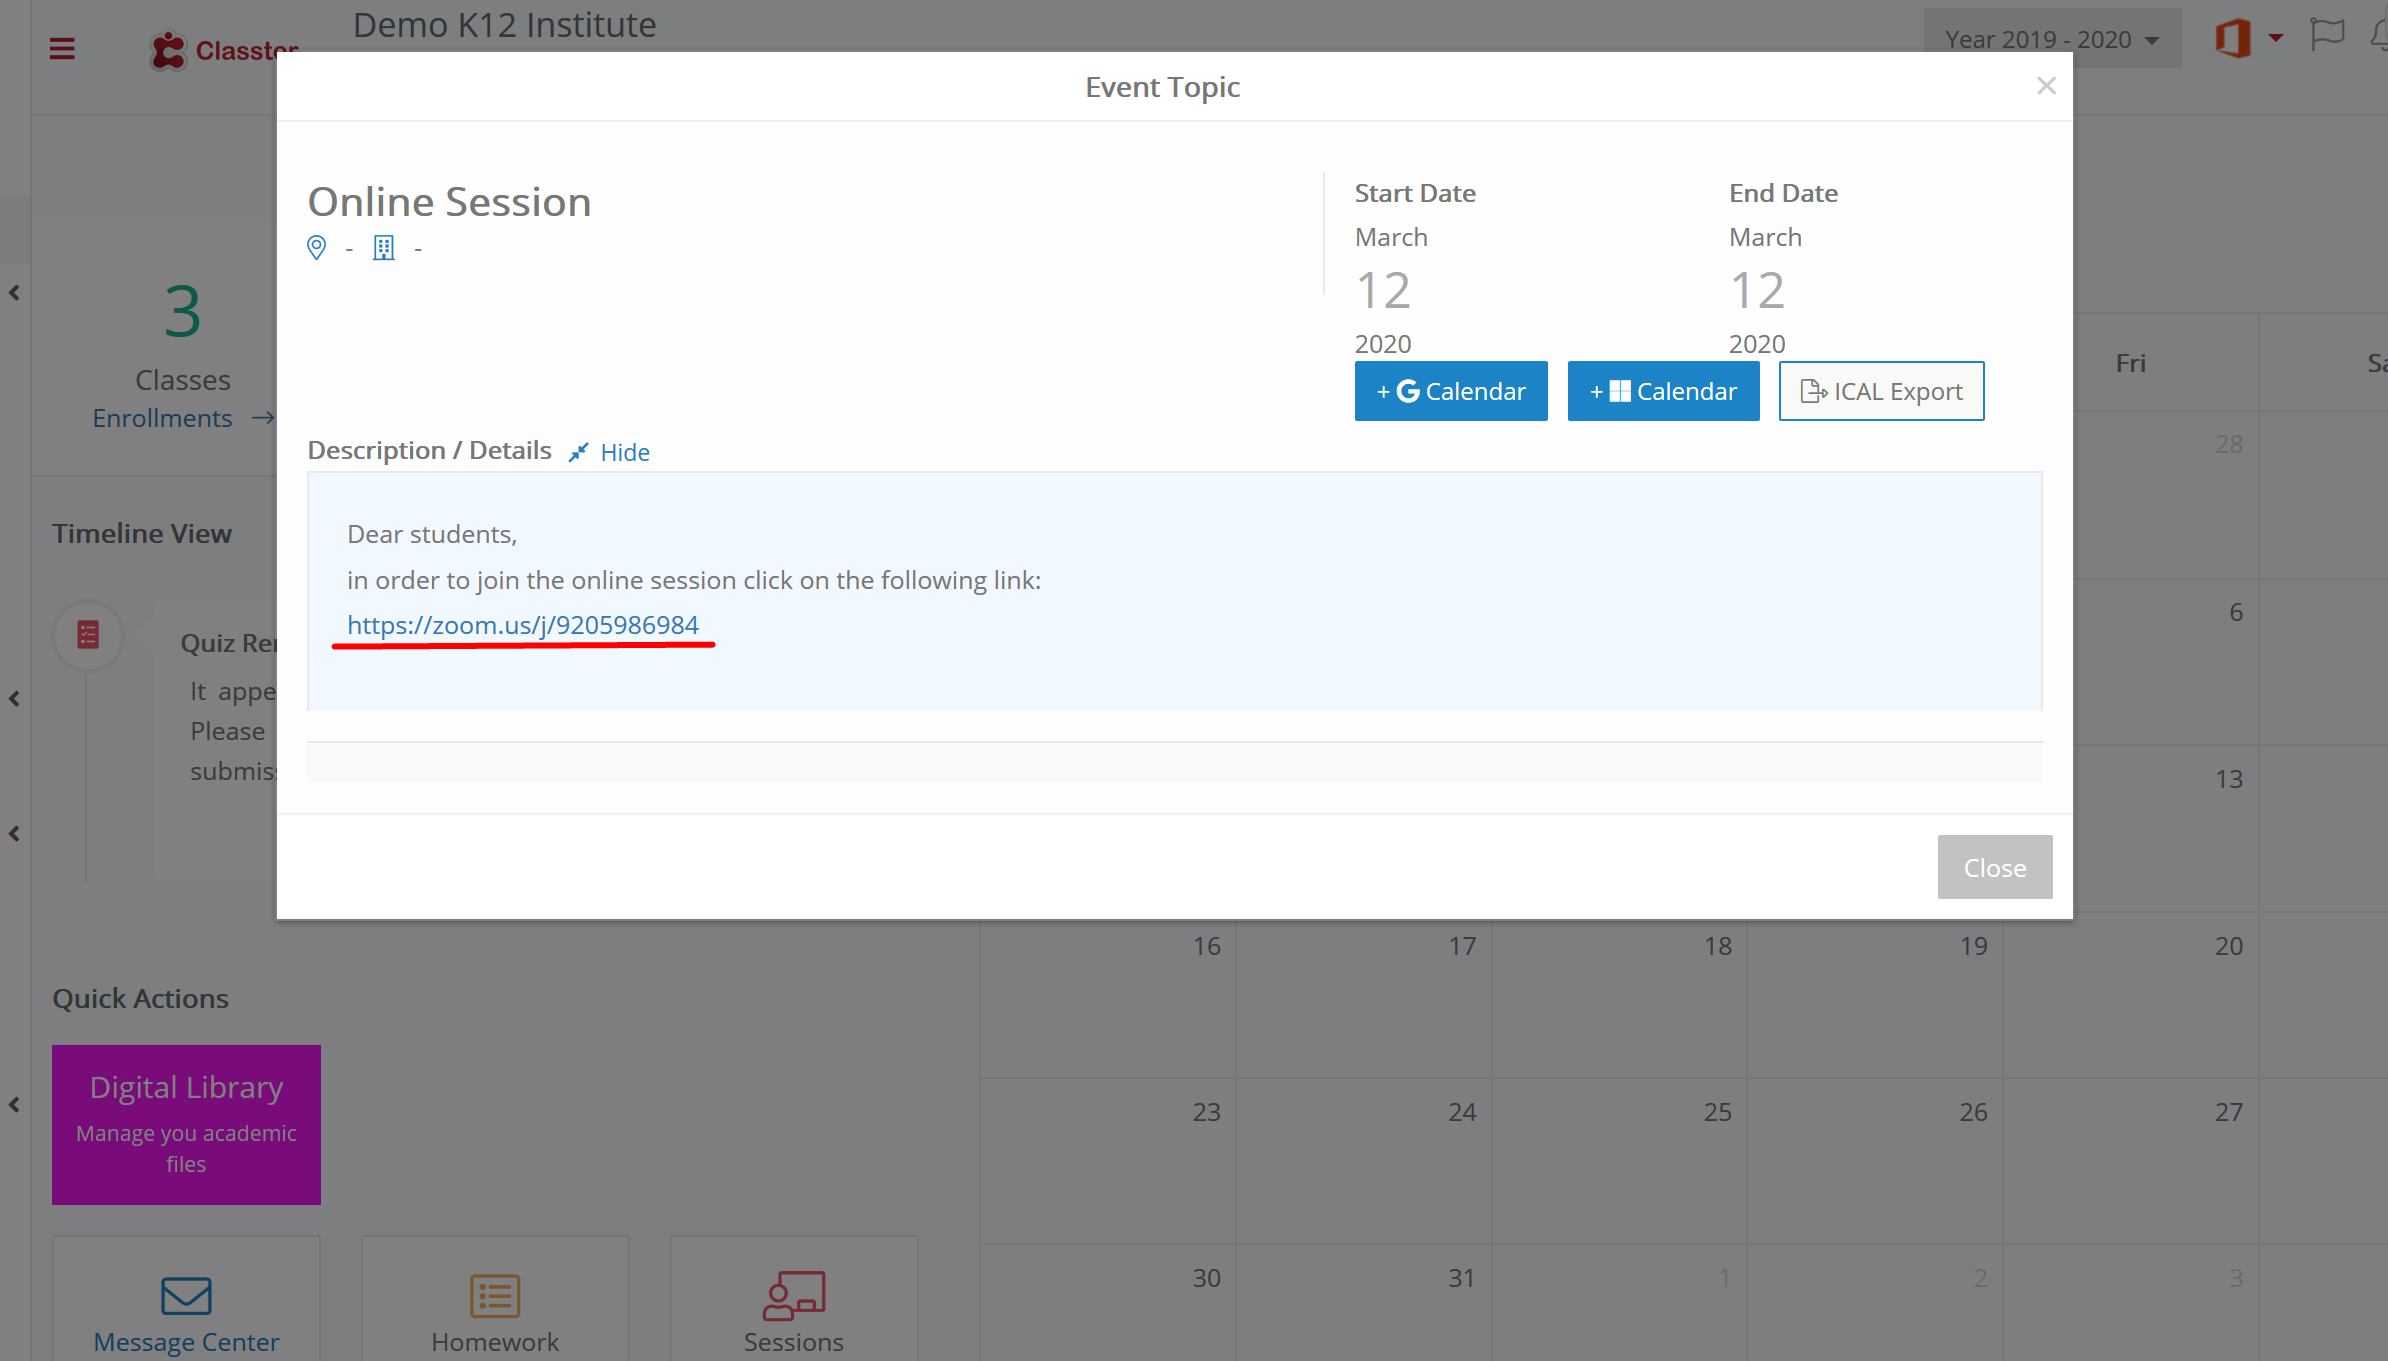
Image 7
That’s all, the online teaching session is ready to start!