

The administrator/ supervisor can manage and view the internship/job applications. After logging into the portal as an administrator, they can use any of the menu options:
- Internships
- Thesis
- Student’s Internship & Thesis
Internships
To manage the available jobs/internships, from the main menu go to Internship & Thesis > Internship (Figure 27).
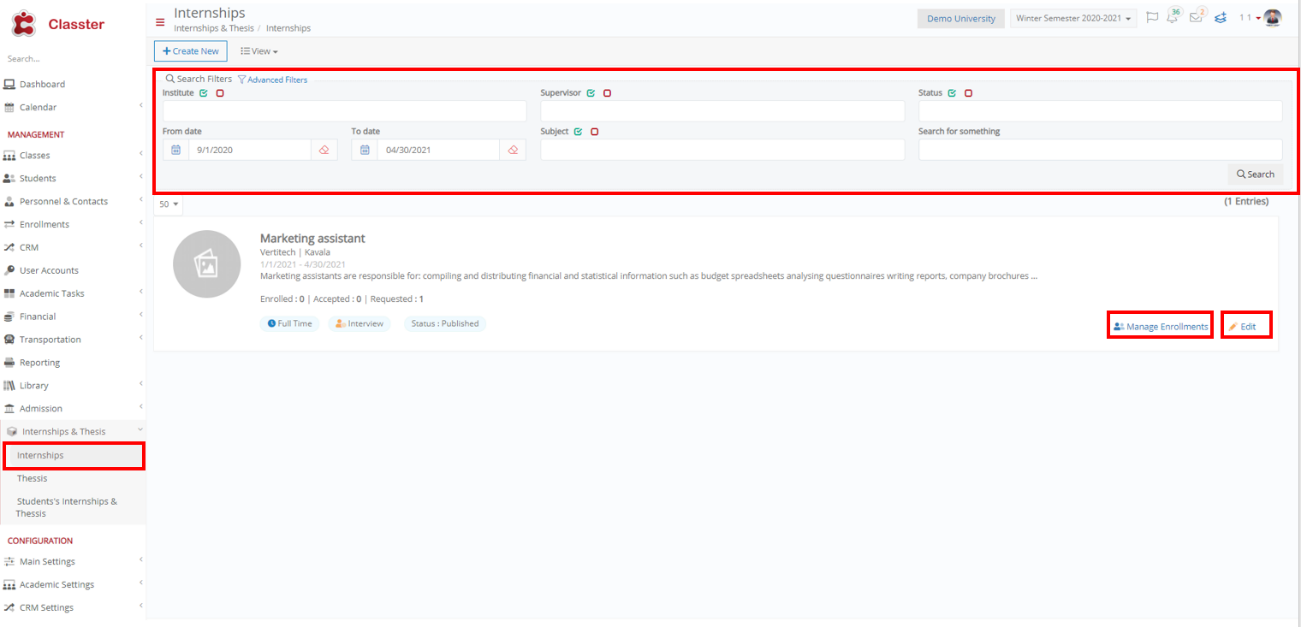 Figure 27
- Click on Manage Enrolments to see all students who have applied for the internship, accepted the internship, etc. As the administrator or supervisor, you can accept or reject the application (Figure 28).
- For approved enrolments, you can use the Update to Started/Update to Concluded or Rollback to Initial Student Request options.
 Figure 28
- From the bulk actions, you have the option to manually enrol students, set an interview date (for internships with interview enabled) and remove enrolments (Figure 29).
 Figure 29
-
- Manually add a student, set the status, and save (Figure 30).
 Figure 30
-
- If an internship has an interview, you can use the Set Interview Date option to schedule an interview for the selected student(s).
- From Actions, you have the option to Manage Interview for the selected student (Figure 31). You can set the outcome of the interview (Figure 32).
 Figure 31
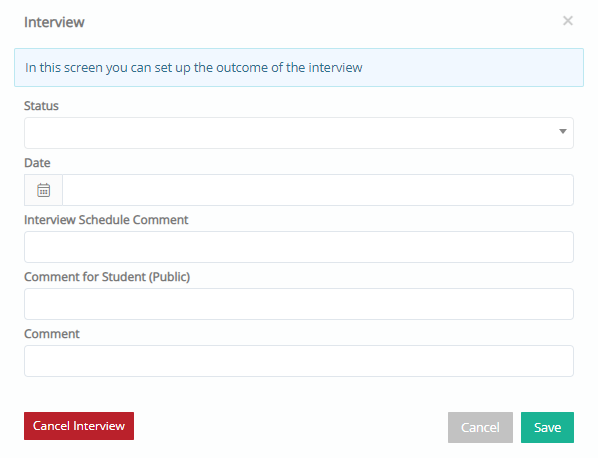 Figure 32
Accept
Once you Accept the student application, you will see a message showing “Awaiting Student Action” (Figure 33), if the setting “Require Final Acceptance from Students for” Internship is enabled under Internship and Thesis.
 Figure 33
From the student(s) point of view, they will see that an Accept option is now visible (Figure 34).
 Figure 34
-
- Once accepted, they will see a message confirming that they have accepted the internship and all other jobs will become unavailable for application (Figure 35).
 Figure 35
Update to Started
Once the student accepts the job/internship, the administrator or supervisor can use the ‘Update to Started’ button to officially start the student’s internship (Figure 36).
 Figure 36
Administrator Logbook
- The administrator or supervisor can now access the logbook for the student from Actions. They will also be able to manage interview, final results, contracts and view the enrolment history for the selected student (Figure 37).
 Figure 37
- Clicking on the Internship Logbook will open a new window (Figure 38).
 Figure 38
- In the calendar, click on a slot to add an attendance entry. The administrator can verify and approve entries submitted by the student (Figure 39).

Figure 39
-
- Add comments is especially used by the student to add daily comments related to the attendance (Figure 40).

Figure 40
-
- Approve the attendance entry for the student (Figure 41). The approval is captured in an audit trail.

Figure 41
- The administrator/supervisor can view files uploaded by the student which are related to the internship and can also upload files.
- The administrator/supervisor can carry out periodic evaluations and add progress evaluation for the student (Figure 42). Based on the configuration, when a supervisor fills an evaluation, he will be asked to fill in a survey form for this specific period.
-
- Click on the Add Progress Evaluation button.
- Enable or Disable the Show Comment to Student button.
- Add a comment then save.

Figure 42
- The administrator can manage and edit the contract details (Figure 43). Clicking on the Edit button opens the dialog window. Contracts are visible to students.
Note: Internal means there is no official contract for the student and the employer and there is just an internal college/university agreement.
 Figure 43
- Administrators can view the outcome of the interview
- They can also view the final result of the student.
Supervisor Logbook
- Supervisors are assigned under the Student’s Internship & Thesis menu section.
- As a supervisor, you can view the progress evaluation submitted by the administrator and add a progress evaluation.
- Based on the configuration, when a supervisor fills an evaluation, he will be asked to also submit an assessment form and fill in a survey for the specific period.
 Figure 44
- Clicking on Submit Assessment Form opens a new dialog and allows you to submit a quiz as a survey/assessment form (Figure 45).
 Figure 45
Student Logbook
- In the student profile, students can access the Internship Logbook once their internship has started (Figure 46).
- In the calendar, students can submit their Attendance.
-
- Add comments is used by the student to add daily comments related to the attendance.
- The students can upload files related to their internship and can also view files uploaded by the administrator/supervisor.
- They can add their progress entry to keep the supervisor updated about their progress in the internship.
- They can view contract details for the internship.
- They can view the outcome of the interview.
- They can also view their final result.
 Figure 46
Create New Internship
As an administrator, you can create new internships.
- Click on the Create New button
 Figure 47
Basic Data
- Title: Add the title of the job.
- Location: Add the location the internship will take place.
- Start date / Due date: The duration of the internship.
- FullTime: Select if it would be a full time or part time employment.
- Supervisor: Add the college/university supervisor. This option is not available to the employer.
- Employer/Company: Add the Employer. This option is not available to the employer.
- Hours/Week: Specify the hours per week.
- Max Number of Students: Choose the maximum number of students to be hired by the company.
- Status: The status of the internship.
- Description: Add the description of the job.
Interview
- Active: Enable this option if there is an interview prerequisite to getting the internship (job).
- From date / To date: Set the interview date.
- Interview Info: Add the interview information.
Apply To
The fields here are mandatory.
- Institute: The employers can select from which institute they would like to employ students.
- Courses: Select from the dropdown which courses are eligible to apply. To confirm the selection, click on the ‘blue cross +’ button. You can add as many courses as necessary.
Note: After adding the course you can see some information about the students of the specific course. This information is added by the administrator at the institute level (Course Configuration). Under the Thesis & Internships Tab, you can add information for students of this specific course.
Availability
- An employer can select the timetable plan (as configured by the administrator when configuring the course). This is the scheduled plan, and the entries will be available for the student attendance in the logbook.
Skills and Learning
- Skills you need: These are the skills the students need to have to apply for the job.
- Skills you will learn: These are the skills the student will learn on the job.
Files
- Files related to job can be uploaded. These could be the job description, contracts, etc.
Contract Template
- The template to be used by employers for their contracts can be uploaded here.
Student’s Internship & Thesis
- For the data processing and management of the internship, from the main menu go to Internships & Thesis > Student’s Internships & Thesis menu option (Figure 48).
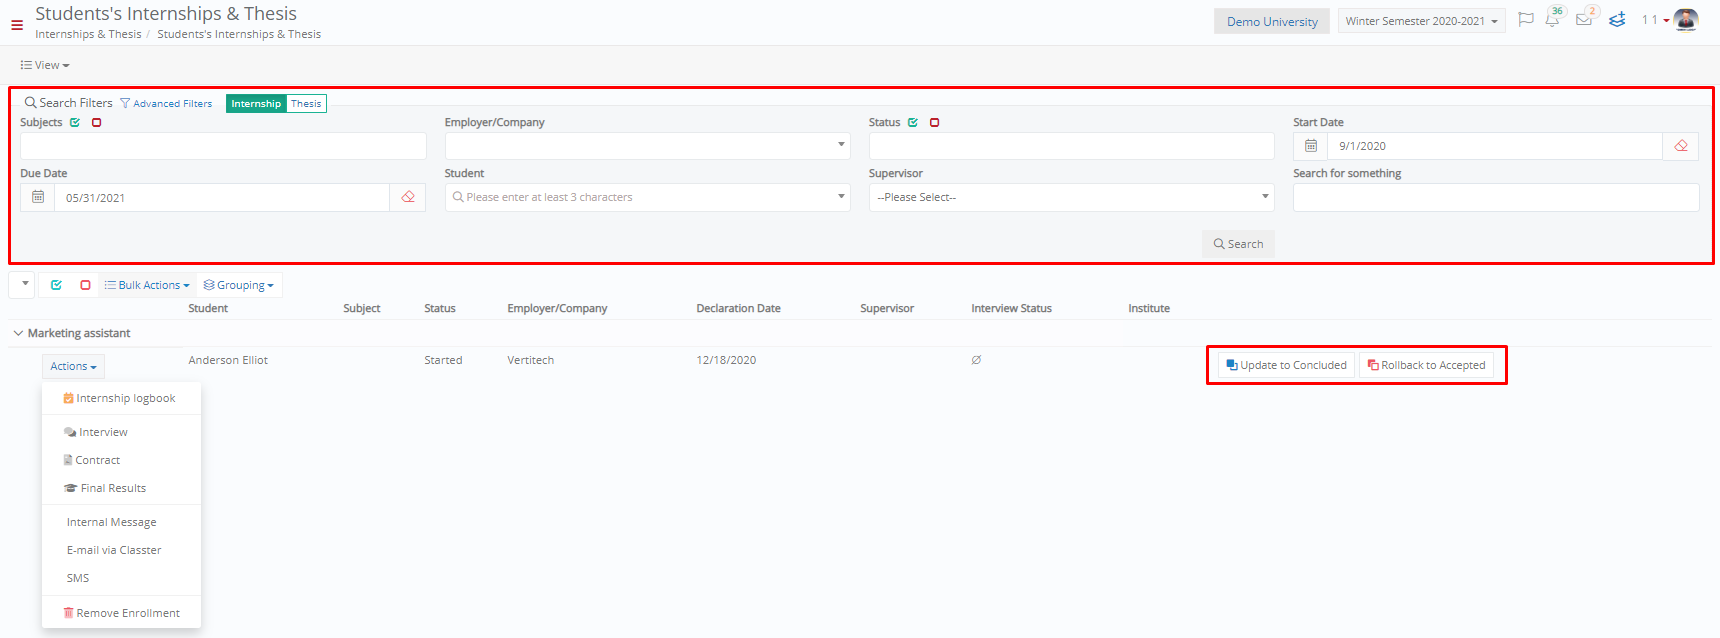 Figure 48
- Here, you have access to all the students and their contracts.
- Students can be grouped by the Thesis/Internships they are enrolled to, by the Employer/Company, by Course, etc. (Figure 49).

Figure 49
- Using Bulk Actions, you can set an interview date or change the supervisor of multiple students (Figure 50).
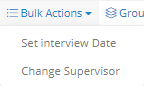
Figure 50
- The Internship and Thesis switch allow you to switch between the list of internships and the list of thesis (Figure 51).
![]()
Figure 51
- The Advanced Filters allows you to apply the enrolments without contract filter (Figure 52).

Figure 52
- The inline Actions menu allows you to access the logbook, view interview details, access the contract or view final results for the selected student (Figure 53).

Figure 53
- The predefined views list allows you to switch between any view (Figure 54).

Figure 54