

To navigate to the personal data page, click on the Personal Data menu on the left pane (Figure 16). This section is made up of multiple tabs, e.g., Personal Data, Qualifications, Admission Data, Consents, etc. Their presence depends on the configuration by the school administrator.
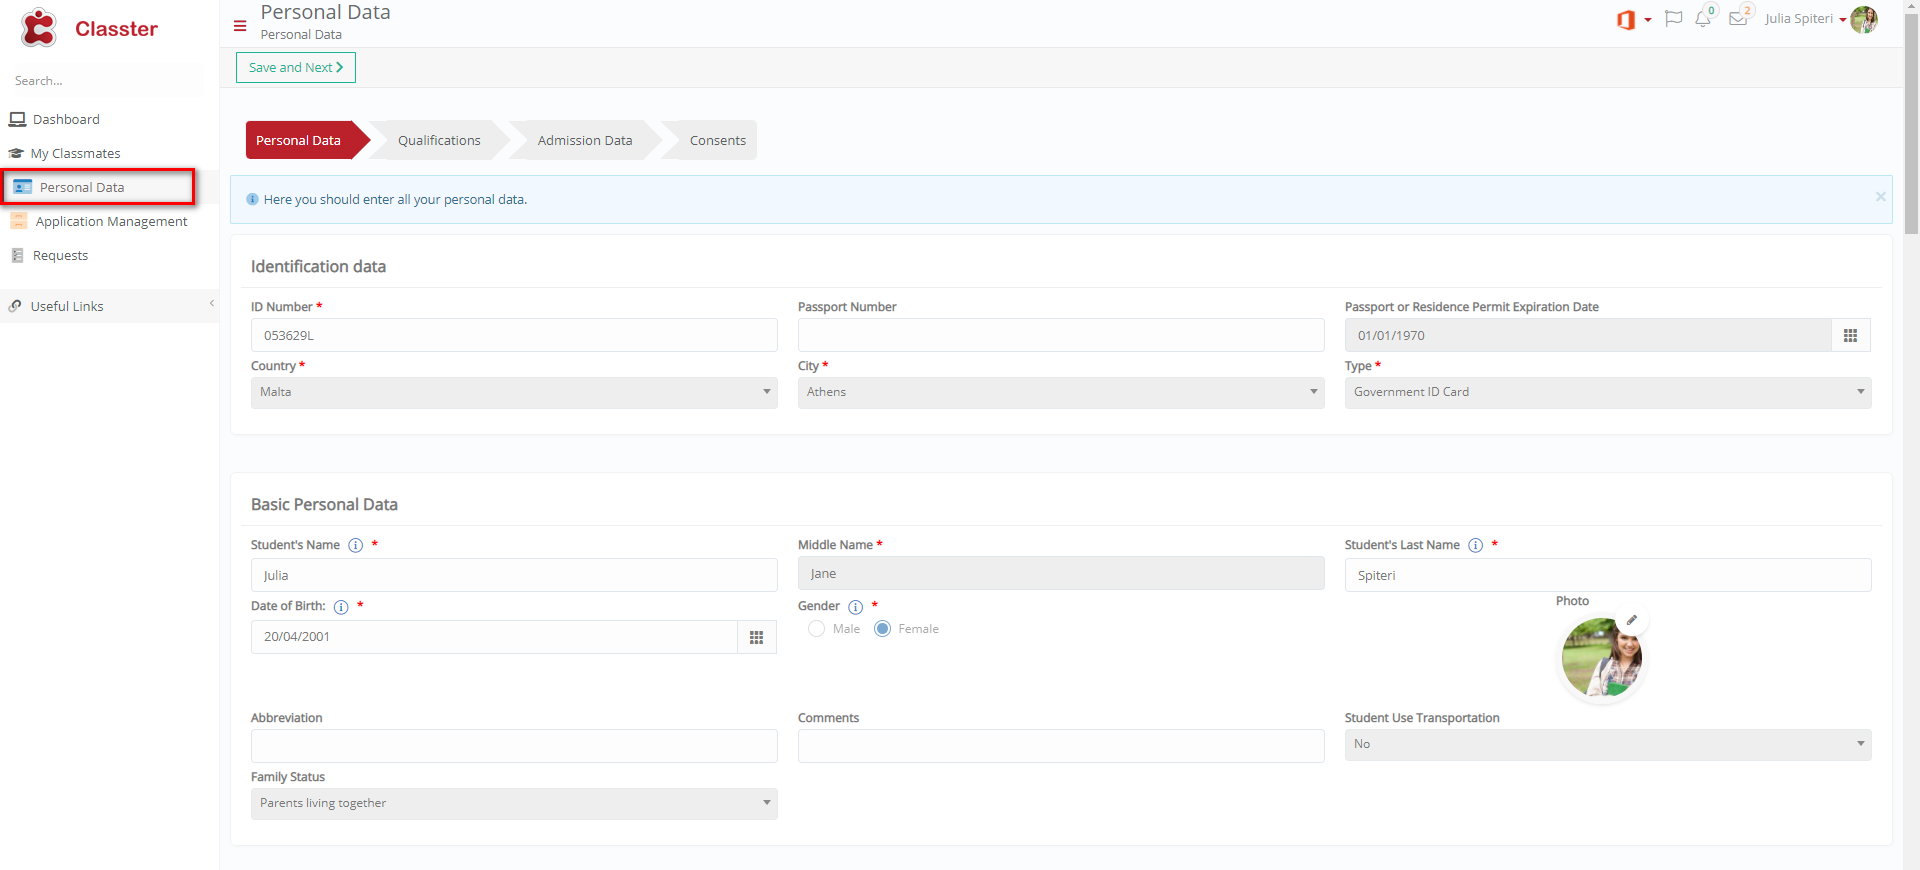 Figure 16
Personal Data
 Figure 17
On this tab, you will be able to (Figure 17):
- Fill in your basic personal data, identification data, Contact and Address data as well as Medical data. This section is configurable by the school administrator.
- Fields with red asterisks next to them are required and if they are not filled in you will be unable to save and move to the next tab.
- Once you are done filling in the fields, click on the ‘Save and Next’ button.
Once you have clicked on the ‘Save and Next’ button (Figure 17), you will be taken to the next tab Qualifications (Figure 18).
Qualifications Tab
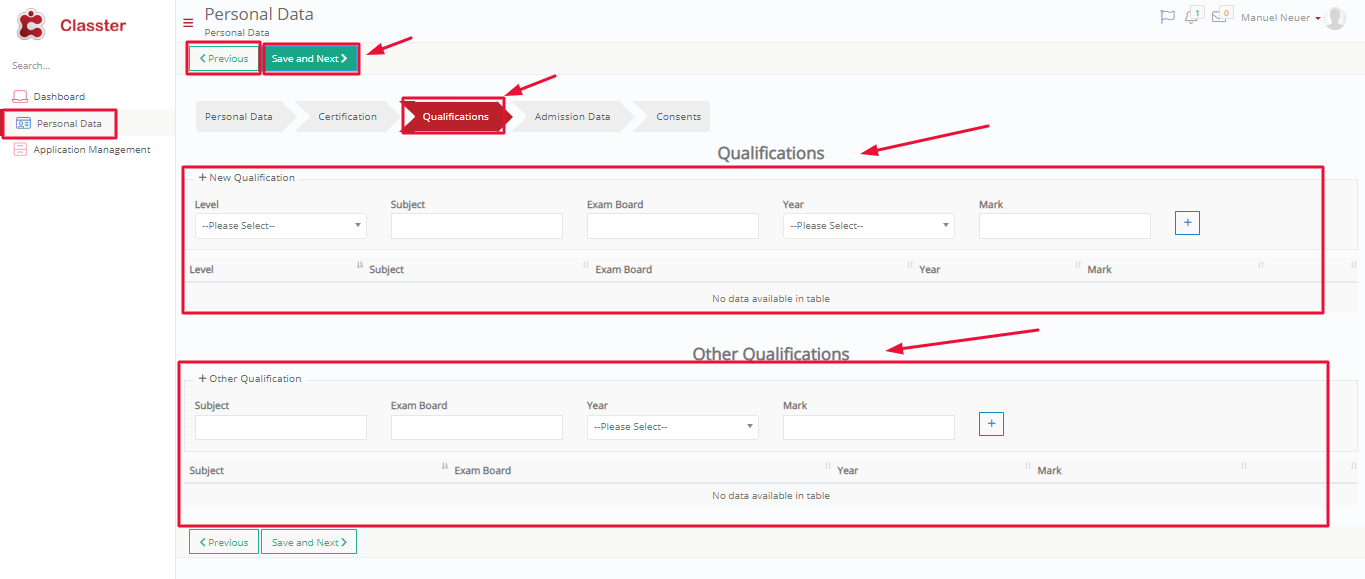 Figure 18
On this tab you will see the following (Figure 18):
- Here you can enter your Qualifications on any subject taken outside the institution e.g., ECDL Diploma etc.
- Enter the level of the qualification e.g., Advanced, Subject of the qualification e.g., English: A – Levels, Board validating this Qualification e.g., Ministry of Education, Year you attained this qualification and the mark you attained.
- Click on the ‘+’ button to add more subjects/qualifications.
- Qualifications not listed can be added under the ‘Other Qualifications’ tab.
- Once you are done filling in the fields, click on the ‘Save and Next’ button.
Once you have clicked on the ‘Save and Next’ button (Figure 18), you will be taken to the next tab Admission Data (Figure 19).
Admission Data
On this tab (Figure 19), you will be able to fill in additional admission data, as configured by the administrator and will also be able to upload documents required for the application.
Once you have clicked on the ‘Save and Next’ button (Figure 19), you will be taken to the next tab Consents (Figure 20).
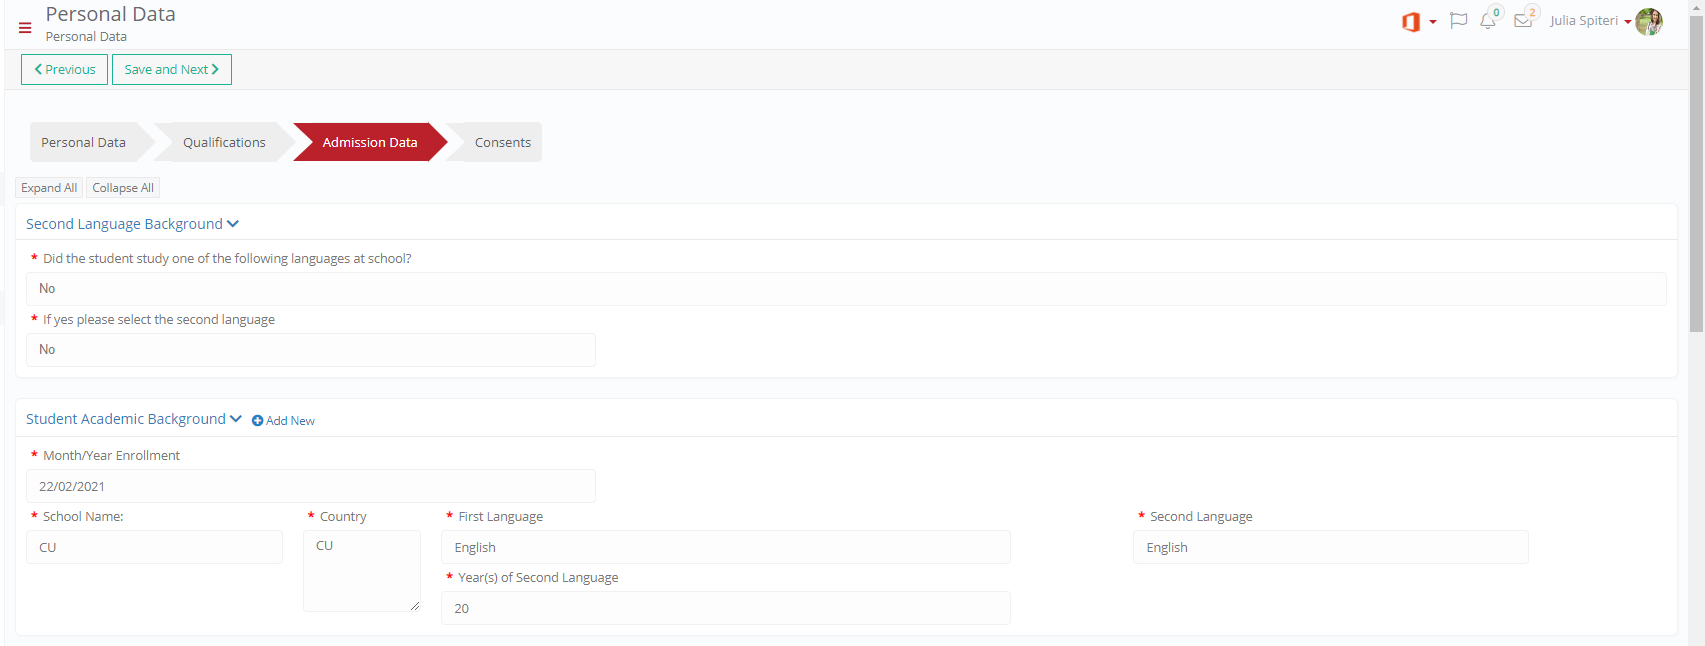 Figure 19
Consents
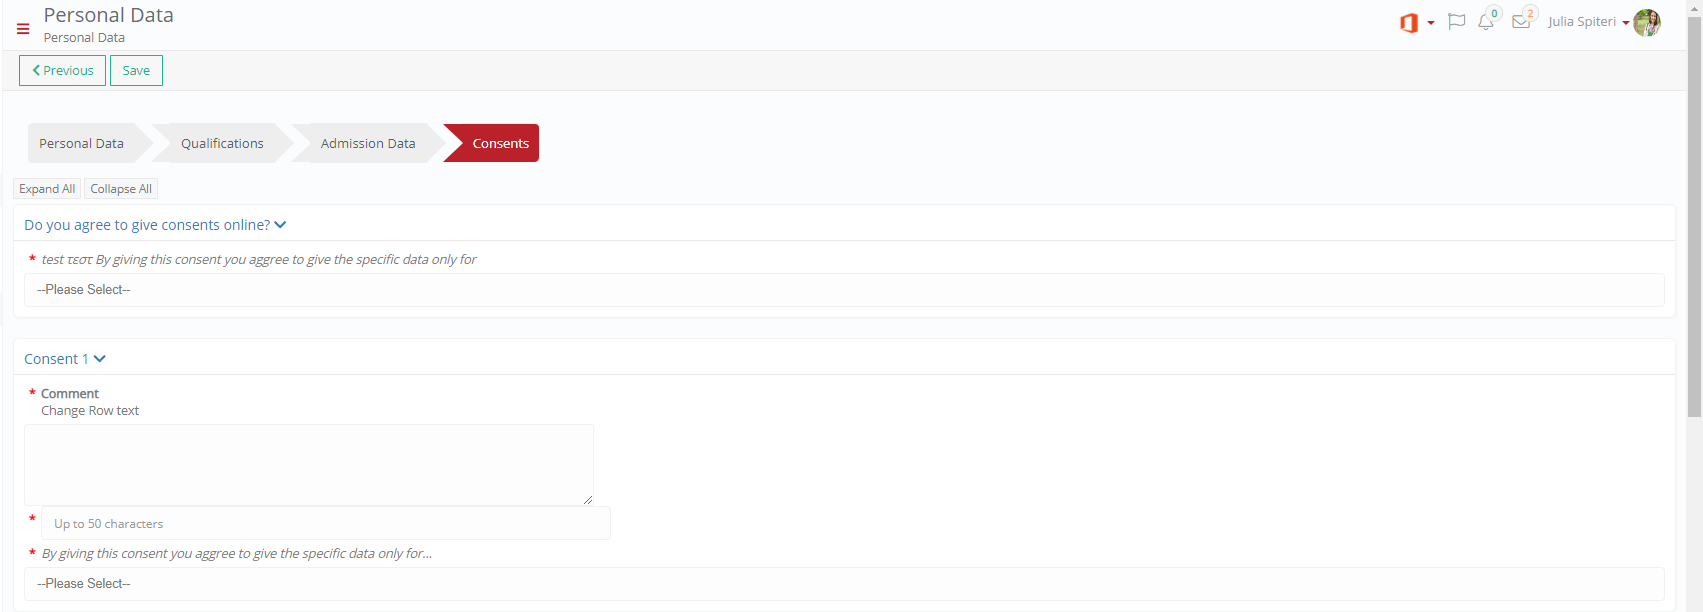 Figure 20
On this page you will see the following (Figure 20):
- Here you will see all the options you need to consent to.
- Consents are usually used by institutions to gain permission/agreement to use specific data/information provided by the applicant e.g. I agree to allow the institution to keep a copy of my ID card. Note that consents are reversible.
- You must answer all questions on this page to progress any further. Options with asterisks are required.
At any point you can click on the ‘Previous’ button to move to a previous tab.
Note: you must have filled in all required information to move back or forth.