

In this section, you can create new relatives and edit or delete existing ones.
Note: After creating relatives, you need to go to the student’s profile to connect the student with the relatives (access is subject to rights provided by admin) (Figure 203).

Figure 203
Create New
- Click on ‘Create New’ button to create a new relative (Figure 204).
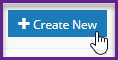
Figure 204
Note: Fields with a red asterisk are mandatory
- Insert relative’s basic data. You can also add parent’s Status, Degree Title, Category, Educational Level, Specialization and Birthday. Additionally, you can state if he/she is an Active relative so that he/she can be connected with a student, you can add Comments and Work Occupation (Figure 205).
Note: The drop-down lists options are set by the admin.

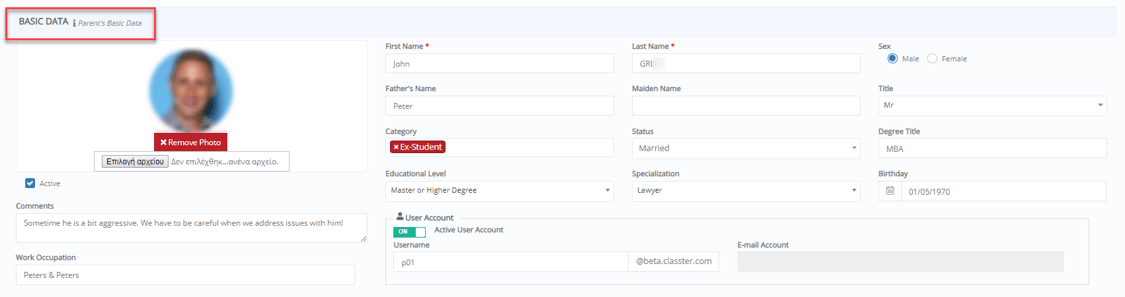
Figure 205
- Insert relative’s contact data such as E-mail, Mobile Phone, Home Phone, Address, City, P.O. Box and/or add extra phones or contact data (Figure 206).

Figure 206
- Insert relative’s other data, add data such as Tax Data, ID Card info and Demographic Data (Figure 207).
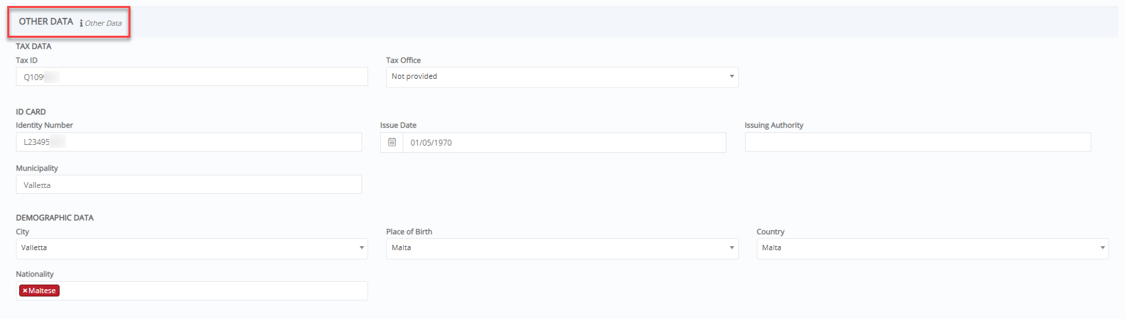
Figure 207
View / Edit / Delete
- Click on the ‘View’ button to select Card or Grid View (Figure 208).
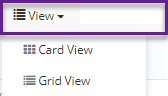
Figure 208
Card View (Figure 209).
- Select if you want to see ‘Only Parents with Registered Students’ or ‘Relatives from all periods’ i.e., relatives that have been created in academic periods other than the current one or ‘Relatives not Connected to Students’ i.e., relatives that have been created in the current period but are not connected to any student.
- Use the Search tool to find a specific relative.
- Click on the card to edit relative’s data.
- Click on the ‘Filter’ menu to show active, inactive or all relatives.
- Click on the ‘Contact’ button of the card to see relative’s contact info.
- Click on the ‘Actions’ button to send an email to the relative.
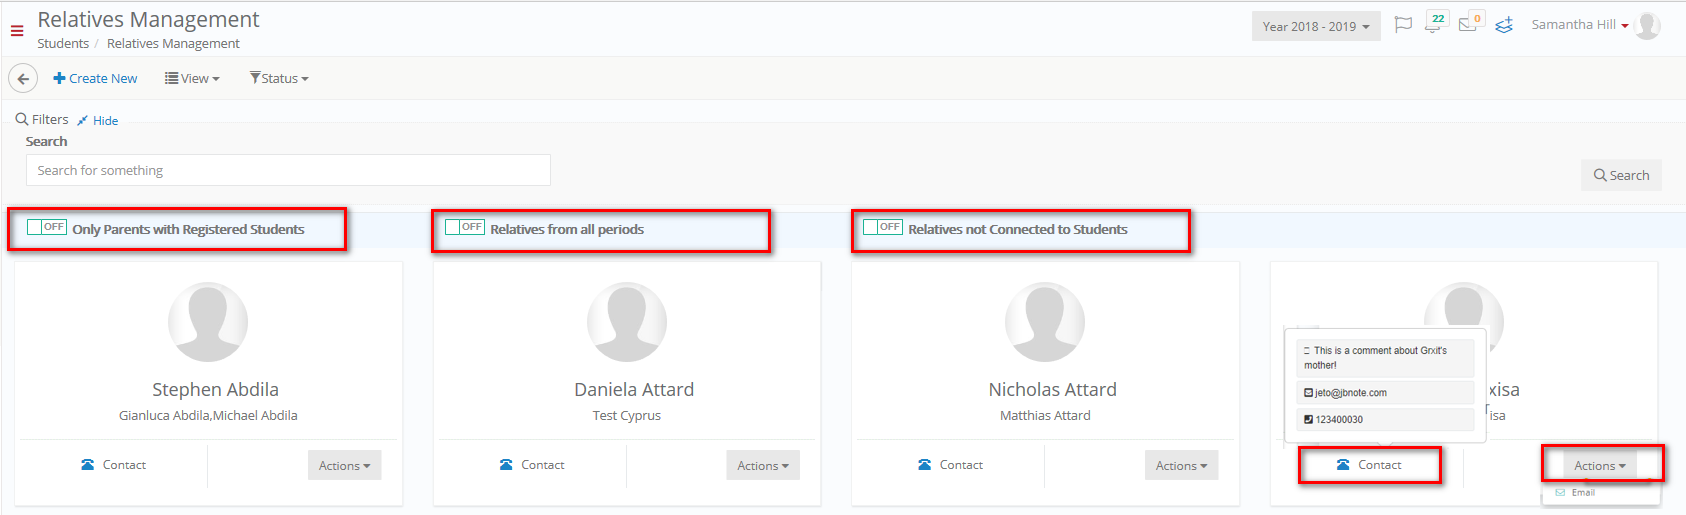
Figure 209
Grid View (Figure 210).
- Select if you want to see ‘Only Parents with Registered Students’ or ‘Relatives from all periods’ or ‘Relatives not connected to students.
- Use the Search tool to find a specific relative.
- Click on the Actions > Edit button to edit relative’s data.
- Click on the Actions > Delete button to delete relative’s data.
- Click on the ‘Status’ menu to show active, inactive or all relatives.
- Click on the ‘Actions’ menu at the top of the page to delete or anonymize the selected relative(s).
Note: ‘Anonymize’ will permanently replace relative’s data with asterisks. There will be no way to undo and recreate the original data once it has been anonymized.

Figure 210
![]()
- Use ‘Manage Columns’ to activate/deactivate the columns you want (Figure 211).
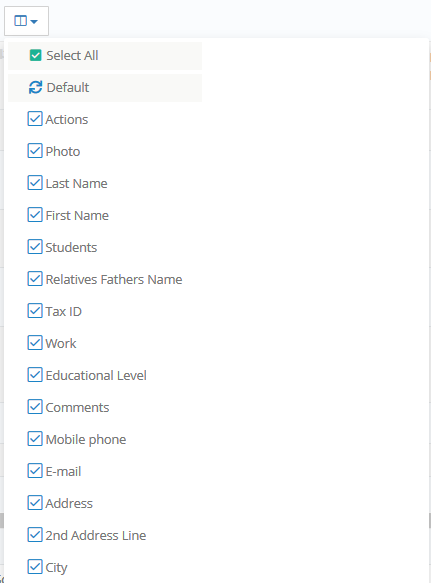
Figure 211
- Use the buttons to select/remove all, print or export relatives (Figure 212).
![]()
Figure 212