

Many times, after the tuition fees are calculated, an educational institution decides to proceed with a discount on the initial amount. The reasons for a discount vary widely, from the excellent academic progress of a student to the canceling of classes etc. Classter’s Billing Module has developed such functionality, with which the amount to be paid after the discount is auto calculated.
Tip: You can find more information on how to create a discount category here.
Let’s follow the steps in Classter Portal.
To create and add a discount for a student, you need to be logged in as an Admin. From the configuration menu, go to Financial Settings→Dropdown lists. (Figure 1)
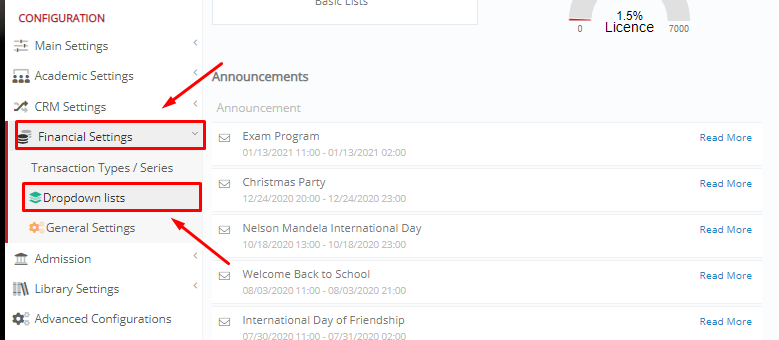
Figure 1
In the next window, from the dropdown lists, select Discount/Loan Categories from the dropdown field. On this page, you can create and edit Discount/Loan Categories that you use to categorize discounts that will then be available to users (Admins or Staff) in the financial forms and management sections. (Figure 2)

Figure 2
After you choose the right option, you may add a new category by clicking on the “+Add New” button. (Figure 3)

Figure 3
In the pop-up window, you can define the criteria of your discount (e.g. write a Description, set a maximum number of discounts etc.) Then, click on “Save” to save your discount category. (Figure 4)

Figure 4
Then you need to add a Discount/Loan Type. To proceed, from the dropdown lists, select Discount/Loan Types from the dropdown field. (Figure 5)

Figure 5
Now you may add a new type by clicking on the “+Add New” button. (Figure 6)

Figure 6
In the pop-up window, you can define the criteria of your discount (you need to write a Description and any other optional fields you want). Then, click on “Save” to save your discount type. (Figure 7)

Figure 7
In order to apply the discount for a student’s financial arrangement, you can follow the next steps.
Tip: If you are not familiar with the meaning of an arrangement, you can find an analytical explanation here.
From the main menu, go to Students→Students list. (Figure 8)

Figure 8
Select the student for whom you want to add a discount. Once you enter the student’s profile, go to the Financial tab. In the Financial tab, you want to view the Arrangements by clicking on the relevant tab. (Figure 9)
Tip: You may find more information about arrangement lists and arrangement students forms in our Knowledge Base.

Figure 9
For the arrangement, you want to add the discount, click on “Manage”. (Figure 10)

Figure 10
Next, you need to select a discount from the dropdown list and click on the button “+Add”. Choose the installments you want to add the discount and click on “Recalculate”. Classter will automatically recalculate the new amount to be paid in the selected installments. Once you are ready, click on the button “Save Arrangement”. (Figure 11)

Figure 11
Discounts can be an excellent tool in marketing your institution. With Classter you may create and apply generic or personalized discounts, according to your needs.
Extra Tip: Do not forget to take a look at our Billing Module Manual to take advantage of all its capabilities.
Find more or post your questions on our Facebook Community Page. Also, watch our how-to videos on our Youtube channel.