

In this section of the manual, you will see how all the previous sections connect in order to apply Descriptive Marking to your Institutions Subjects. You are also able to create a subject with Descriptive Marking and enrolling all your students in it (This suggestion is only for cases where you want to evaluate all your students with an overall Descriptive Marking Criterion).
You need to go to the Subjects page to view your existing subjects and/or create new subjects. Follow the path: Dashboard > Configuration > Main Settings > SubjectsàSubject List (Figure 22).
 Figure 22
- To more easily locate subjects, use the filters (Year, Stream, Category) to locate the subject/s you want (Figure 22).
- You may also use the Search field to locate a specific Subject
- You may also choose to view results in a Grid or Card view by clicking on the View dropdown list and choosing your preferred view (Figure 22).
- By clicking on the Status dropdown list you can choose to view Active, Inactive or All Subjects (Figure 22).
- For some help, you can click on the ‘?’ button located on the top right corner of the screen (Figure 22).
- You can create a new subject by clicking on the +Create New button located in the top left corner of the main screen (Figure 22).
- You can edit a subject by clicking on it (Figure 22).
For the purposes of this manual, you will see below how we edit a subject in order to add the Marking Periods, Marking Criteria, Marking Ranges and Marking Scenarios you created earlier. The same steps will apply when creating a new subject (In regard to Descriptive Marking).
Edit Subject
Once you have clicked on a subject you wish to edit, you will be transferred to the Edit Subject page (Figure 23).
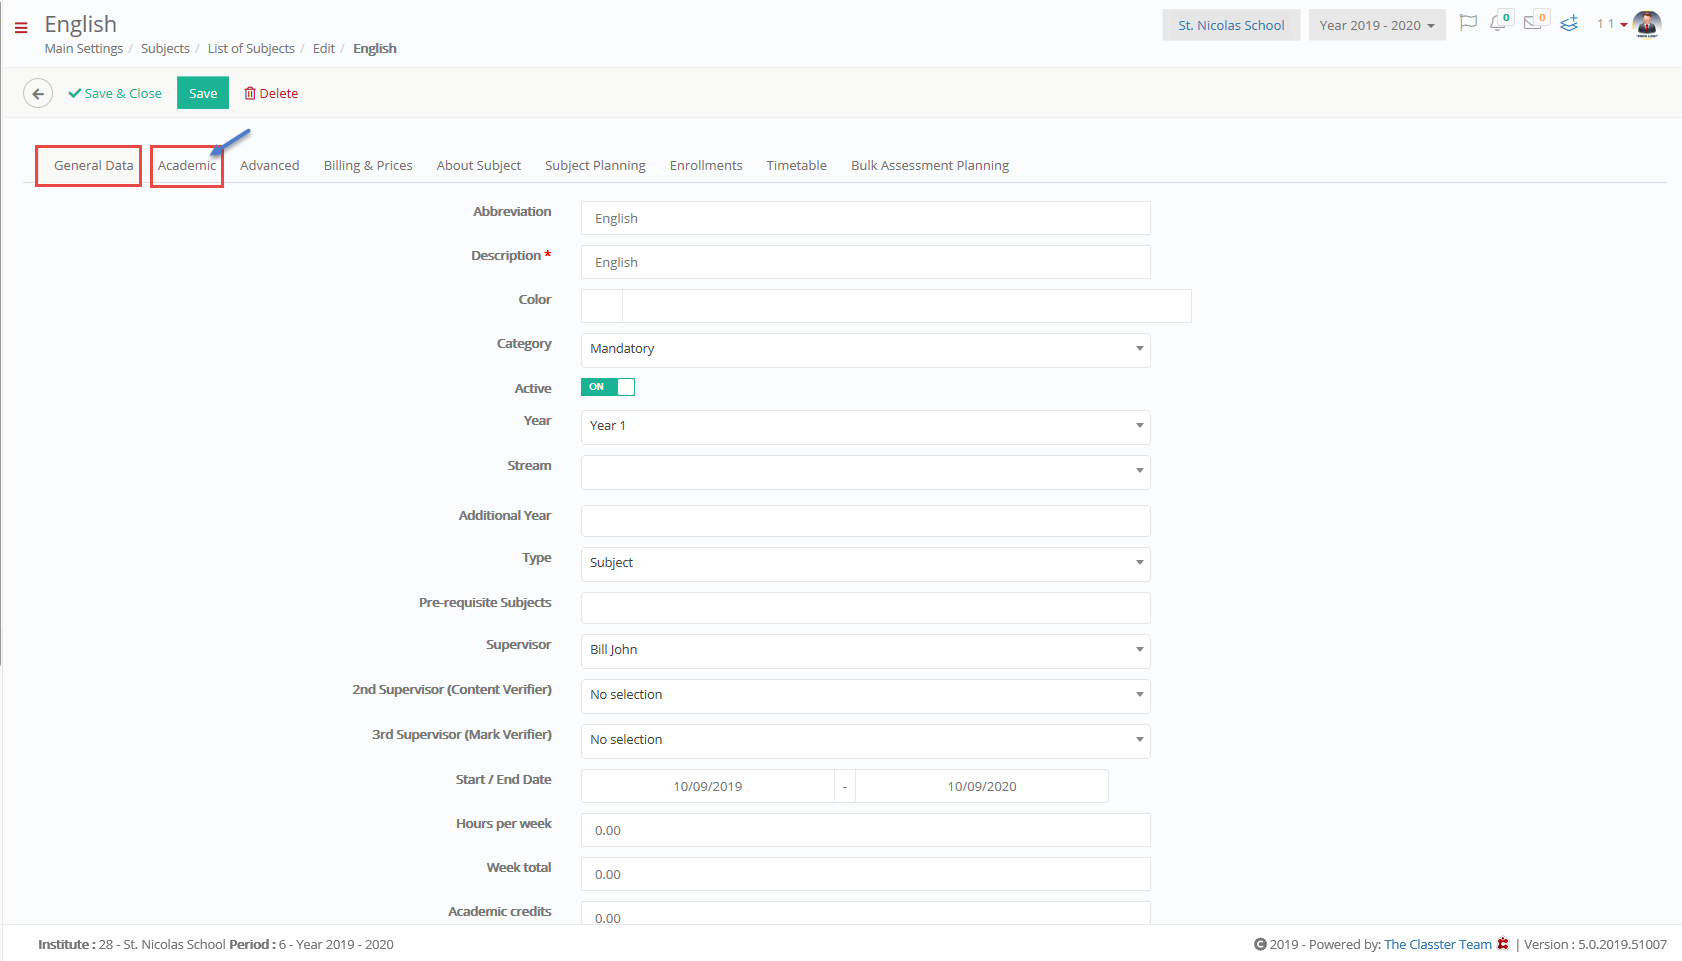
Figure 23
You will arrive on the General Data tab of the Edit Subject page (Figure 23).
- Here you will need to click on the Academics tab to proceed with adding Marking options to this subject (Figure 23).
Once you have clicked on the Academic tab you will be able to see all the Academic Options available for this Subject (Figure 24).

Figure 24
- ‘Marking Periods’, you can add the marking periods you created in the previous section of the manual or use the pre-existing ones. Here you add the time periods in which your students will be receiving marks e.g 1st Term (Figure 24).
- ‘Marking Scale’ in this option you will need to add one of the Descriptive or Numeric Marking Ranges you created or edited in the earlier section of this manual. For example, Behavioural Scale (Figure 24). You can also choose None if you only wish to add Descriptive Marking Ranges.
- ‘Descriptive Marking Scale’ in this option you can choose a Descriptive Marking Range you created or edited in the earlier sections of the manual e.g Behavioural Scale (Figure 24). Underneath the options drop-down you will find a button named ‘Marking Scenarios’ if you click on it you will see the following popup window (Figure 25).

Figure 25
- Here you can set up which scenarios you want to be available for each period e.g 1st Term, Main (Marking Scenario Numeric), General Assessment (Descriptive Marking Scenario), Full (Descriptive or Numeric Marking for evaluation of each of the Teachers Sessions), 0 decimals. You can choose to have only Descriptive or only Numeric Marking Scenarios. Click on the OK button (Figure 25).
- ‘Set up Homework Scenarios’ not part of this manual.
- ‘Criteria Model Scenario’ is the Scenario (Descriptive Marking) linked to Learning Outcomes for each subject. It is used for levels that may not yet have a letter or number marks e.g Kindergarten (Figure 24).
- ‘Authorized Absences’ not part of this manual.
- ‘Unauthorised Absences’ not part of this manual.
- ‘Books’ not part of this manual.
Once you are done adding your new Marking Periods, Ranges, Criteria, Scenarios you may save your changes by clicking on the ‘Save’ button (Figure 24).