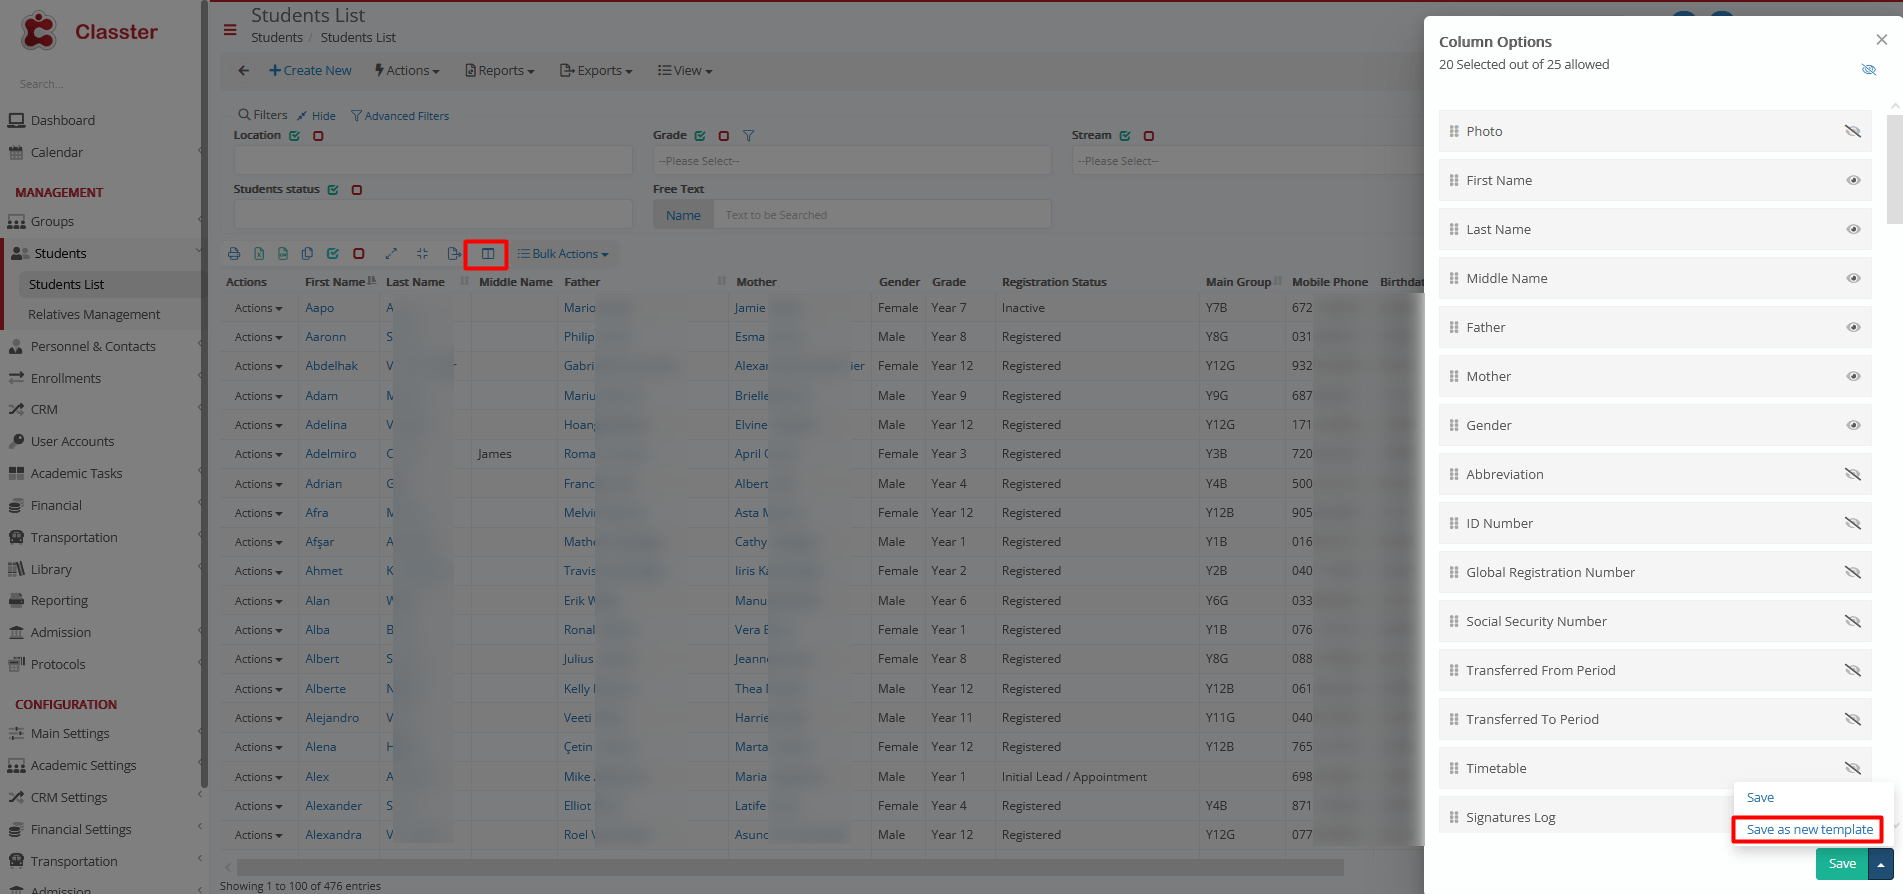
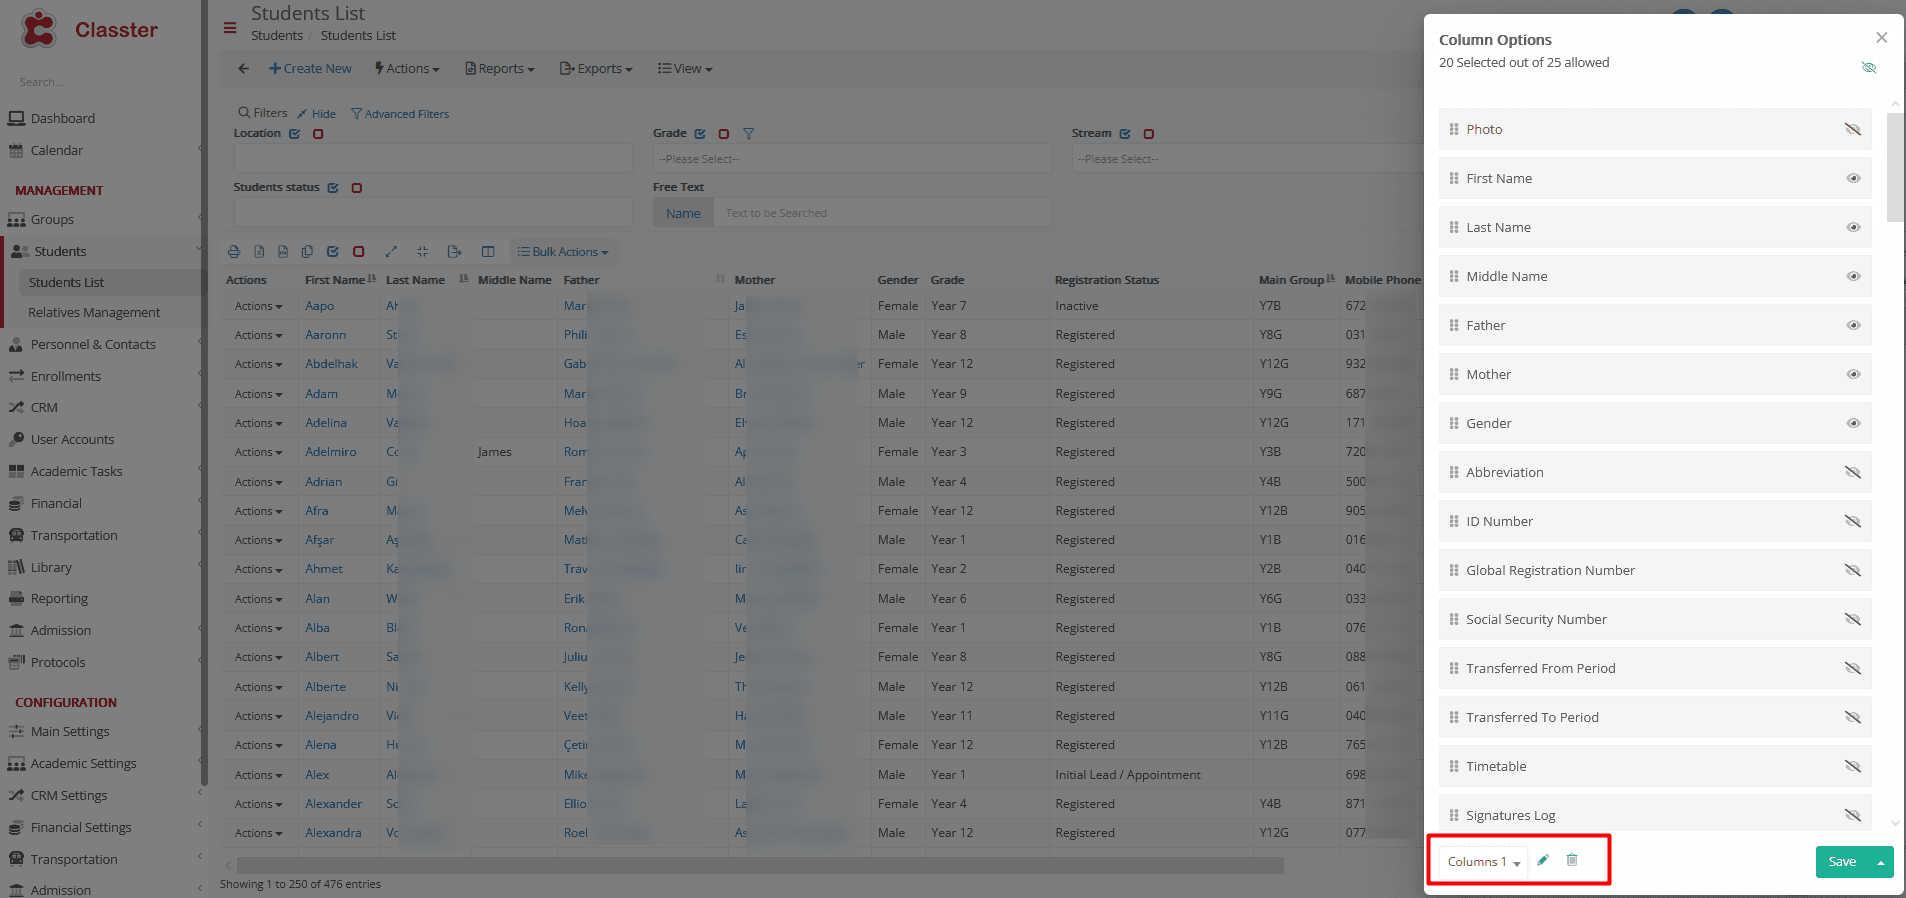
Students’ Grid
To create your custom grid, go to the Student List (grid view) and select the Column Options icon.
At the bottom of the column options list, select Save as new template.
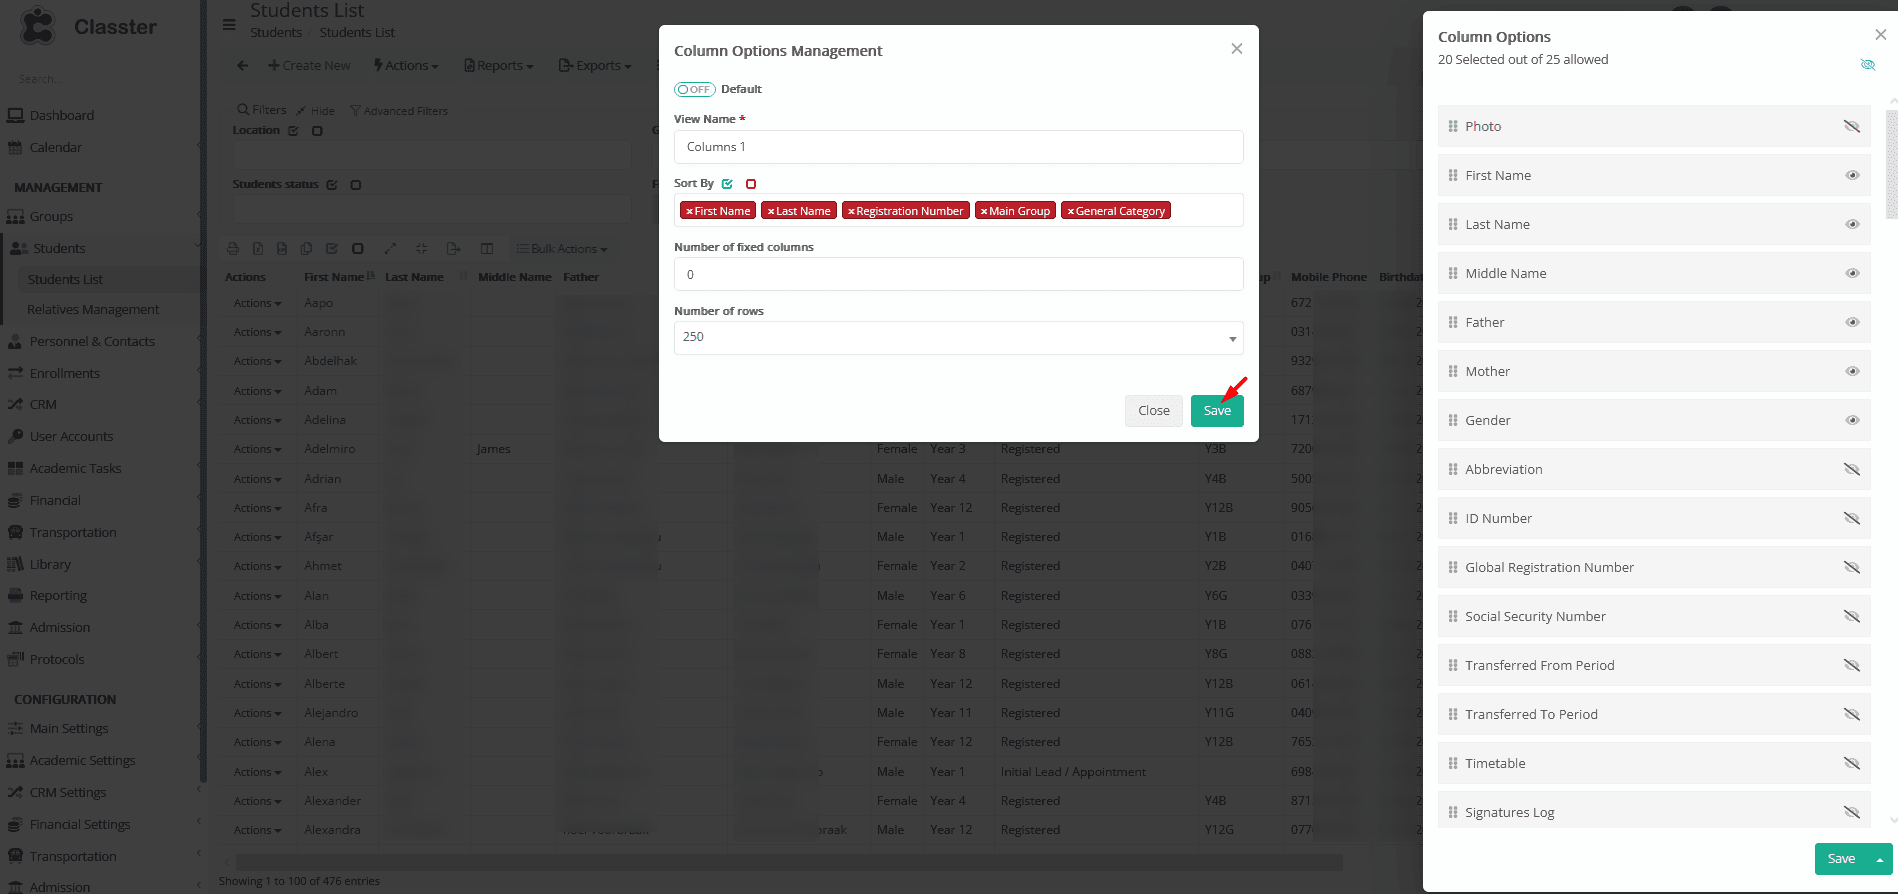
A pop-up window appears, to configure the custom grid.
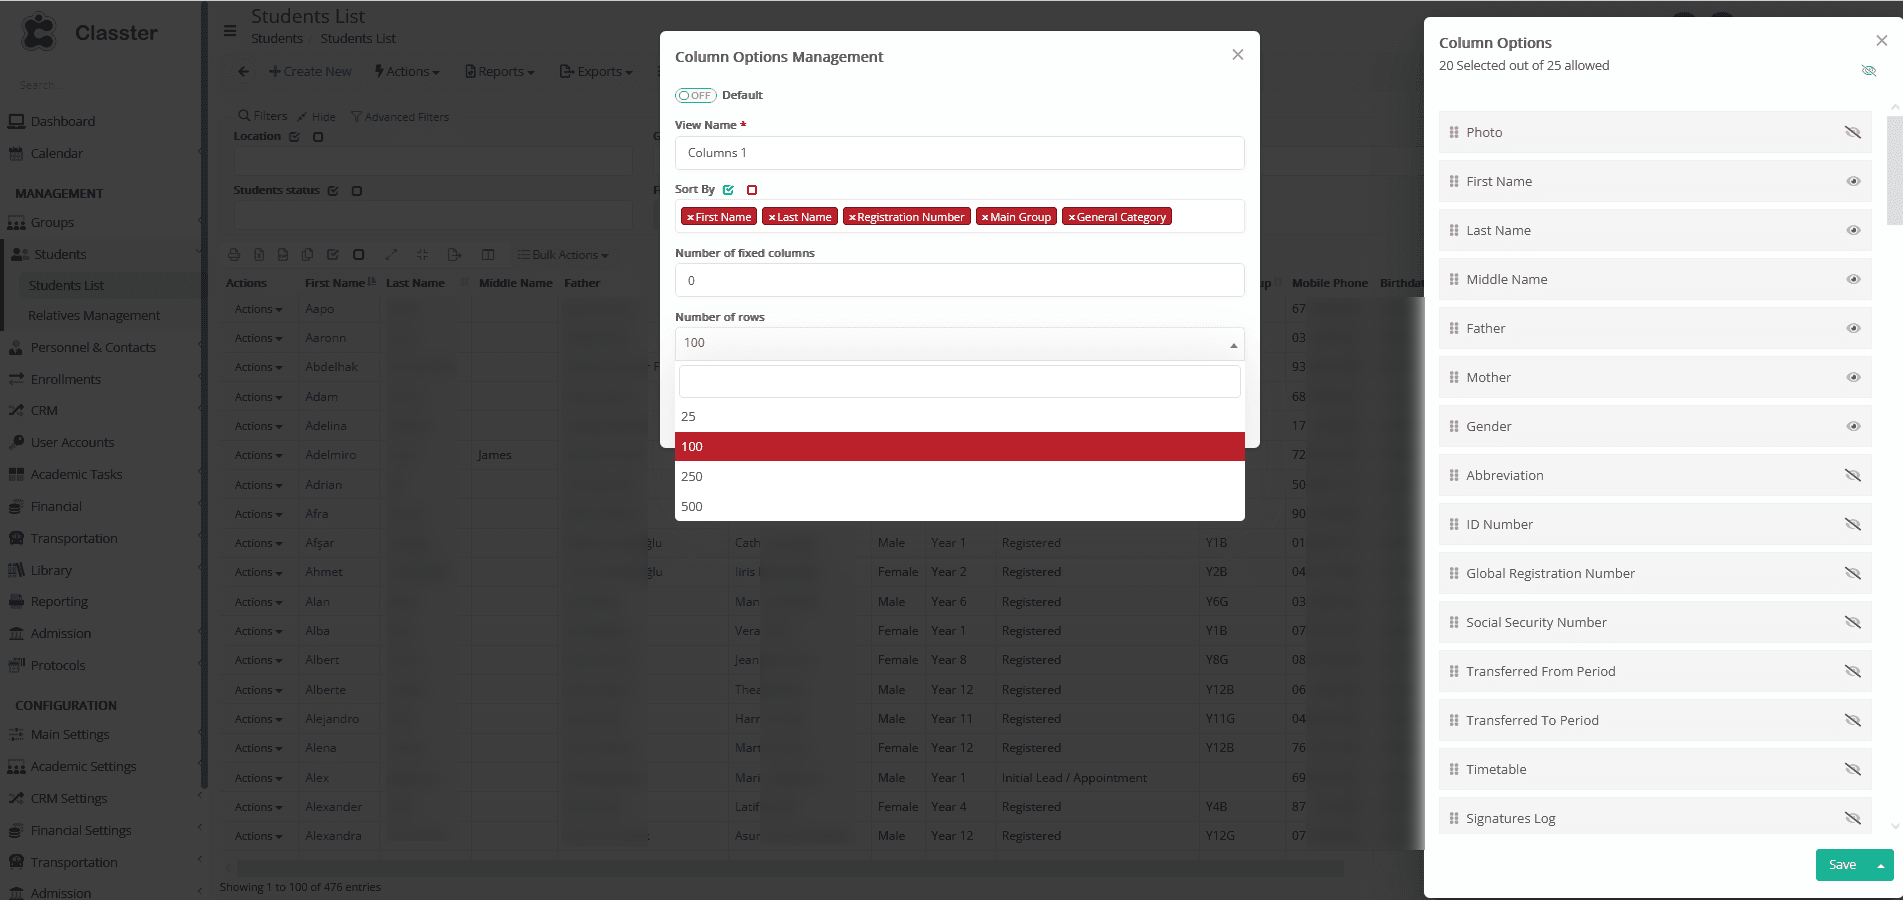
Do not forget to Save.
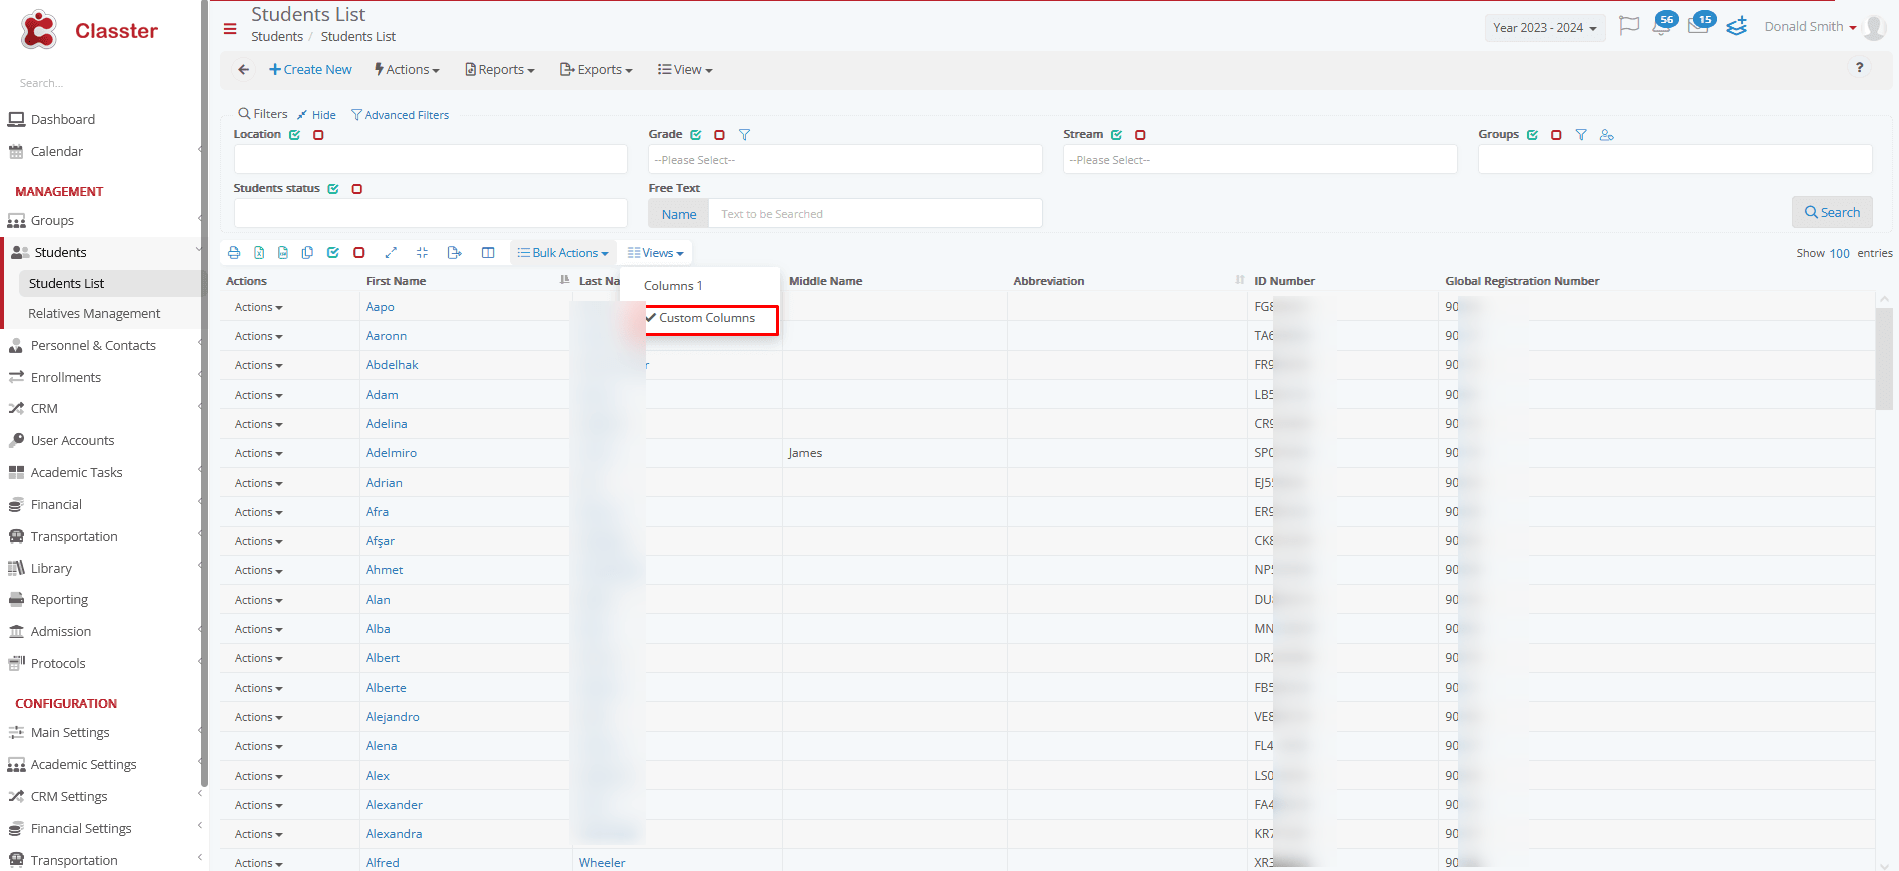
The saved Custom grid is at the bottom of the Column Options list, to edit or to delete.
Opening the Student’s grid, you can now choose your preferred grid from the Views button.
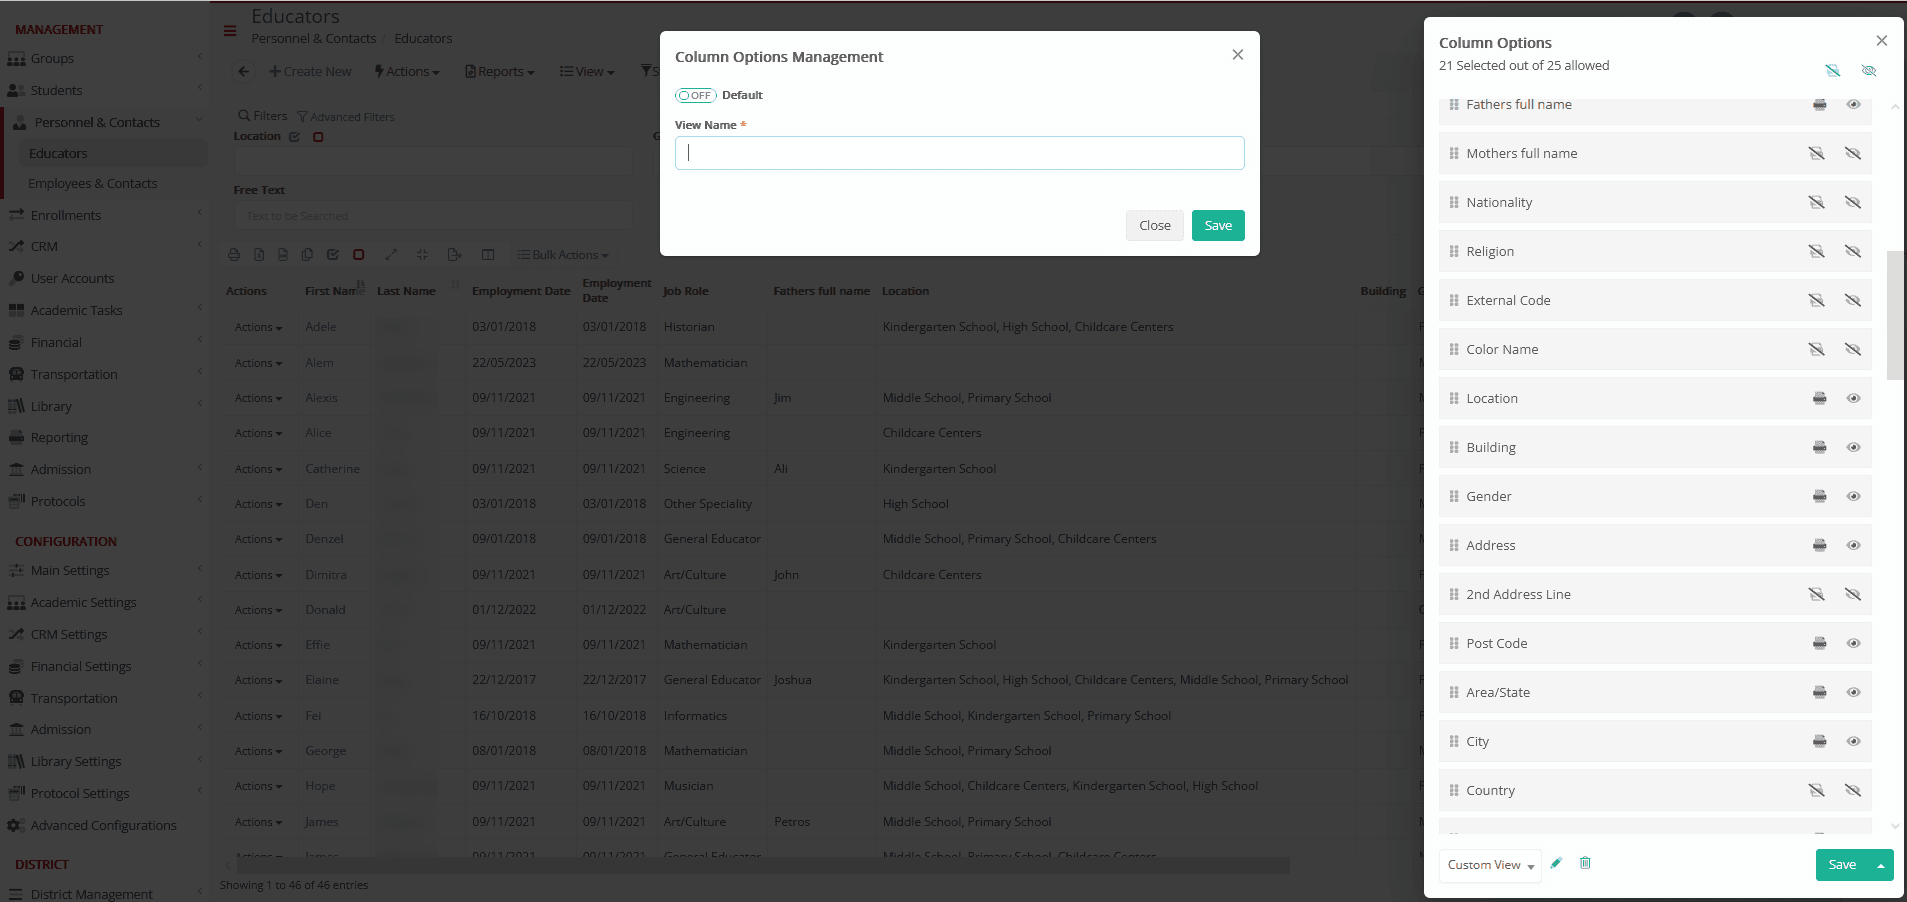
This is applicable to most users’ grids.
Educators’ grid
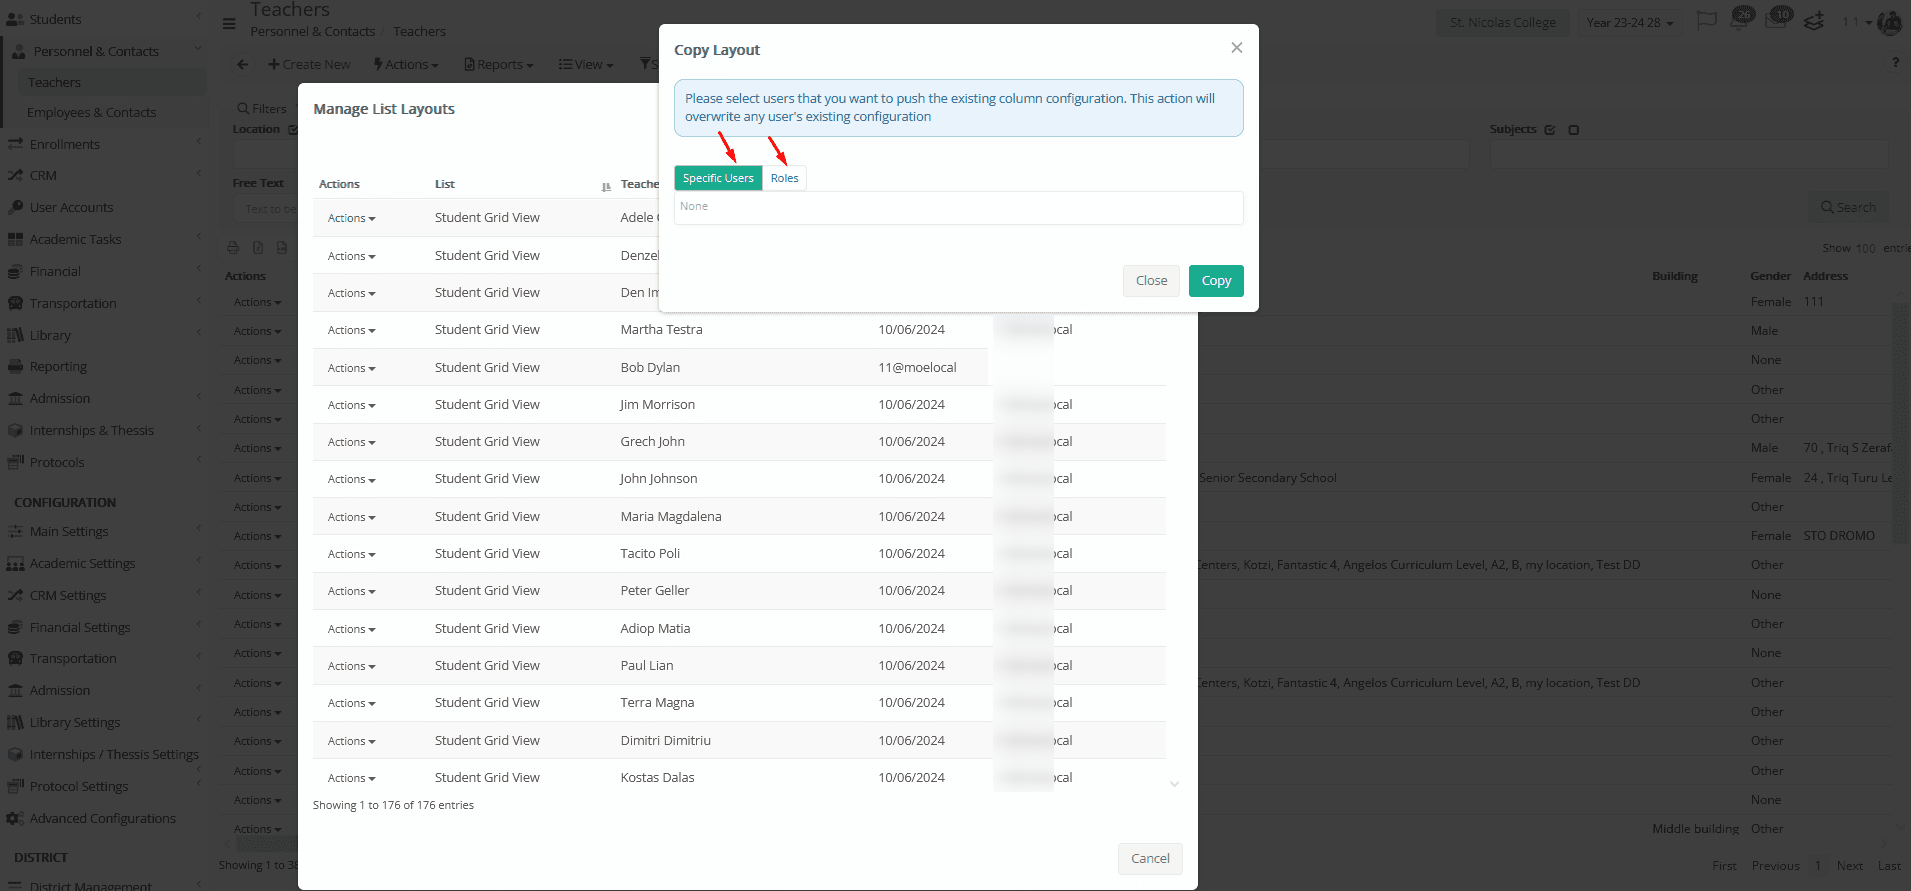
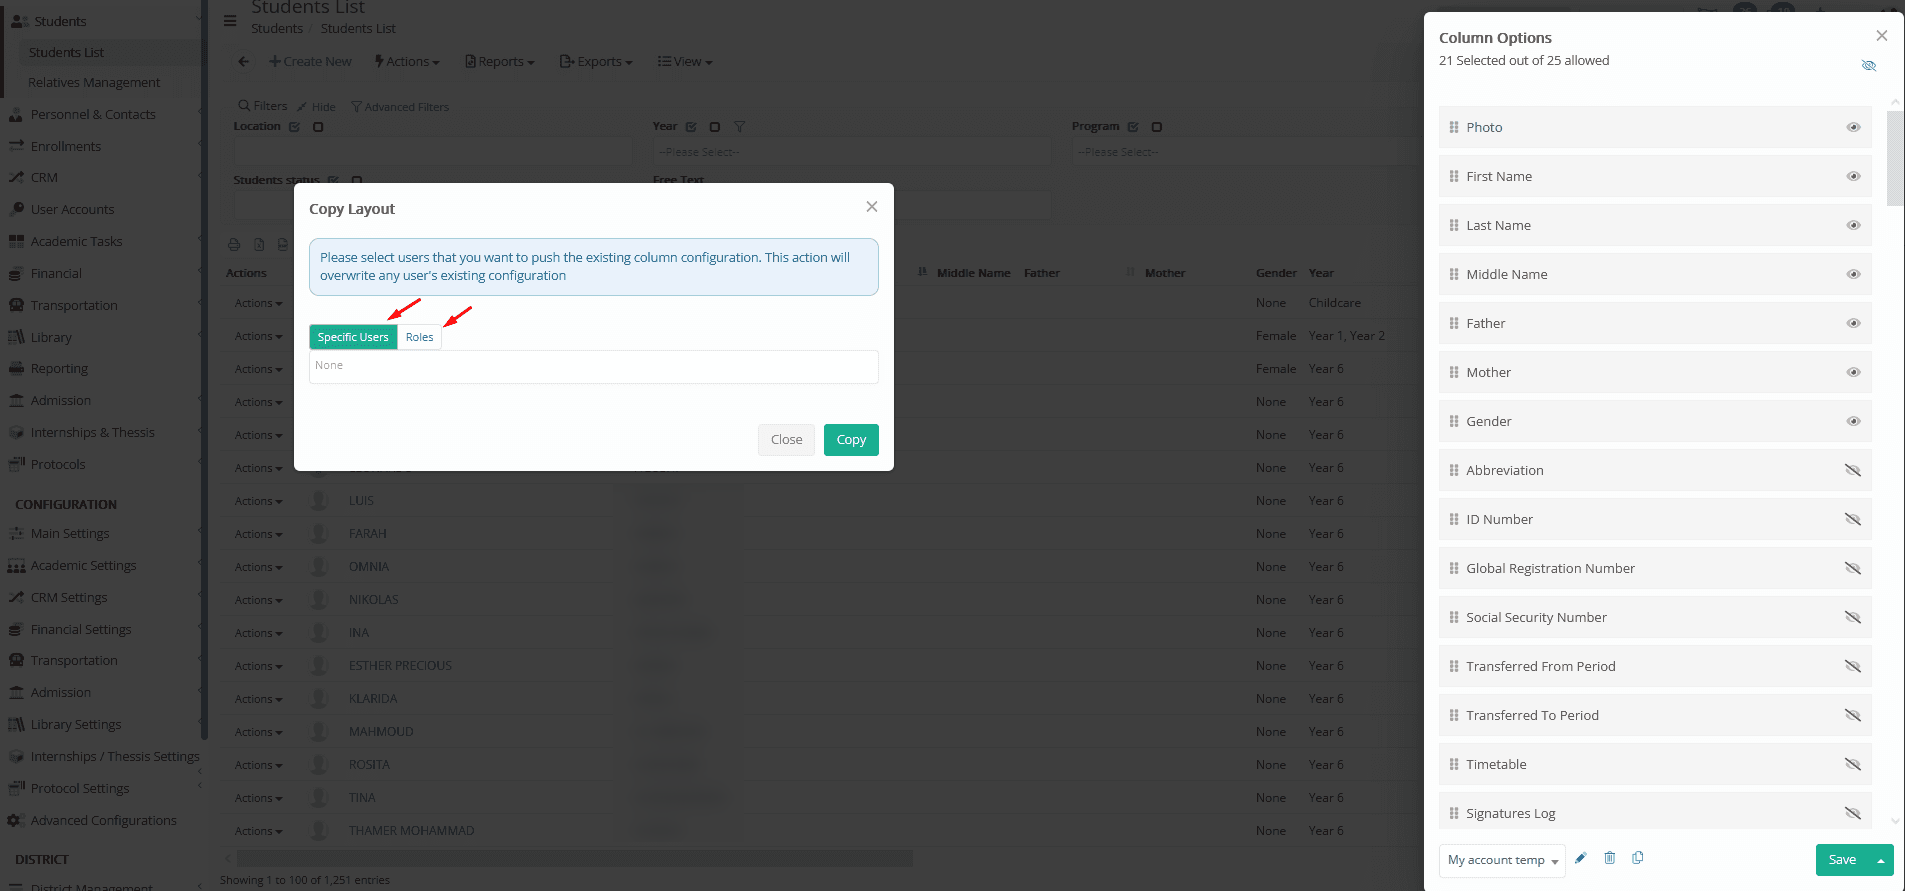
Copy Grid Layouts and Distribution
Having already created a Custom Grid, you can now distribute it to other users, selecting the Copy Button.
A pop-up window will open, to choose whom you would like to share these grid layouts with (Specific user or Role).
This functionality:
- Allows the secretariat to share lists with other secretaries.
- Enables the secretariat to forward lists of teachers to other teachers.
- Provides the capability to distribute lists based on roles or individual users.
Copy teachers’ grid to another user/specific role.
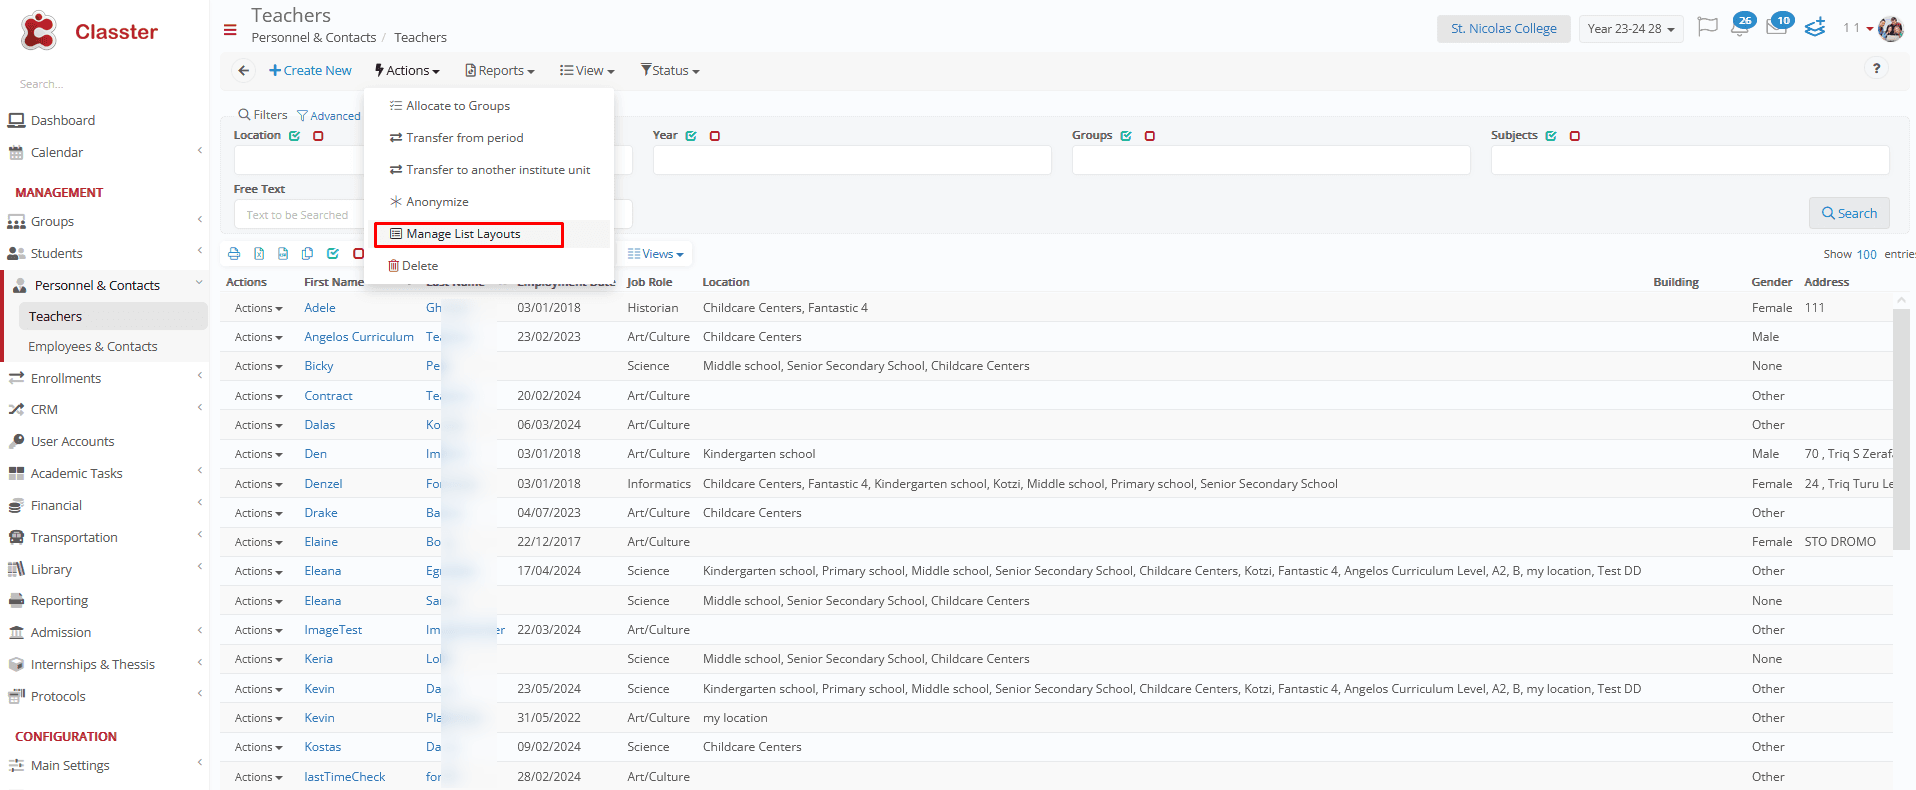
Additionally, there is a new “Manage List Layouts” action in the teacher list actions, opening a sortable and searchable dialog table with columns about relevant data: Actions, List, Teacher, Date, and Created By.
You can select any Saved Custom Grid created by a Teacher, select Copy Layout from the Actions Button.

Share it with another User or Role.