Introduction
This guide will walk you through the PayPal integration setup, via Shuttle.
Feature: Integrate PayPal via Shuttle
Benefits of using PayPal via Shuttle
- Modern & secure: fully aligned with PayPal latest compliance standards
- Up to date: Shuttle is always up to date in terms of payment gateways updates
- All payment methods in one place: accept cards (Visa, Mastercard, etc.) or PayPal accounts and extra features
- Fast setup: connect in minutes through the Shuttle dashboard
- Reliable & stable: tested successfully with live clients
- No disruption: keep your current PayPal account, simply connect via Shuttle
How to Configure
Step 1: Enable PayPal via Shuttle
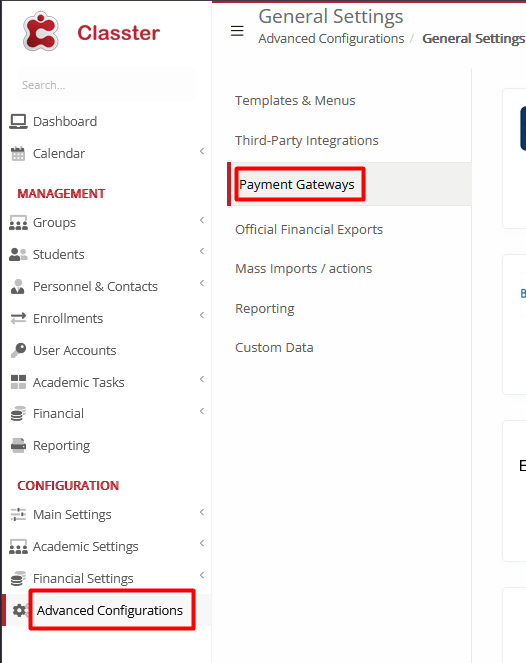
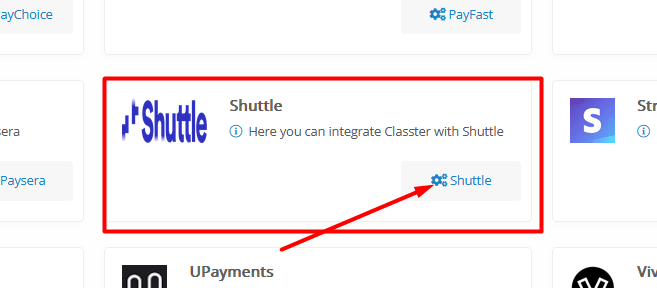
Navigate to Advanced Configurations > Payment Gateways > Shuttle.
(Note that Only administrator accounts can access Advanced Configurations).
Step 2: Migrate if prompted
If Classter prompts you to “Migrate”, please click to proceed. However, if no migration prompt appears, simply continue to the next step.

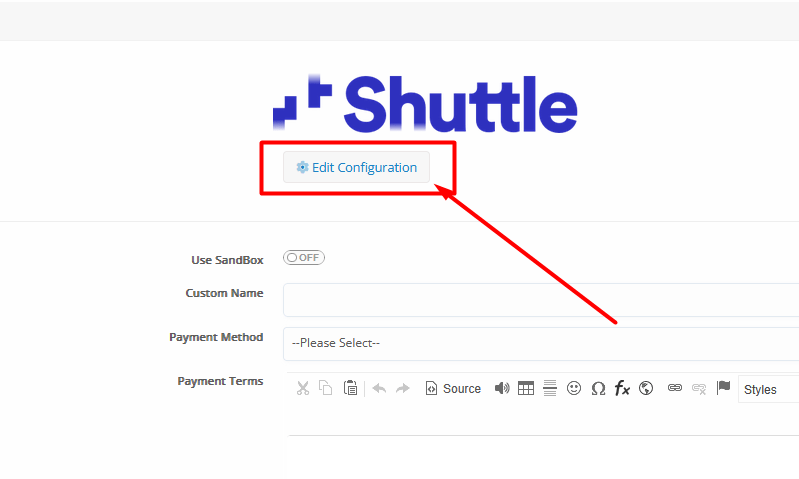
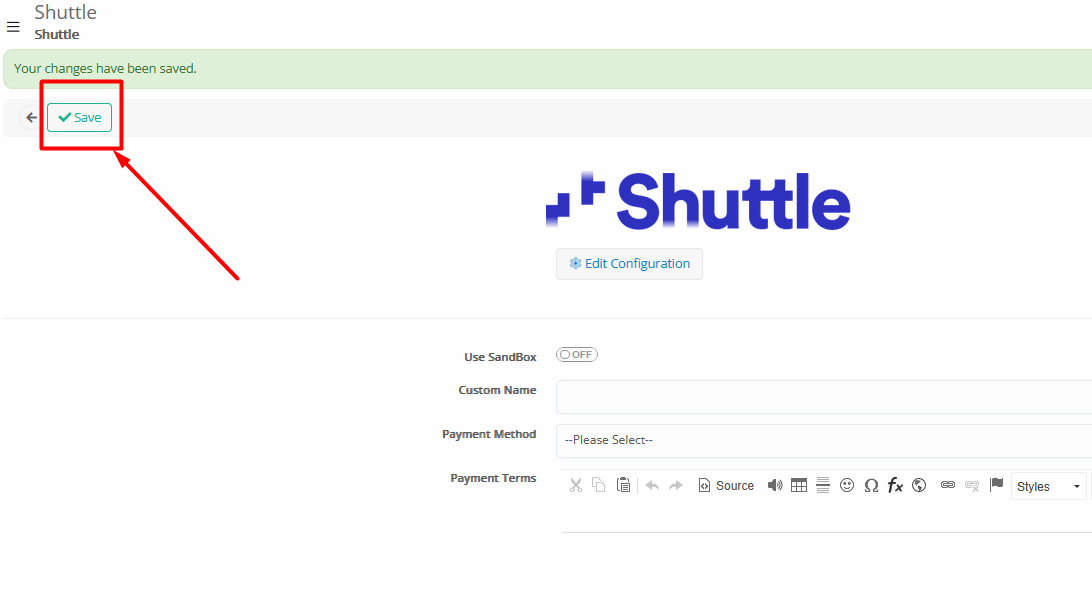
Step 3: Sandbox
Sandbox is being used for testing purposes. You can start with a sandbox account for testing and then switch to the production account.
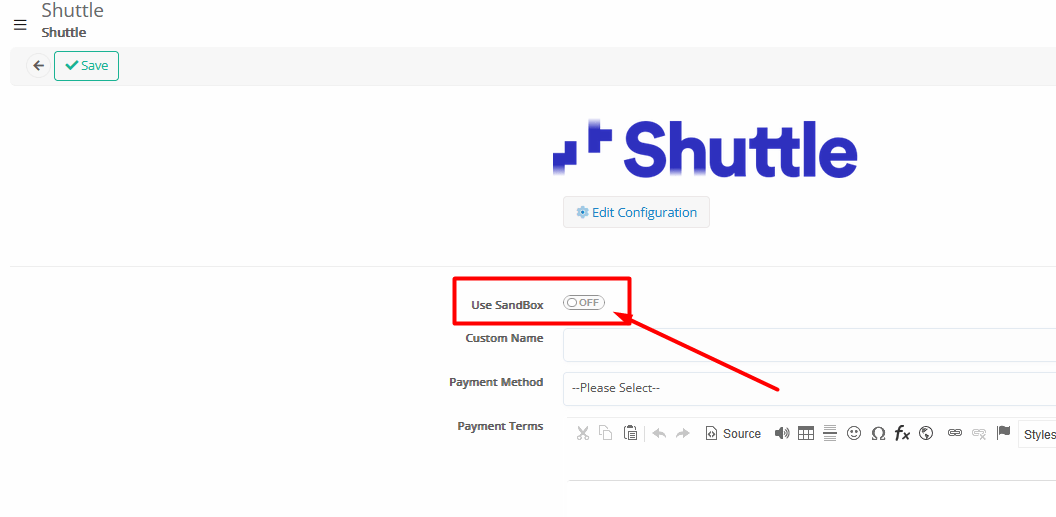
Turn off “Use Sandbox” to use in production and click Save.

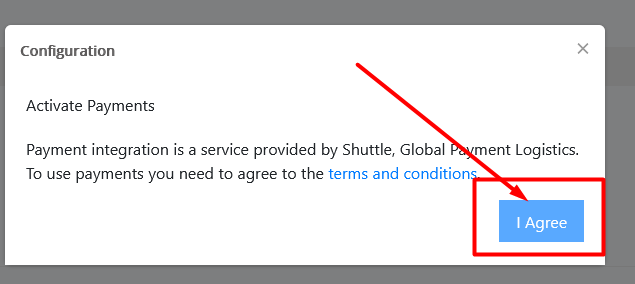
Step 4: Open Configuration
When prompted, click “I Agree” to accept Shuttle’s terms.
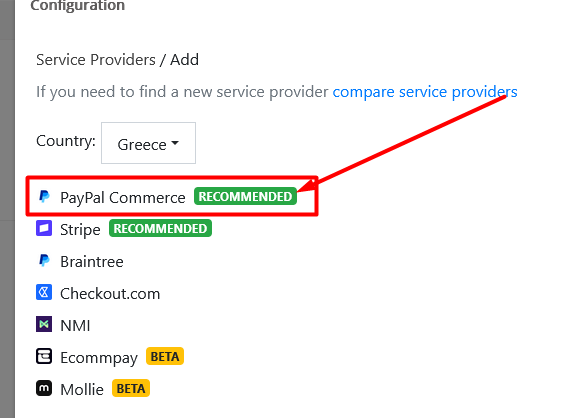
Step 5: Add PayPal as Service Provider
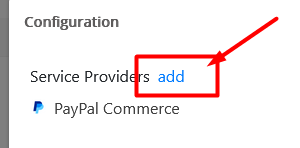
Choose your Country and select PayPal from the list of available service providers.
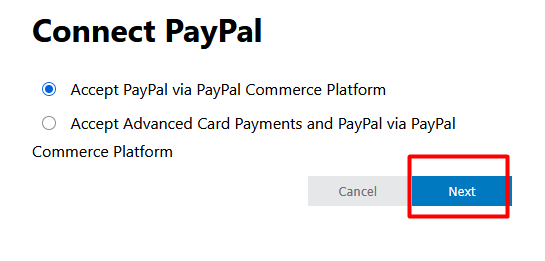
Step 6: Connect your Business PayPal Account

Click Next. When prompted, sign in with your PayPal Business credentials to authorize the connection.
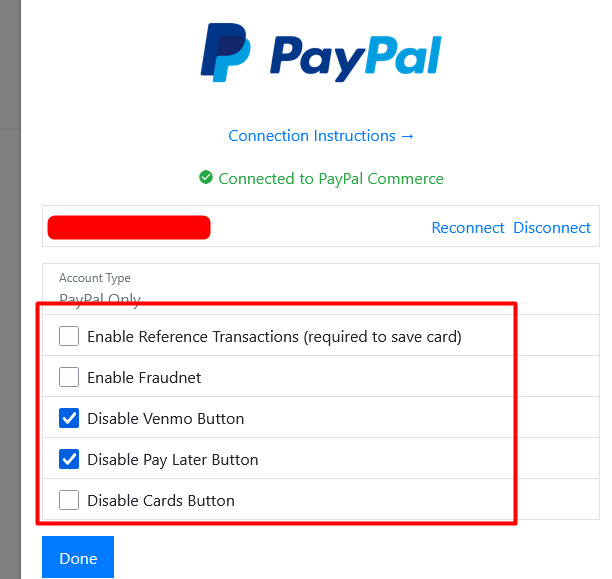
Step 7: Confirm Successful Integration
Once the connection completes, you will see the message: “Connected to PayPal Commerce.”
Then:
- Enable any payment features you wish to use.
- Click Done.
- Finally, click Save to complete the integration setup.
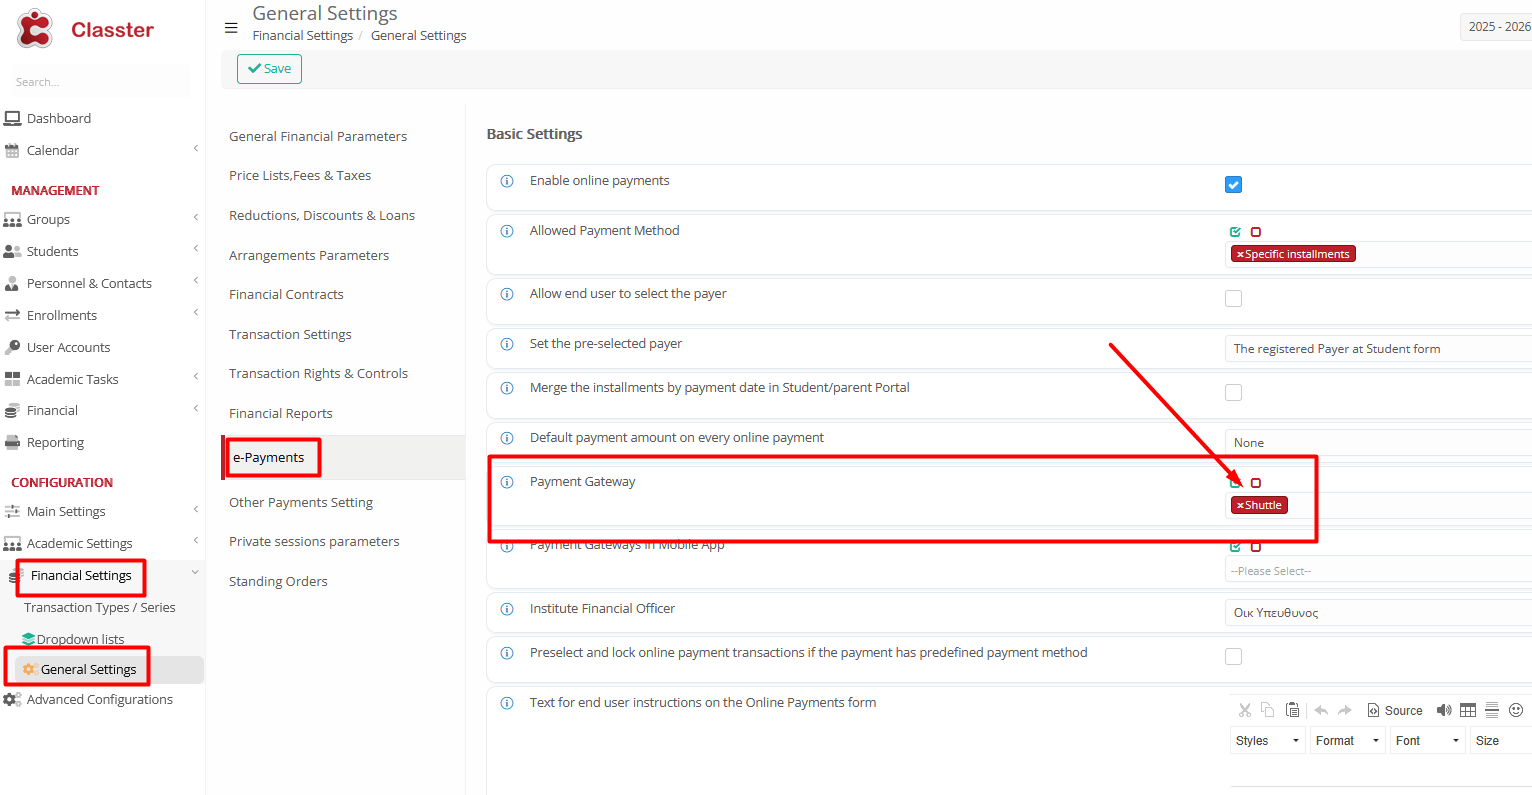
Step 8: Enable this integration for your online payments
Navigate to Financial Settings > General Settings > E-Payments. Then, under Payment Gateway setting, select “Shuttle”.
Verification
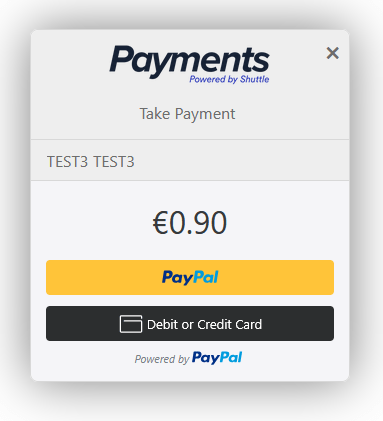
Run a small test transaction (without payment) to confirm that PayPal environment comes as expected
Student profile: