

Watch the How-to Video

You can see all your students and their personal and academic information.
- Click on “My students” (main menu Figure 41).
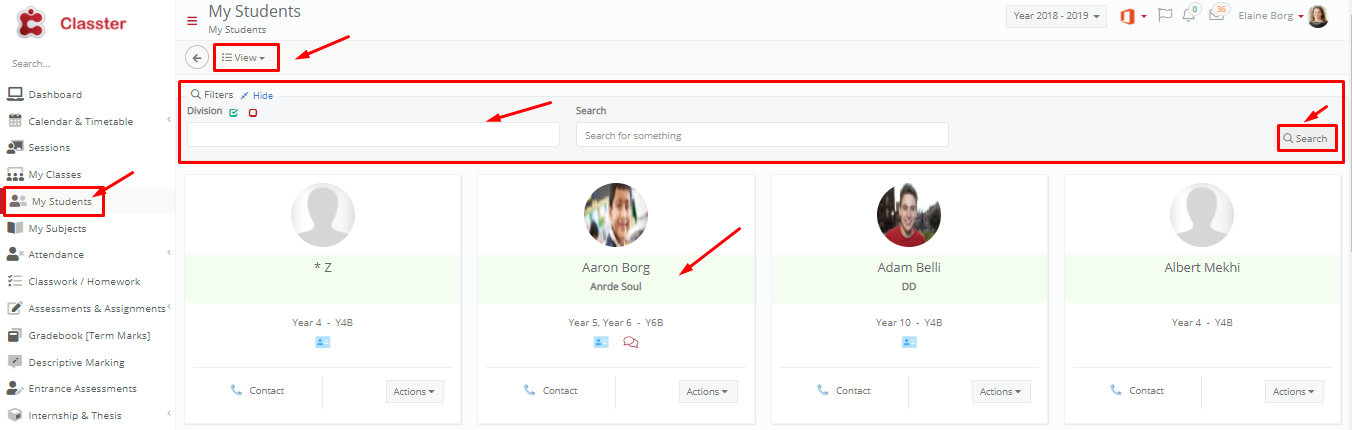 Figure 41 (Card View)
- Select a view option from the ‘View’ drop-down list (Figure 41a). Each of these shows a different set of information (Figure 42 & Figure 44).
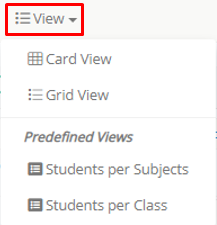 Figure 41a
Note: On the Grid view state, you can select the Mentor button (on – off) ![]() in order to see only the students that have been assigned a Mentor.
in order to see only the students that have been assigned a Mentor.
 Figure 41a
- Card View (Figure 42)
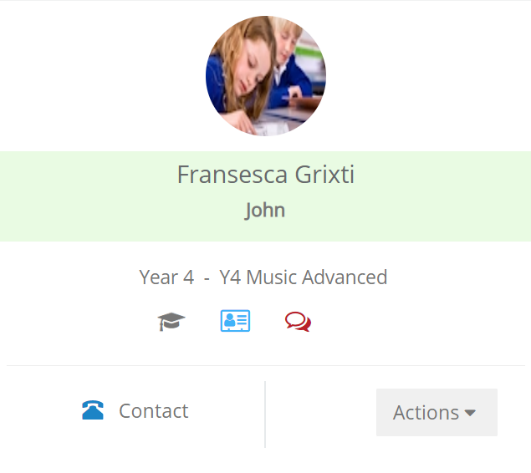 Figure 42
You can see all your students or search by location and/or student name. (Figure 43)
 Figure 43
In the table below, see the functions of the buttons on the student’s card.
 |
The student has been assigned a Mentor teacher (added by the admin). |
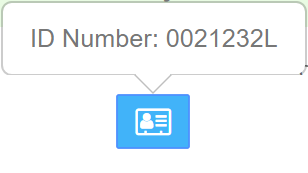 |
Student ID number (added by the admin). |
|
Important medical info about the student (added by the admin).
Comments button |
 |
Send email to the student or see his/her performance statistics. |
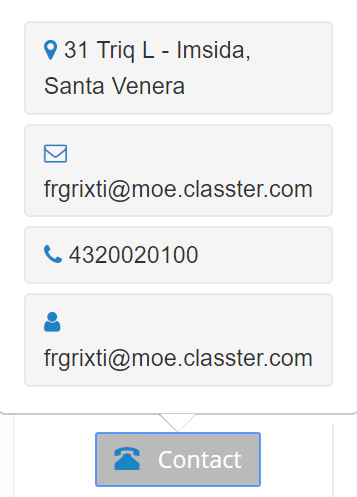 |
Student’s contact info (added by admin). |
- Grid View (Figure 44)
In Grid view you can see students in detail. You can use the column fields to filter the results e.g. show students whose Grade is Year 4 and the Program is Basic and/or use the double arrow button to show results in ascending/descending order.
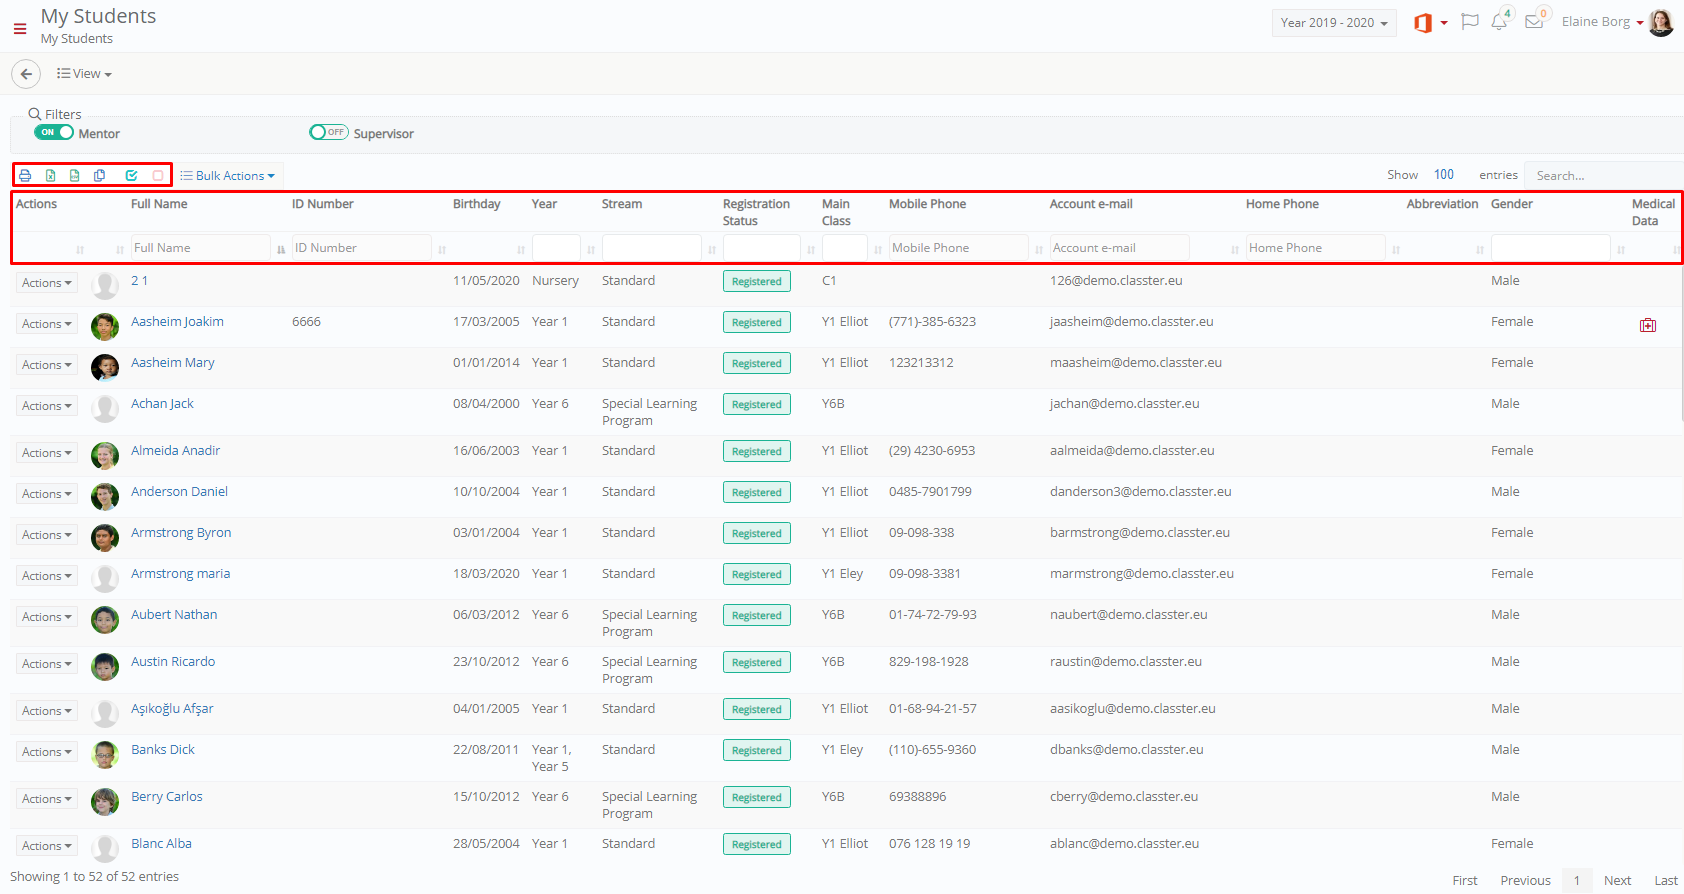 Figure44
Note: You can select the number of entries you will view. (Figure 45)
 Figure 45
In the table below, you can find out the functions of the available buttons.
| Print student list. | |
| Export student list to Excel. | |
| Copy student list to Clipboard. | |
| Export student list to Csv. | |
 |
Select All students button, De-select All students.
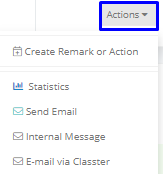
Bulk Actions dropdown with the options to create Actions & Remarks, Send Internal Message or Email via Classter to selected students |
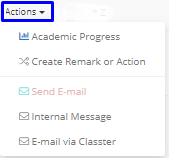 |
“Grid View”, View student’s academic progress or send him/her email, internal message or create a CRM Remark & Action. |
- Click on Students per Subject (predefined view) (Figure 41)
![]() You can see all your students, grouped by subject. You can also add filters in order to see only a specific subject’s students (Figure 47).
You can see all your students, grouped by subject. You can also add filters in order to see only a specific subject’s students (Figure 47).
 Click on “Show filters”
 Select the “Select All” button to select all subjects
- Select the “Remove Selected” button to remove all subjects
- Click on the drop-down list to select a specific subject (Figure 46).
- Select “Search” to see results
 Select the “Select All” button to select all subjects
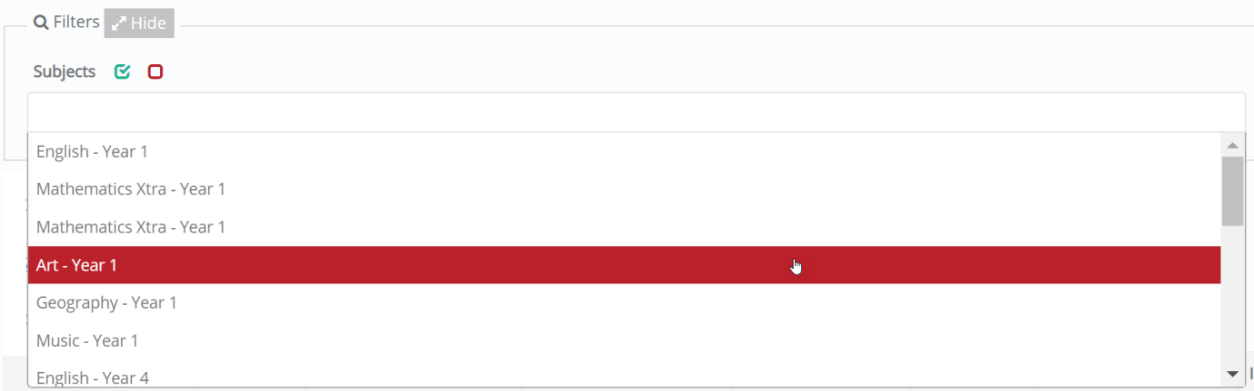 Figure 46
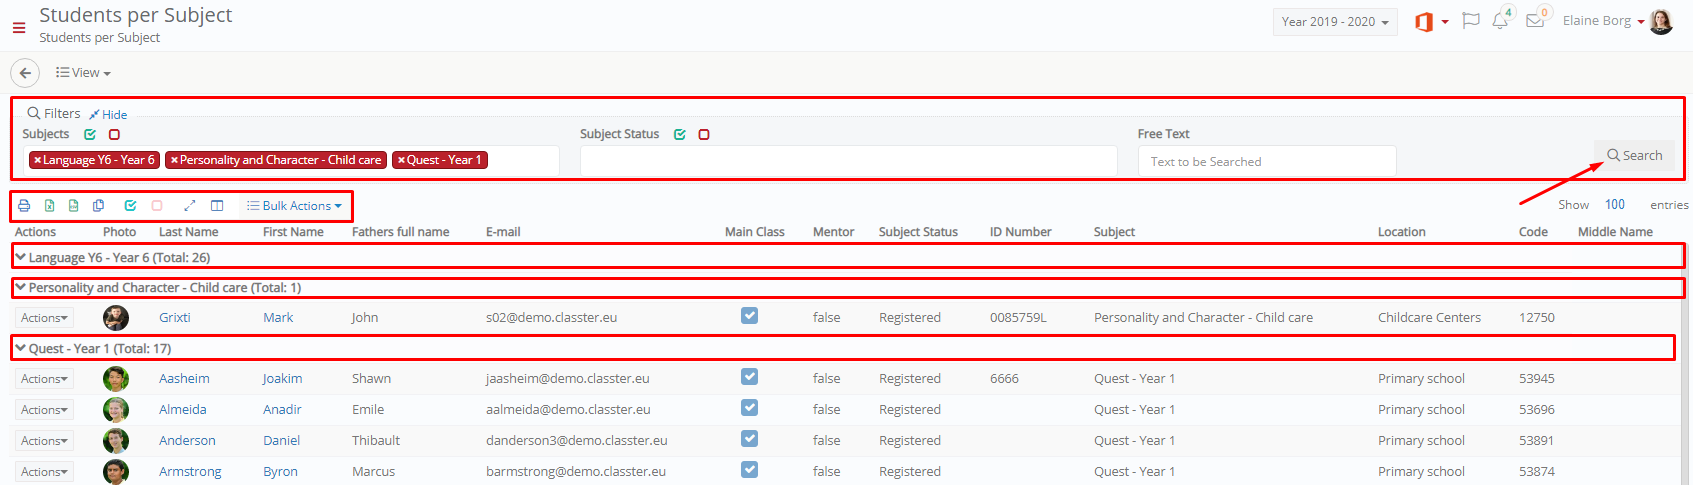 Figure 47
- Click on the Collapse/ Expand button
 to show/hide results.
 - Click on the
 button to show/hide columns.
 to show/hide results.
 Figure 47a
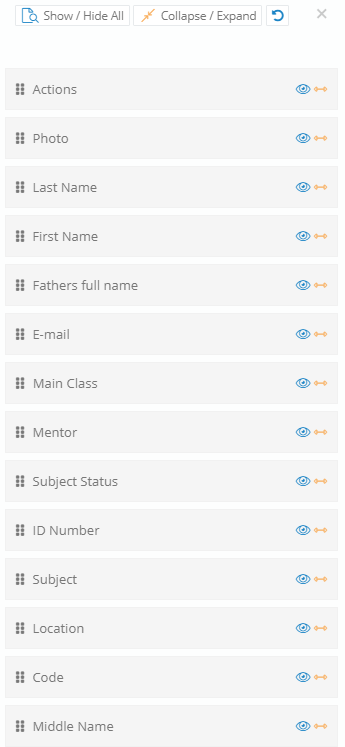 Figure 47b
Note: The rest of the buttons are explained in the “Grid View” paragraph.
- The Students per Class Predefined View is similar to Students per Subject with the difference that filters are there to search for students based on the Class/Group they are in.