The Timetable feature in Mass Imports enables institutions to import or export timetable data in bulk using different formats such as Excel file, Asc Xml with Classter template, Asc Xml, or Untis Xml, etc. This process is especially useful for academic scheduling across multiple Classes, _Subjects_, educators, and rooms, saving time and ensuring consistency.
Supported Use Cases
The Timetable Mass Import tool supports the following scenarios:
- Import Timetable: Upload timetable data for various classes or categories.
- Export Timetable: Download existing timetable structures for review or modification.
How to Import Timetable
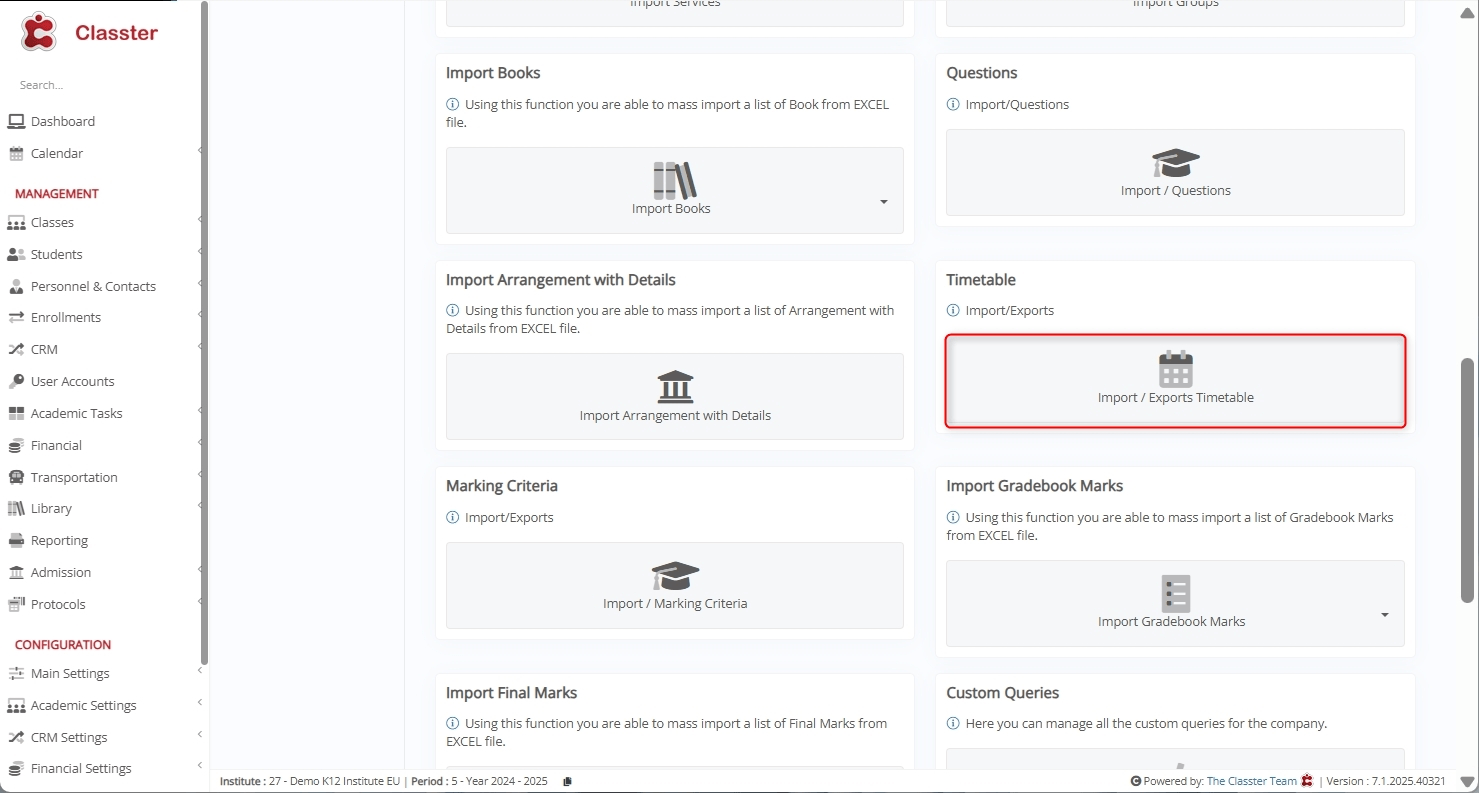
Navigate to Import Timetable
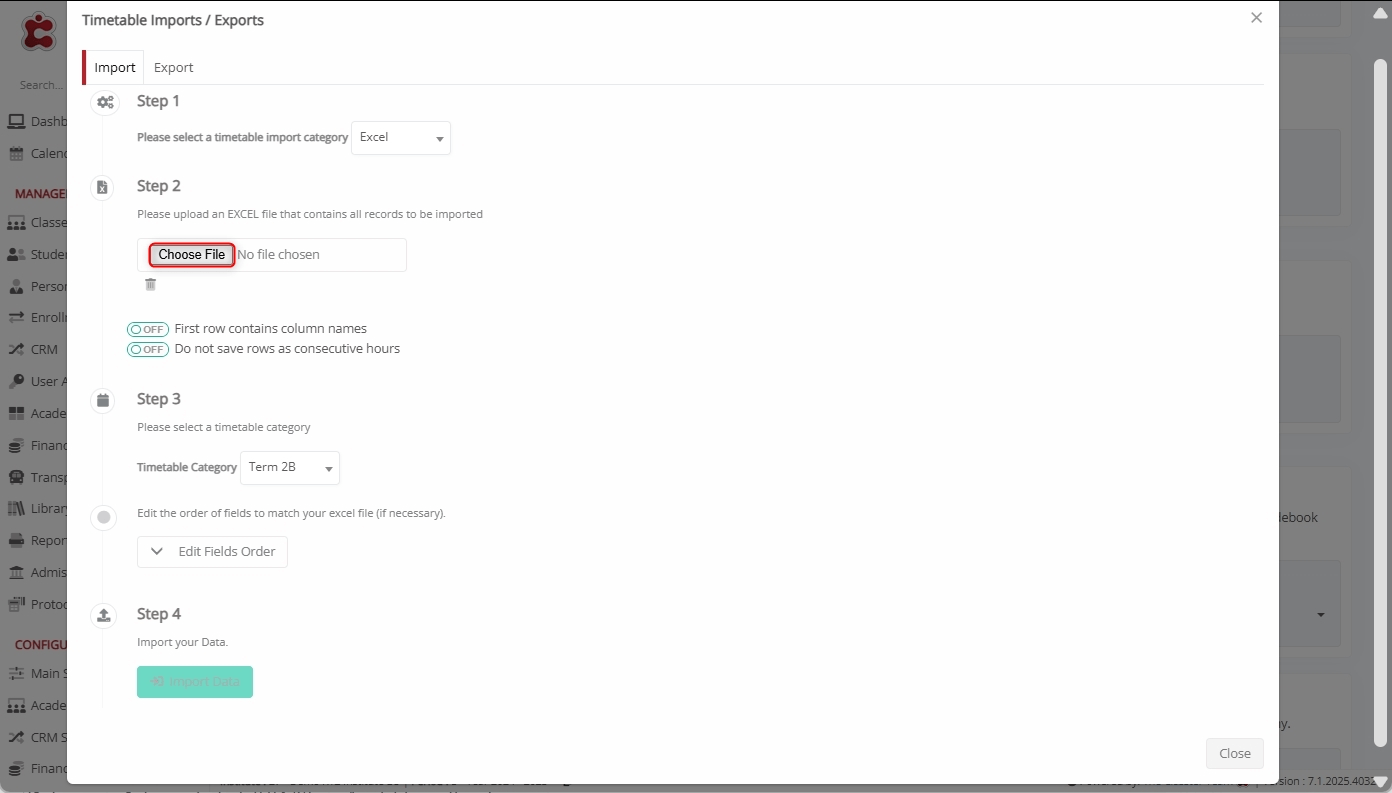
Log in to your Institute and go to: CONFIGURATION > Advanced Configuration > Mass Imports / actions > Timetable > Import / Exports Timetable > Import.
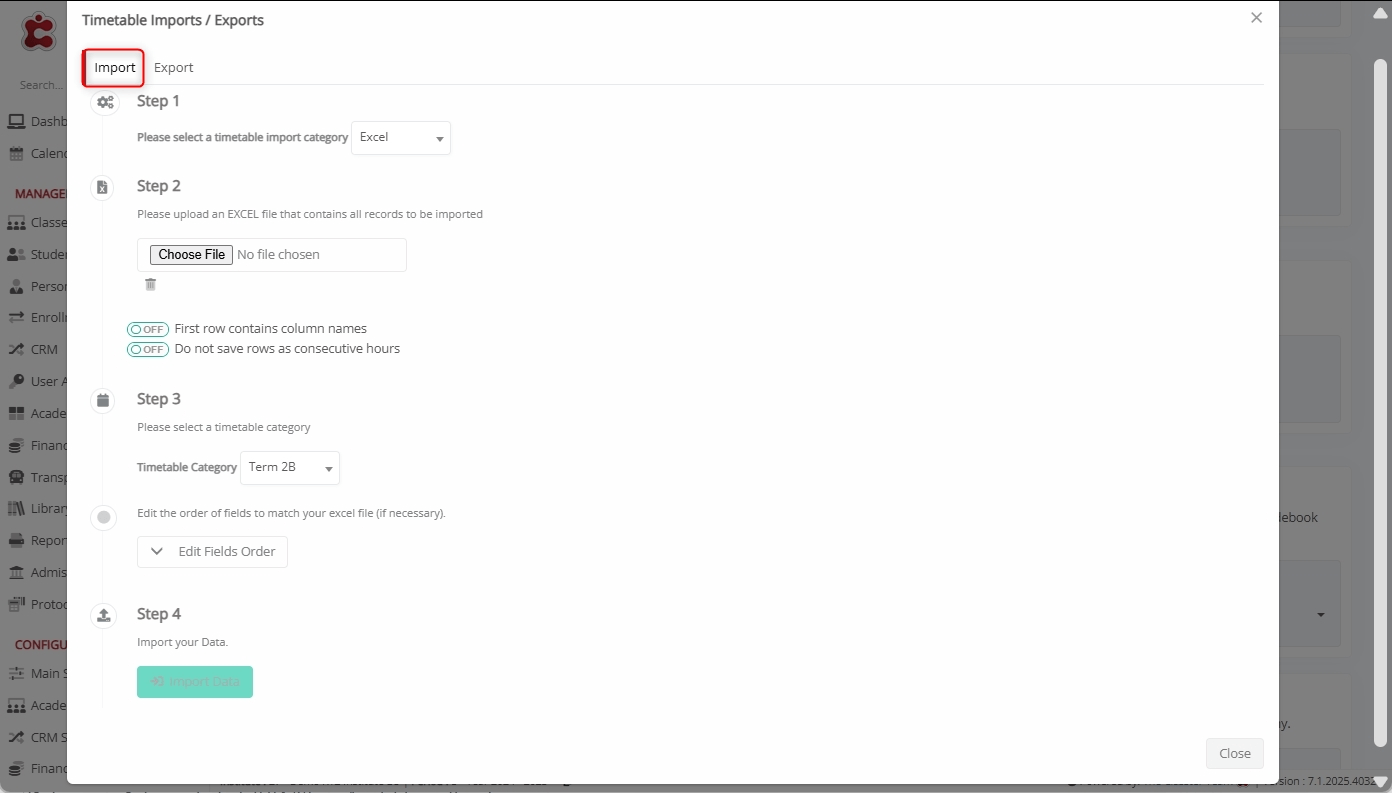
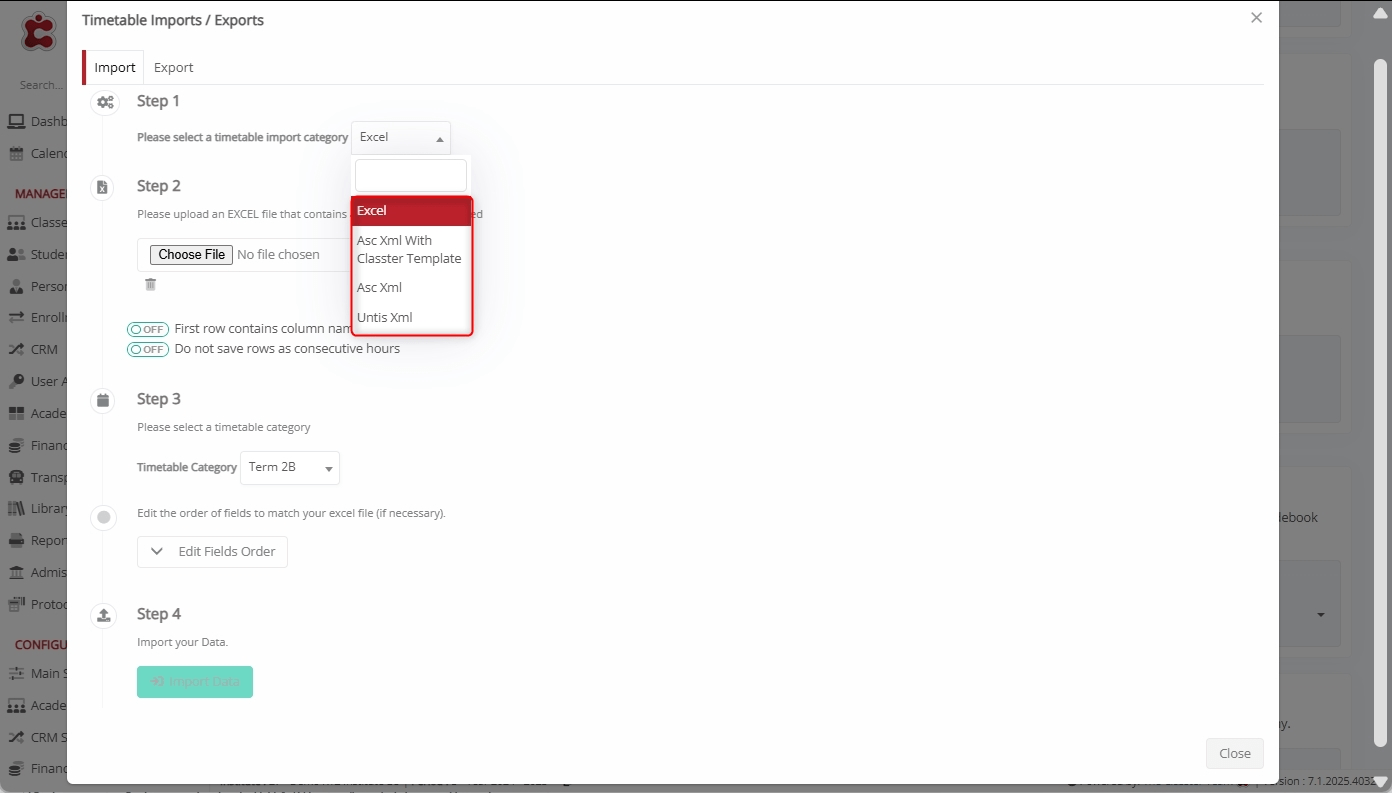
Select Timetable Import Category
Select your desired timetable import category that defines how the data will be handled (e.g., Excel, Asc Xml with Classter template, Asc Xml, or Untis Xml).
This is the method used for importing data into Classter.
Select an Excel File to Import
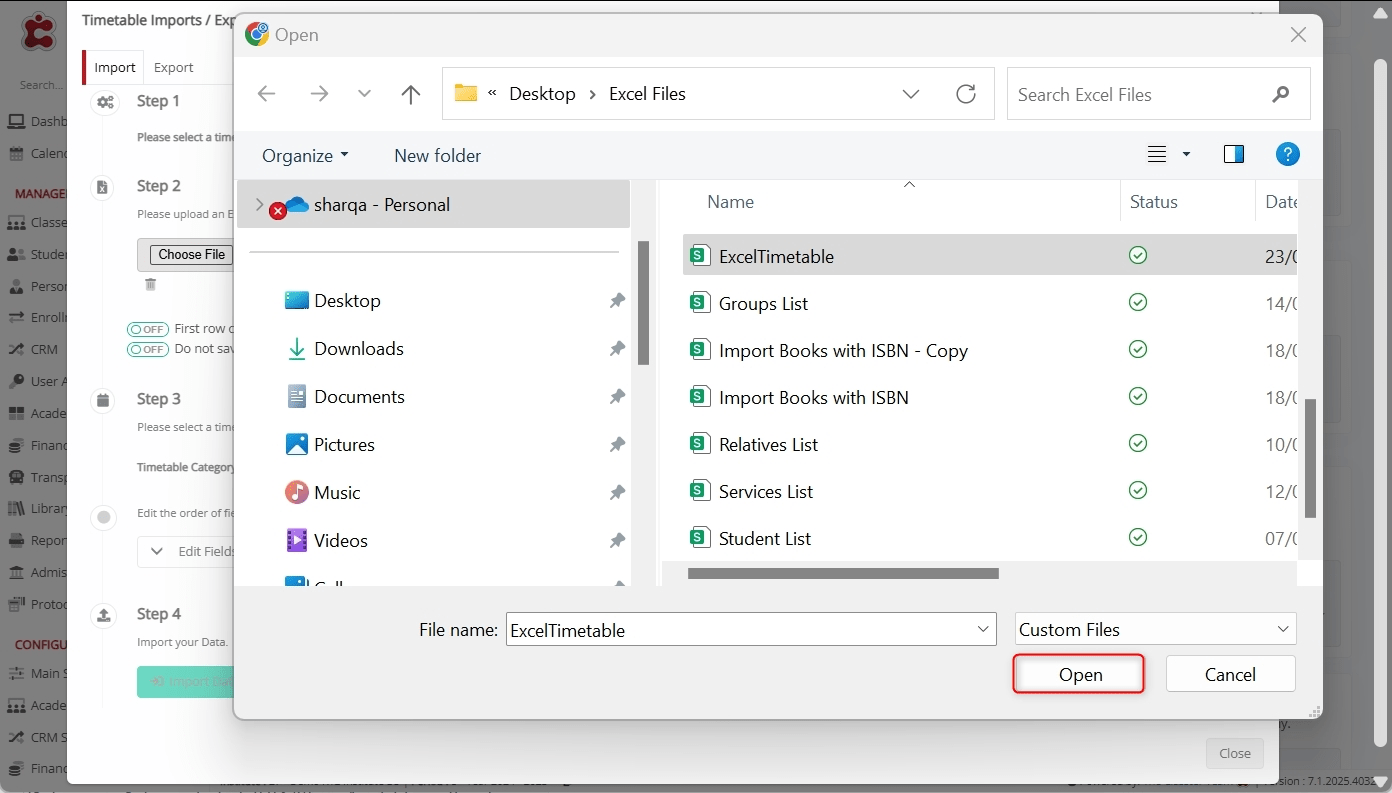
Click Choose File to upload your Excel file with timetable data.
Select the file and click Open.
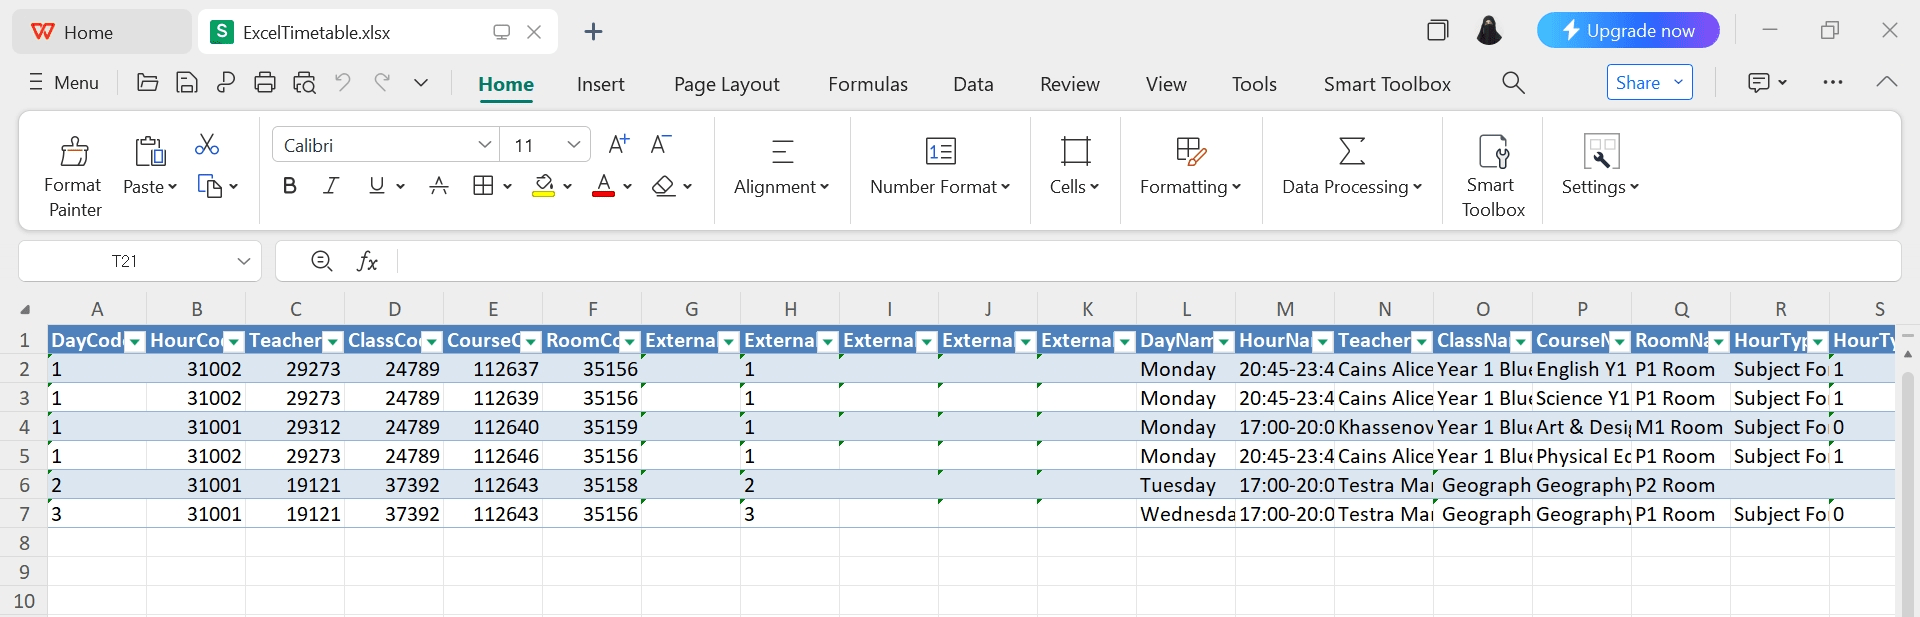
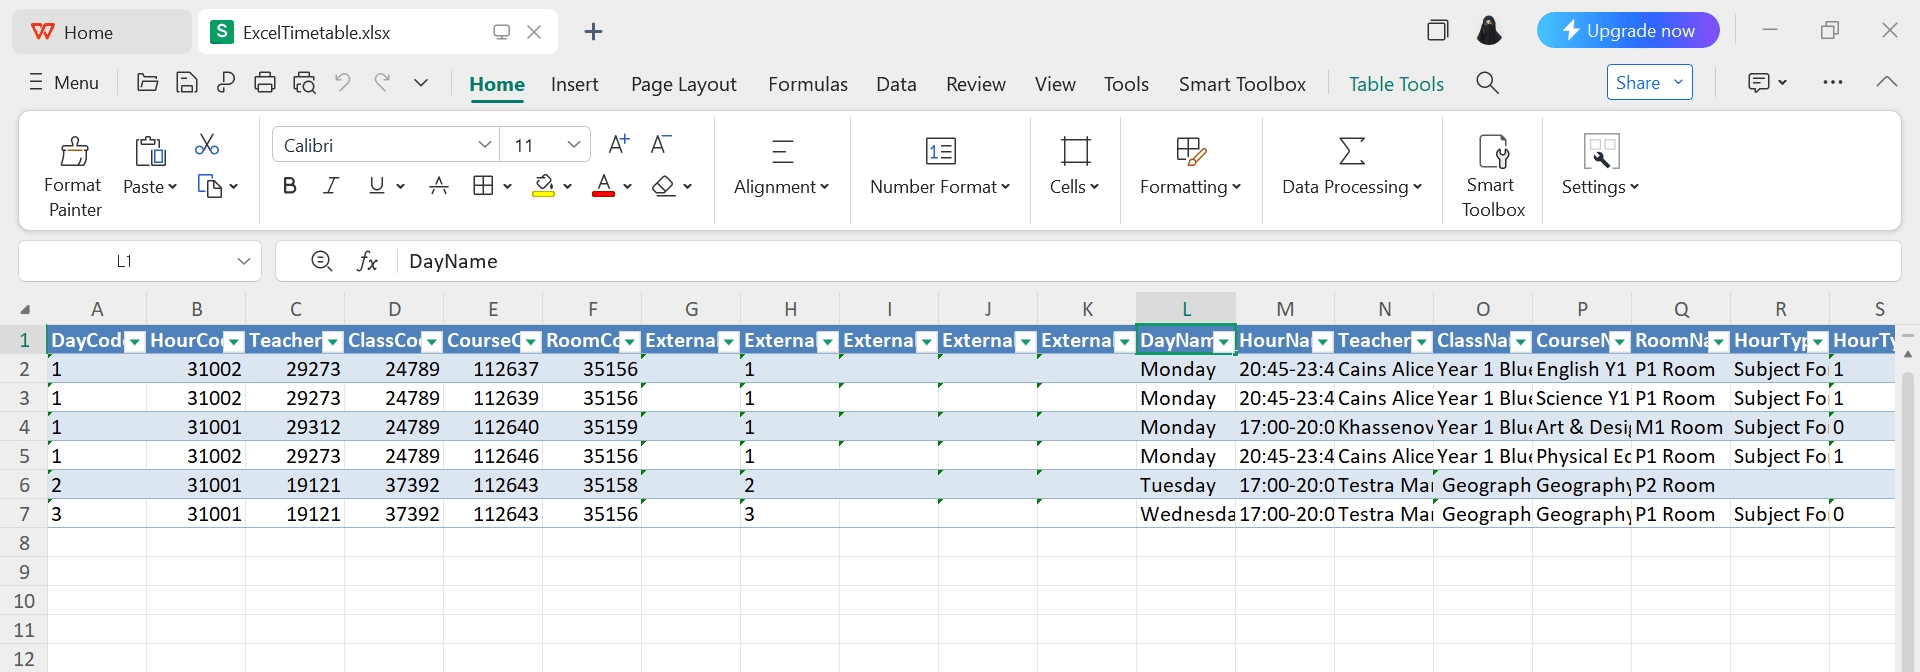
Here’s how the uploaded file data looks like.
Then, configure the following options:
- First Row Contains Column Names: Ensures the first row is used as headers to simplify field mapping.
- Do Not Save Rows as Consecutive Hours: When off, consecutive periods for the same subject are treated as one continuous or single session. Turn it on to save each row as a separate hour.
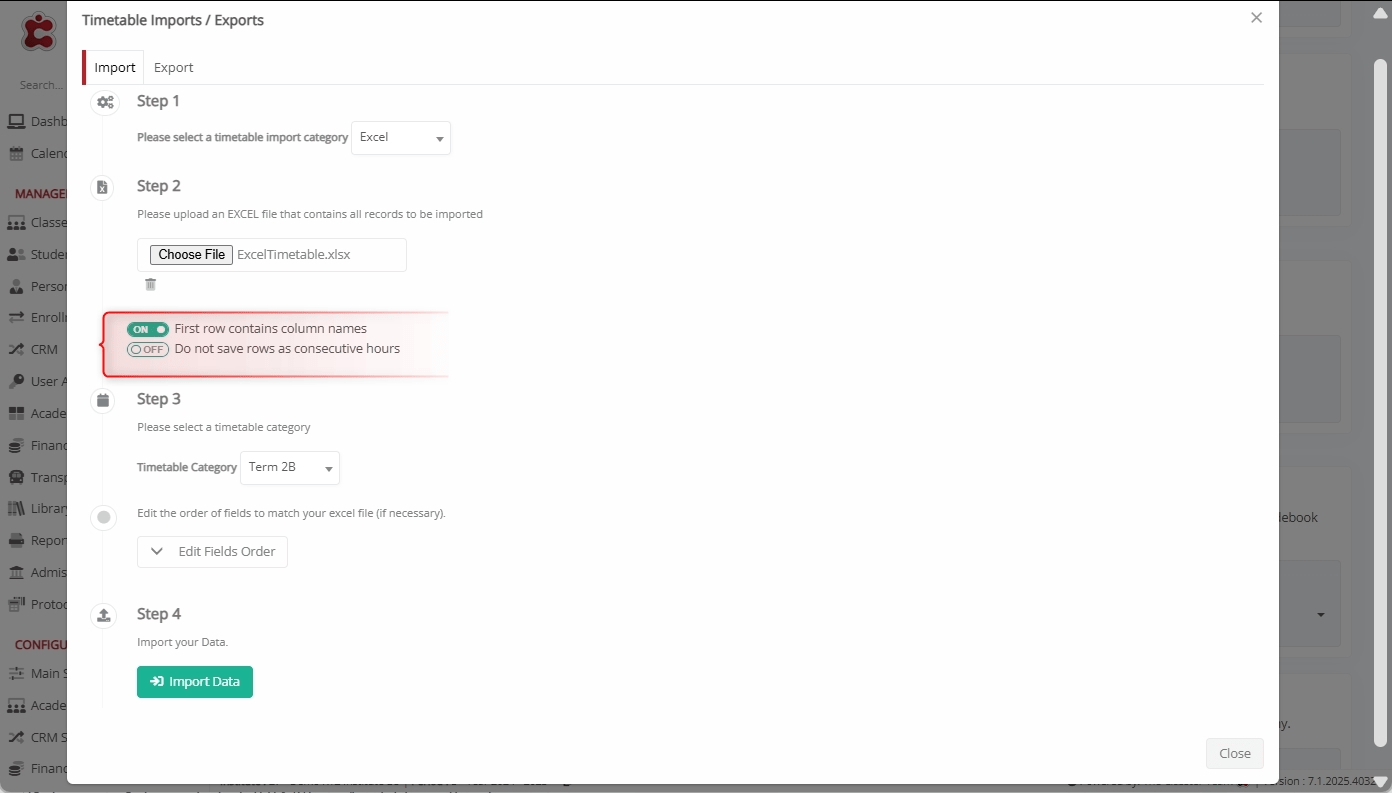
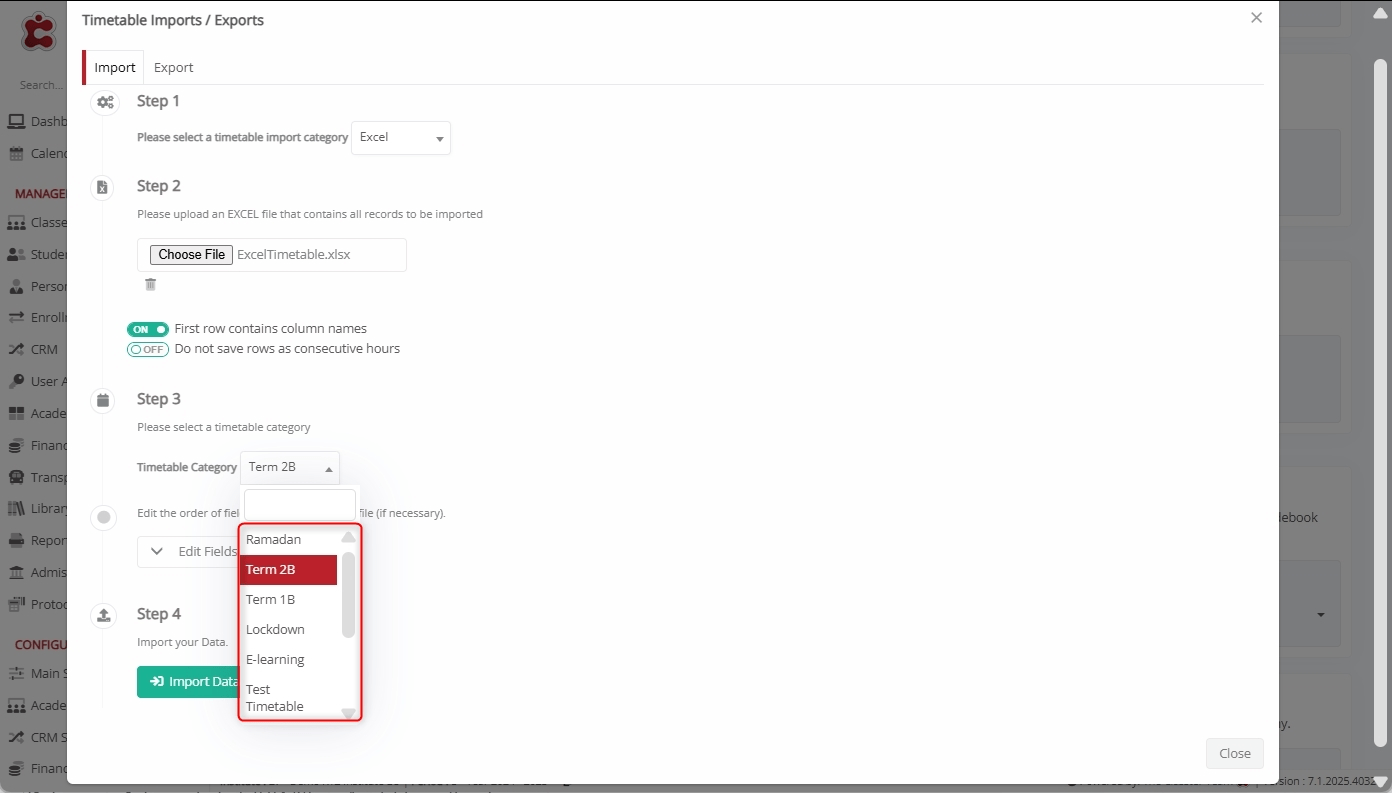
Select Timetable Category
From the Timetable Category dropdown, choose the appropriate version or schedule, such as Ramadan, Term 2B, Lockdown, or any other custom-defined category.
This ensures your imported data is assigned to the correct academic context.
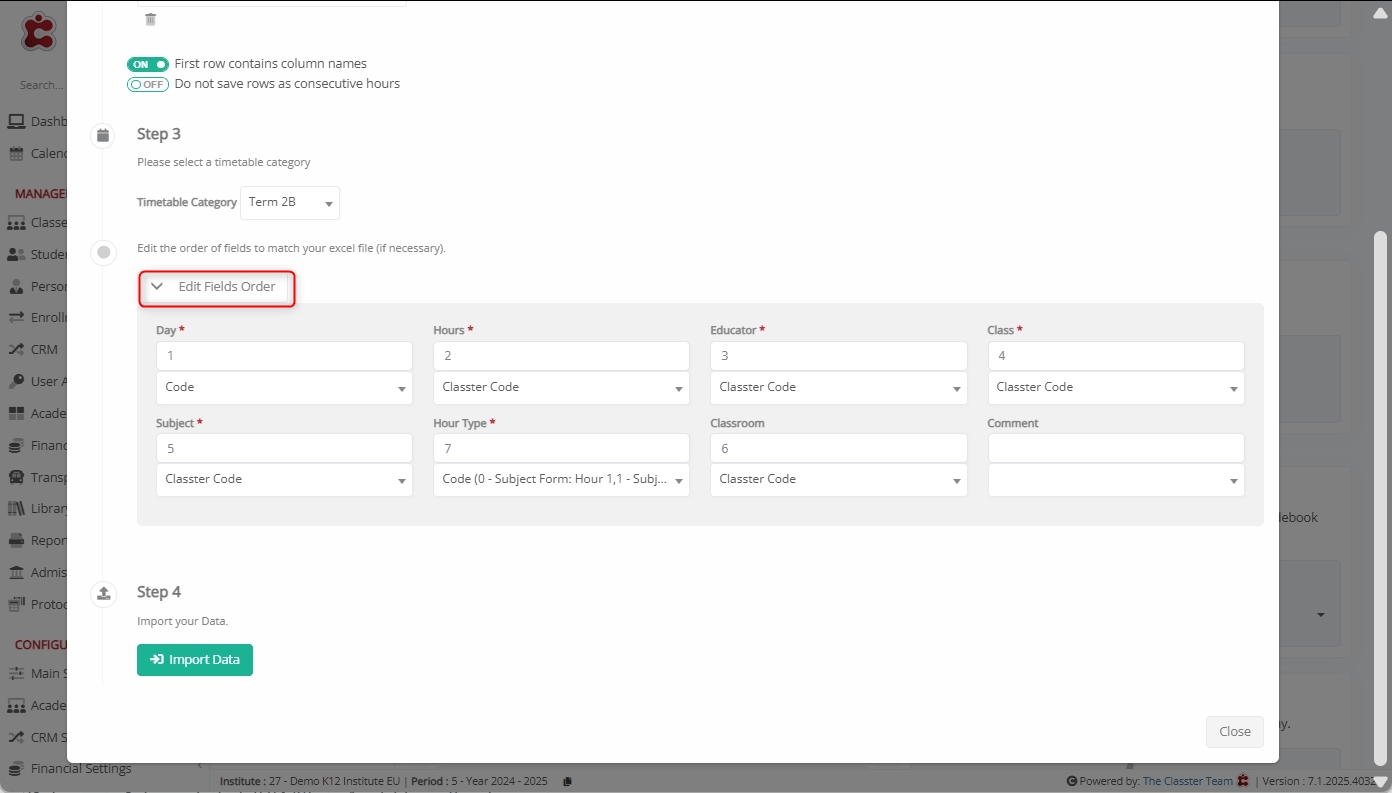
Map Excel Fields to Classter Fields
Use the Edit Fields Order function to align Excel columns with Classter’s required fields.
Mandatory Fields (marked with *):
- Day: The day of the week the class occurs.
- Hours: Time slots or periods.
- Teacher: Educator assigned to the period.
- Group: Student group for the session.
- Subject: Subject being taught.
- Hour Type: Type of hour.
Optional Fields:
- Classroom: Location where the session takes place.
- Comment: Notes related to the session.
Note: Ensure all required fields are mapped correctly. If needed, reorder columns to match the structure in your Excel.
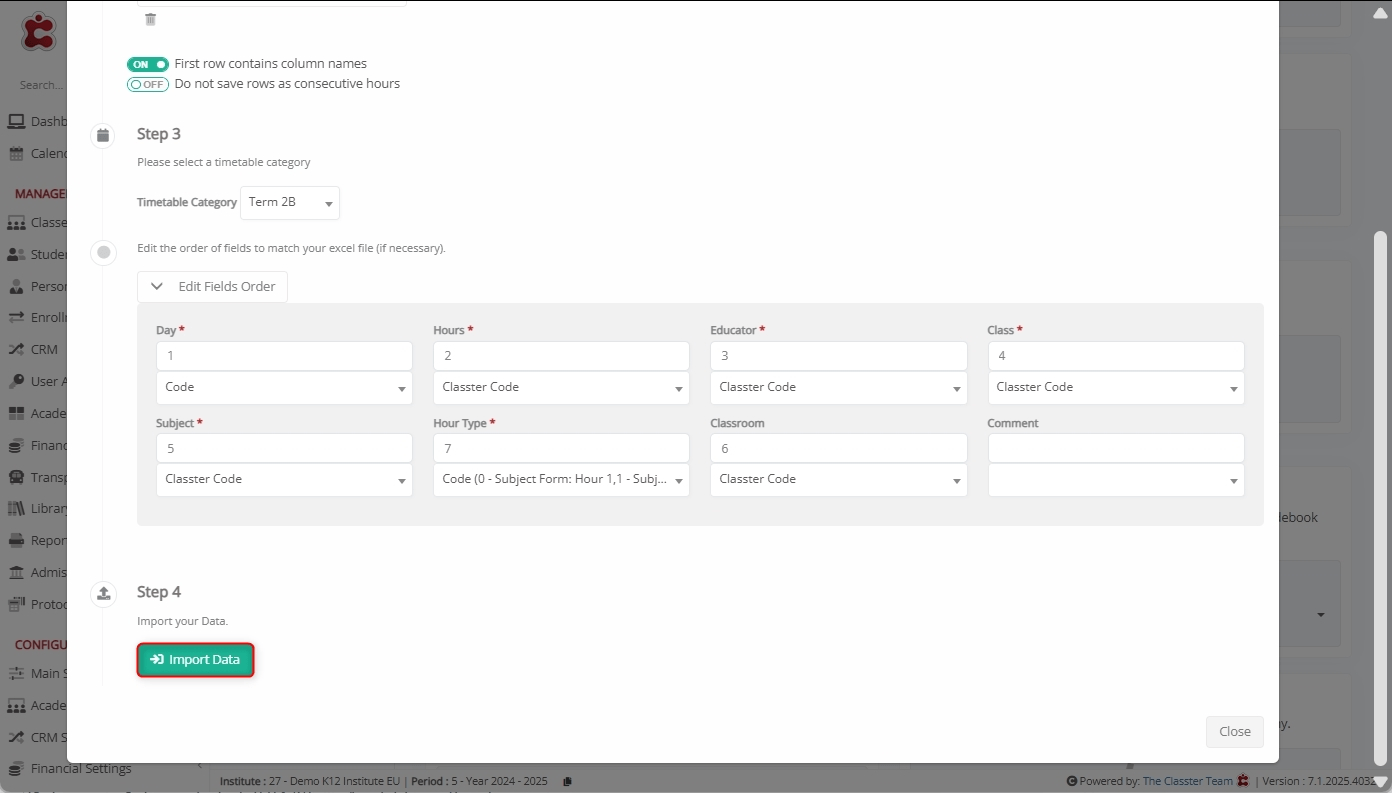
Import Data
After mapping, click Import Data to finalize the process.
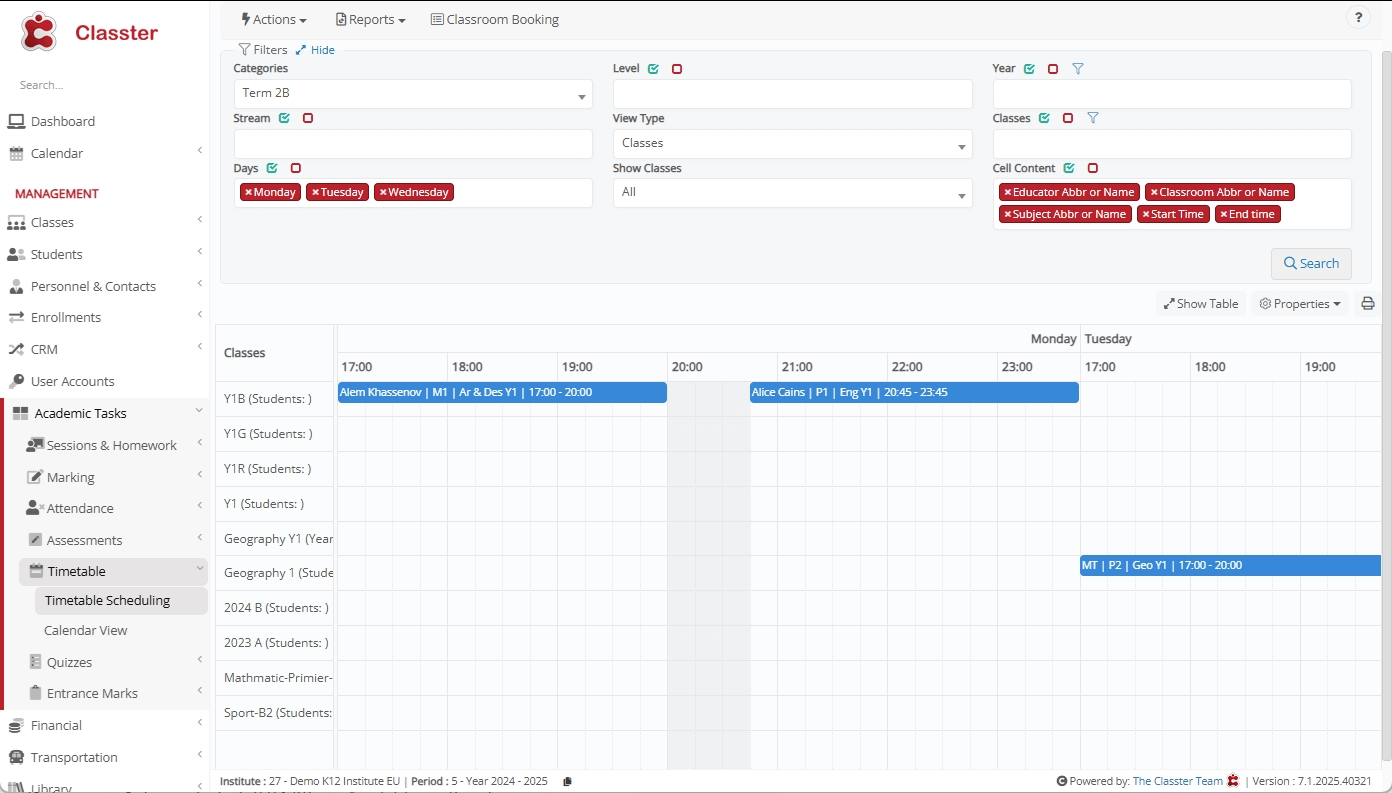
View Imported Timetable
To view the newly imported Timetable, navigate to MANAGEMENT > Academic Tasks > Timetable > Timetable Scheduling > Apply required filters > Click Search.
How to Export Timetable
Navigate to Export Timetable
Log in to your Institute and go to: CONFIGURATION > Advanced Configuration > Mass Imports / actions > Timetable > Import / Exports Timetable > Export.
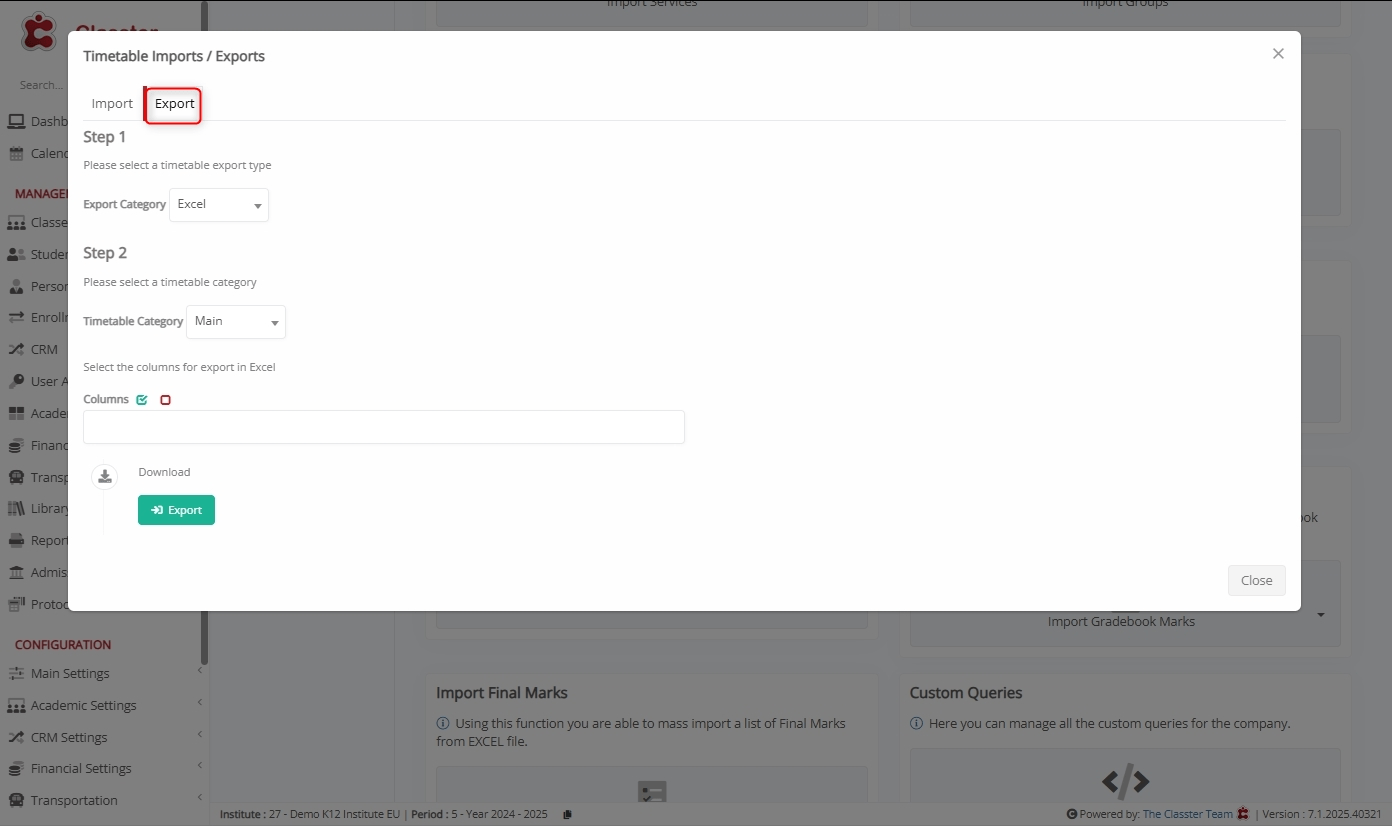
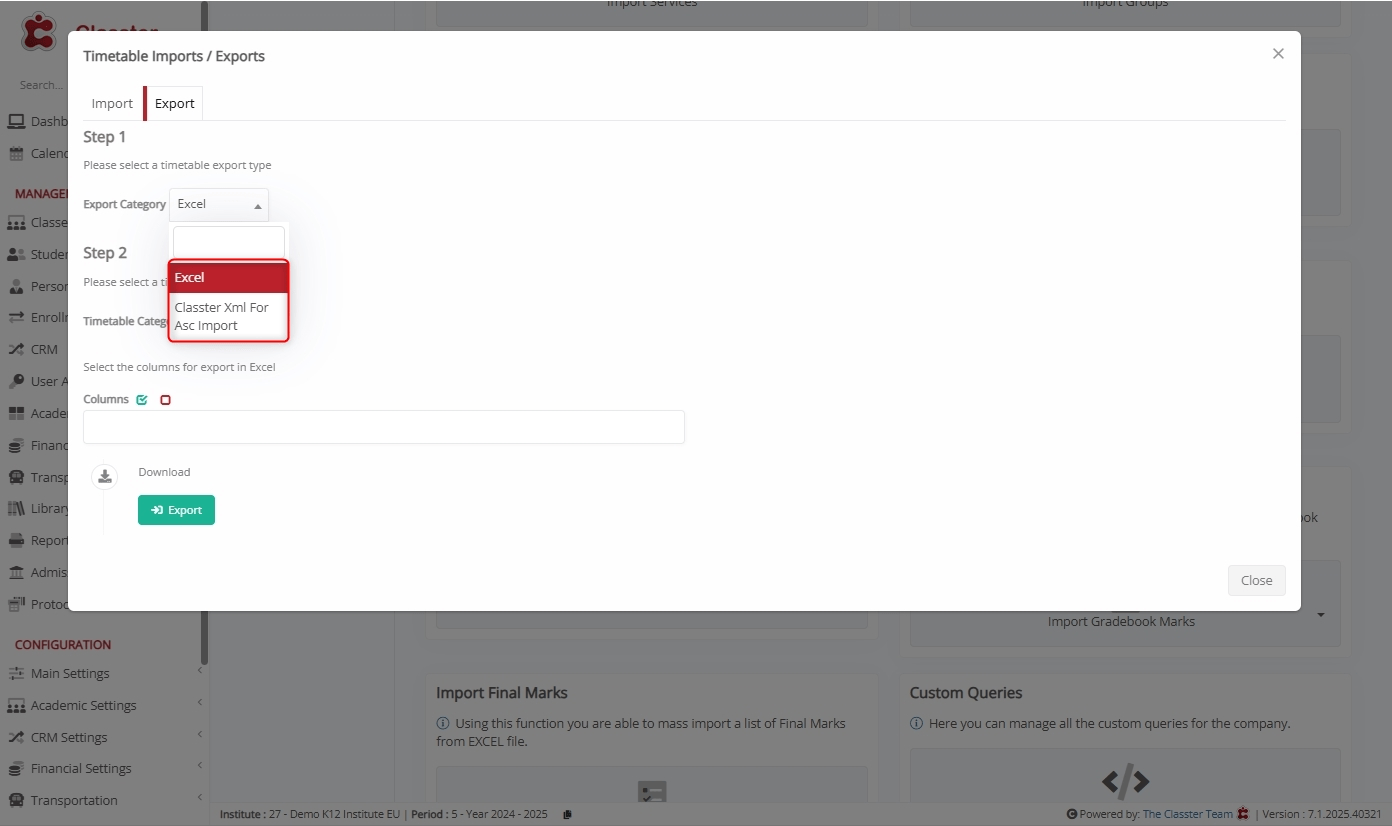
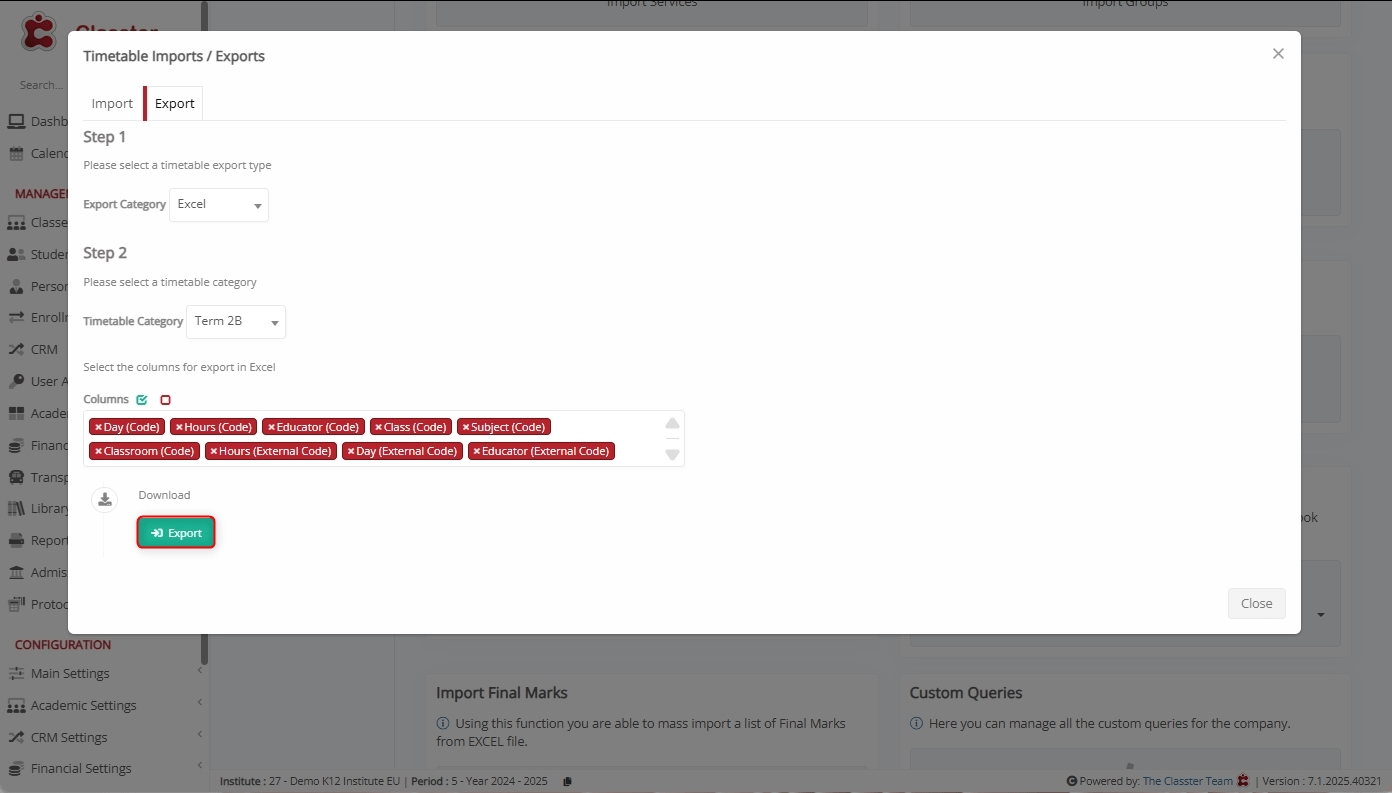
Select Export Category
Choose the Export Category (such as Excel or Classter Xml for Asc Import) to define the format in which the timetable data will be downloaded.
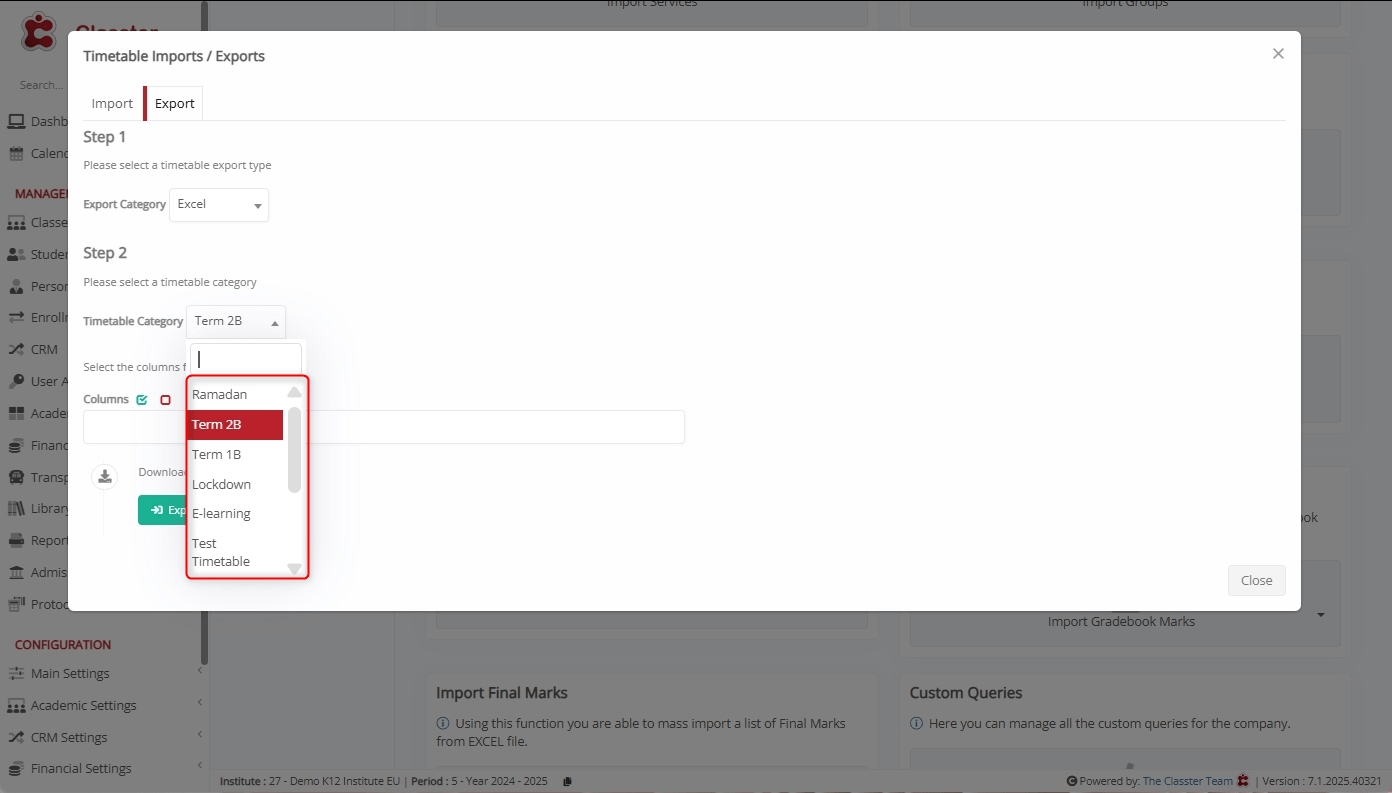
Select Timetable Category
Pick the relevant Timetable Category from the dropdown (e.g., Term 2B, Ramadan, etc.) to export data for a specific schedule.
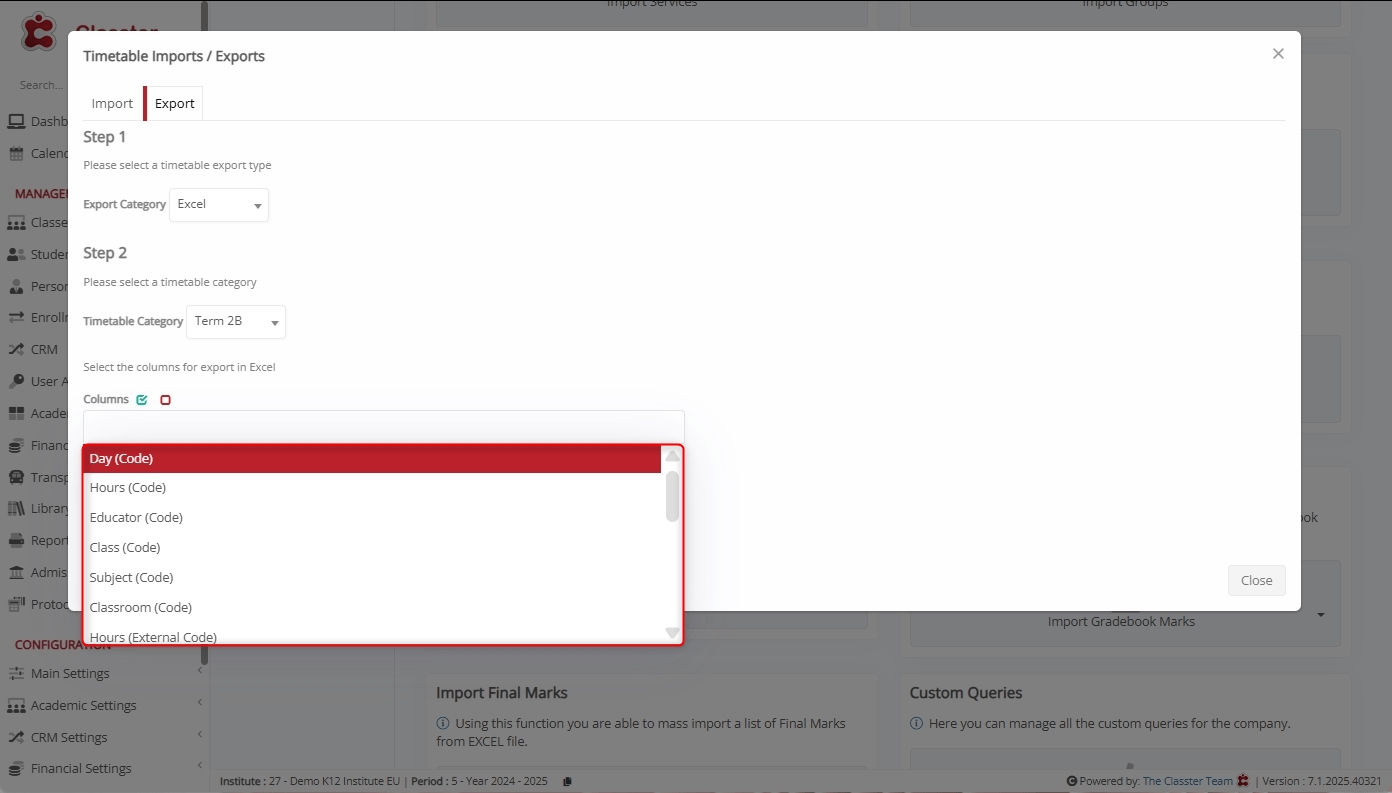
Select Columns to Export
From the list, choose which columns to include in the exported Excel file. You can select from Code-based Fields, External Code Fields, and Descriptive Fields.
Download File
Click Export to generate and save the Excel file with your selected data.
Specify the filename and click Save.
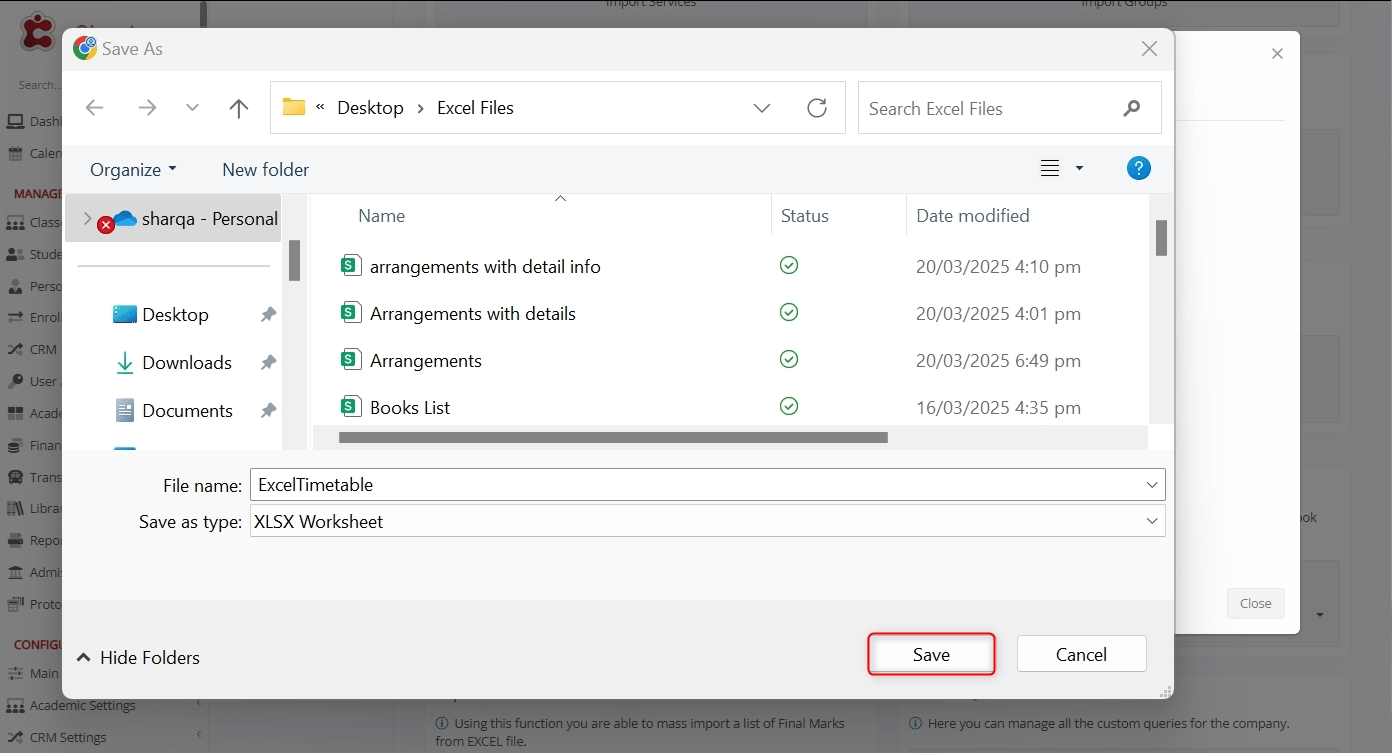
View the downloaded file in your system.