

Watch the How-to Video

In order to create a new custom report, you will need to go to the Advanced Configuration page and from there to the Reporting tab. Follow the path: Dashboard > Configuration > Advanced Configuration > General Settings > Reporting tab > Reporting Designer (Figure 1).
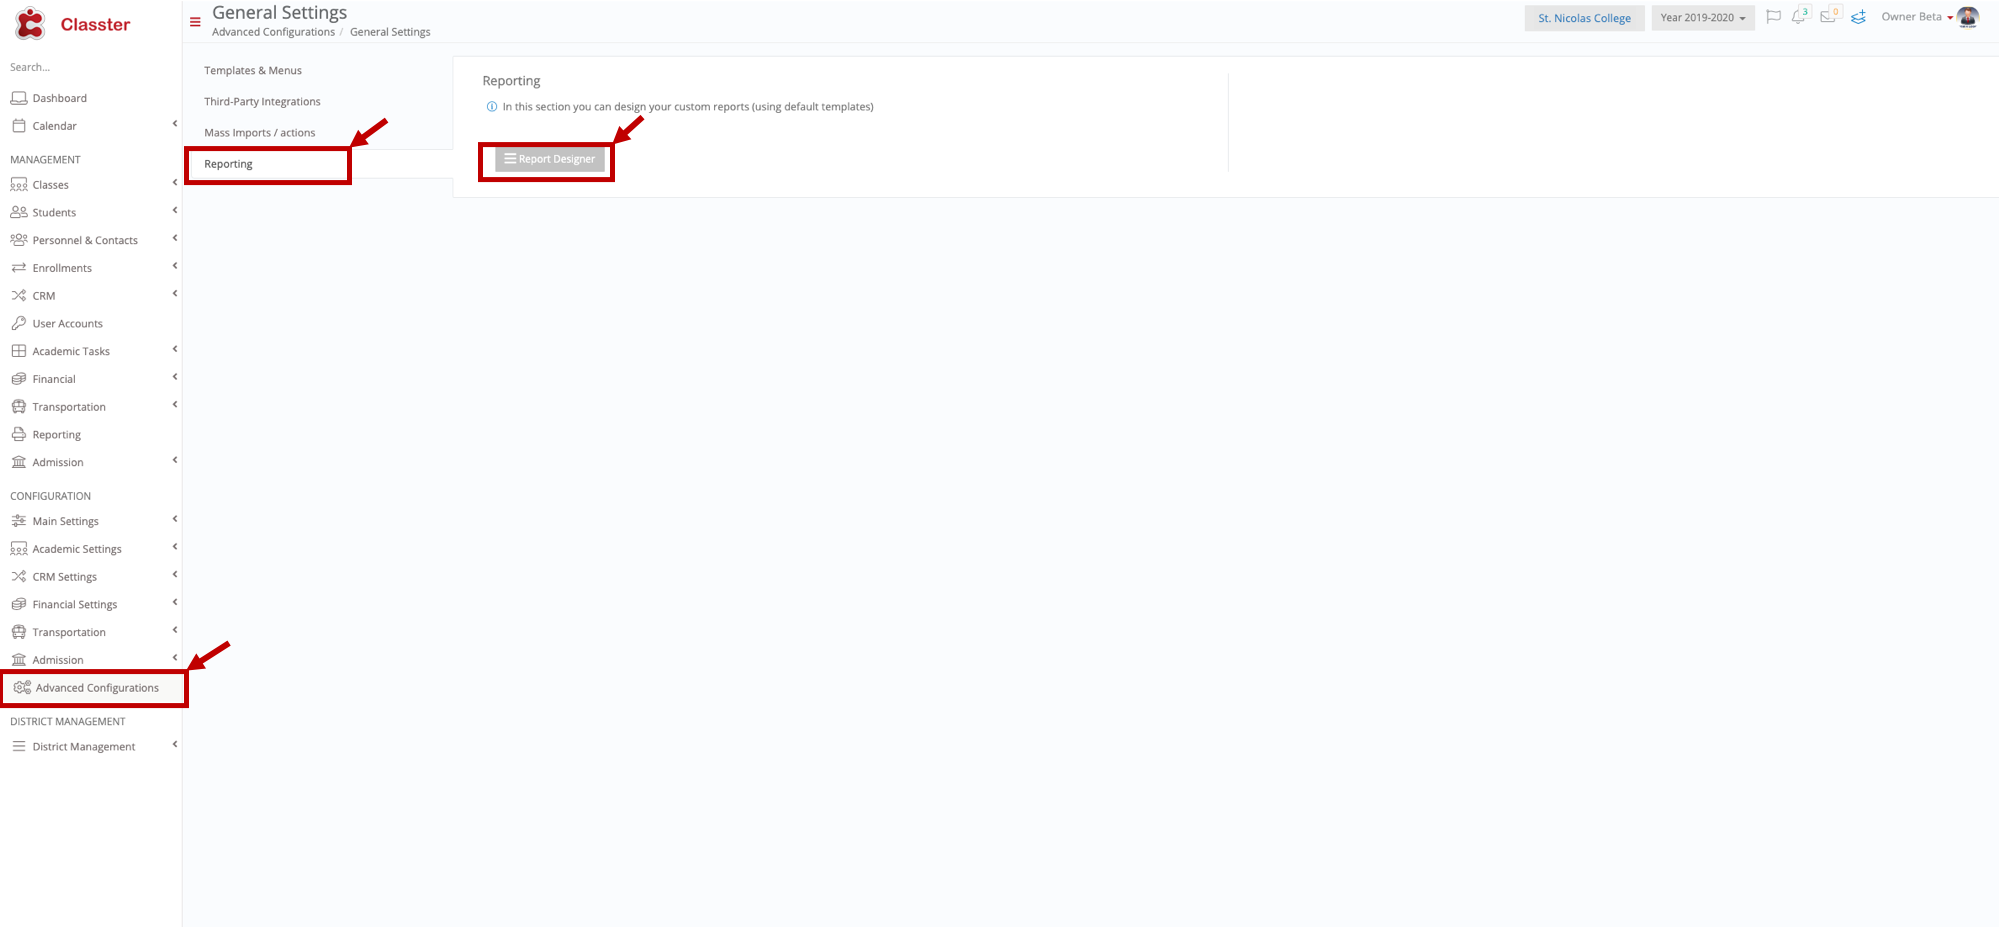
Figure 1
- Once you follow the path and click on the Reporting Designer button (Figure 1), you will be transferred to the Reporting Designer page (Figure 2).
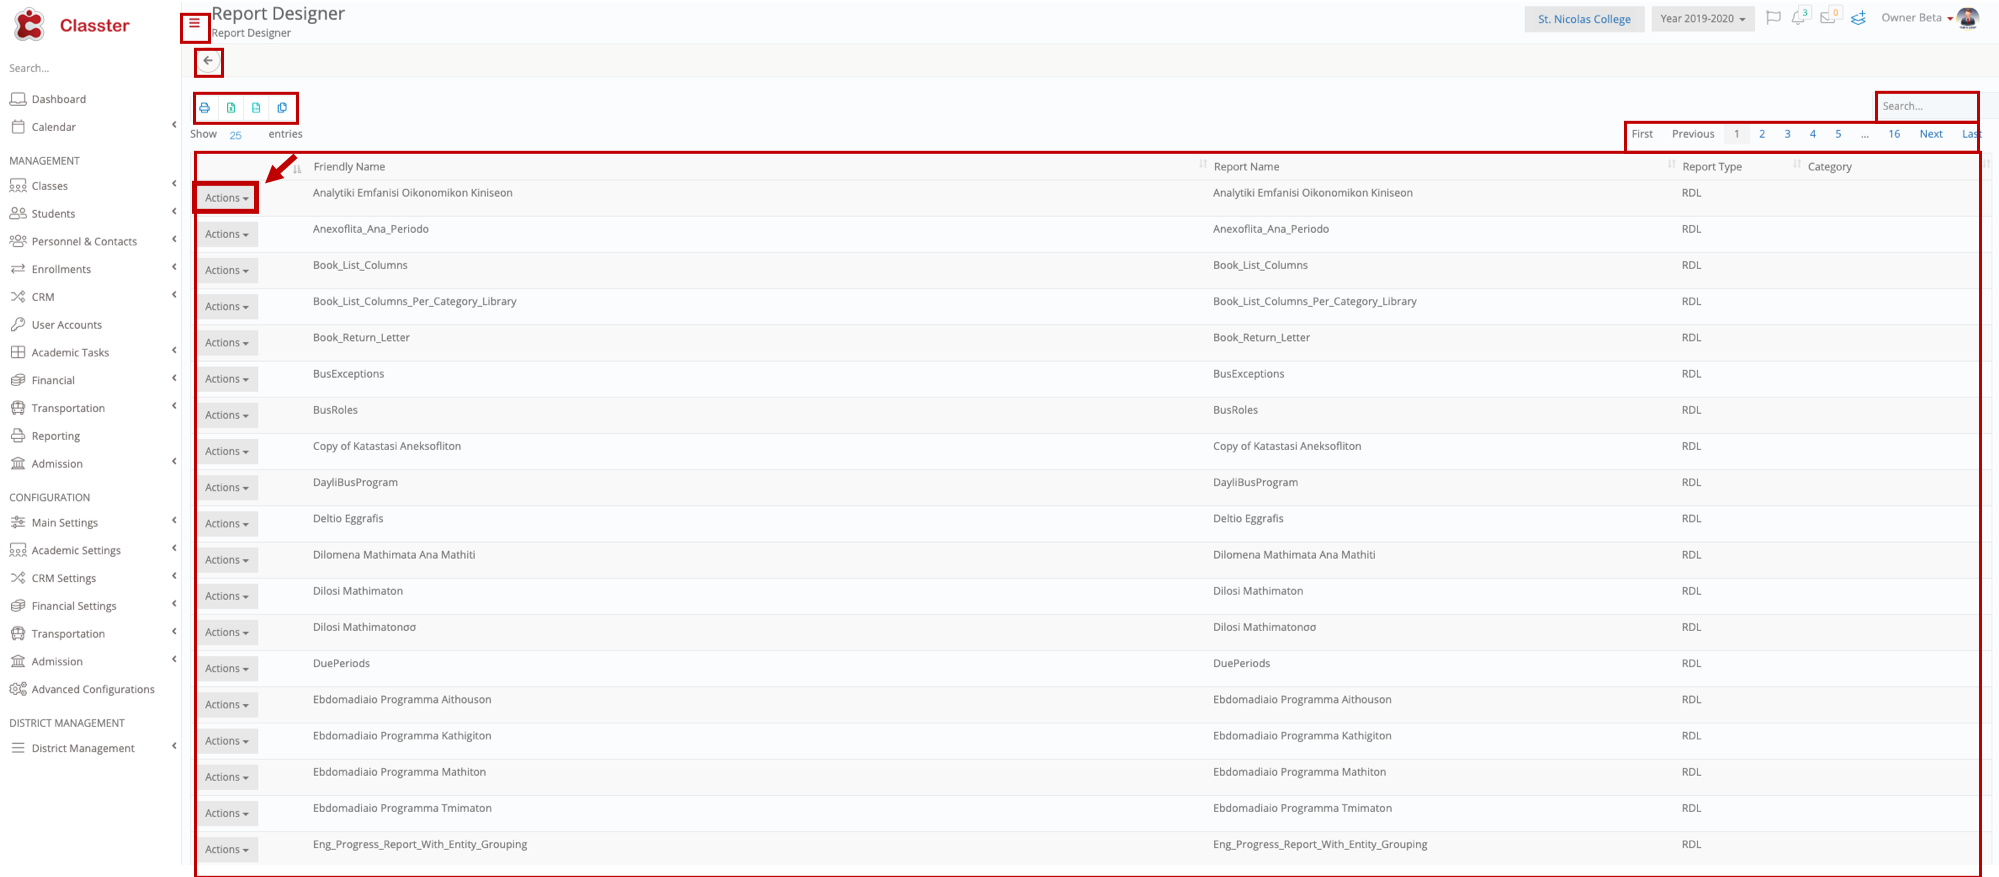
Figure 2
- On this page, you can see all the default Reports (Figure 2).
- You can change the number of results viewable per page e.g 25 (Figure 2).
- You can move back and forth from pages as long as there is more than one page available (Figure 2).
- You can export or print a list of reports (Figure 2).
- To create a new custom report, you need to click on the Action button (Figure 2).
- Once you have clicked on the Action button you will see a dropdown list (Figure 3)
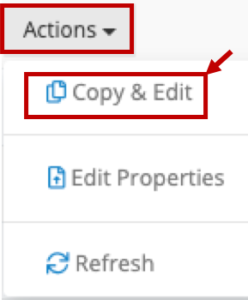
Figure 3
- From the dropdown list click on the Copy & Edit button to create a new report (Figure 3).Note: You can only create a new report by copying and editing one of the default reports. To achieve that, you need to have Single DB enabled.
- Once you have clicked on the Copy & Edit button you will view a popup window (Figure 4).

Figure 4
- Fill in the ‘Report Name’ and ‘Friendly Name’ fields e.g _Student_ Test 1, Test 11 (Figure 4).
- Click on the ‘Save’ button to save the new report (Figure 4).
- Once you have done this you will return to the Reporting Designer page (Figure 5).
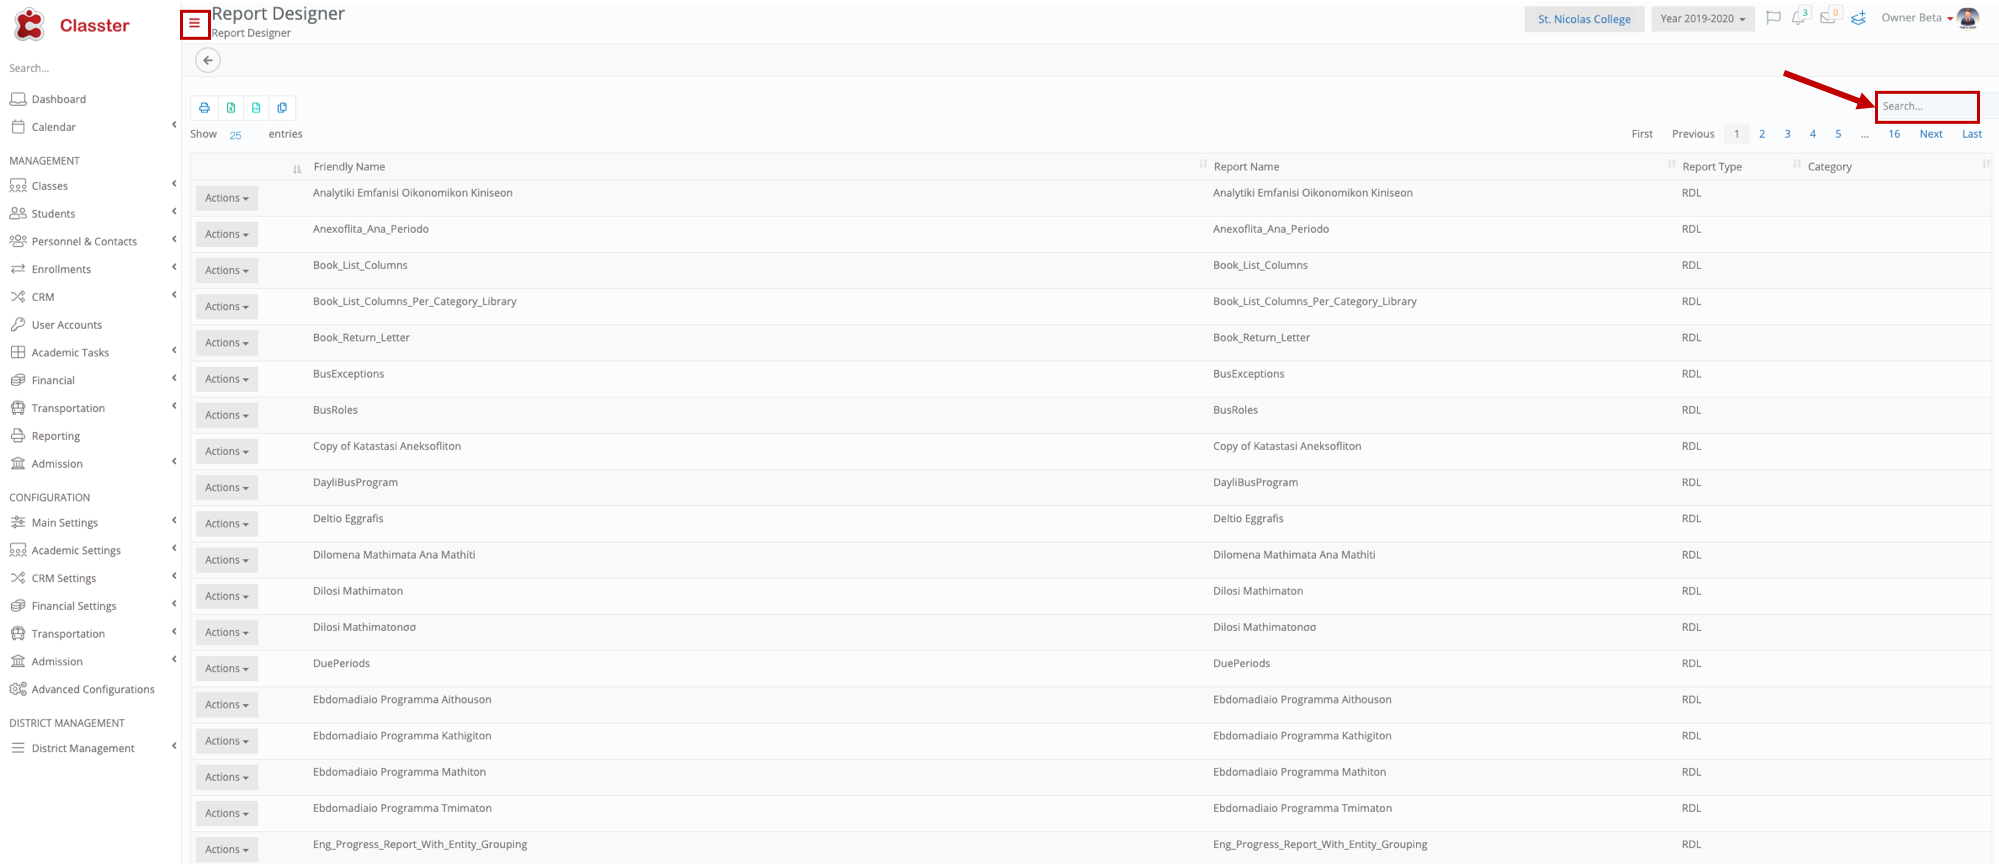
Figure 5
- You can enter the new report name in the ‘Search’ field to locate it (Figure 6).

Figure 6
- Click on the ‘Actions’ button and from the dropdown list click on the ‘Upload’ button (Figure 6).
- Once you click on ‘Upload’ you will be able to choose the report you want to use and upload it (Figure 7).
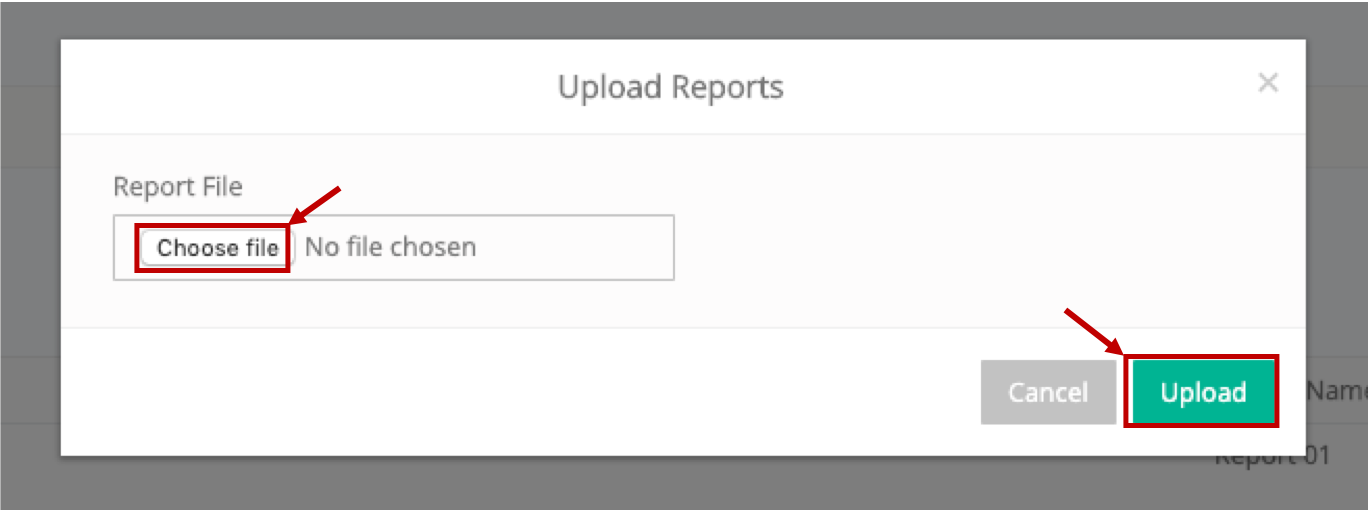
Figure 7
- Click on the choose file button (Figure 7).
- Select the file and click on the ‘Open’ button.
- Lastly, click on the ‘upload’ button (Figure 7).
You have now completed the process of creating a new custom report by uploading a new report file. You can also download the pre-existing report file, update it and upload it to the report. See below (Figure 8):

Figure 8
- Click on the ‘Action’ button and from the dropdown list click on ‘Download’ to download the pre-existing report (Figure 8).
- The report file will be downloaded to your computer where you can make changes (Figure 8).
- Once your report is ready and ok by you, then you go again to the ‘Actions’ button and from the dropdown list click on the ‘Upload’ button (Figure 9).
Figure 9
- Once you click on the ‘Upload’ button you will view a popup window (Figure 10).
Figure 10
- Click on the choose file button (Figure 10).
- Select the file and click on the ‘Open’ button.
- Lastly, click on the ‘upload’ button (Figure 10).