

Most of the time, when _Students_ graduate, they want to maintain a connection to their school. Therefore, it is useful for schools to hold an archive of graduated students, namely the alumni. A good alumni base can help your institution grow financially and build a reputation on the successes of its alumni. Classter has developed such a feature, to maintain the graduated student’s data in the platform.
Tip: You may use the Student Registration Statistics to derive various statistics concerning students’ registration.
Let’s change a student status to alumni.
To change the student status to alumni, you need to be logged in as an Admin. From the main menu, go to _Students_→Students list. (Figure 1)
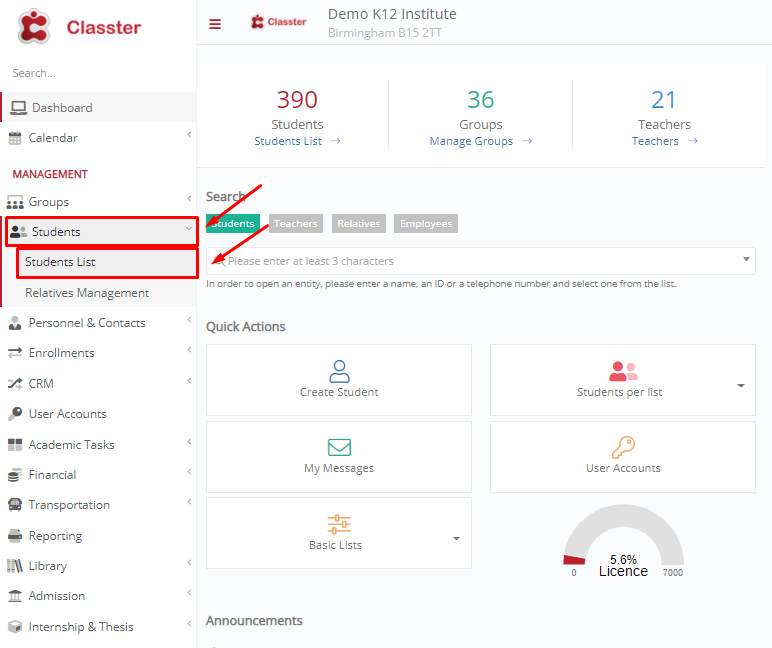
Figure 1
In the next window, you want to view your _Students_ per year, as we usually talk about graduation years. To do so, from the “View” dropdown list select “Students per year”. (Figure 2)
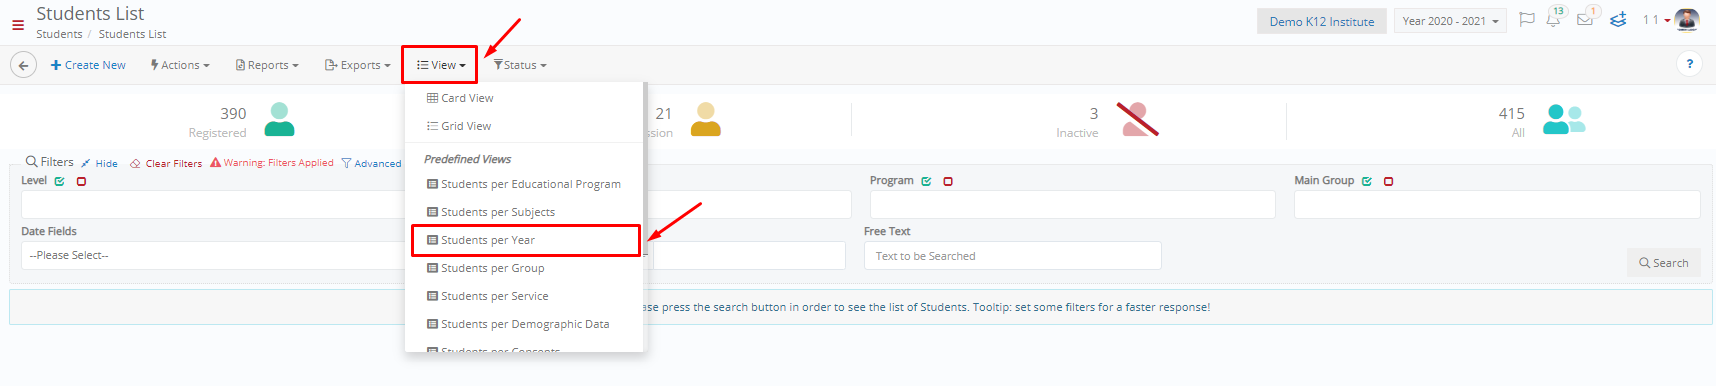
Figure 2
Next, you can specify your graduation year, e.g. Year 6. (Figure 3)

Figure 3
From the _Student_ list that appears, you may select all students of this particular year or only those who have graduated. Then, from the “Actions” dropdown list go to “Change Student Status”. (Figure 4)

Figure 4
In the popup window, you can either change each student’s status or massively change all students’ status.
- To change each student’s status, from the “Registration Status” dropdown list, select Graduated. (Figure 5)

Figure 5
- To massively change all students’ status, you need to use the Bulk Actions. First you need to click on “Show” (Figure 6). From the “Status” dropdown menu, click on Graduated (Figure 7). Finally, click on the button “Apply in all rows”. (Figure 8)

Figure 6 
Figure 7

Figure 8
Sustaining communication with your alumni is an important point of your school’s strategy to improve its reputation. Classter allows you to have separate lists of alumni to assist in this direction.
If you need to gain more knowledge of Classter’s main entities, take a look here.
Find more or post your questions on our Facebook Community Page. Also, watch our how-to videos on our Youtube channel.