

The Messages section allows you to access the message center, where you can view, send, and reply to messages from Teachers, Employees, or Administrative Staff. To reach this section, click on the Messages option (dialog icon) in the main menu located on the home screen after logging in.
This section is designed to help you communicate effectively with teachers, staff, and other stakeholders.
Message Center Features
In the Messages Section, you can perform the following actions:

- Inbox: View all received messages.
- Sent Tab: Check messages you’ve already sent.
- Archived Tab: Browse older messages that you’ve saved for reference.
- Message Folders: Organize and manage your messages for better accessibility.
- Search Messages: Use the search field to locate specific messages quickly.
- Filter Messages: Apply advanced filters, such as date range, categories, system notifications, to narrow down your search results and find messages efficiently.
- Archive Messages: Swipe a message to the left to move it to the Archived.
- Create New Message: Compose and send a new message to recipients.
Creating and Sending Messages
To create and send a new message:
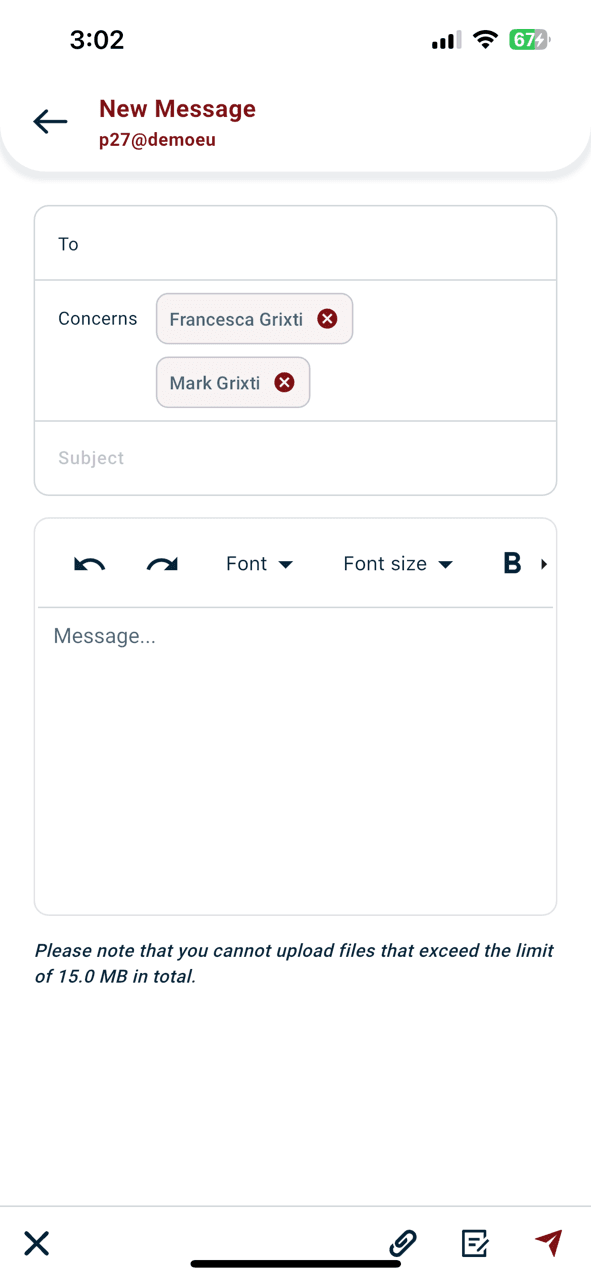
- Click on the ‘+ message’ button on the lower right corner of the Message section.
- On the Creation screen:
- Search for and select the recipient in the ‘To’ field.
- Which children it might concern.
- Add a subject in the ‘Subject’ field.
- Write your message in the provided text field.
- Attach a file using the “Add File” option, if needed.
- Save message as a Draft.
- When ready, click the paper plane button in the lower right corner to send the message.
- Press the “X” button to cancel and exit the message creation screen.
Reading and Replying to Messages
To read a message, click on it in the Inbox, and it will open in the View Message screen. Here, you can review the message details.

If you need to reply, click on the double arrow button in the lower-right corner. On the Reply screen, you can see:

- The recipient field will already be filled in.
- The subject will automatically include “Re:” followed by the original message title.
Next steps:
- Type your response in the message field.
- If needed, attach files using the “Attach File” option.
- Save the message as a Draft if necessary.
- To send the reply, click the paper plane button in the bottom right corner.
- Press the “X” button to cancel and exit the message creation screen.
The Messages section is designed for efficient communication, offering tools to manage and organize your messages while keeping communication streamlined and accessible.