

The first step of this section is to create _Students_. This step is carried out from the student list.
- From the main menu, go to click on _Students_ (main menu) to select Students List or Relatives Management (Figure 1).
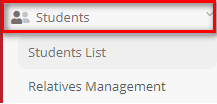
Figure 1
Note: This is a one-time process where you only need to create one relative. This relative can then be connected to multiple _Students_.
Create New Student
Student Profile
- Click on ‘Create New’ to create a new _Student_ or click on the ‘Start Adding Student’ button (Figure 2).
Note: The Start Adding Student option is available for new institutes without _Students_.
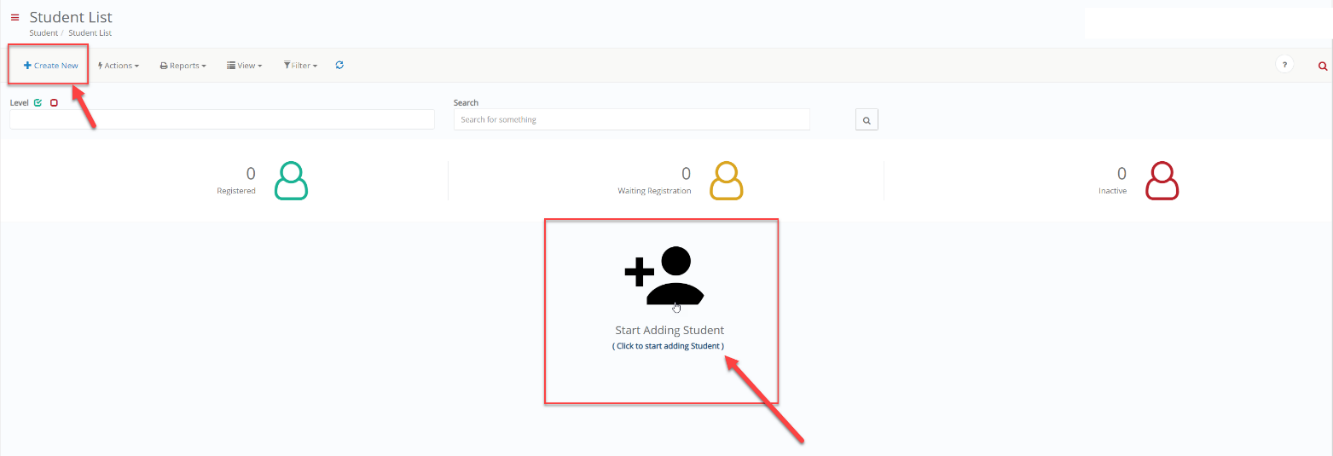
Figure 2
Note: Alternatively, you can create a new _Student_ using the ‘Create Student’ button under Quick Actions on the Dashboard (Figure 3).
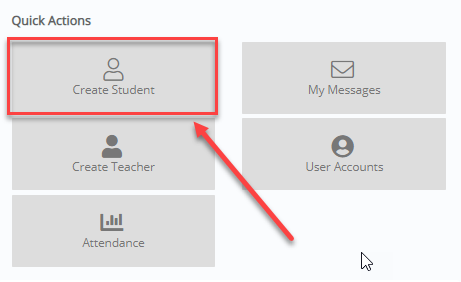
Figure 3
- Insert student’s basic data in the ‘Student Profile’ tab (fields with a red asterisk are mandatory) (Figure 4).
- Add all additional fields as described in the Admin or Employee manuals.
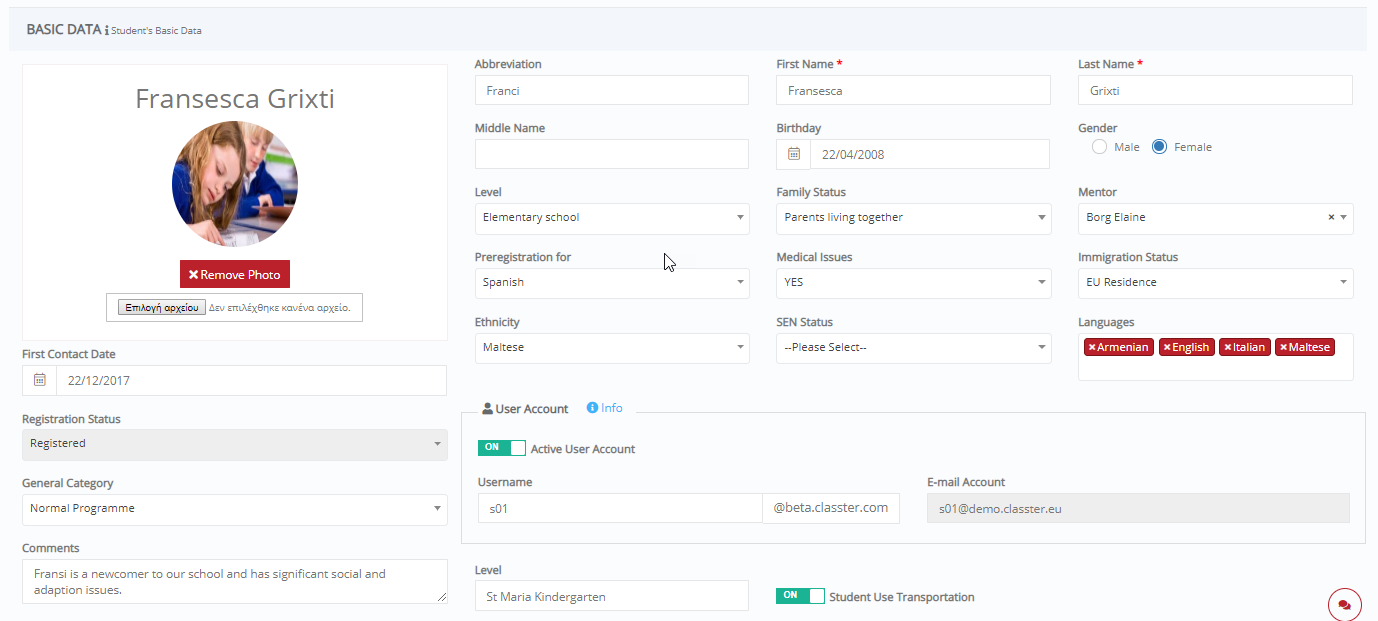
Figure 4
- Click on ‘New Relative’ to add a student’s relative or Click on ‘Connect with Existing’ to connect _Student_ with a relative that already exists (Figure 5).
Note: Go to ‘+ New Relative’ to check out how to create a new relative.
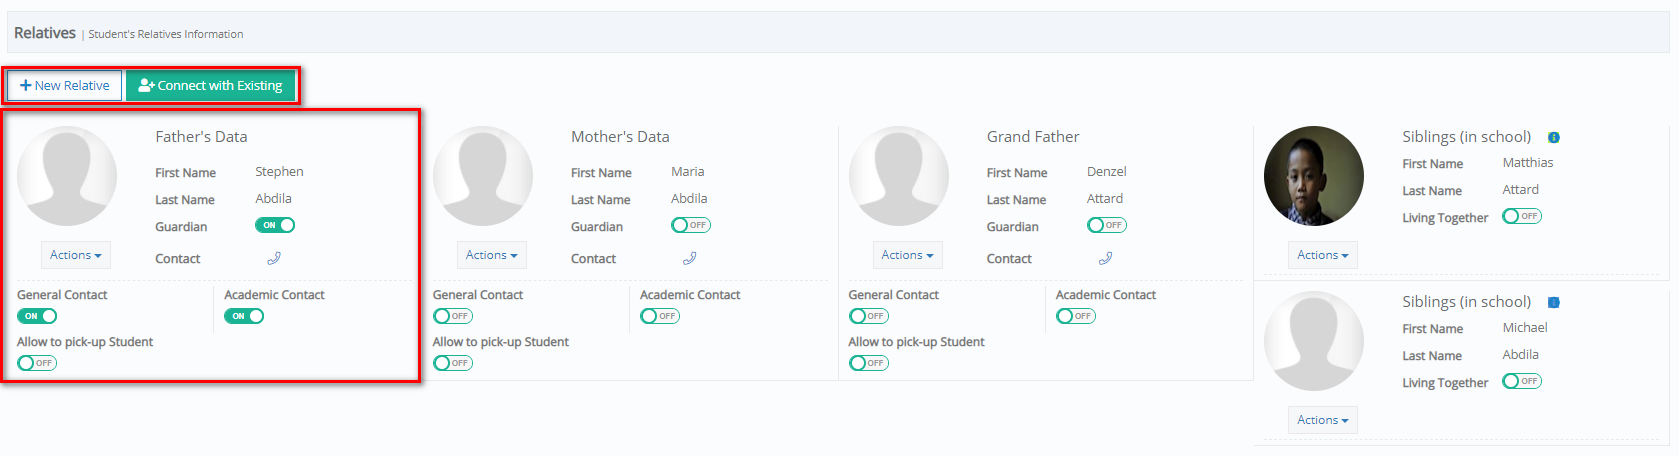
Figure 5
- You can define if the relative is the student’s guardian or the one to be contacted for general and/or academic issues, or if allowed to pick-up the _Student_, by activating the relevant options. In the case of a sibling, you can activate the Cohabitation or Living Together option to state that the siblings live together.
- Click on the phone button to see relative’s contact data or click on ‘Actions’ to preview or edit the relative’s data, change connection by selecting another relative from the list, change the relative relationship or delete the relative connection with the _Student_ (Figure 6).

Figure 6
New Relative
- Click on the ‘New Relative’ button to create and add a new relative.
At the ‘Add Relatives’ pop-up window (Figure 7):
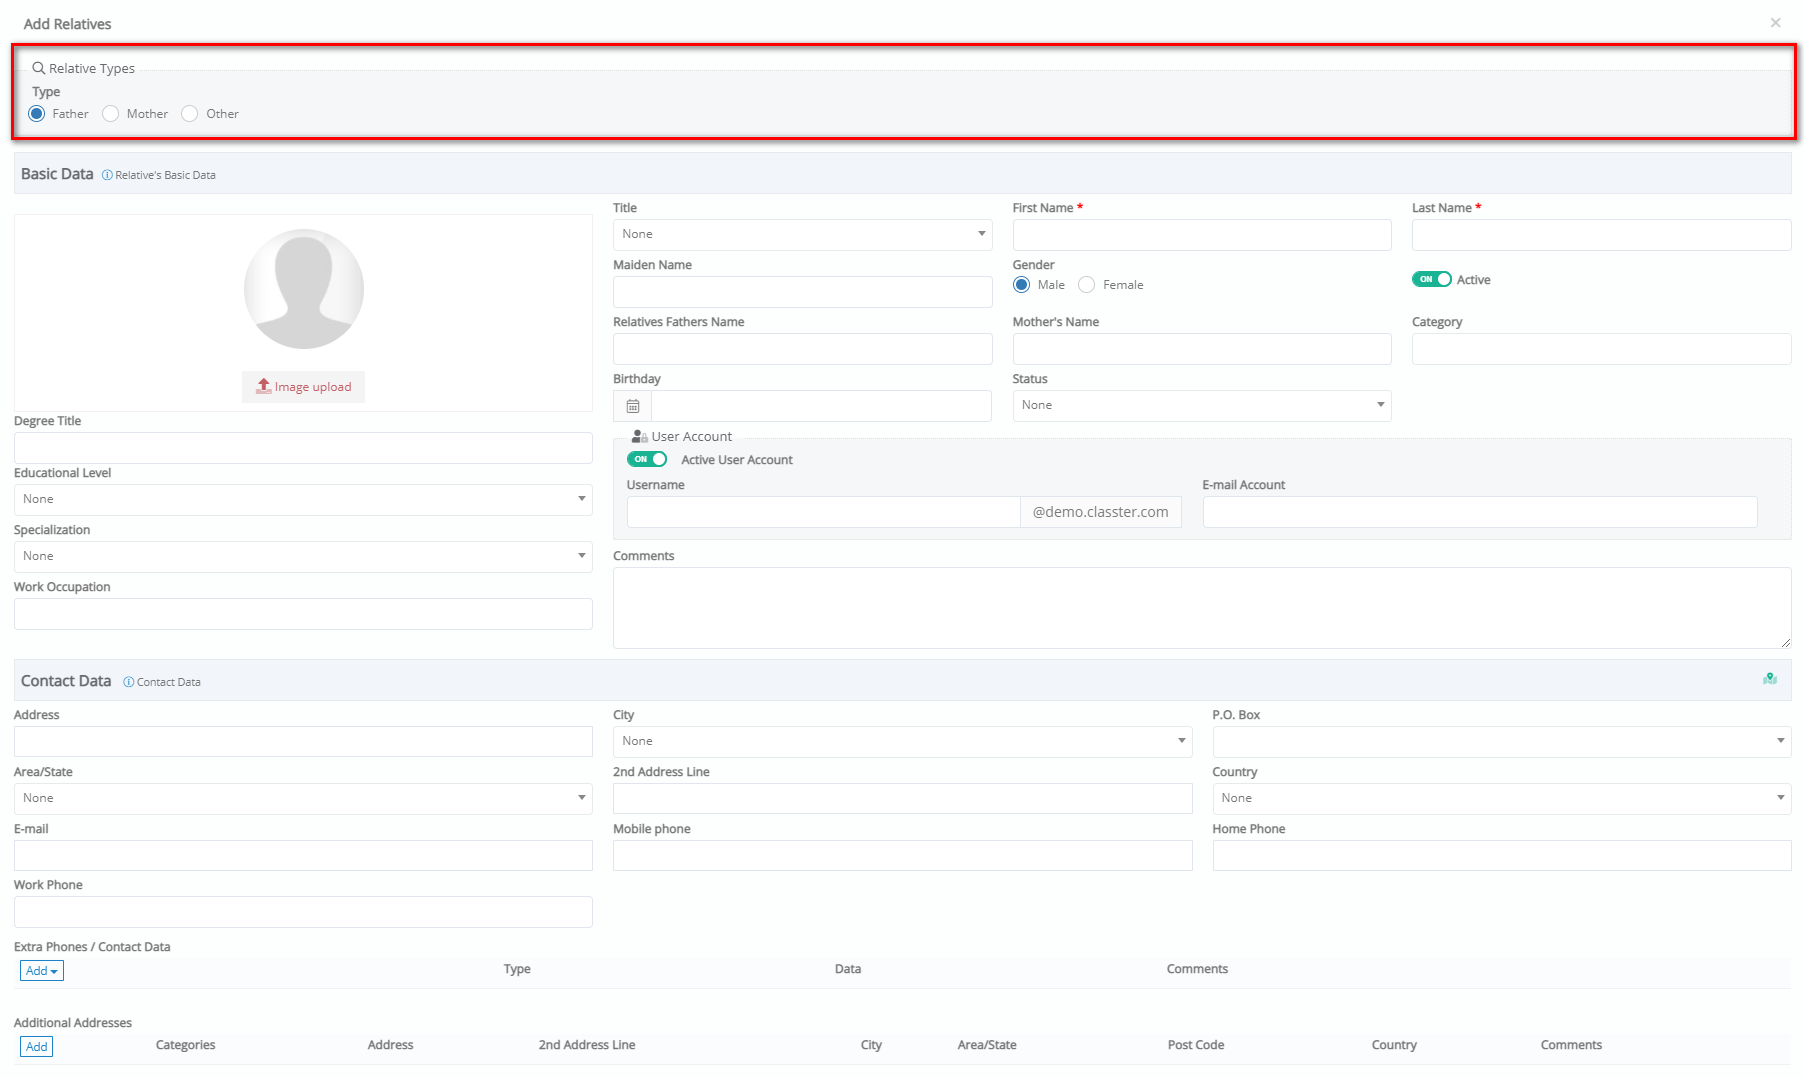 Figure 7
- Select the ‘Relatives Types’ i.e., Father or Mother, or Other to select from the drop-down list e.g., Grand Mother
- Fill in the Basic Data of the relative i.e., Name, Gender, Birthday, Username, etc.
- Add Contact Data, Other Data, Various Data, etc.
- Click on ‘Save’
Connect with Existing
Relatives can be connected to two or more _Students_.
- Click on the _Student_ you want to create a connection with, and you will be transferred to the edit page (Figure 8).
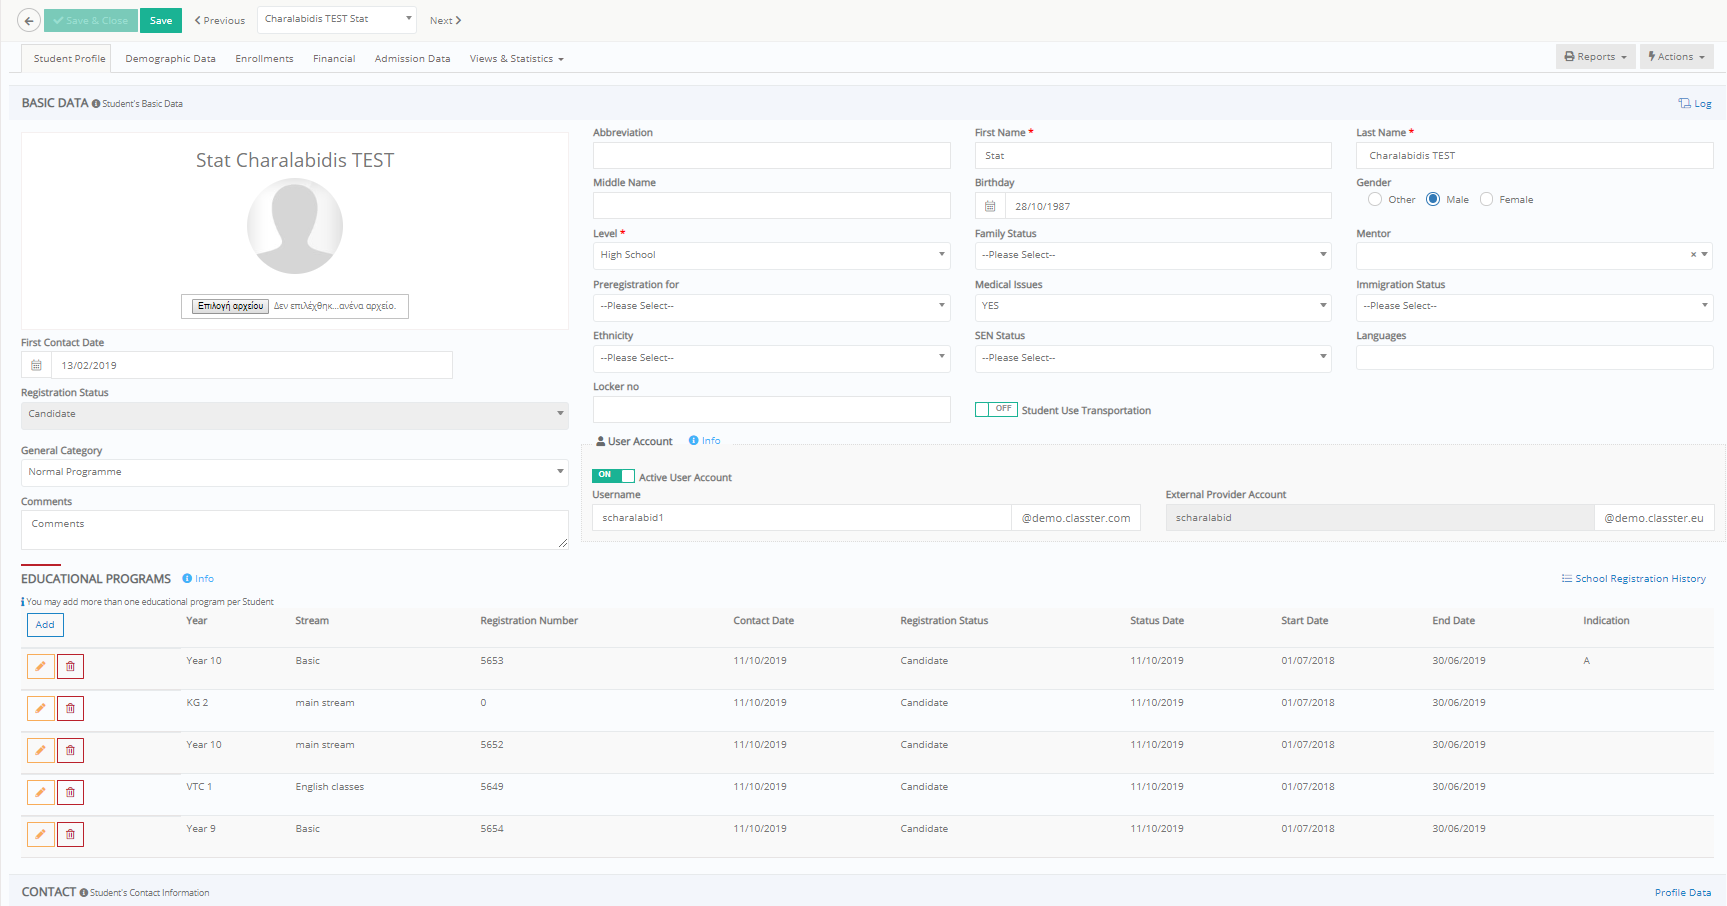 Figure 8
- Once you arrive on the _Students_ edit page you will need to scroll down to the relative’s section.

Figure 9
- In this section you can connect the _Student_ with the parent you created earlier by clicking on the Connect with Existing button.
- Once you click on the Connect with Existing button you will view a popup window (Figure 10).
- At the ‘Select Relatives’ pop-up window (Figure 10):
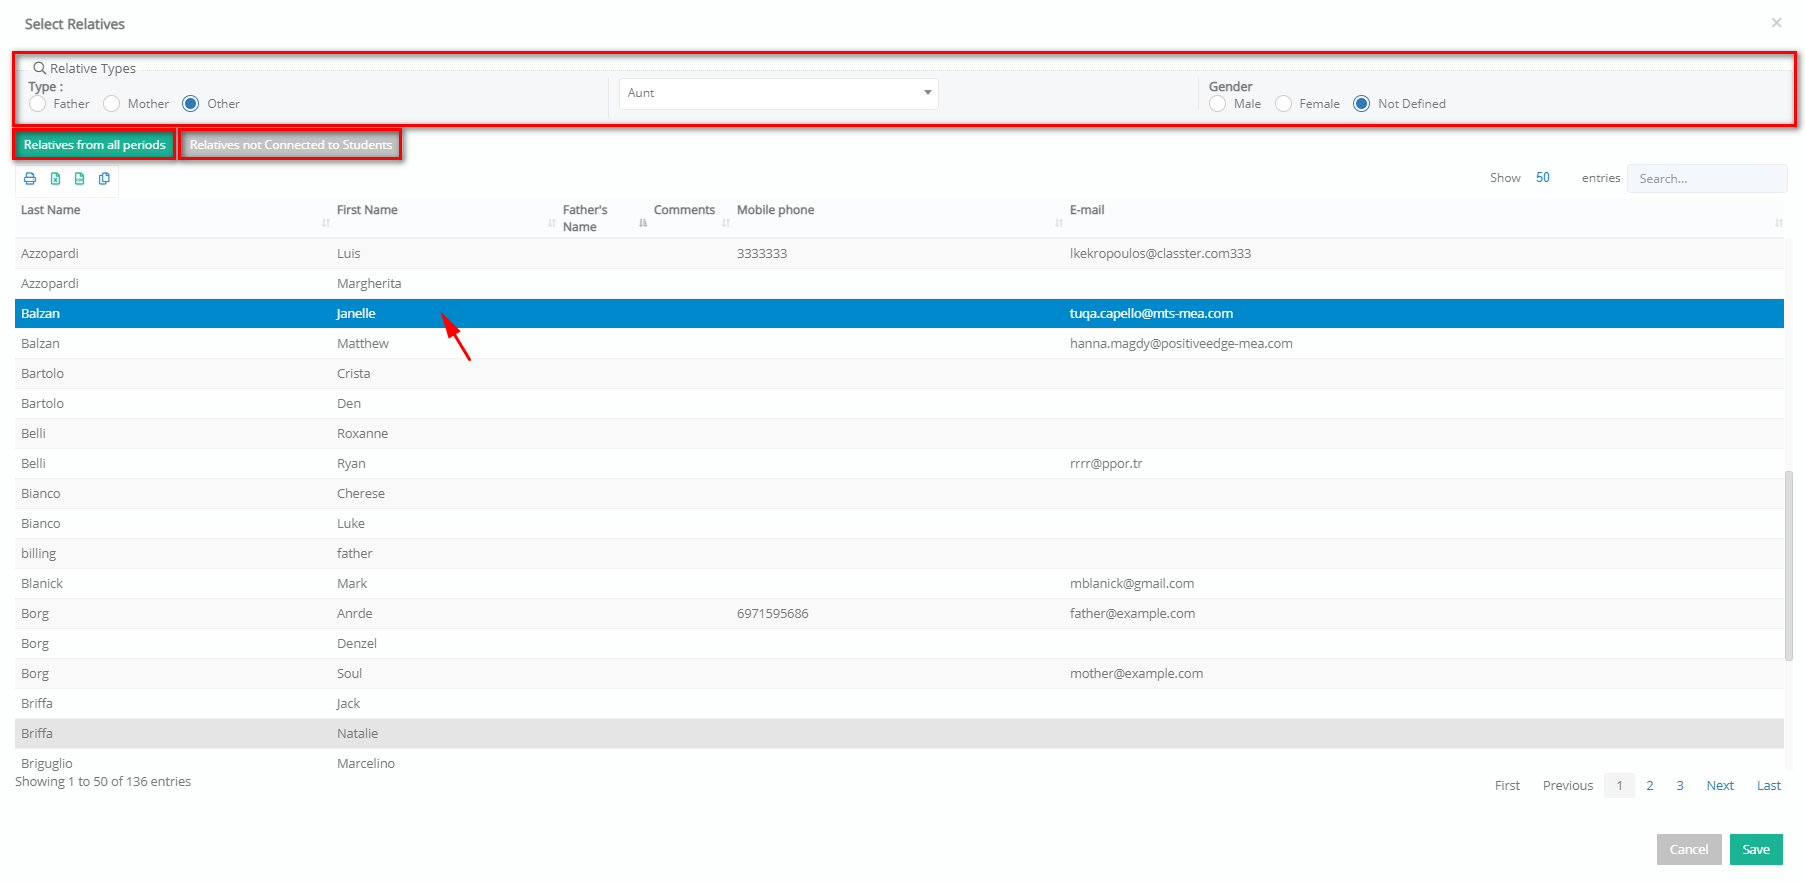
Figure 10
- First, choose relative type e.g., Father.
- Secondly, define Gender e.g., Male.
- Third step filter relatives by clicking on the Relatives from All Periods or Relatives not Connected to _Students_. Click on the second option since the relative you created is not connected yet.
- Fourth step is to choose a relative from the list.
- Finally click on the Save button to save your choice.
- Having followed these steps, you will have created the connection between _Student_ and relative. You can connect the parent to more than one student.