

The Signatures Module now includes DocuSign integration (requires a license) and supports dual-signature workflows. This enhancement allows documents to be signed by primary signatories first, followed by an additional signatory (e.g., an admissions officer). The module includes settings for adding predefined secondary signatories and supports “Private Agreement” documents within Signature Templates.
Enable the Signatures Module
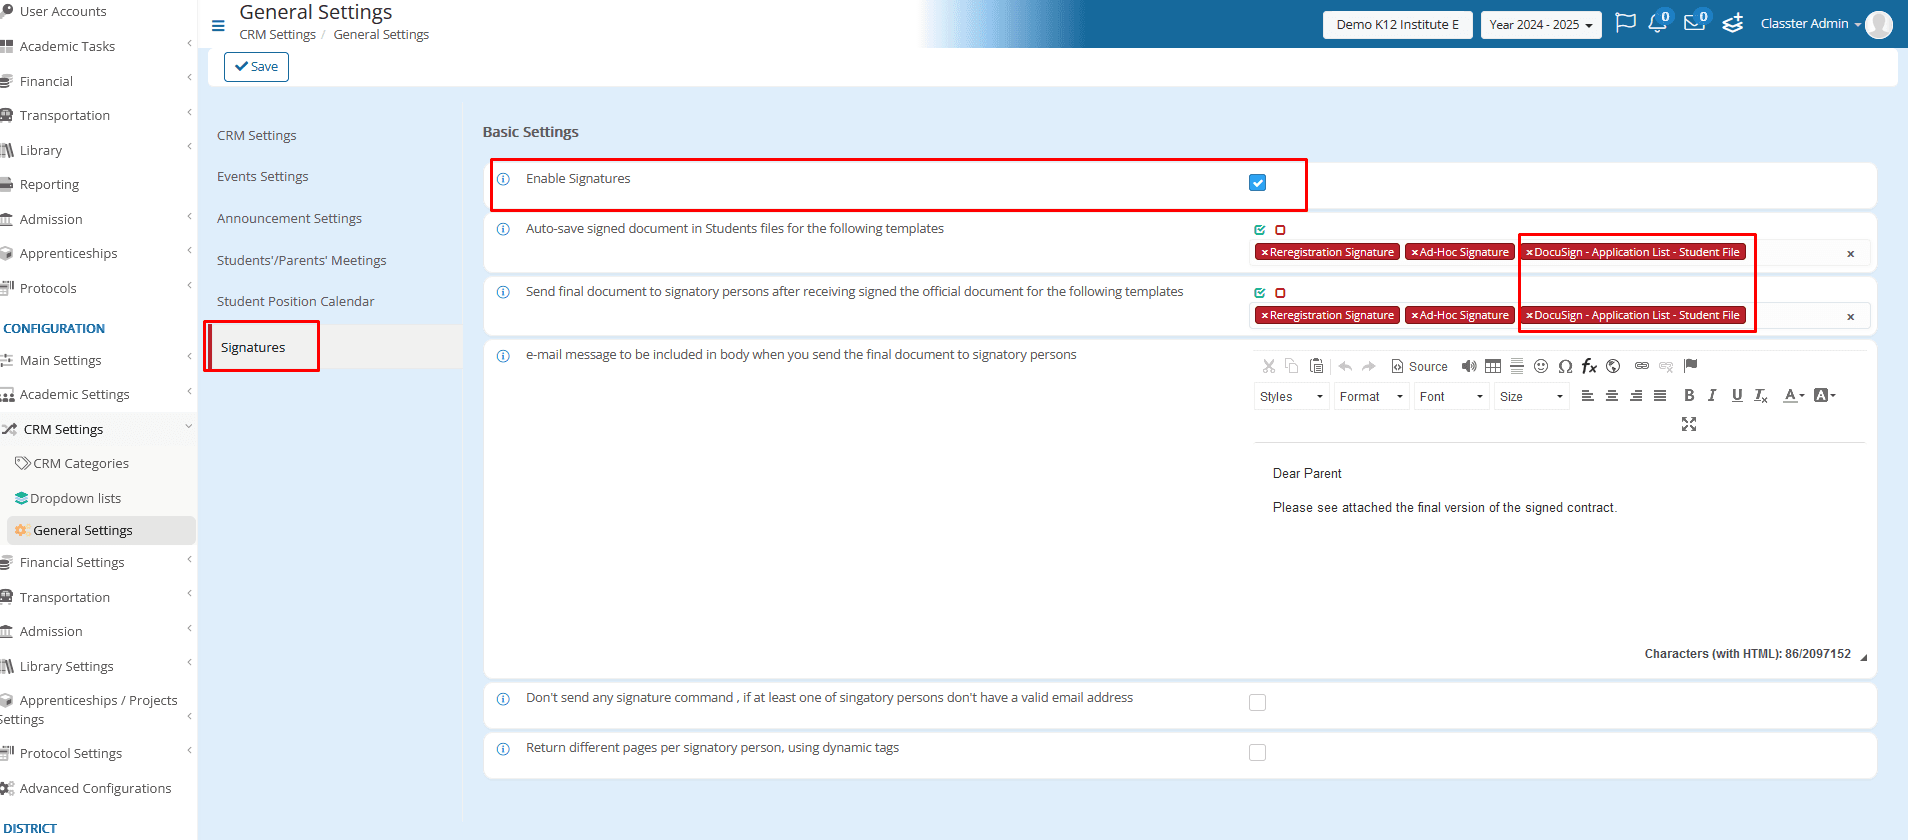
Navigate to the CRM Settings > General Settings > Signatures (open only when the license is acquired)
Enable Signatures and set up all relevant settings, for your organization.
Integrate with DocuSign
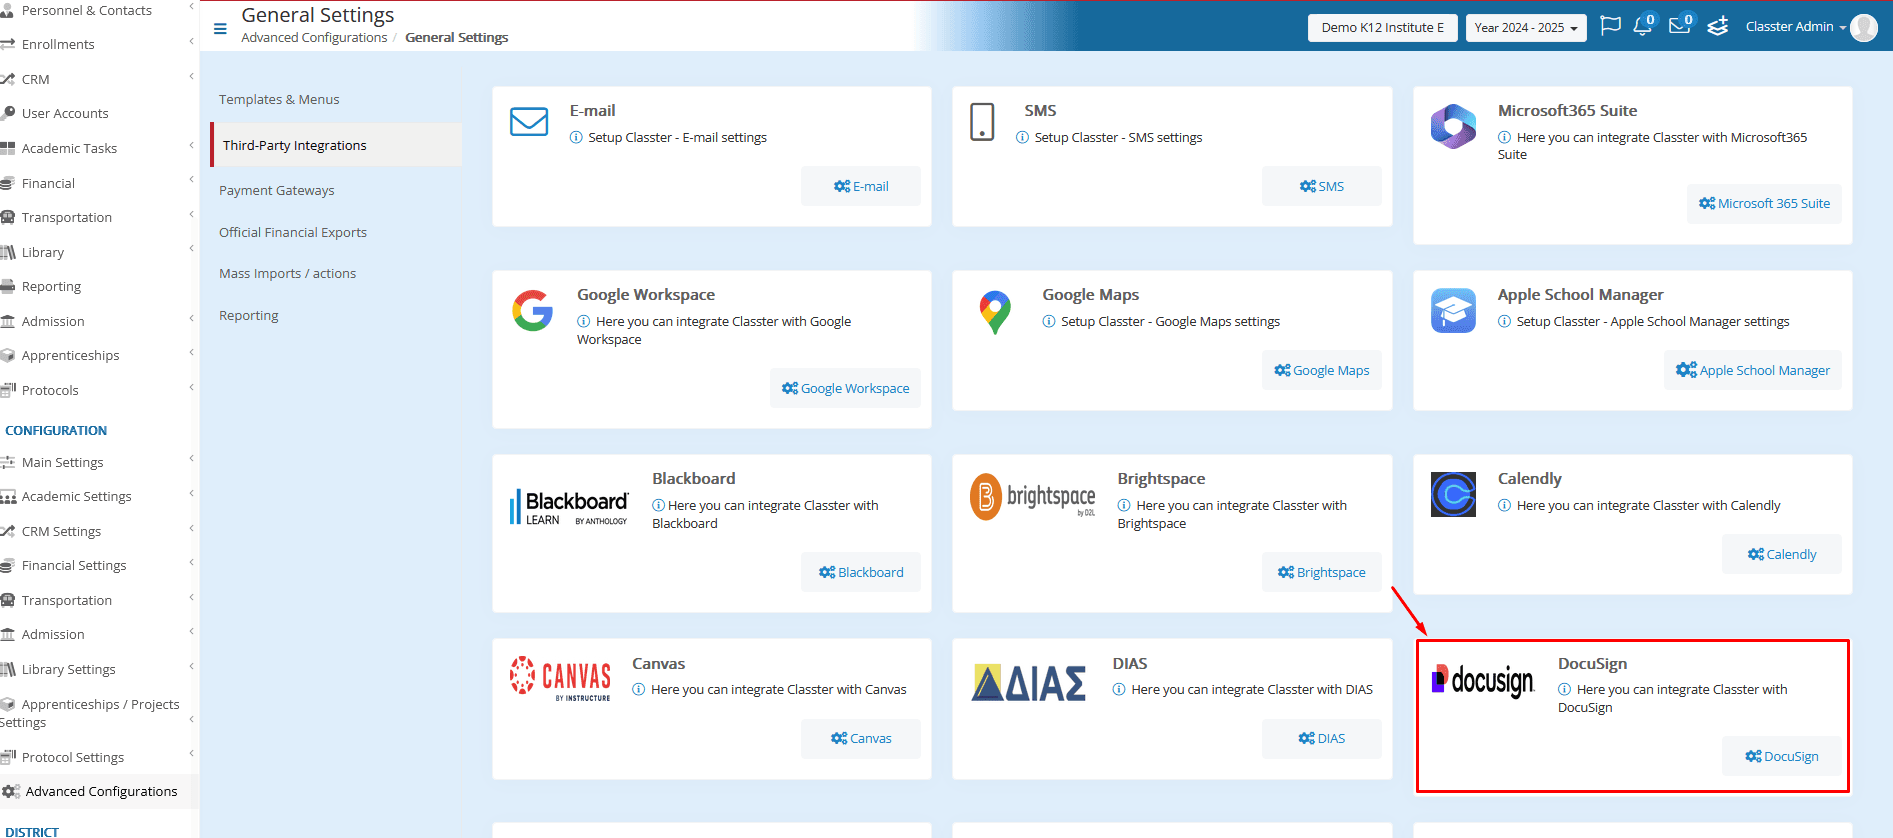
To integrate DocuSign, go to Advanced Configurations > Third-Party Integrations and click on DocuSign.
In the next window, you will see that there is an instruction section with the steps you need to follow.
Follow the instructions and fill in the Integration Id, API Username, API Account Id, and Private Key fields.

Switch the “Use SandBox” radio button ON if you are Integrating a sandbox account, otherwise leave it switched OFF. When all the fields are configured, click on the Activate button.
Enable additional signatory persons: Turn this switch on if you want to designate a specific person to receive the documents after the main signatories have signed them.
Predefined signatory person: Define the additional signatory person for your institute here.
Note: To make the documents signable, include the text **signature** somewhere in the content. Since DocuSign cannot replace this text, you can hide it by matching the font color to the background. Additionally, add the text **date_signed** to automatically insert the signing date in the document. For the predefined signatory person, use the text **signature_**, **date_signed_2** to achieve the same functionality.
Note: When clicking on Activate you might get redirected to DocuSign where you might get asked to accept the permissions request.
When the integration is done the screen should look like this. Make sure the Enable switch is ON and Save.

Set up your Signature Templates
Navigate to Advanced Configurations > Templates & Menus > Signature Templates.
Note: To appear in the Signature Request dropdown list of Signature Templates, both Files and Private Agreements must be linked to a template.
Files
Upload this kind of file in the Files & Links section in the Student Form.
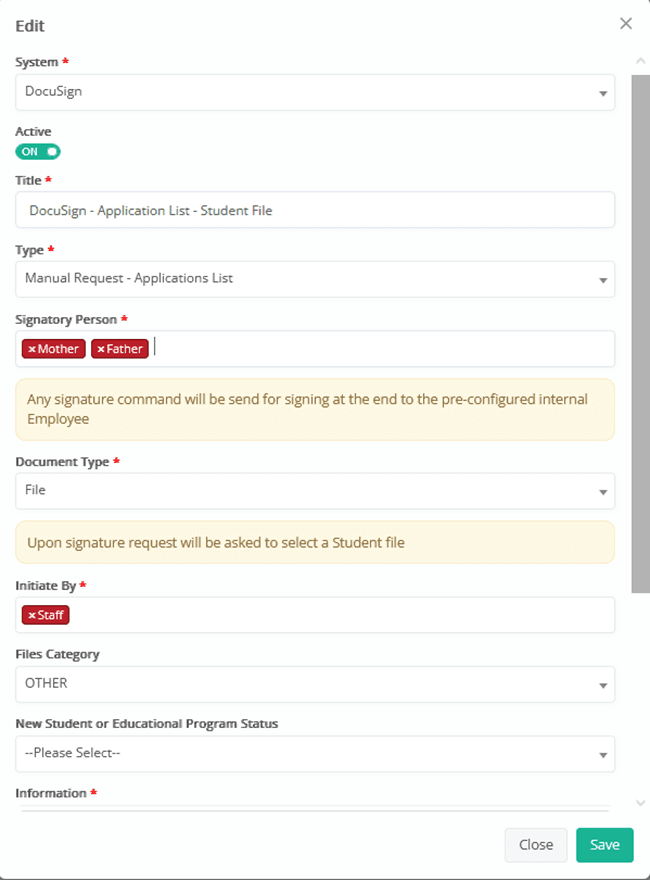
System: Select DocuSign.
Active: Turn ON when fully configured.
Title: Enter a suitable title.
Type: Choose if it is “Per arrangement” or not.
Signatory Person: Select the person (one or more) who will sign the document.
Document Type: For files, choose the File Document Type.
Initiate By: Select who can initiate this signature request.
File Category: Choose the category for the file.
New Student or Educational Program Status: Select the appropriate status.
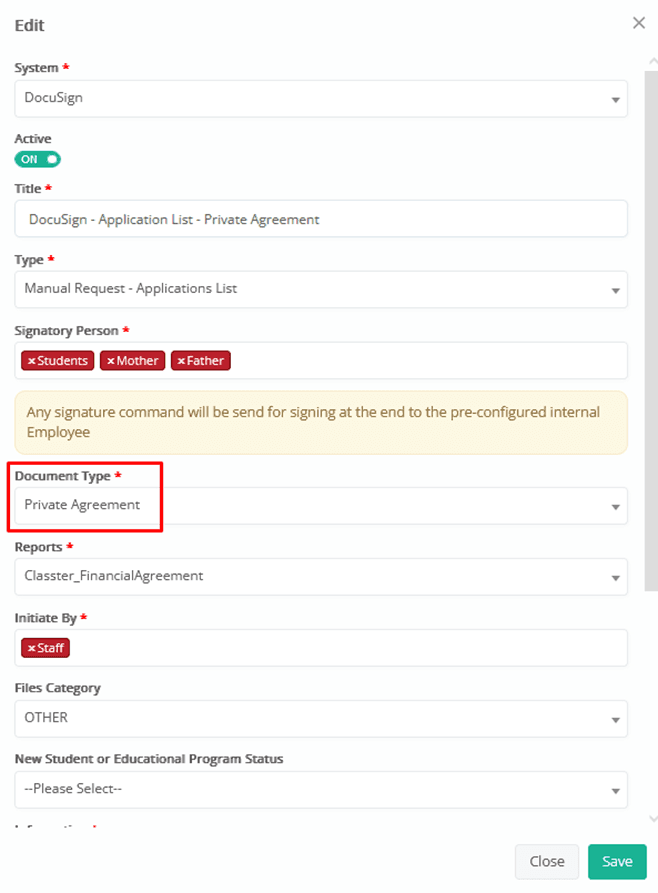
Private Agreements
Selecting “Private Agreement” as a Document Type generates a report as a PDF, ready for signing.
System: Select DocuSign.
Active: Turn ON when fully configured.
Title: Enter a suitable title.
Type: Choose if it is “Per arrangement” or not.
Signatory Person: Select the person (one or more) who will sign the document.
Document Type: For files, choose the Private Agreement Document Type.
Initiate By: Select who can initiate this signature request.
File Category: Choose the category for the file.
New Student or Educational Program Status: Select the appropriate status.
Process
In the Application Management menu, a back-office employee can start the signing process by selecting “Signature Request”.
Admission> Application Management> List of Applications > select a student > Actions button: Signature request > A pop-up window appears with options to configure the request.

Toggle Send as New Request to send a new request or Skip any students already received request.
Choose a DocuSign Signature Template from the dropdown:
DocuSign- Application List – Student File for sending a specific document from the student’s files.
DocuSign- Application List – Private Agreement for sending a private agreement document.
After selecting an option, press Create. A warning message will appear, letting you know if the recipients have valid emails and prompting you to confirm before continuing.
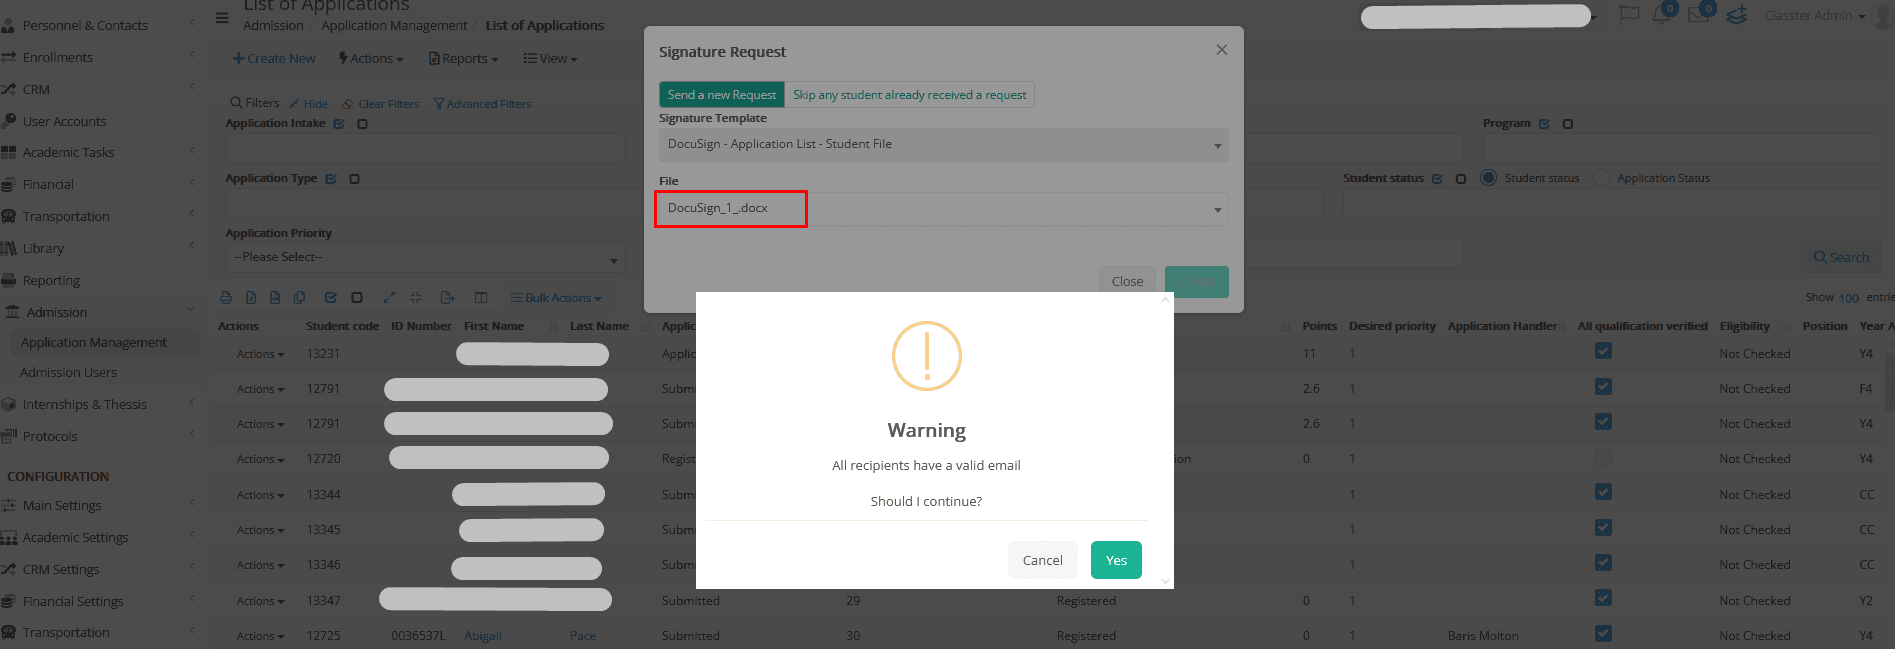
Press Yes, and the system automatically sends the requests.
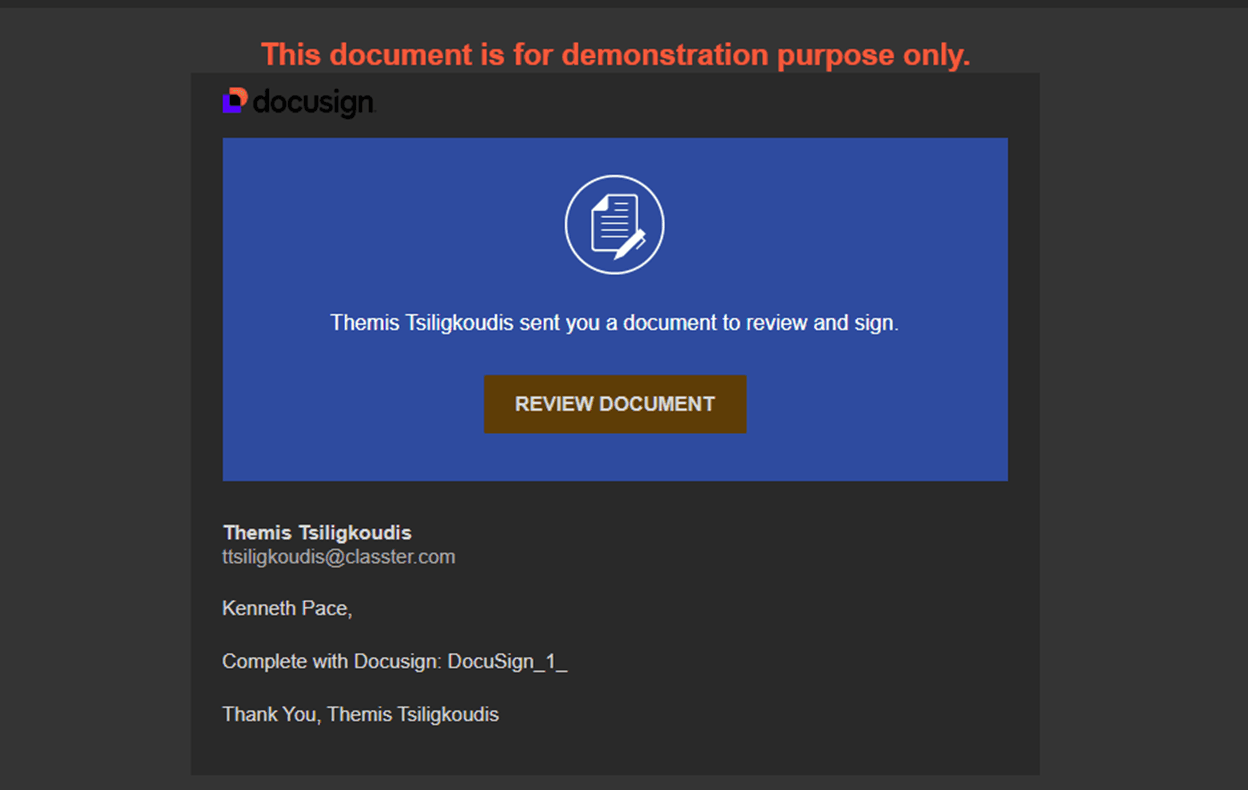
The first signatory person received the document for signing.
After the first signatory person signs the document, the document goes to the second signatory (officer).

And this is the final signed document.
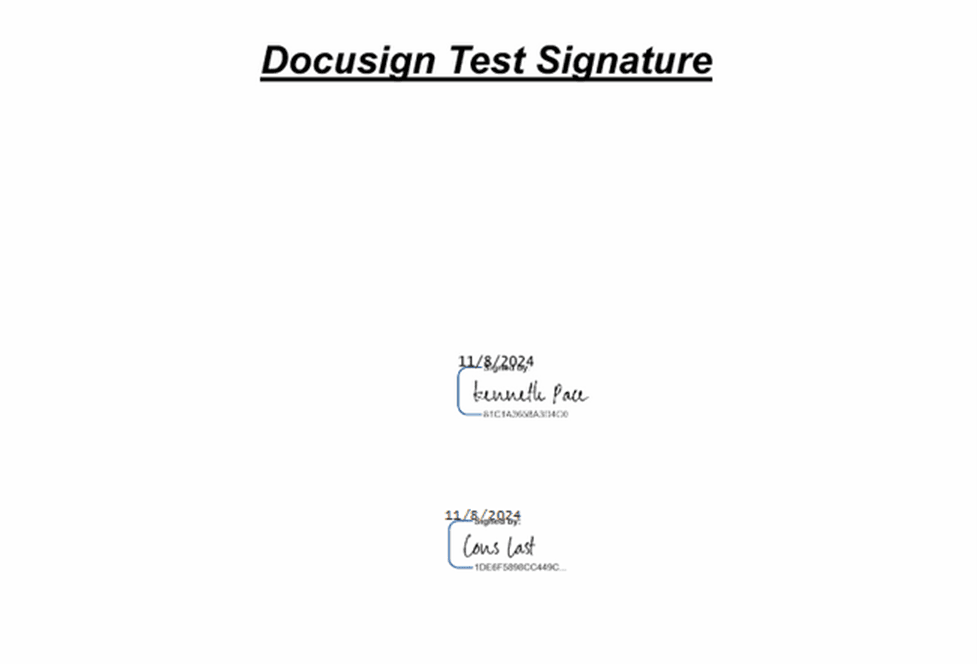
And emails are sent to both, with the final signed document.


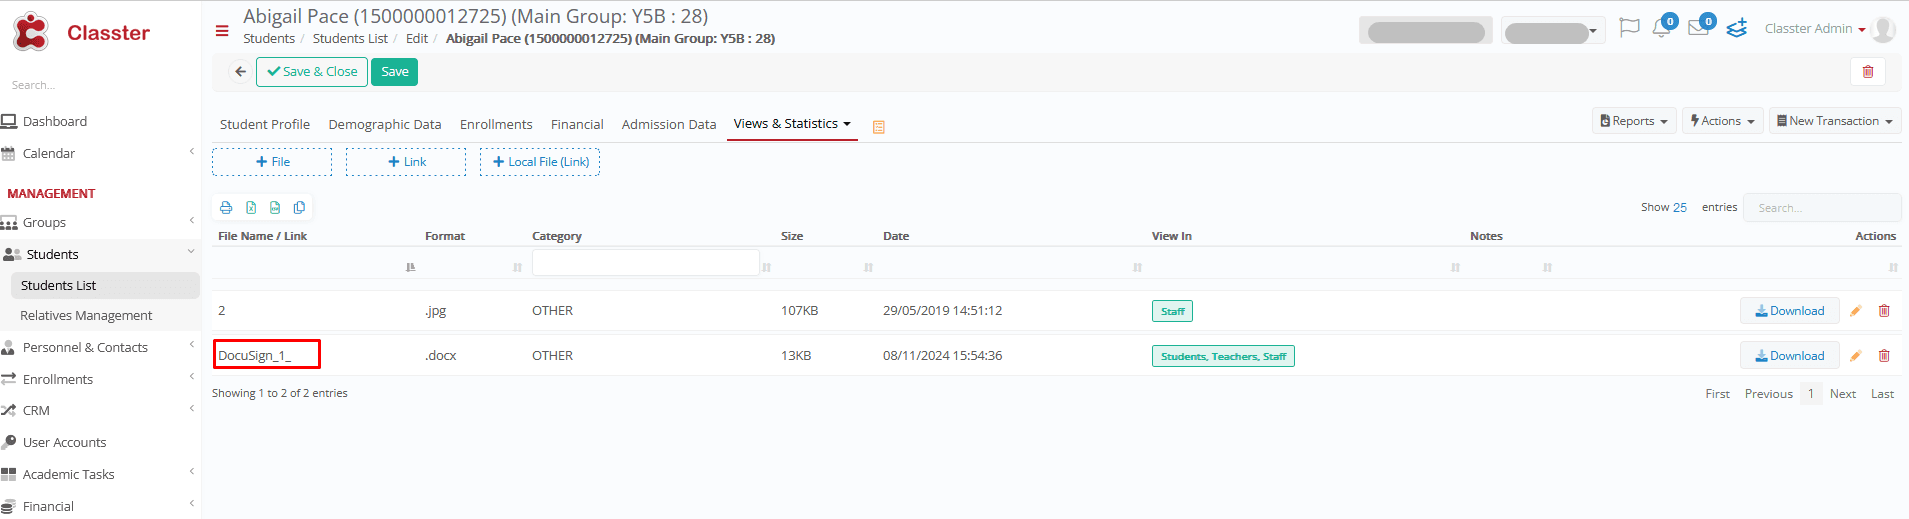
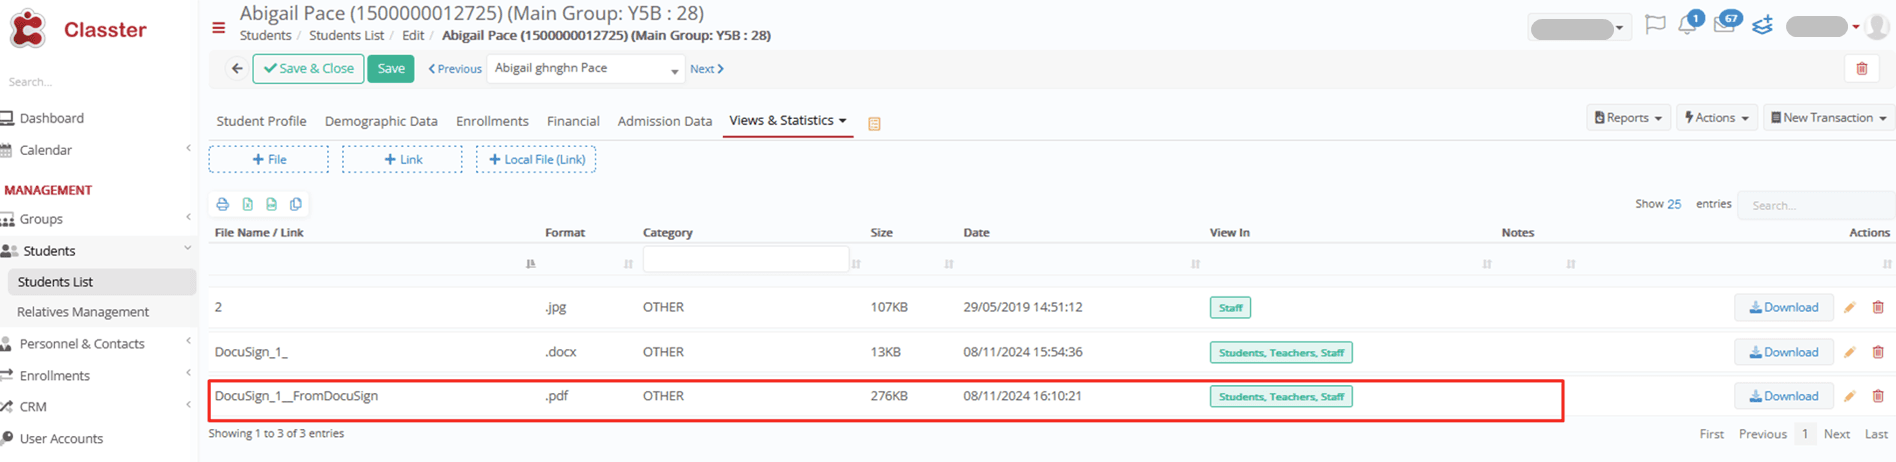
The retrieved signed document returns to the Student Form (Files &Links).
Signature and Date fields
To ensure your documents are properly configured for signing, follow these steps:

Adding Signature Fields:
Insert the text **signature** wherever you need a signature in the document. If you prefer to keep this placeholder hidden, change its color to match the background.
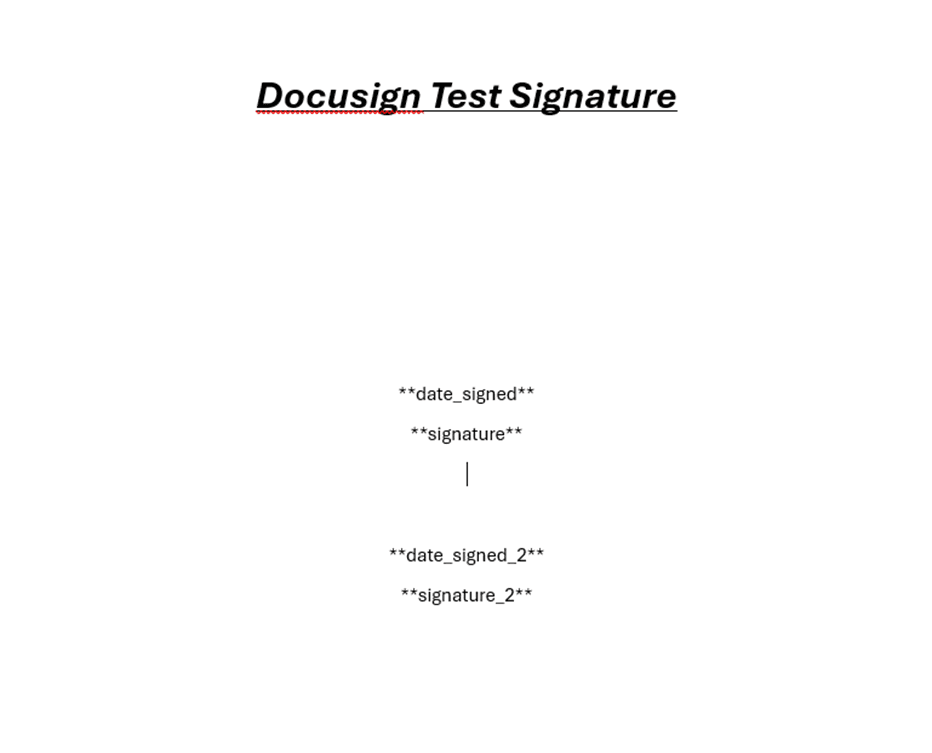
Inserting the Signing Date:
Add **date_signed** to automatically populate the date when the main signatory completes the signing.
Configuring Additional Signatories:
For an additional signatory, include:
**signature_2** for their signature.
**date_signed_2** to automatically insert their signing date.