First you must enter the Classter Portal as an Admin:
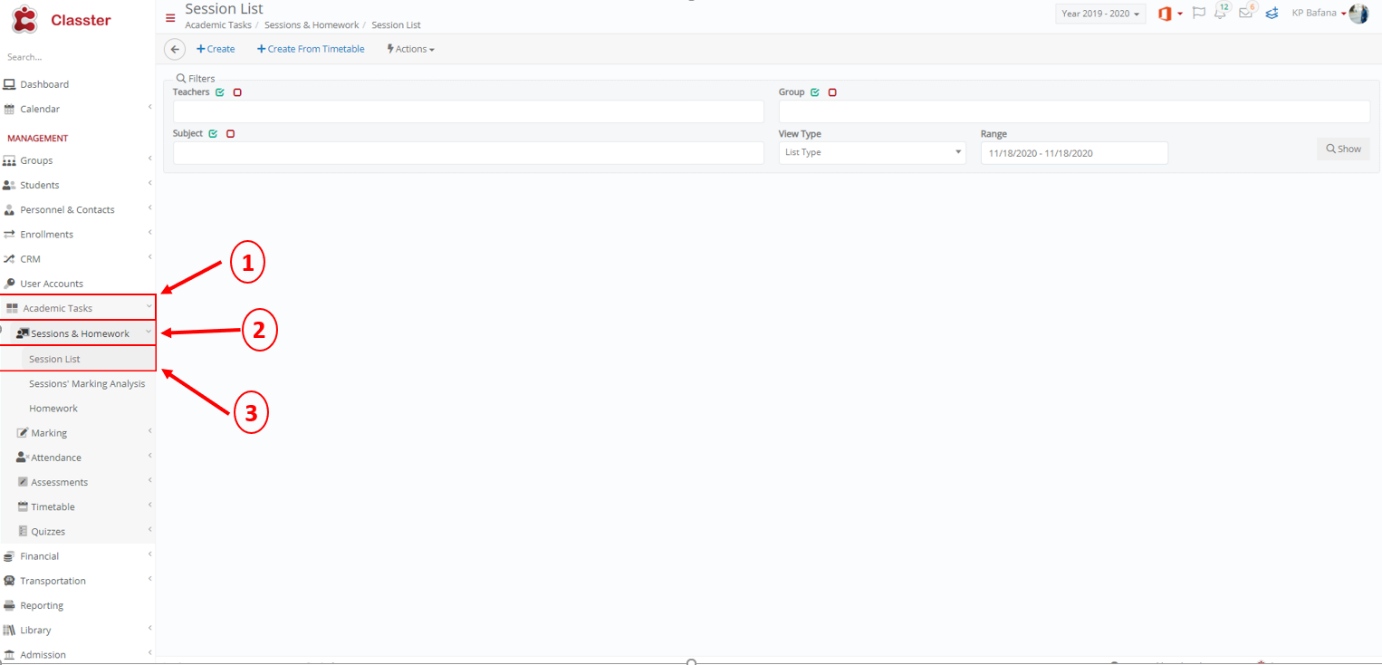
On the main menu, click on Academic Tasks > Sessions & Homework > Session List. (Figure 1)
 Figure 1
On the window that appears click on the button ‘Create’. (Figure 2)
 Figure 2
In this tab you will name the session (it is advisable to give a general name, for example ‘General info about class/ subject’) in the field ‘Title’, select the Timetable and Add files (Figure 3). Additionally, you can enter main data, such as the teacher and the subject, as well as secondary data, such as date and comments, relevant to the session.
 Figure 3
When you are done uploading your files, you can either ‘Save’, ‘Save & Close’ or ‘Save & Send Message’. (Figure 4)
 Figure 4
The ‘Save’ button allows you to save your changes and remain in the same window.
The ‘Save & Close’ button allows you to save your changes and return to the Session List page.
The ‘Save & Send Message’ button allows you to save your changes and send a message to the students enrolled in the class/subject added in the new session.
Note: Alternatively, you may add information and files for each lesson (session) completed.


