

IRIS Payment Gateway Integration
Overview
This guide will walk you through the IRIS payments setup and user interface.
The IRIS payment gateway is integrated through DIAS, allowing users to make secure online payments via e-banking or QR code directly through their portal.
Setting Up IRIS Payments
Enable IRIS integration
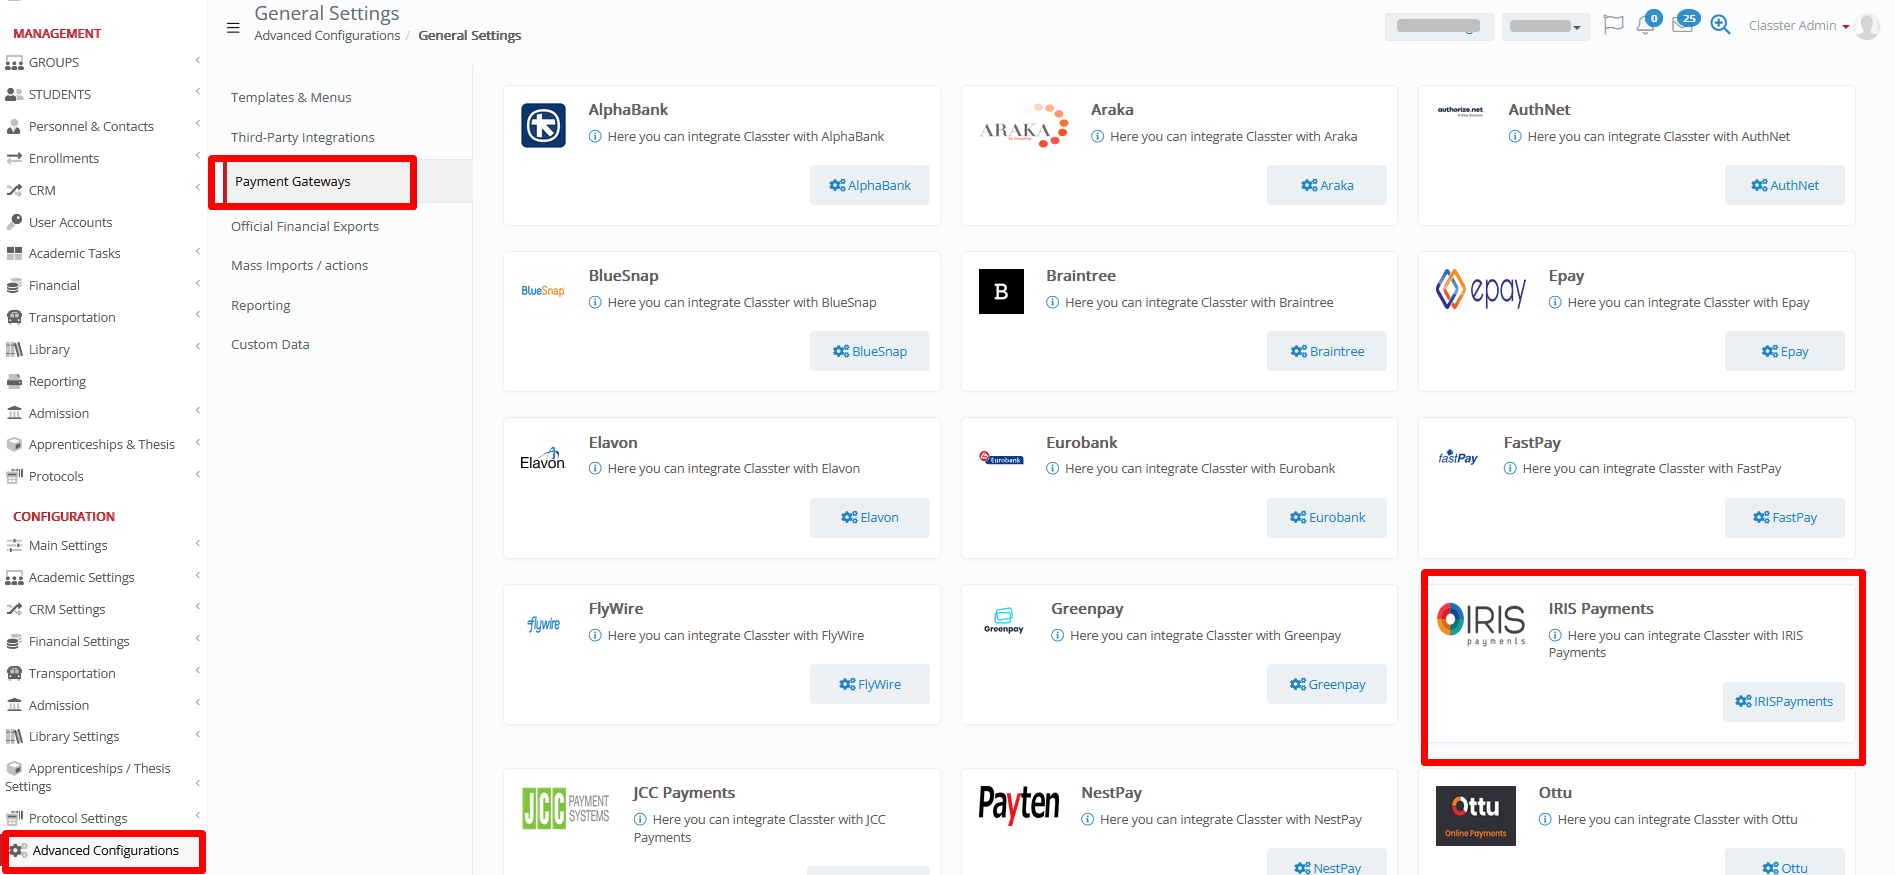
Navigate to Advanced Configurations > Payment Gateways > IRIS Payments
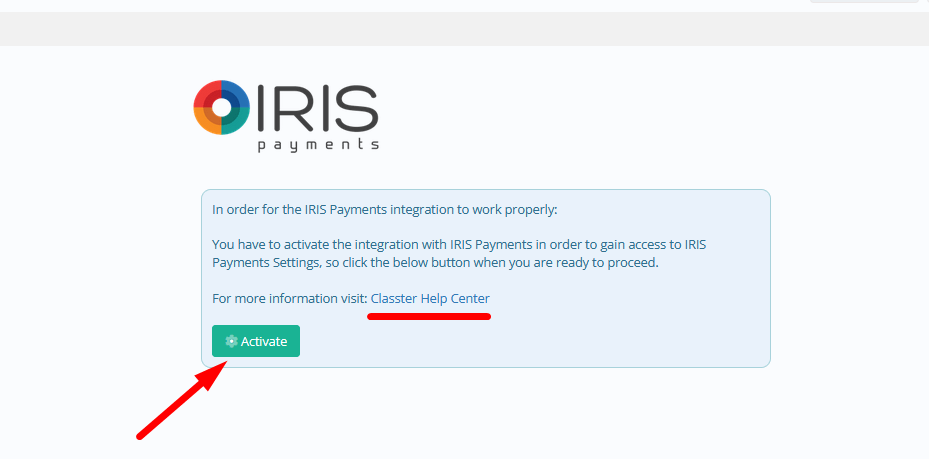
Activate the integration
And then, enter your IRIS account username and password and click Install
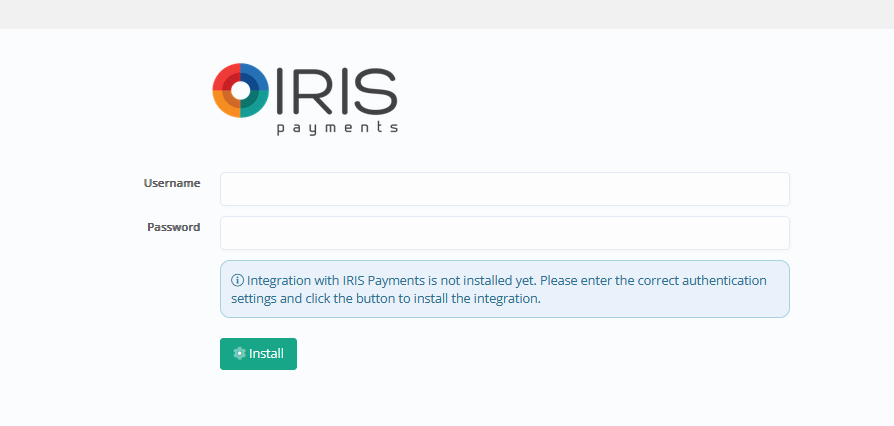
As soon as the username and password are correct, the settings will open as follows
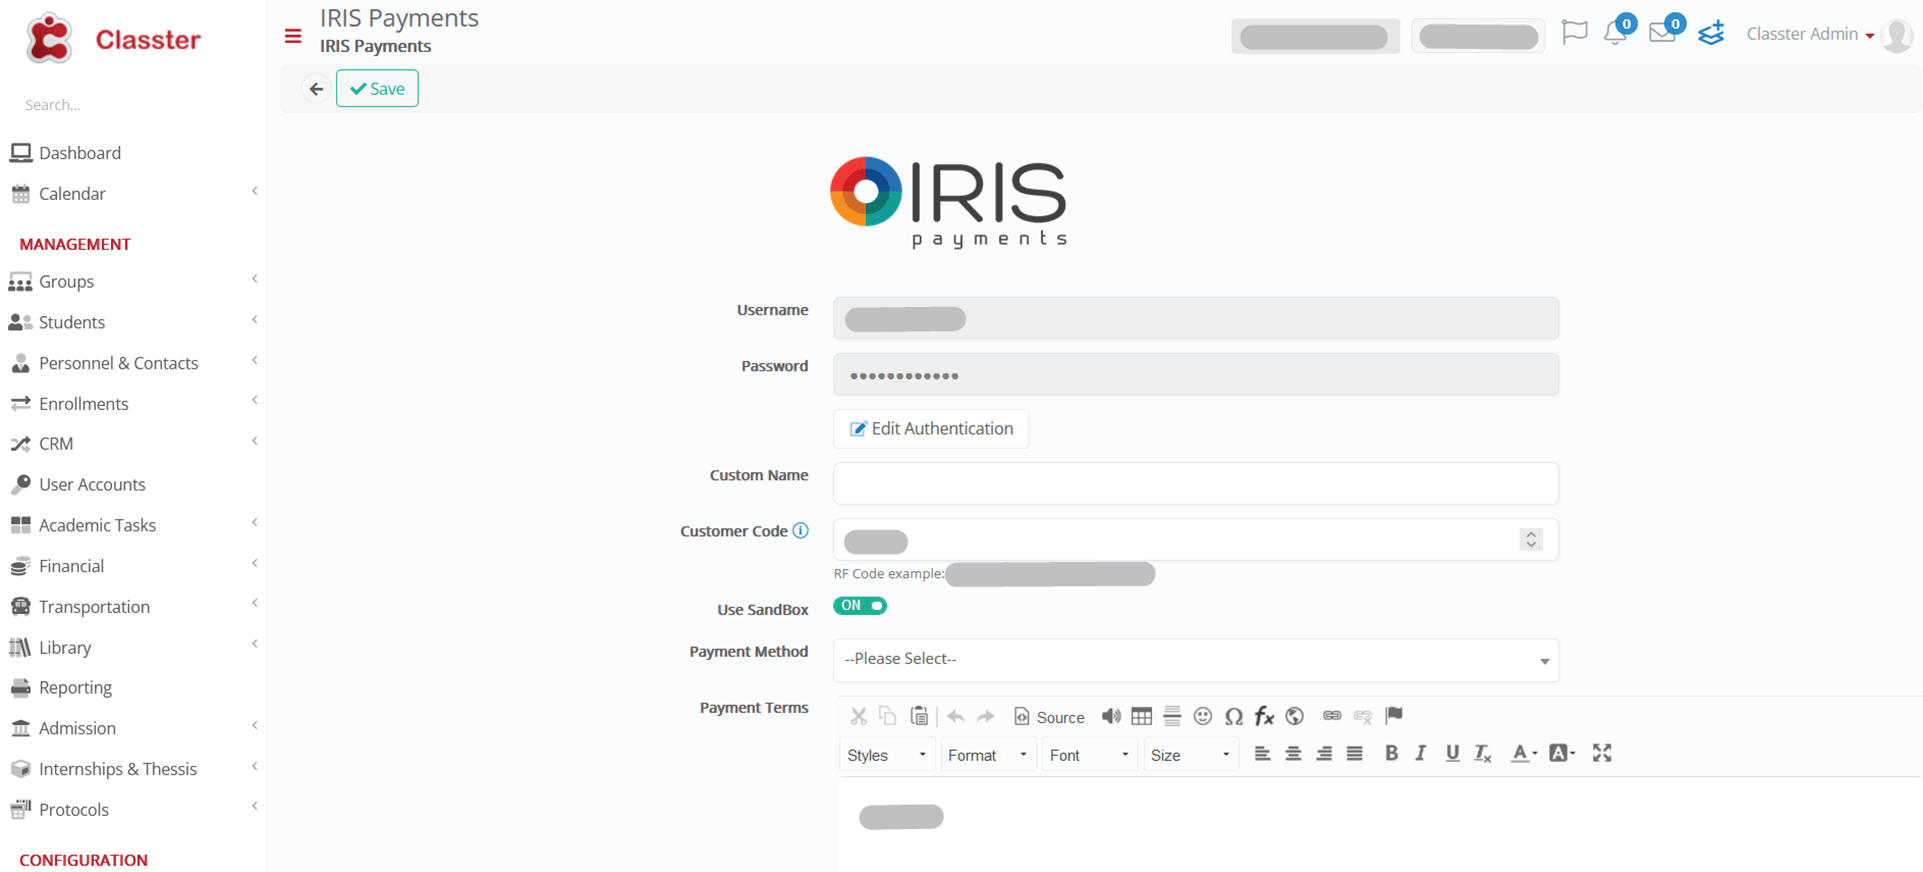
Custom Name (optional): custom name for IRIS payments, for the end users’ Portal
Customer Code: your institute unique code provided by the integration
Use Sandbox: for testing accounts (should be disabled in production)
Payment Method (recommended): the default custom payment method, automatically saved in transactions using this payment gateway (found in Financial Settings > Dropdown lists > Payment Methods) e.g. “IRIS”
Payment Terms: your custom payment terms appearing in the end users, during payment
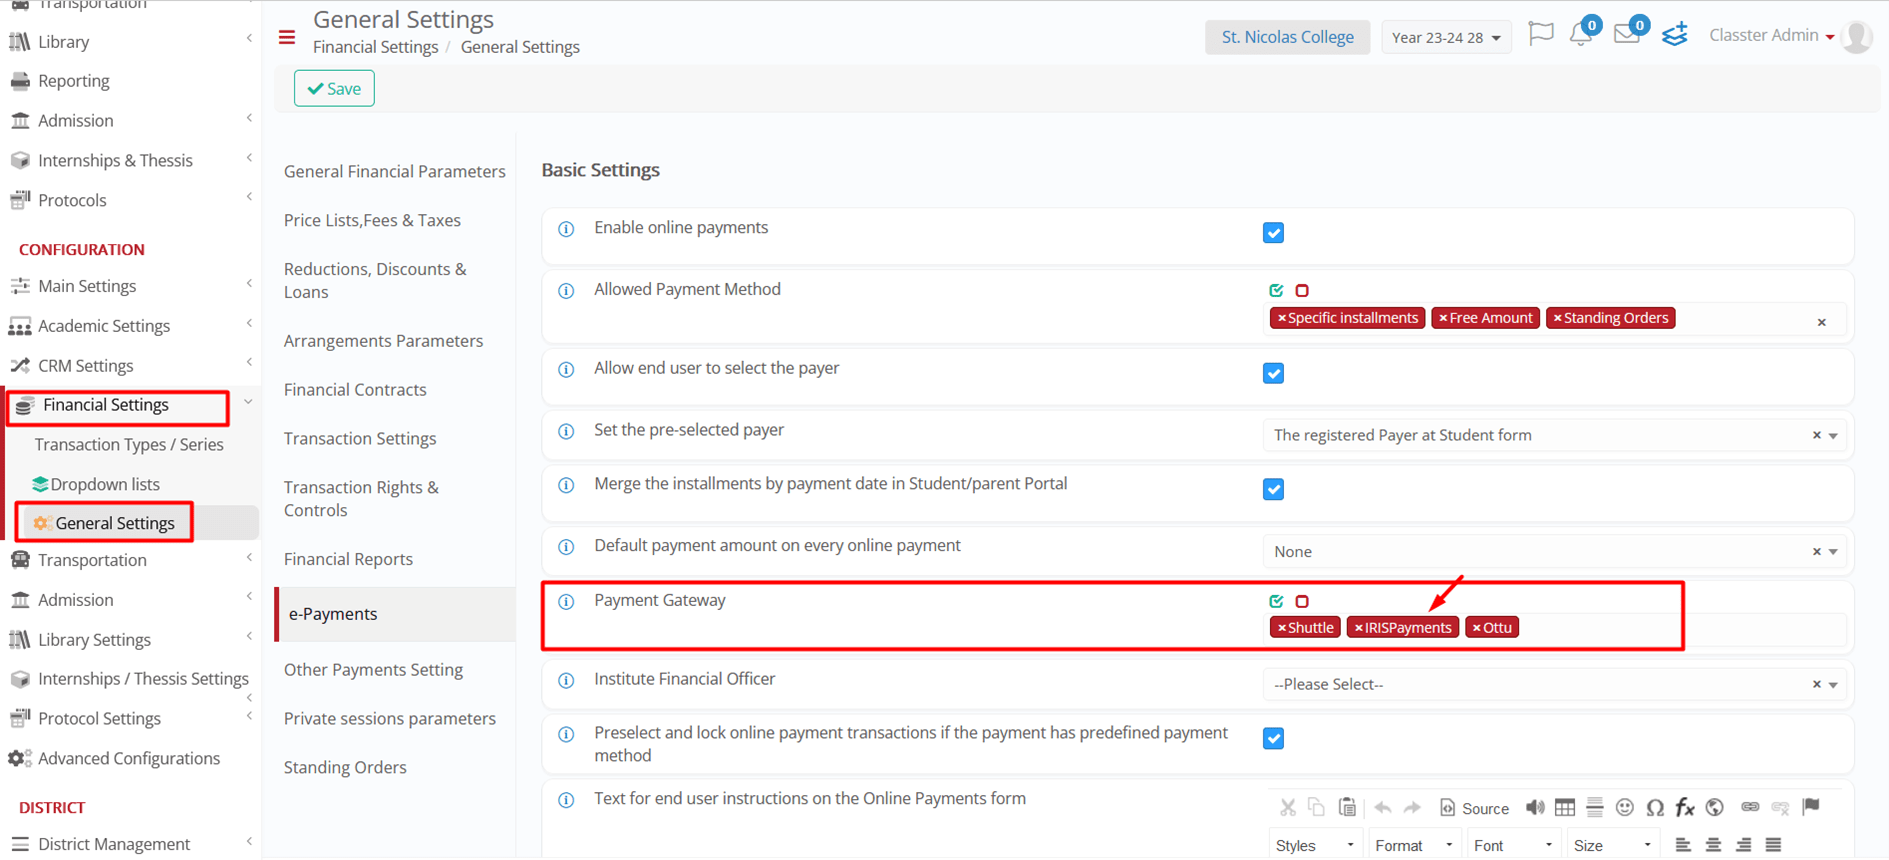
Enable IRIS in e-payments settings
Navigate to Financial Settings > General Settings > E-payments > Basic Settings > setting: Payment Gateway
And List IRIS among the available payment gateways for your institute.
Using IRIS Payments
User Interface
- Logged in as an authorized payer (e.g. Student, Parent, Agent)
- Navigate to Online Payments
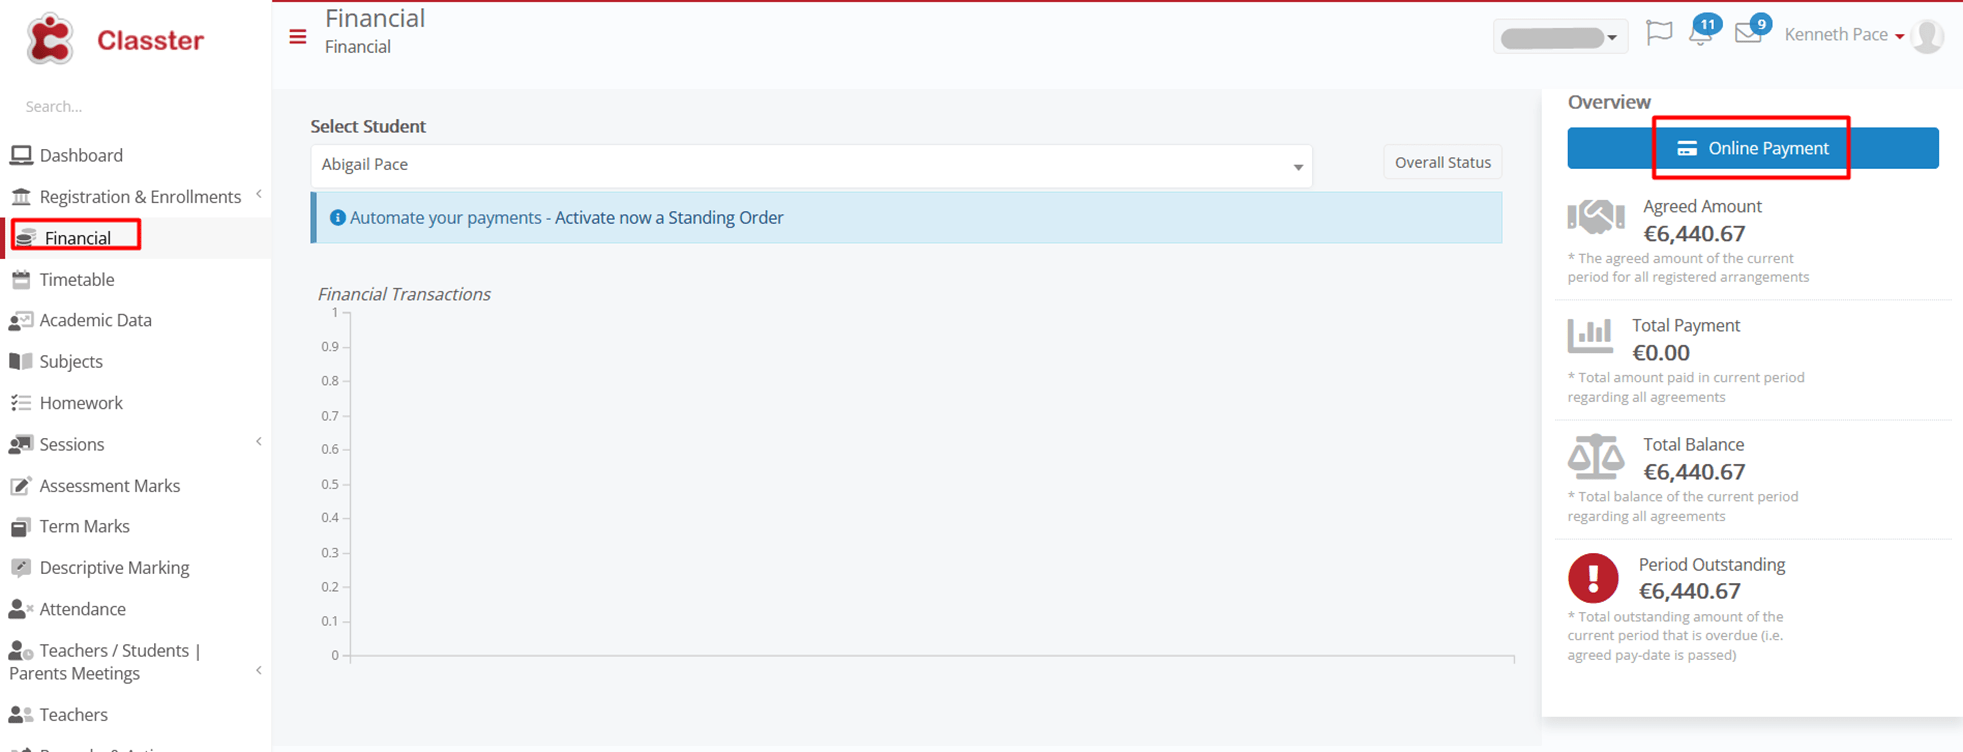
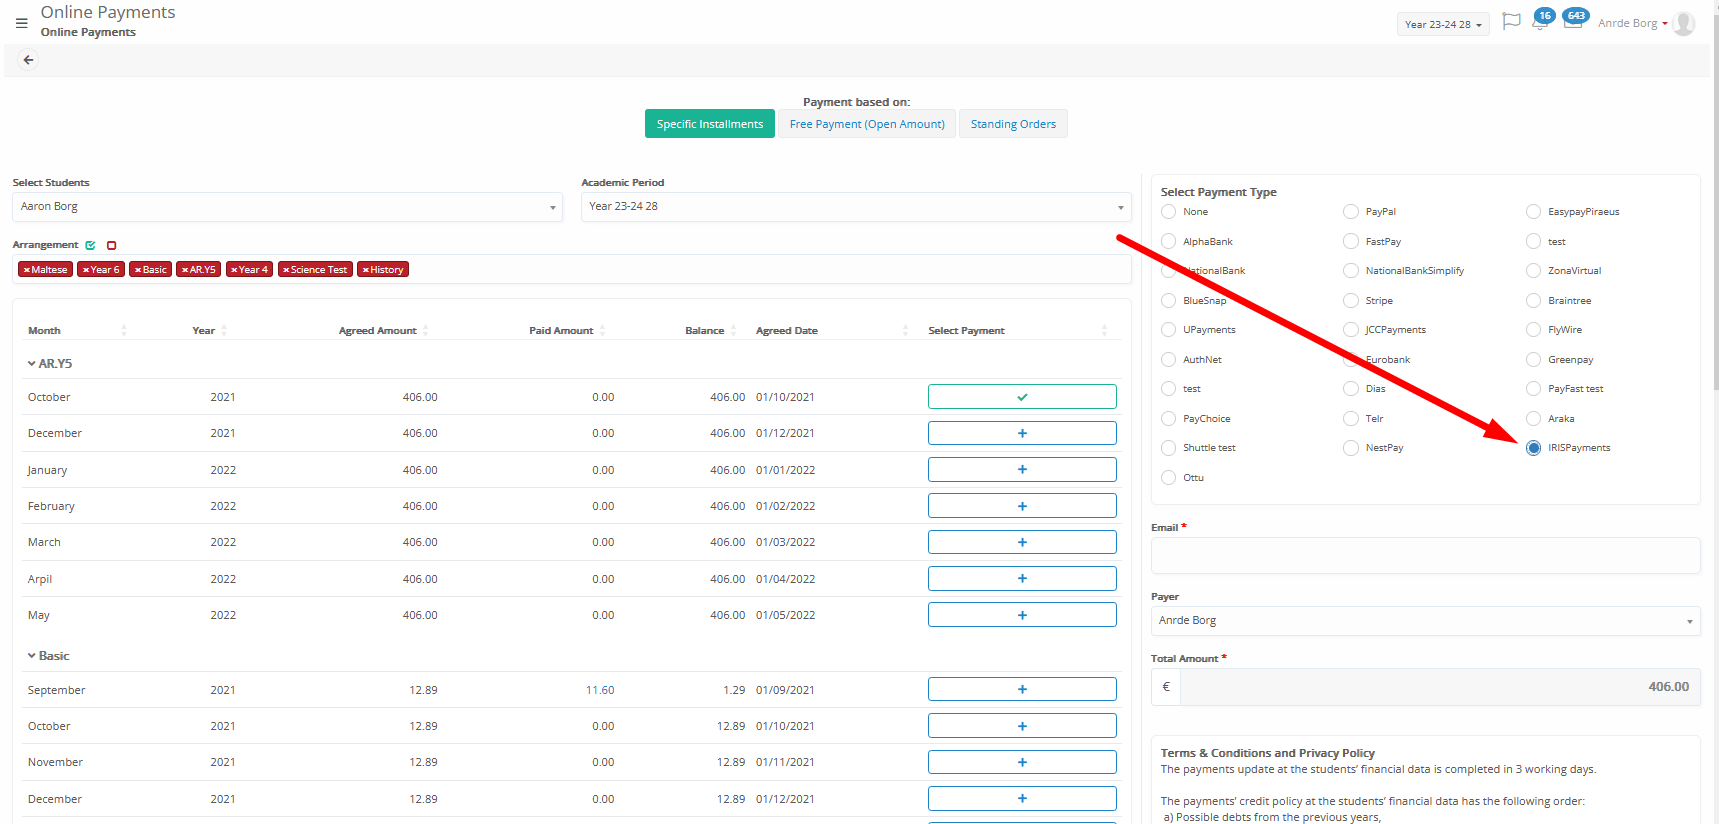
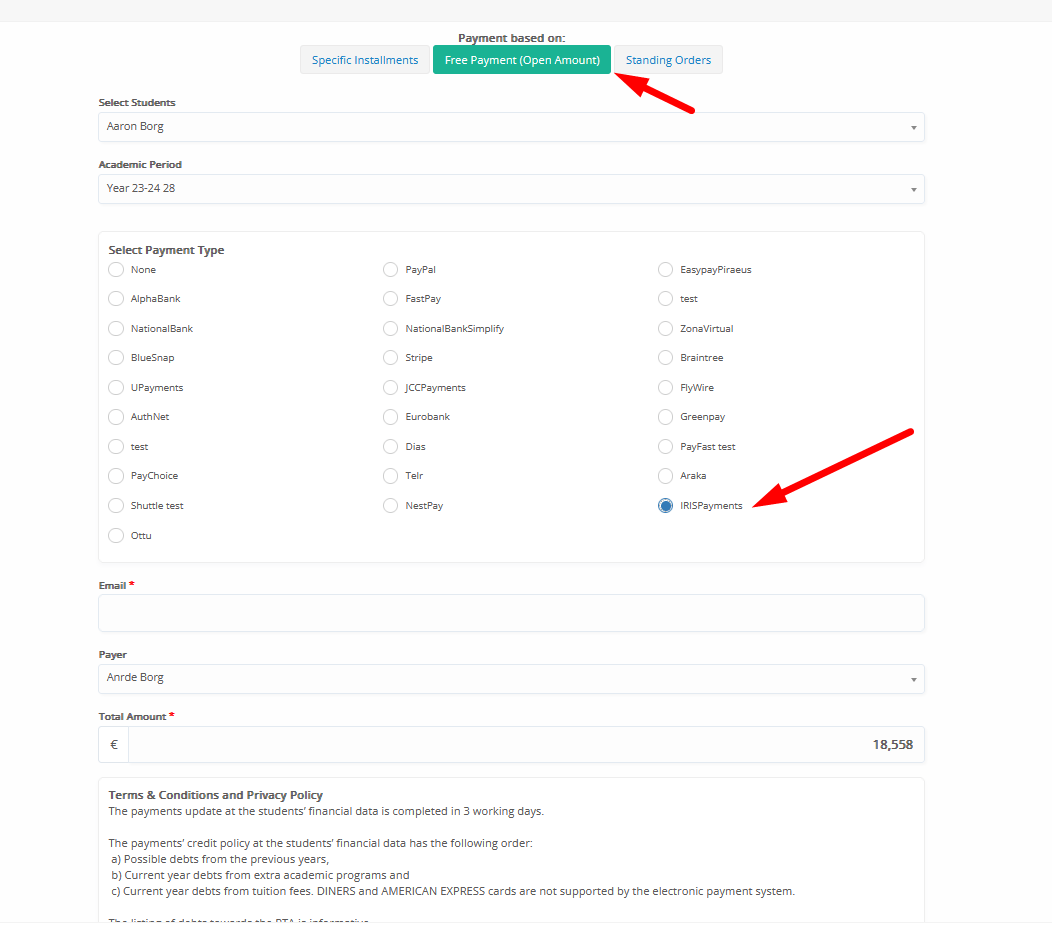
- Choose Payment Method “IRIS Payments” (or your custom name) and complete the required fields
Same also applies to Free amount payments
- Accept Terms & Proceed to Payment

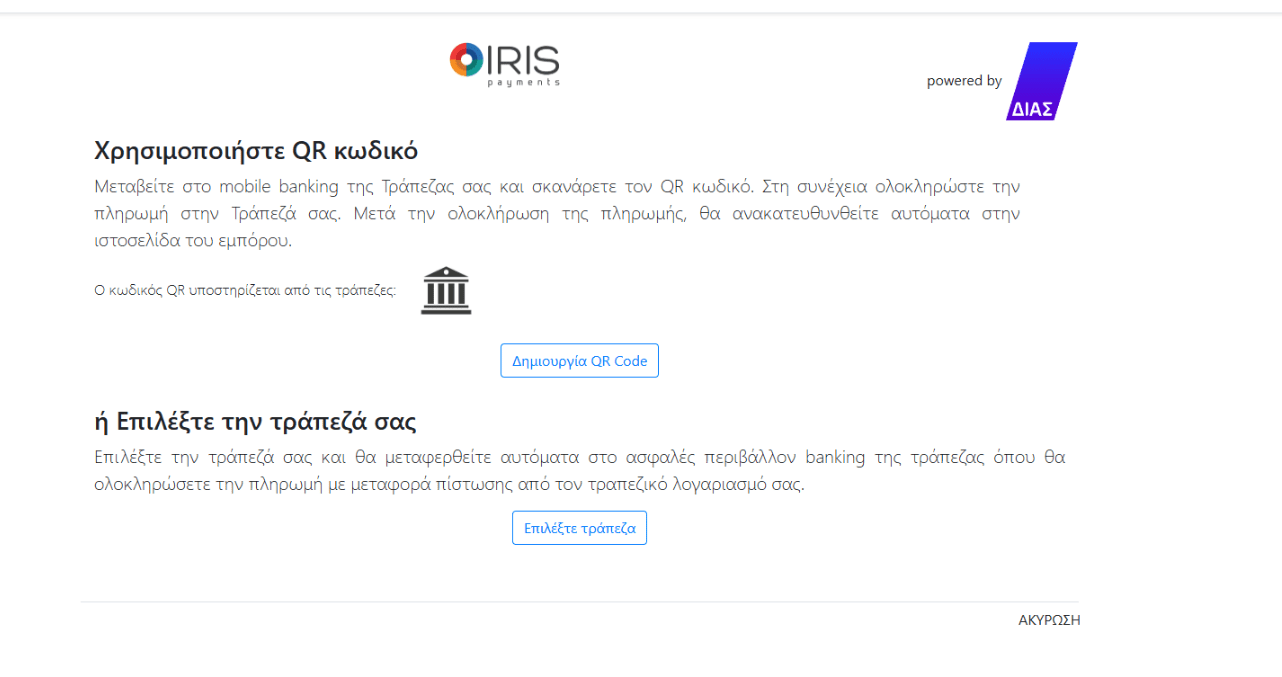
- Continue based on the provided options
QR Code: Scan the QR code using your bank’s mobile app.
e-Banking: Log in to your bank account and confirm the payment.
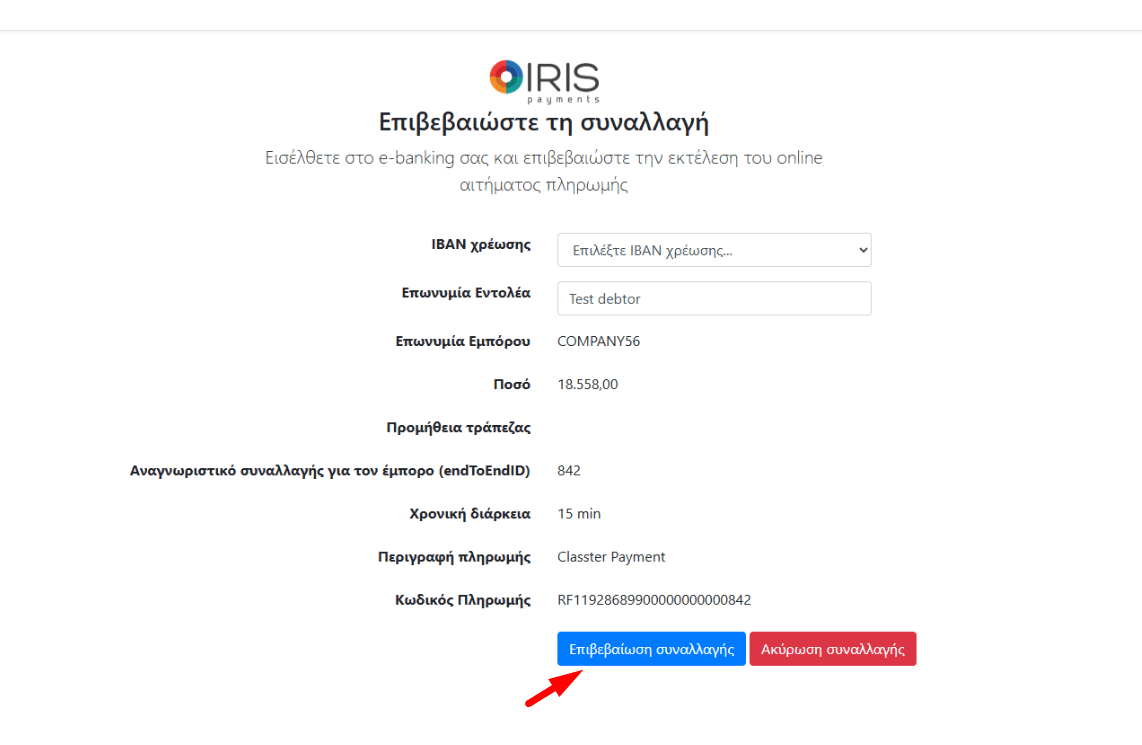
- Continue with payment details and Confirm payment
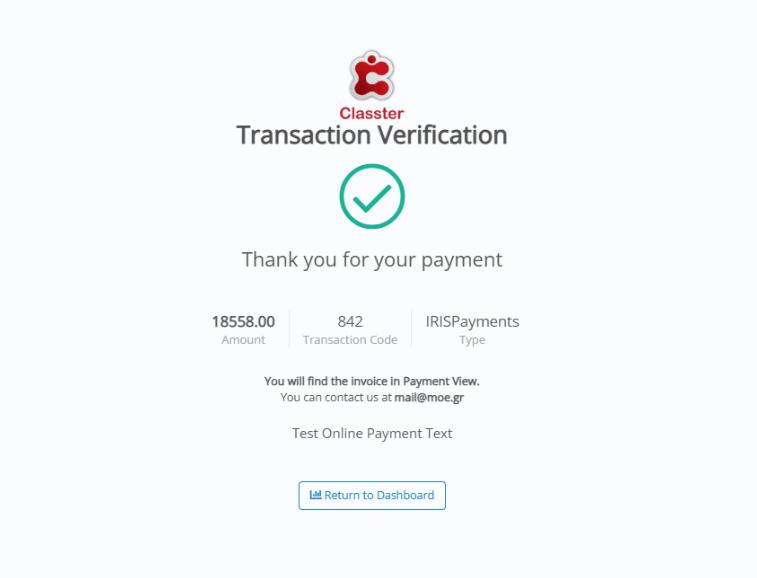
- Successful payment message with payment details:
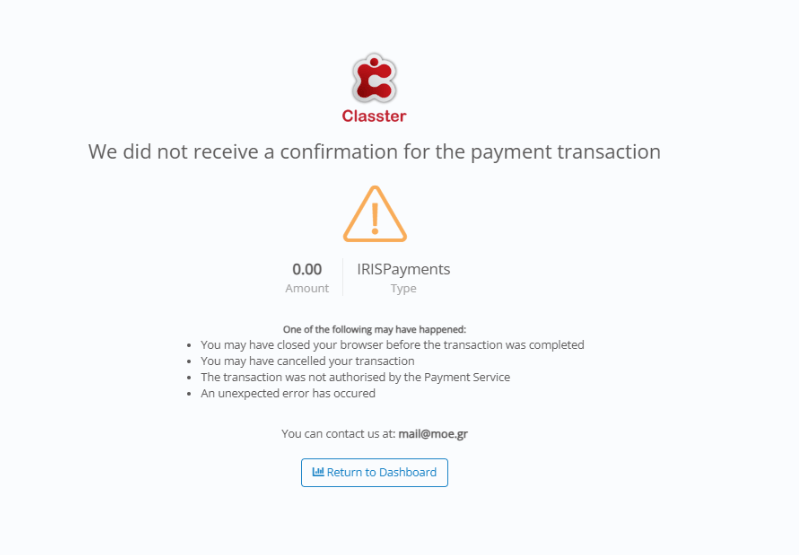
- Unsuccessful payment or Canceled payment
Run a test
We always recommend running a test, by logging in with a payer account and completing a payment.