

What is important in a distance learning environment, besides the virtual teaching session, is to give teachers the tools to assess the progress of students by creating, sharing and marking assignments.
Classter offers an intuitive online interface where teachers can:
- Create different types of assessment: assignments, exams, online quizzes
- Share this material to the right students with bulk actions, thus saving tons of time from having to send the assessment to each student separately.
- Mark the assessment and give feedback to students for improving their academic performance.
Teachers can find a detailed how-to guide on how to create assignments and assessments in this Knowledge Base article.
Below you can find a quick guide on how the Teacher can create assignments and how students can answer these assignments either by filling a word file or by sharing a photo from a hand-written document.
Step 1: Create the assignment
The teacher should log in to the Teacher’s Portal for creating the Assignment
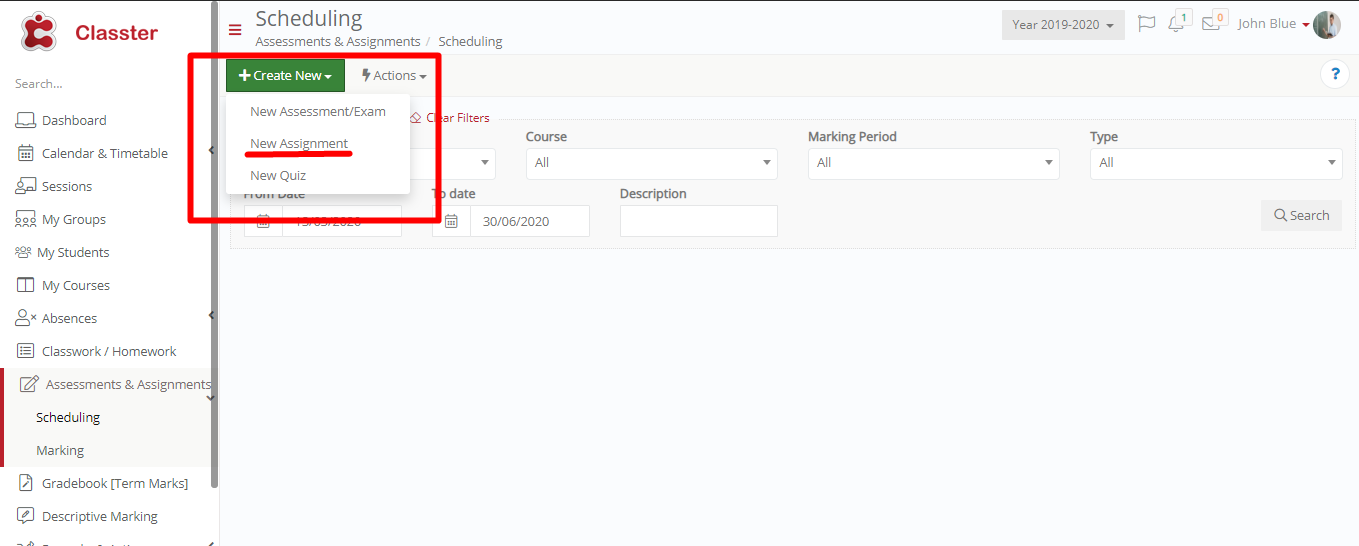
Image 1
Fill in all the required data for creating the Assignment
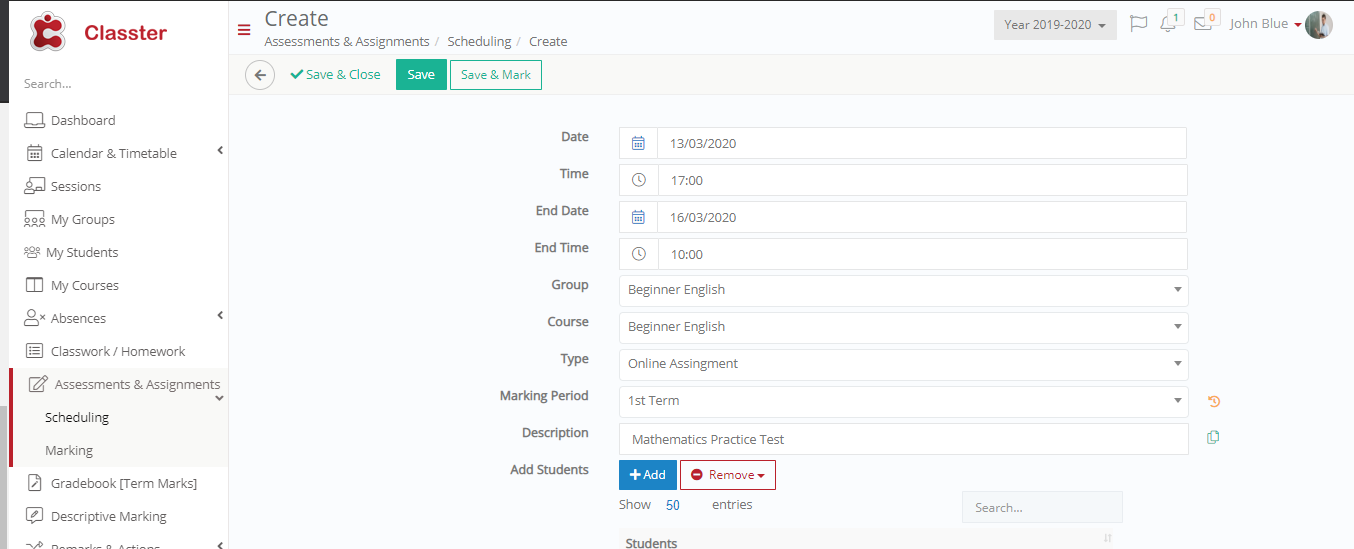
Image 2
Add the students participating in this assignment

Image 3
You can either select all the students attending this course or you can choose some of them
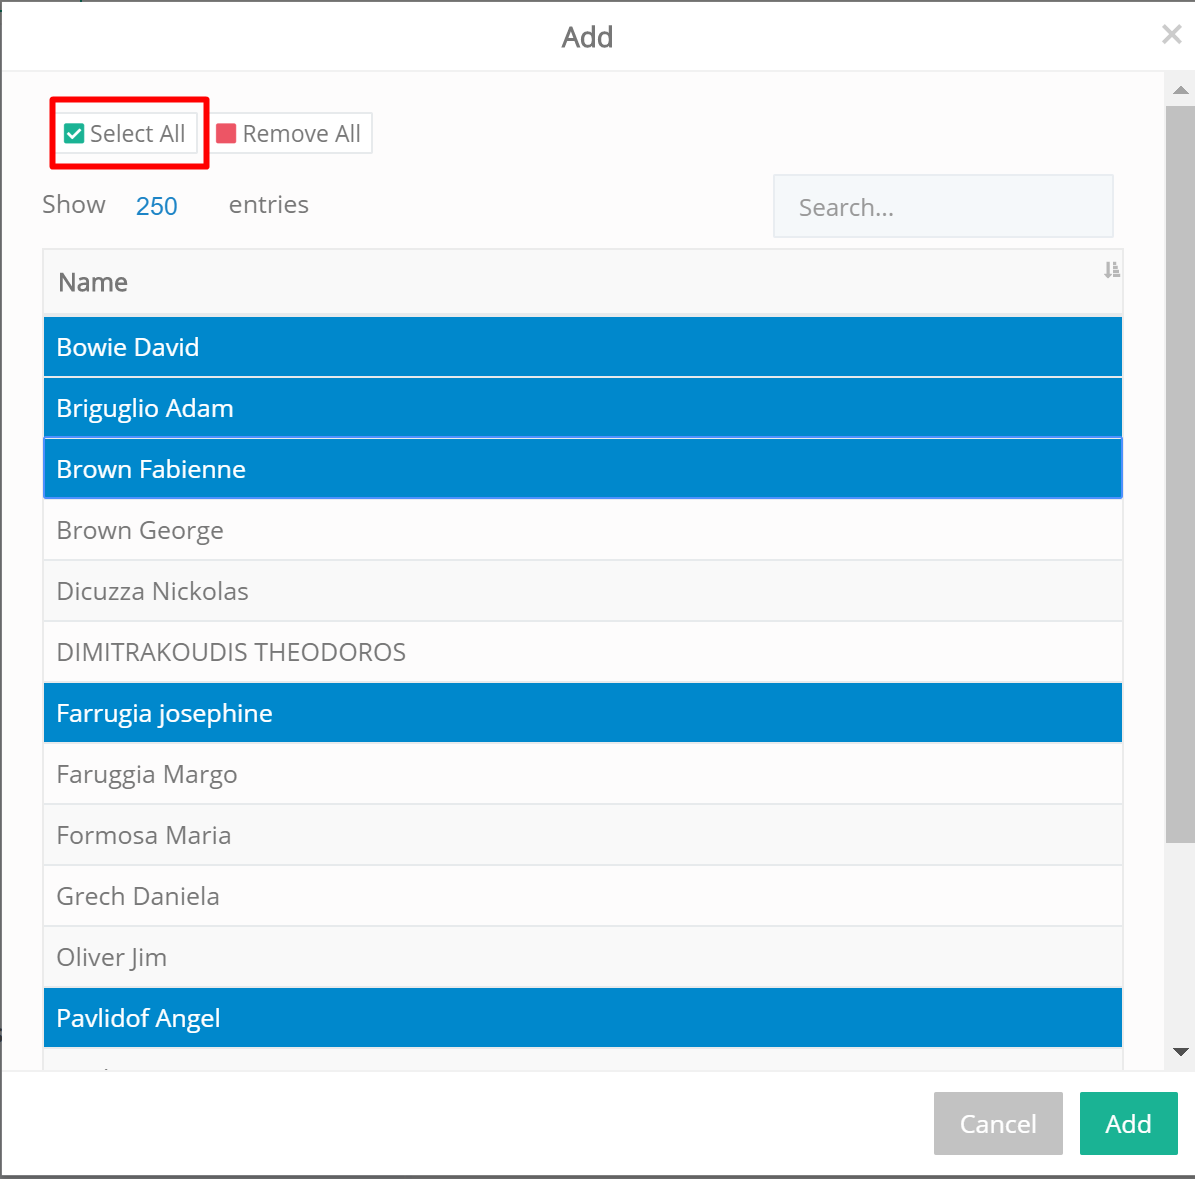
Image 4
Upload a file/test using Manage Files
![]()
Click on Browse and select the file you want to upload
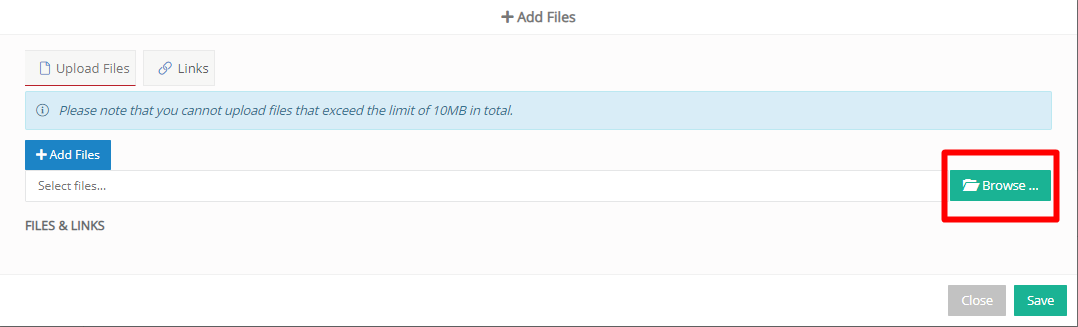
Image 5
When the file is uploaded click on Save
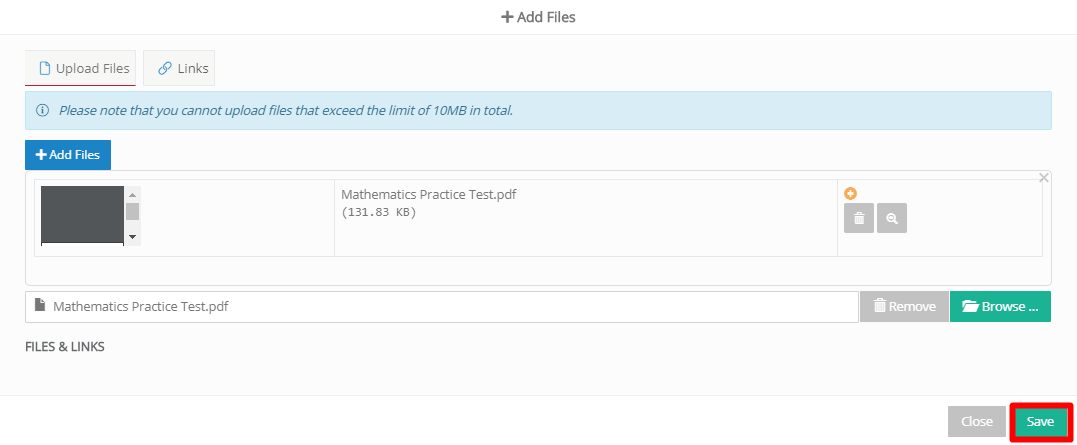
Image 6
Finally, you can write some comments that will be visible to the students.
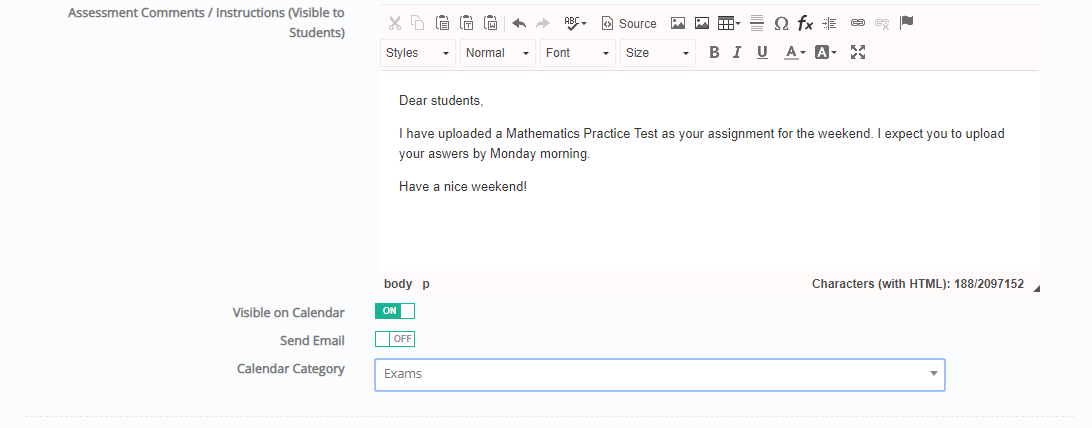
Image 7
Depending on the file you are going to upload you can ask your students to either fill in the existing file and upload it (i.e. word file), or take a photo of the answer sheet and upload the photo (the file should not be more than 10MB).
When finished click Save & Close.
Step 2: Students can view their assignment from the Student’s Portal
When the students will login to their accounts they will be able to see on their calendars the assignment created by the teacher.
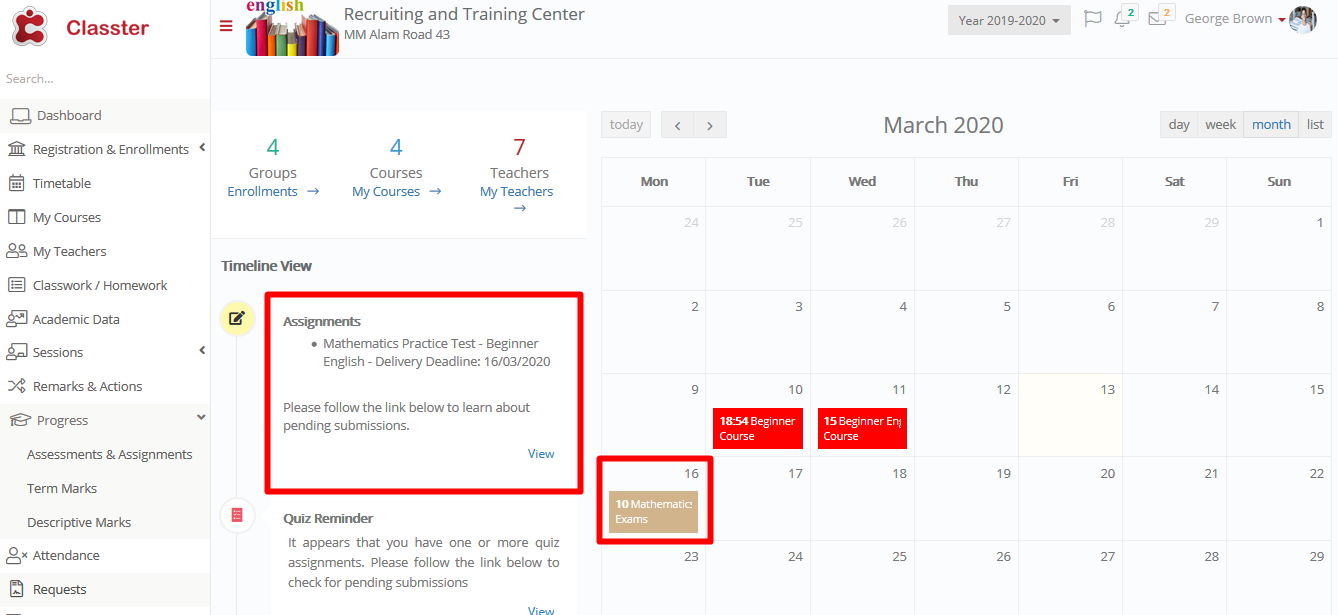
Image 8
Students can view the assignment at the Assessments & Assignments tab.
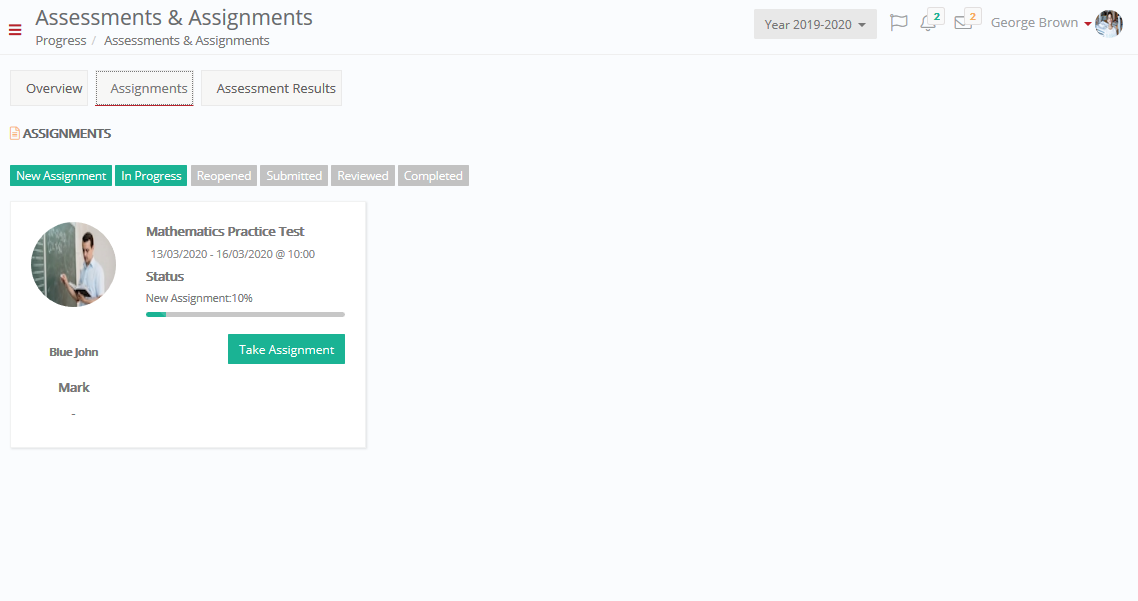
Image 9
They can click on the Take Assignment button. Here they can see the instructions of the teacher and the uploaded file with assignment and the instructions for completing it
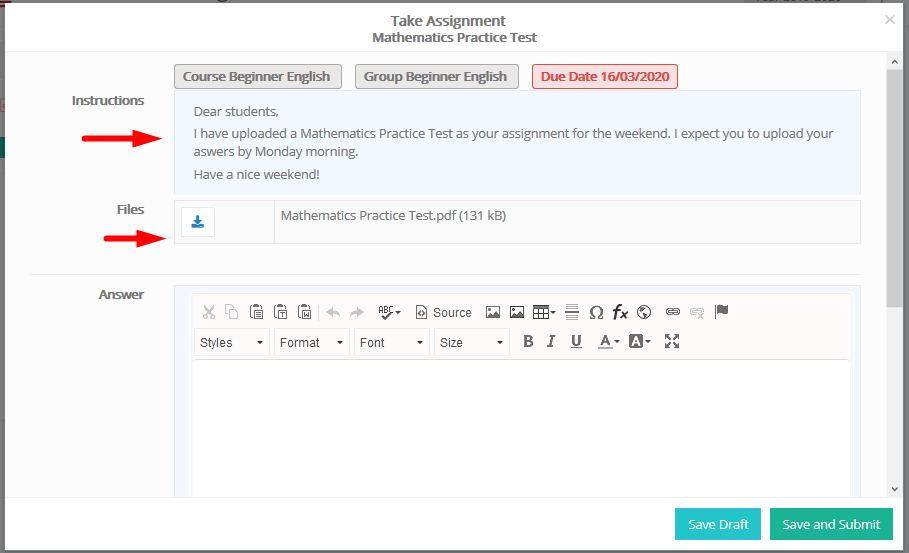
Image 10
Students can download the file, answer the assessment and upload it again through the same page. Then click on Save and Submit and your answers will be uploaded.

Image 11
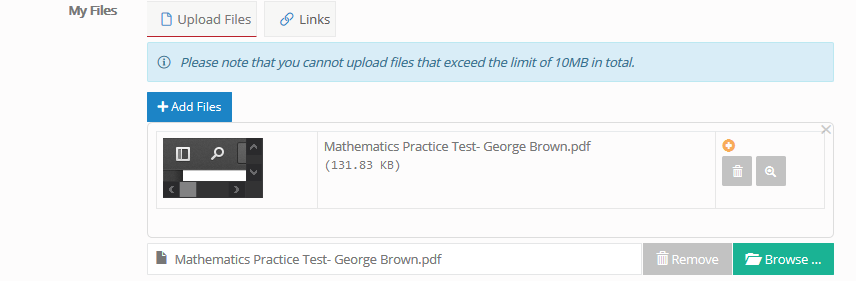
Image 12
Step 3: Assignment Marking
As soon as students have uploaded the assessment file, teachers will be able to proceed to marking by clicking on the Marking tab in their account.
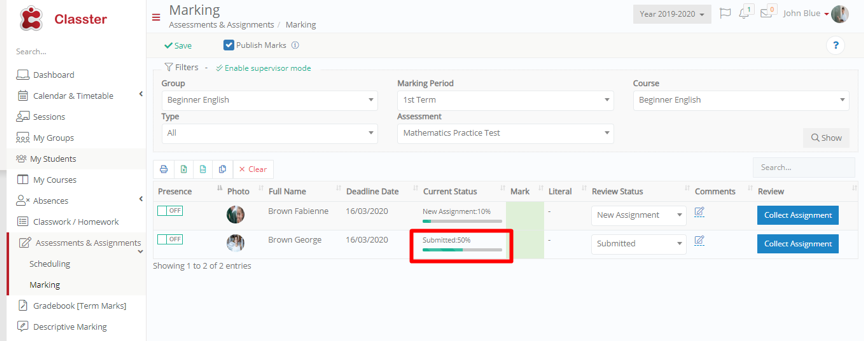
Image 13