

In this section of the manual, we will see how you can configure services for your institution. You can create and edit available, inactive services offered by your institution. Services can be sports related, school trips, academic or extracurricular clubs.
Configuration > Main Settings > Services
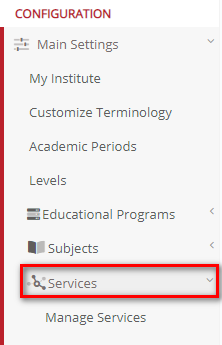
Figure 81
Manage Services
This is the main page available in the Service configuration. Here you can create, edit, and manage services. Configuration > Main Settings > Services > Manage Services
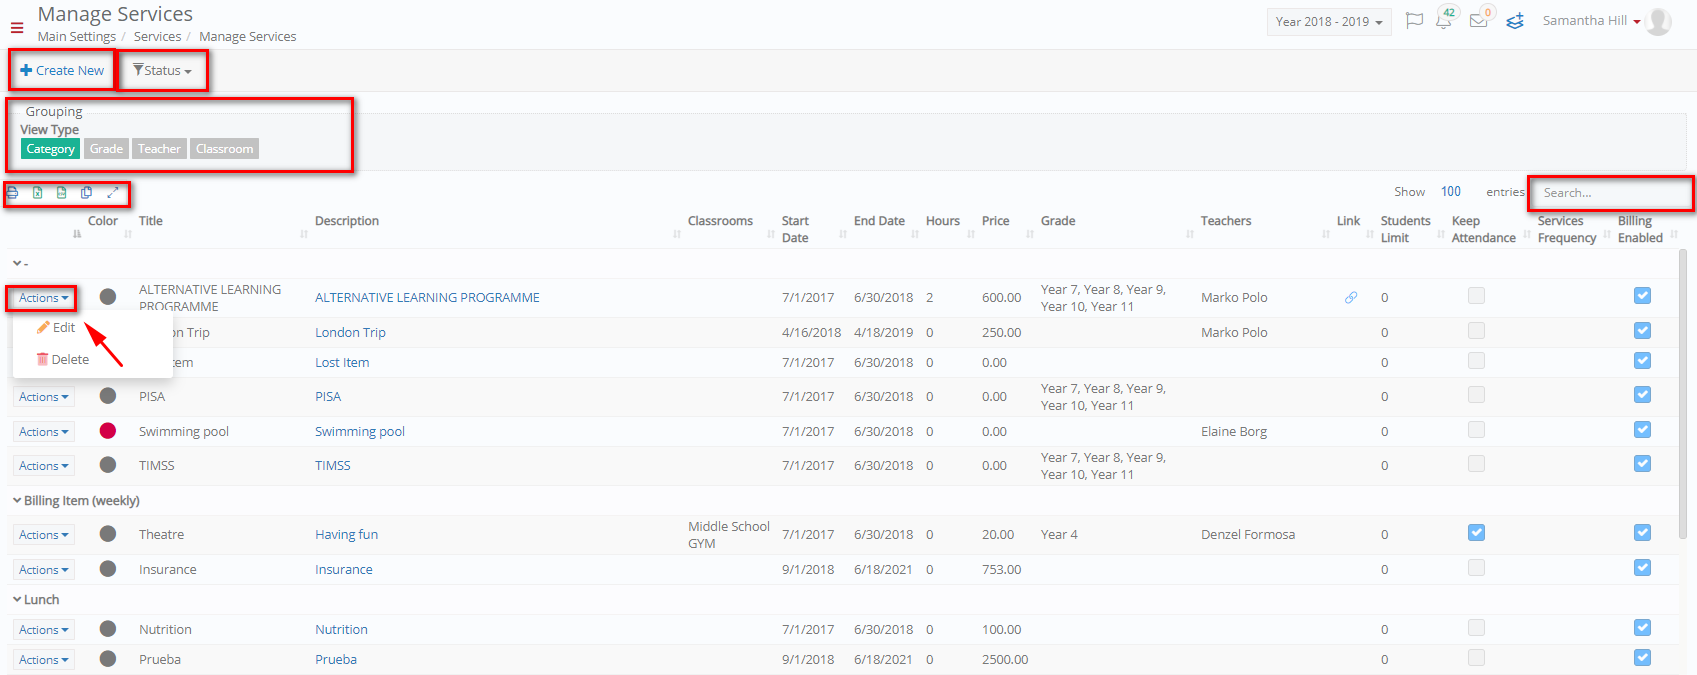
Figure 82
On this page you will see the following (Figure 82):
- Here you can see all active and inactive services by using the Status dropdown button located next to the create new button.
- View list of services by Category, _Grade_, _Teacher_, Classroom. This can be done by choosing the respective tab under the grouping section.
- You can Print, Copy or Export list by clicking on the corresponding buttons right above the list of services.
- Use the Search field to locate a specific service.
- Next to each entry in the list of services you have the action button. From the dropdown list you will see after clicking on the action button you will see the options Edit or Delete. Click on Edit to edit this service or Delete to delete this service.
- Click on the +Create New button to create a new service.
Create New Service
Once you have clicked on the +Create New button you will see the following Creation page which includes three tabs for adding information. The three tabs are General Data, Billing & Prices and Timetable.
General Data
When arriving on the creation page you will land on the first tab General Data. Proceed filling out the fields here (Figure 83).
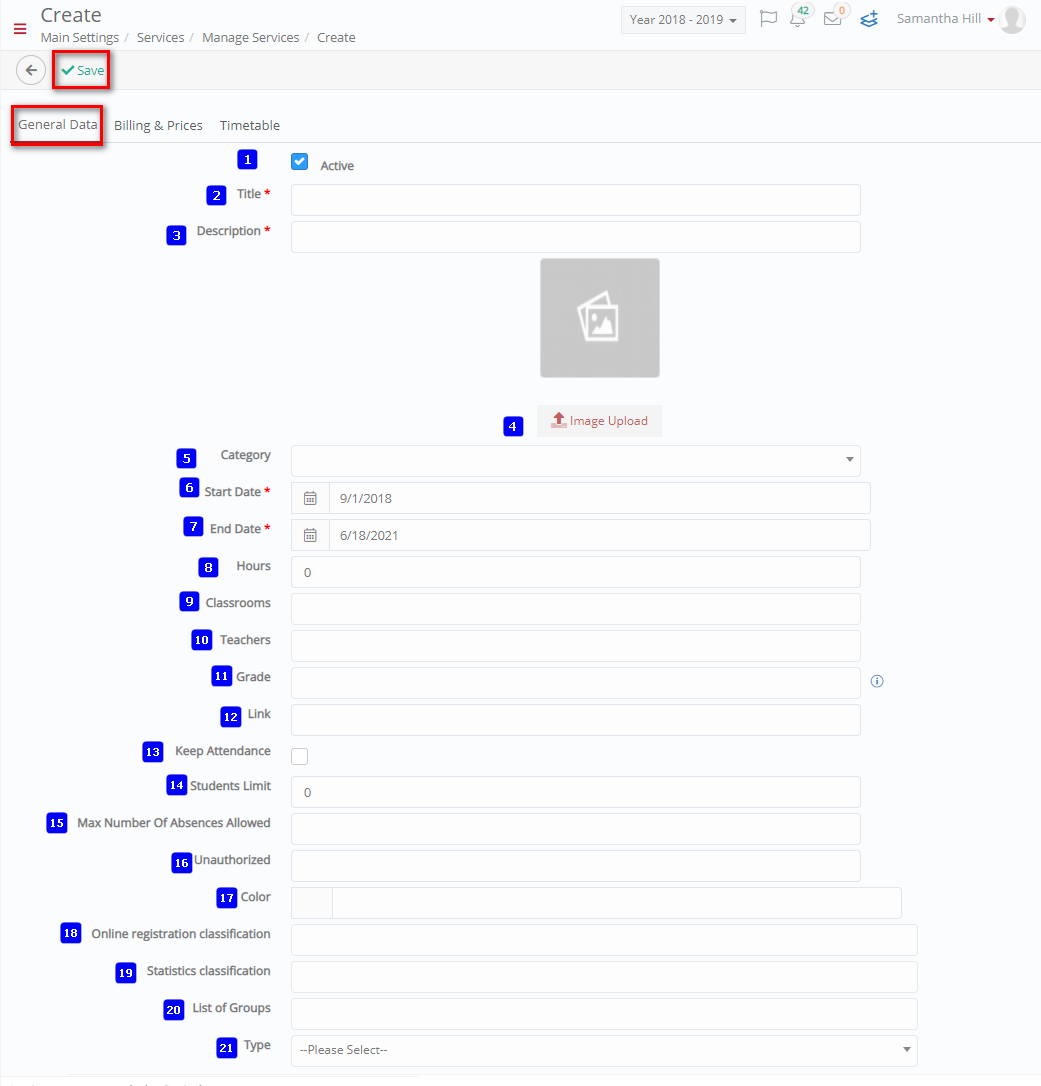
Figure 83
On this page you will see the following (Figure 83):
- Active: Click on it to make this service available to _Students_.
- Title: Enter the title of this service e.g., School Trip.
- Description: Add a further description of this service e.g., School Trip to Athens.
- Image Upload: Upload an image representing the service here.
- Category: Classify this service by placing it into a category, since we are talking about a trip e.g., add it to the School Trips category.
- Start Date: What day/month/year will this trip take place.
- End Date: What day/month/year will this trip end.
- Hours: Here you can enter the number of hours this service will last e.g., 72 hours since this will be a 3-day trip.
- Classrooms: If this service requires a classroom you can choose one in this option. As this is a school trip you will not need a classroom.
- _Teachers_: Here you can assign teachers to this service. If it is a sporting event or sports club, you would add a Gym teacher or coach. As in this example we used a school trip you would be adding teacher chaperones for the trip.
- _Grade_: Add the years that will have access to this service/trip e.g., Year 1.
- Link: Add a link in the field if there is a sight or useful address participants need to visit for additional information e.g., www.lonelyplanet.com.
- Keep Attendance: Check this box if this is a mandatory school trip and absences are taken or are required for students to complete the objectives of this service.
- Students Limit: Enter the maximum number of participants for this service e.g., on the school trip the bus can fit a maximum of 25 students.
- Max Number of Absences Allowed: If you have clicked on keep attendance then yes enter the maximum number of absences allowed for a service. For a trip this would not be relevant.
- Unauthorized: refers to unauthorised absences and here you can enter the maximum number of unauthorised absences tolerated for a service. If applicable to the service or to your institution.
- Color: You can pick a color to represent this specific service.
- Online Registration Classification: How this service will be classified in online registration e.g., School Trips.
- Statistics Classification: Here you can choose a classification for this service in terms of statistics.
- List of _Groups_: Here you can add the classes this service will be available e.g., which class will be going on the School trip one or the entire school.
- Type: Choose the frequency of the service, is it 3 times a week or just a one-time service e.g., a School Trip to Athens.
Billing & Prices
Define the billing and pricing options for this service.
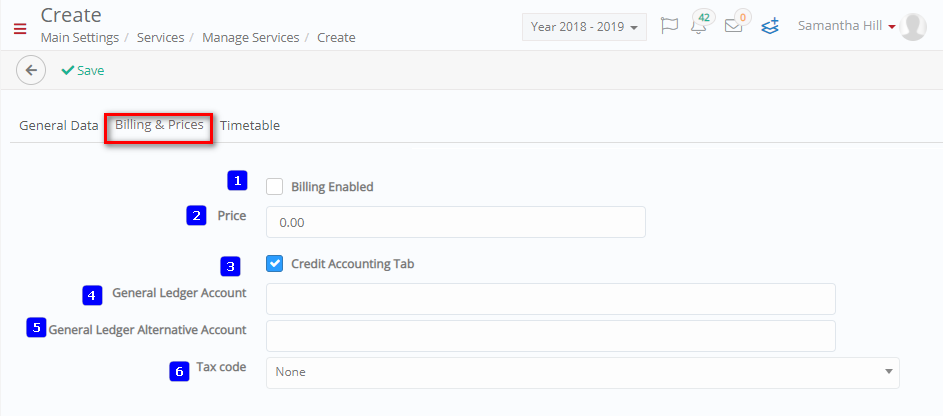
Figure 84
On this page you will see the following (Figure 84):
- Billing Enabled: If this is checked then this service will be enabled for billing through the financial section of the portal and will appear on the financial forms of students who enrol in this service.
- Price: Enter the price for this service e.g., 600€.
- Credit Accounting Tab: Check this box to enable the credit accounting tab.
- General Ledger Account: Enter the institutions account.
- General Ledger Alternative Account: Enter alternative institutional account if applicable.
- Tax Code: Select the applicable tax code method from the dropdown, e.g., Main, or Tax Free.
Timetable
Enable the service in the student’s timetable.
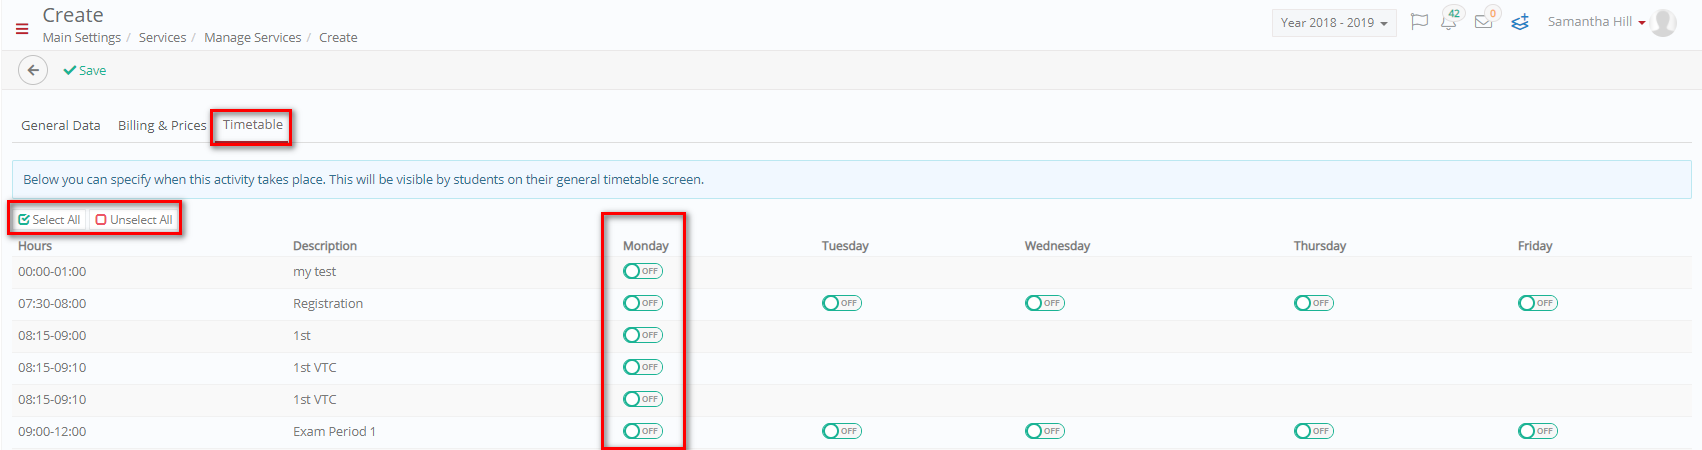
Figure 85
On this page you will see the following (Figure 85):
- You can see the timetable with the time periods and days the school operates in.
- According to the service you can block out the periods in which the service takes place.
- Click on the switches indicating the days and times this service will take place.
- This will appear on participant timetables.
- When you are done with the creation, you can click on the ‘Save’ button to save the new service.
Edit Existing Service
Once you have clicked on the Edit button you will see the following Edit page which includes four tabs for adding or changing information. The four tabs are General Data, Billing & Pricing, Timetable and _Students_. When arriving on the edit page you will land on the first tab General Data. Proceed filling or changing the fields same as in the Create New Service section (Error! Reference source not found.).
Billing & Prices Tab
Define the billing and pricing options for this service.
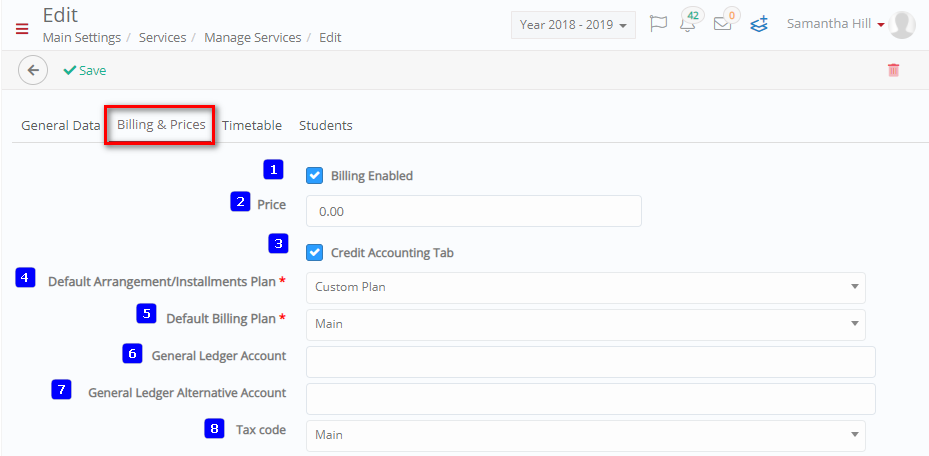
Figure 86
On this page you will see the following (Figure 86):
- Billing Enabled: If this is checked then this service will be enabled for billing through the financial section of the portal and will appear on the financial forms of _Students_ who enroll in this service.
- Price: Enter the price for this service e.g., 600€.
- Credit Accounting Tab: Check this box to enable the credit accounting tab.
- Default Arrangement/Instalments Plan: Choose which arrangement/instalment plan you want to follow for students registered for the service e.g., 4-month plan
- Default Billing Plan: Select the billing plan from the dropdown, e.g., Monthly.
- General Ledger Account: Enter the institutions account.
- General Ledger Alternative Account: Enter alternative institutional account if applicable.
- Tax Code: Select the applicable tax code method from the dropdown, e.g., Main, or Tax Free.
Students Tab
Here you can see the _Students_ enrolled to this service.
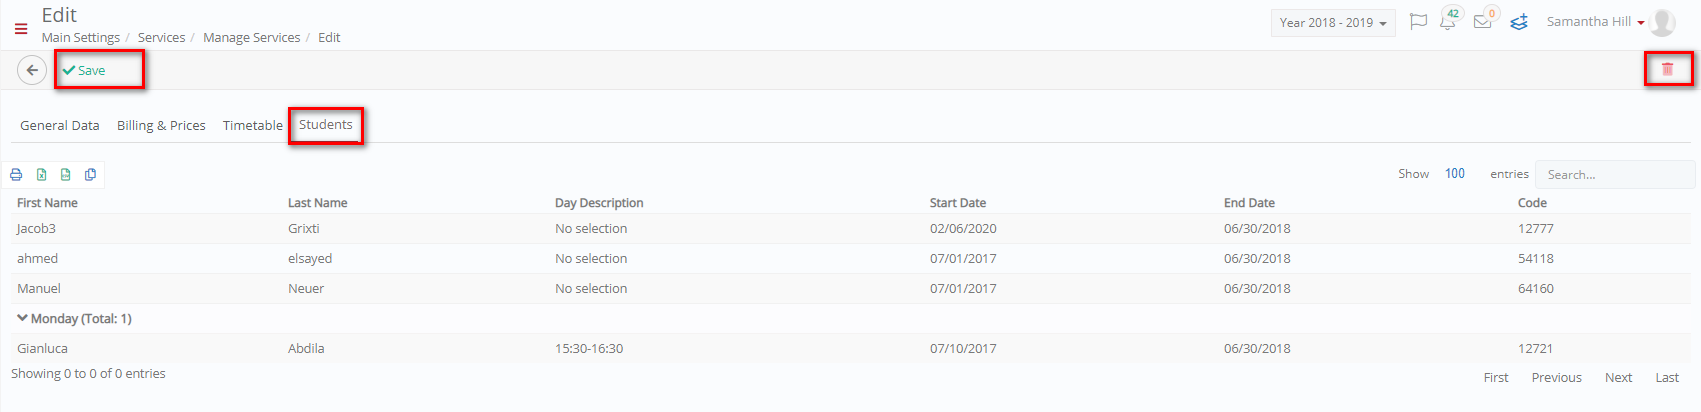
Figure 87
On this page you will see the following (Figure 87):
- Here you can Print, Copy or Export list of students enrolled to this service.
- You can use the search field to locate a specific student.
When you are done with editing a service, you can click on the ‘Save & Close’ button to save and return to the Manage service’s page. You can click on the ‘Save’ button to save and continue or on the ‘Delete’ button to delete this service.