Overview
Google and Yahoo have recently raised email security standards. To ensure seamless communication and protect your reputation, it’s essential to meet these stricter email authentication requirements. 📧🔒
Read more here and here to learn why!
Who’s Affected and what to do?
Anyone sending emails—including individuals, businesses, and enterprises—is impacted. 🌐
As email providers tighten security, proper email authentication is key to avoiding deliverability issues and safeguarding your domain.
Email Authentication Essentials
To meet modern standards and protect your domain from spam or phishing:
- SPF: Authorizes specific servers to send emails on behalf of your domain. (More about SPF)
- DKIM: Adds a digital signature to verify the authenticity of your messages. (More about DKIM)
- DMARC: Establishes rules for handling emails if SPF or DKIM fail. (More about DMARC)
Best Practices for Effective Email Communication
- Minimize Mass Emails: Send only when necessary to maintain engagement.
- Ensure Completeness: Include a clear subject line and meaningful content.
Classter-Mailgun Integration Setup
Check out Mailgun’s dedicated articles on how to get started with Mailgun & how to successfully connect it to your system:
👉 Getting Started with Mailgun 📹
👉Domain Verification Setup Guide📹
Alternatively, follow these steps to configure and optimize your email setup:
DNS Provider Configuration
Domain or Subdomain?
When configuring Mailgun, it’s important to weigh the pros and cons of using a Subdomain versus your Main Domain.
The following steps specifically guide you through setting up with your Main Domain.
If you prefer to use a Subdomain, check out this helpful guide:
👉 Subdomain Configuration: DNS Essentials & Mailgun Integration (Recommended by Classter) 📚
Before proceeding to the Classter Configuration, make sure to add or modify the necessary DNS records in your provider (e.g., Hostinger).
Using Main Domain
Using your main domain may cause DNS conflicts with existing email setups and could affect your domain’s reputation.
Proceed only if you’re confident in managing advanced configurations.
Steps:
- Add specific Mailgun records & proper records to ensure mail deliverability. (Follow “Key Records to Configure” below)
- Ensure the email server handles sending and receiving.
- Avoid adding Mailgun’s MX records unless your domain is email-exclusive.
Key Records to Configure
DMARC Setup
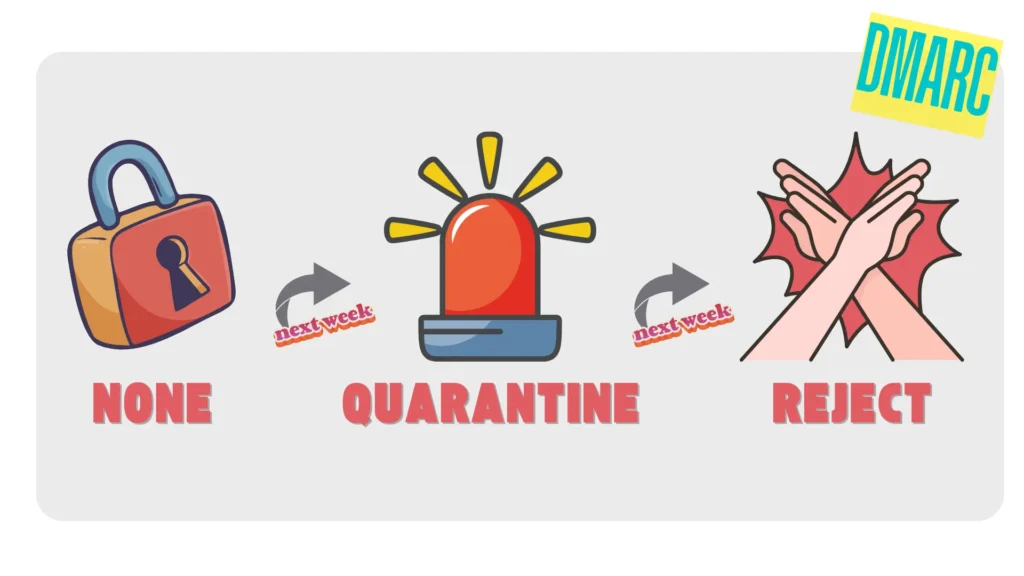
1️ Begin with a monitoring phase to gather insights about your email delivery:
- Record Type: TXT
- Host: example.com (your domain)
- Value:
v=DMARC1; p=none; rua=mailto:your@email.com; ruf=mailto:your@email.com; fo=1
2️ Move to the quarantine phase to filter out suspicious emails:
- Record Type: TXT
- Host: example.com (your domain)
- Value:
v=DMARC1; p=quarantine; rua=mailto:your@email.com; ruf=mailto:your@email.com; fo=1
3️⃣ Finally, switch to the reject phase to block any unauthorized emails:
Final record for maximum protection:
- Record Type: TXT
- Host: example.com
- Value:
v=DMARC1; p=reject; rua=mailto:your@email.com; ruf=mailto:your@email.com; fo=1
A proper example is vertitech.gr, the final DMARC that is currently in the DNS records looks like this:

Tip: Each phase usually takes 1 week for analysis. If needed, extend to 2 weeks for better results.
SPF Best Practices
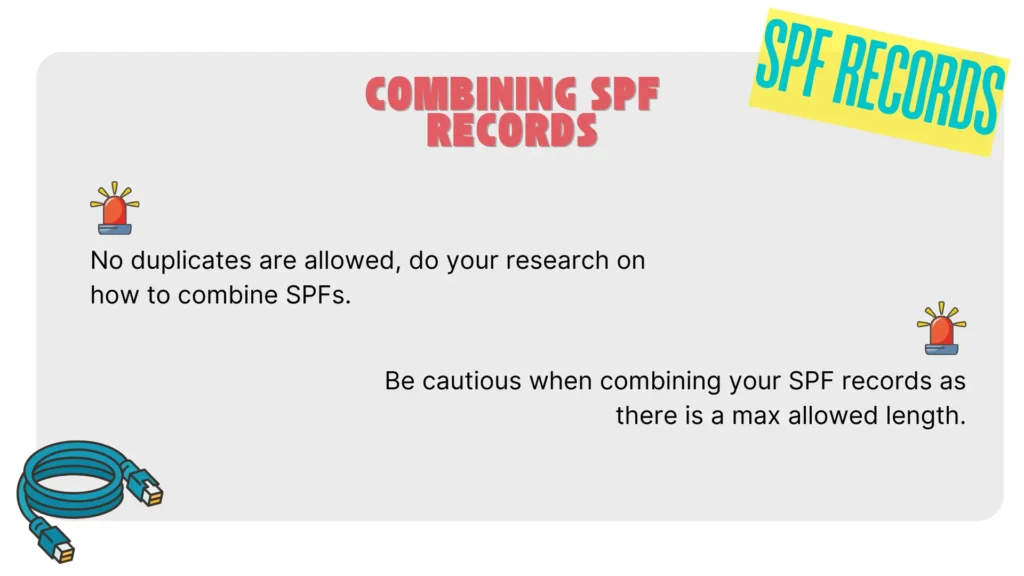
To ensure secure email delivery, configure SPF (Sender Policy Framework) correctly:
- Add a trusted SPF record to your DNS settings.
- Important: Check for existing SPF records before making changes. Incorrect configurations can cause delivery issues.
Recommended SPF Record
- Record Type: TXT
- Host: example.com
- Value:
v=spf1 include:mailgun.org -all
Always review and follow SPF best practices to avoid email disruptions. (Learn more here)
DKIM Setup
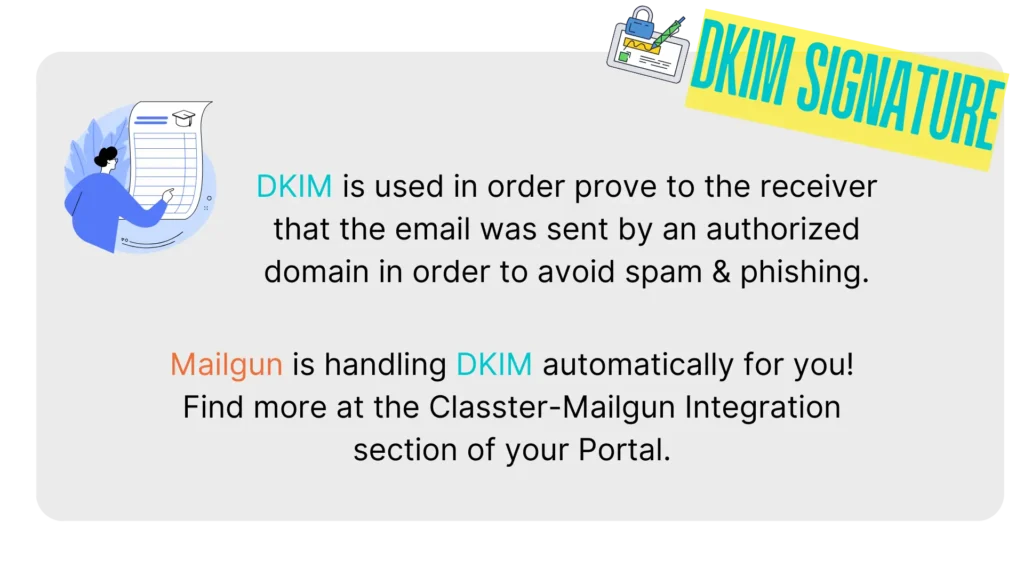
DKIM (DomainKeys Identified Mail) ensures your emails are secure and trustworthy by verifying they come from an authorized sender.
This reduces the risk of spam and phishing attacks.
Good News: If you’re using Mailgun, DKIM is automatically set up for you – no manual configuration is required!
CNAME
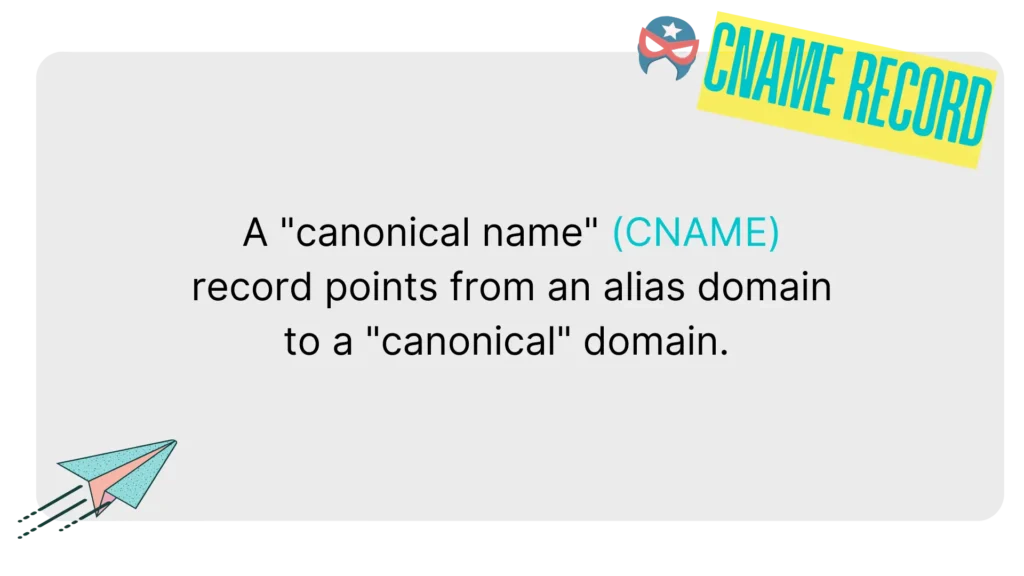
CNAME (Canonical Name) records are crucial for linking your domain to Mailgun’s services.
These records allow Mailgun to track email engagement metrics, such as opens and clicks, and ensure seamless functionality for your email campaigns.
Why CNAME Records Are Important:
- Email Tracking: Enables Mailgun to monitor open and click rates.
- Improved Deliverability: Ensures your emails are sent through Mailgun’s servers with proper authentication.
- Brand Consistency: Uses your domain in tracking links rather than a generic Mailgun URL.
Recommended CNAME Record
- Record Type: CNAME
- Host: email.example.com
- Value: mailgun.org
🌟 Your domain is now all set and ready to go. ✨
Next up: Configuring Classter to make the most of your email setup! 🚀
Classter Configuration
Choose Account Type
To start the setup process, navigate to Advanced Configurations > Third-Party Integrations > E-mail.
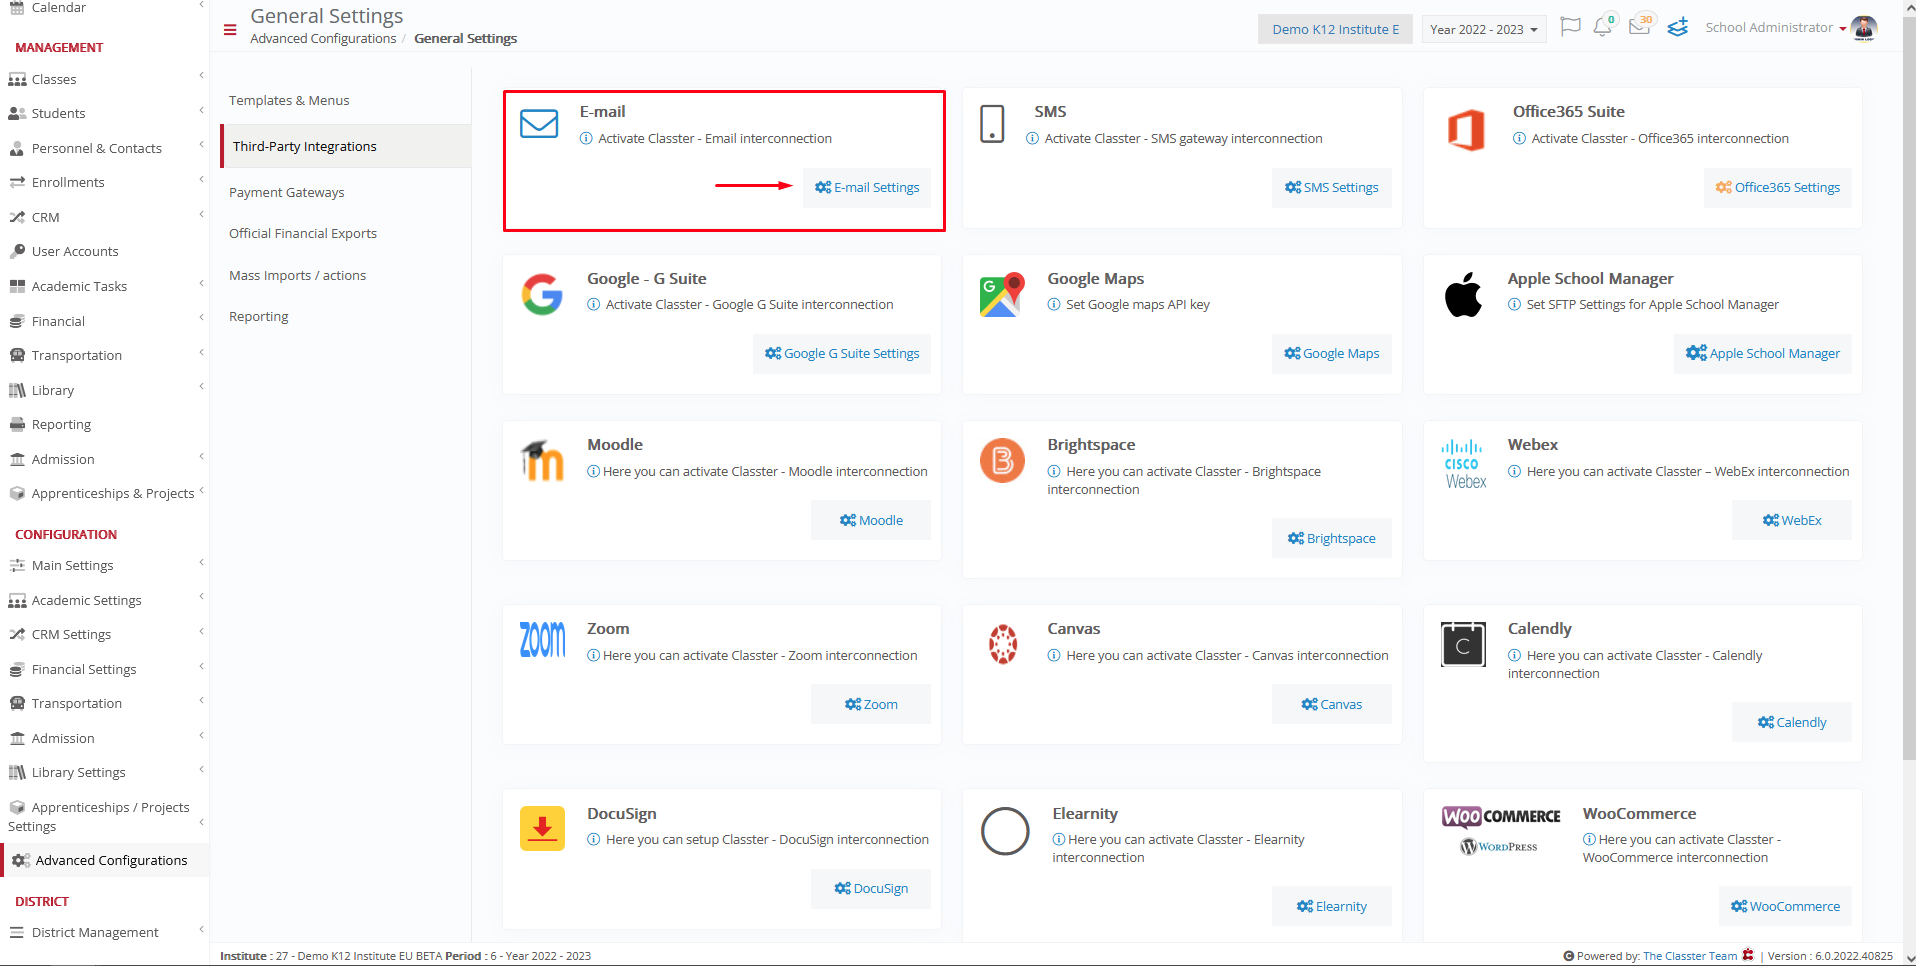
Then decide whether you are going to use Classter Mailgun Account or your Personal Mailgun Account.
- Classter Account: Use Classter’s dedicated Mailgun setup.
- Personal Mailgun Account: Manage emails independently via your own Mailgun account.
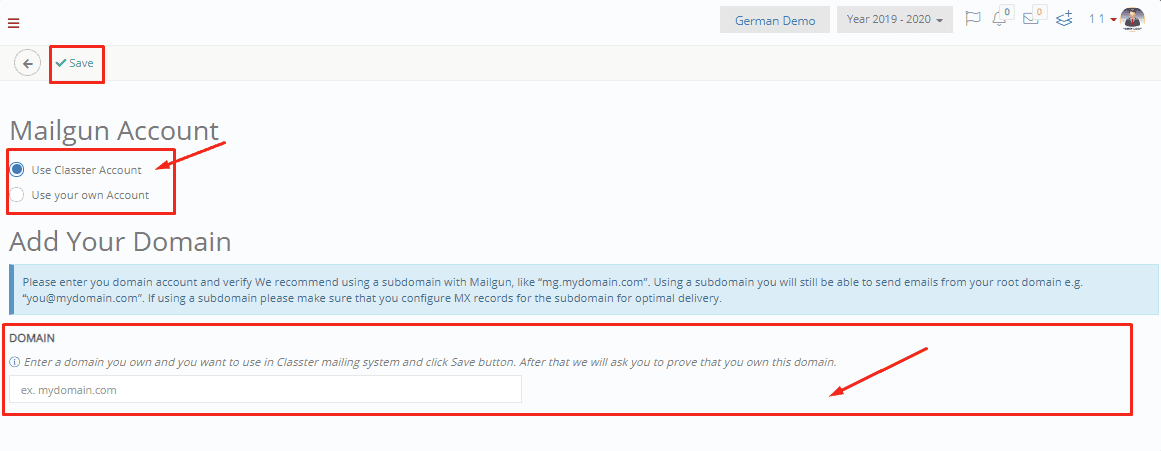
After selecting your account type, proceed with the integration as following:
Using Classter Account
(Only follow these steps if you decided to go with Classter’s Mailgun Account)(Skip if you are using Personal Mailgun Account)
- Choose Use Classter Account.
- Type in your domain in the “Domain” field.
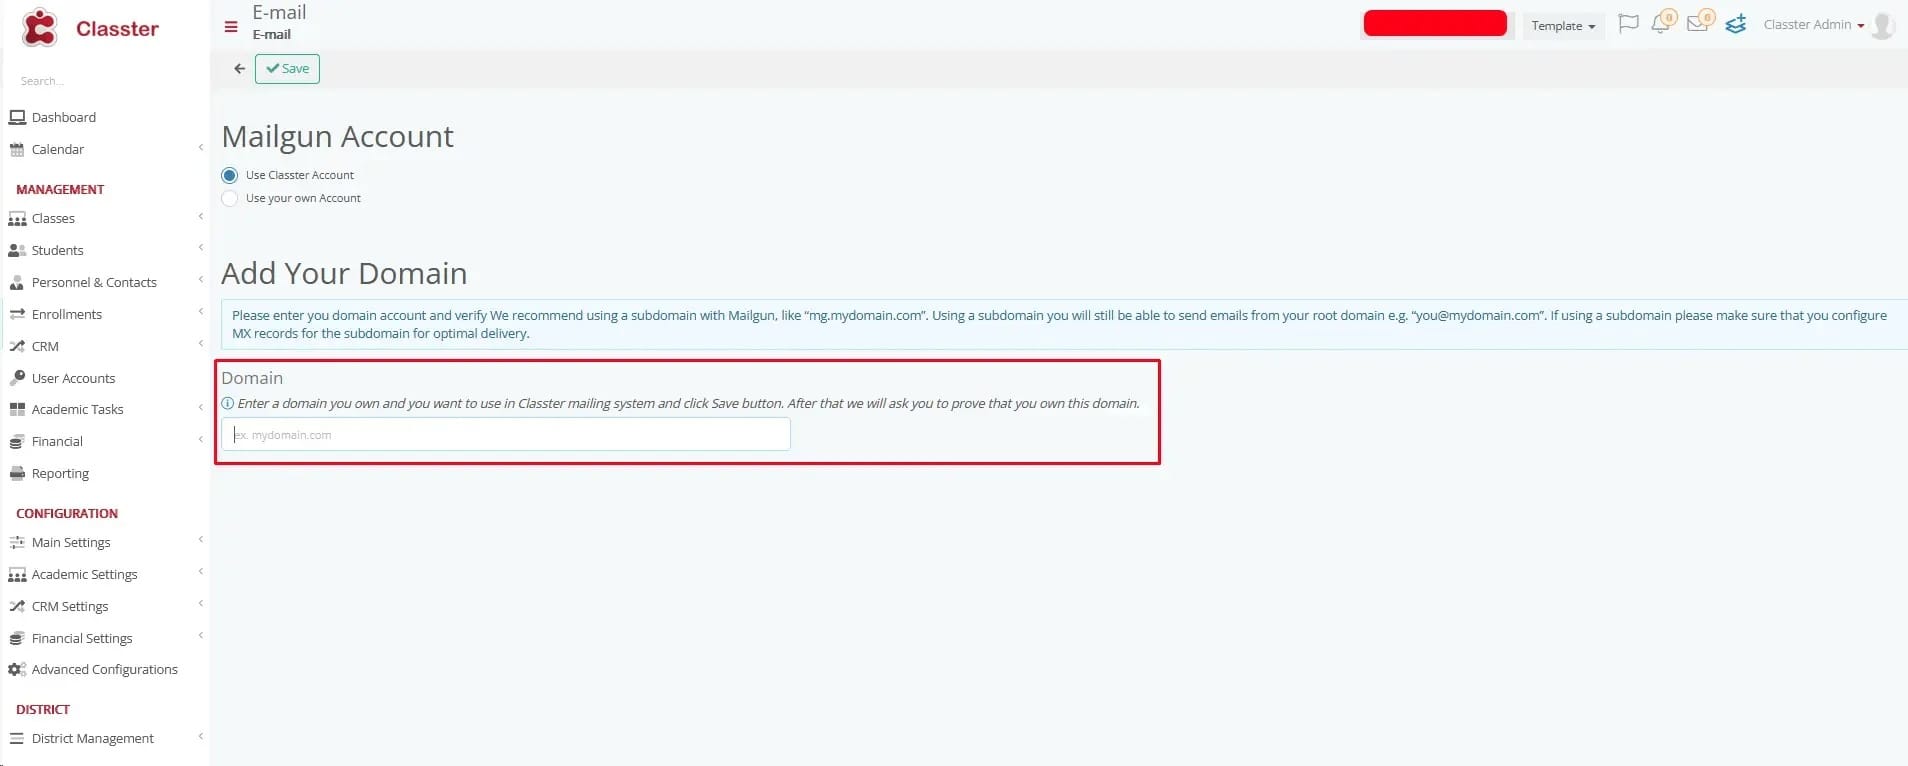
In most scenarios, the ideal domain setup should look like this:
(configuration example without MX Records)

Using Personal Account
(Only follow these steps if you decided to go with your Personal Mailgun Account) (Skip if you are using Classter Account)
- Choose Use your own Account. (Figure 1)
- Type in your API KEY. You will find the API KEY (Figure1) and validation key from the “API Security” tab in your Mailgun Account (Follow Figure 2,3,4).
- Select your location/country.
- Input your domain.
- Save the settings.
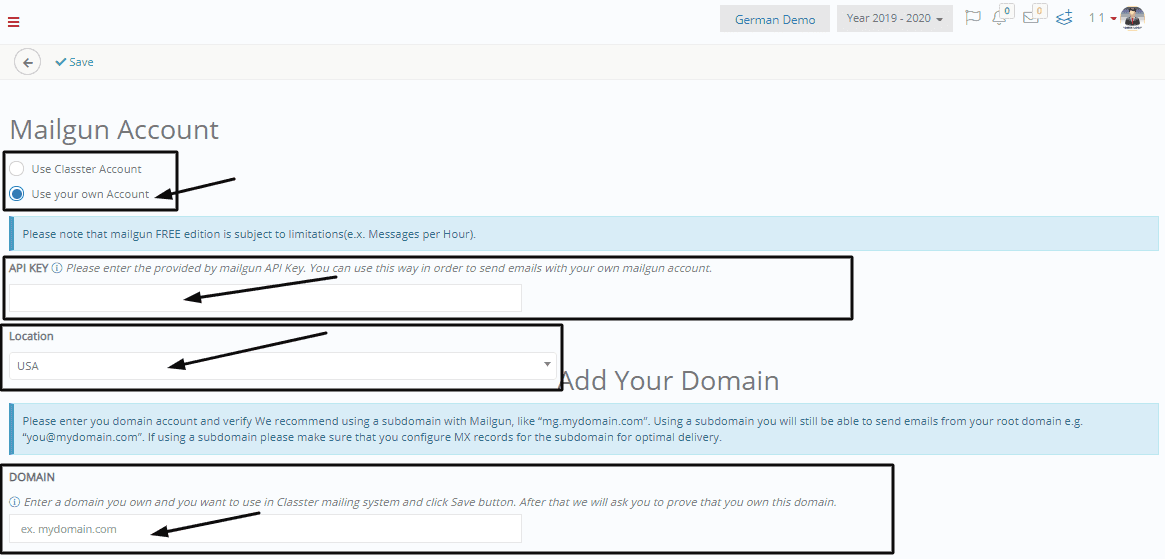
Figure 1
Log in to your mailgun account, navigate from the top right menu to “API Security”.

Figure 2
Create a new key using the “Add new key” button.

Figure 3
Give the new API key a relevant name and choose the appropriate role.
Classter suggests you to choose “Admin” as it has the most permissions. Read More Here 🚀

Figure 4
Finally after clicking “Create Key” a new window with your key will appear, make sure to copy the key before you close it as you wont be able to see this window for a second time.
Continue by pasting your API Key in the “API KEY” (Figure 1) field.
Final Steps
(Follow this step regardless of what Account Type you’ve chosen)
Regardless of the chosen account type the following steps are recommended for a proper configuration:
- Choose a dedicated email address for sending emails. (e.g., info@mg.yourdomain.com)
- Double check that the domain you’ve chosen is properly configured with all required DNS records (TXT, CNAME, MX, etc).
- Verify the email in Mailgun to authorize sending.
- Add your chosen email under “Manage Email Accounts” in Classter and save changes.

After some time, you should expect (based on what configuration you are using) the entries to become “Valid”.
Note: If you are using your main domain, chances are that MX Records to never become valid as they are not needed in most configurations.
🎉 All Set! 🎉
Your Classter-Mailgun integration is now fully configured. Time to start sending emails to your heart’s content!
📧 Happy emailing! 📧
Testing & Optimizing
Once everything is set up, it’s time to run some tests to confirm that everything is working as intended.
Ensuring proper functionality now will give you peace of mind and smooth email delivery! 🛠️
Recommended Testing Tools
1. DMARCIAN
Website: dmarcian.com
DMARCIAN offers powerful tools to ensure your email authentication is set up correctly:
- SPF Survey Tool: Analyze and verify your SPF records for potential issues.
Try it here - DMARC Record Wizard: Easily generate DMARC records tailored to your domain.
Try it here - DMARC Inspector: Check your existing DMARC setup and identify areas for improvement.
Try it here
2. MXTOOLBOX
Website: mxtoolbox.com
MXToolbox offers a comprehensive suite of tools to check your domain’s DNS health and email deliverability:
- DNS Checker: Ensure your DNS records are correctly configured.
- Email Deliverability: Test your email server’s ability to reach inboxes.
- Blacklist Check: Verify if your domain or IP is listed on any email blacklists.
- SMTP Test: Confirm that your SMTP server is properly configured.
- MX Lookup: Validate your MX records for accurate email routing.
Use these tools to confirm that your email configuration is optimized for secure and reliable delivery! 📧✅


