Watch the How-to Video

To enrol students to services you need to go to the _Students_ tab and choose Students list.
Follow the Path: Dashboard > Management > Students > Students List (Figure 1).

Figure 1
Once you have followed the path you will arrive at the _Students_ List page which is set to Card View as you can see (Figure 1). On this page you can see all Students, to Enrol them to Services we need to switch to Grid View (Figure 2).

Figure 2
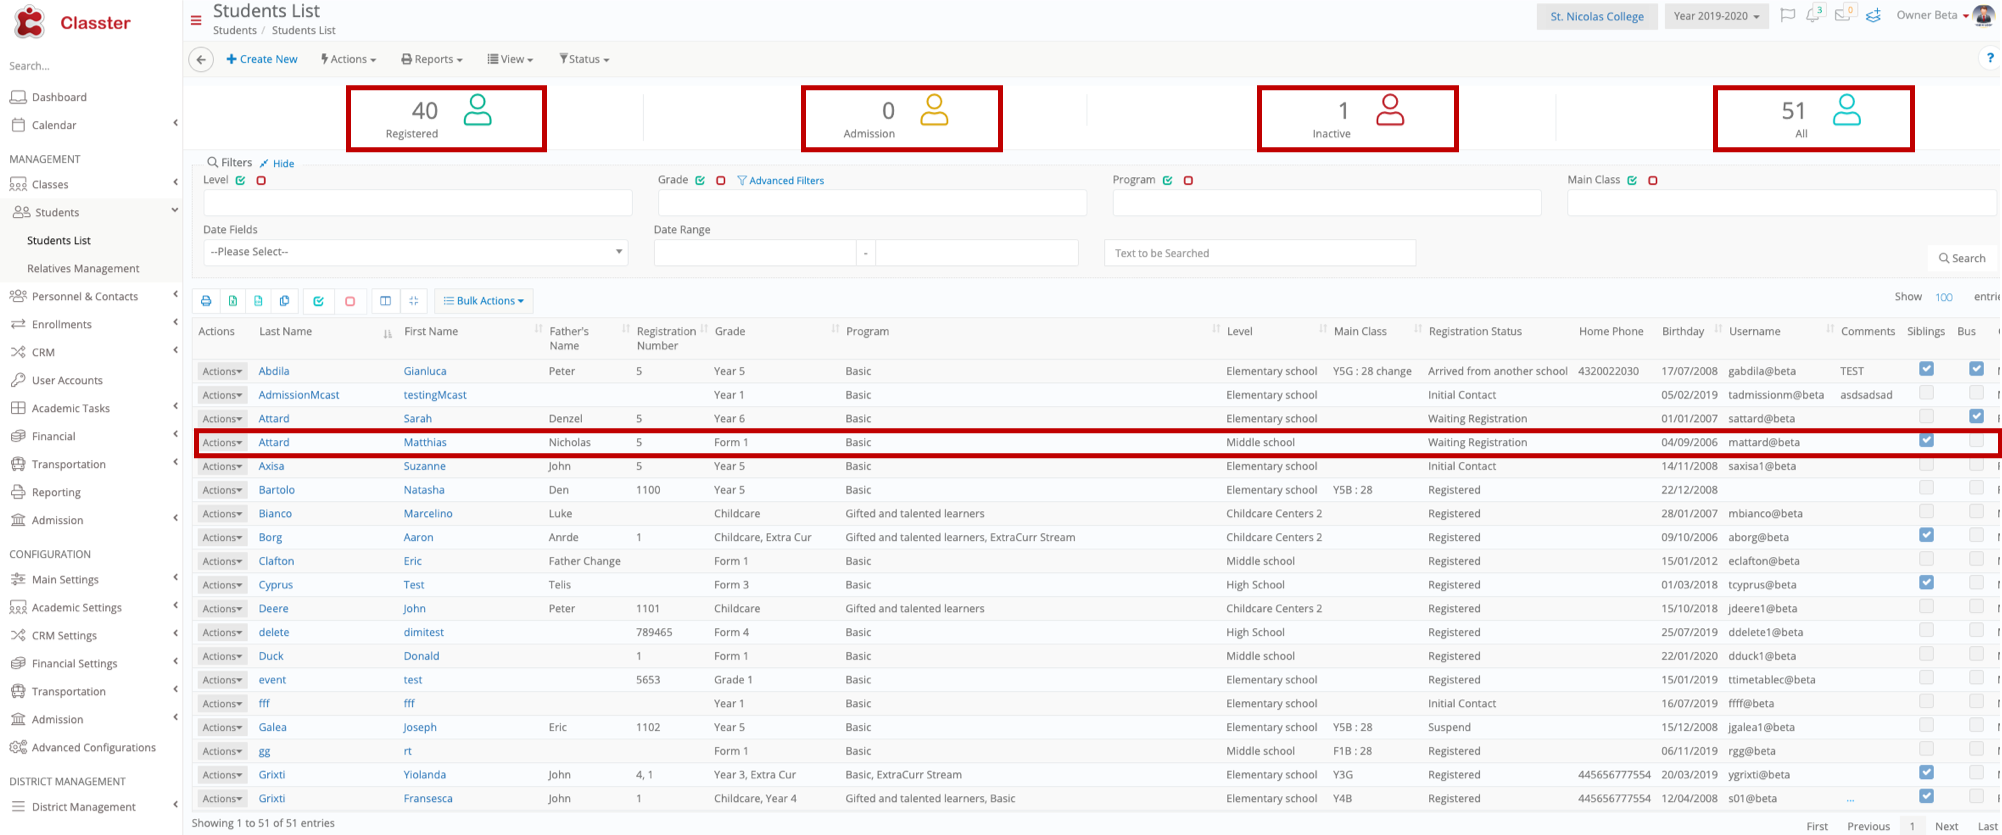
When you have clicked on Grid view the _Students_ List page will look like this (Figure 3).

Figure 3
- On this page, you can view all students in a Grid View (Figure 3).
- You can choose some or all _Students_ on the list by clicking on the ones you want individually or by clicking on the select all button on the top of the Grid (Figure 3).
Once you have chosen the desired students or all students you will need to follow the steps (Figure 4):
- Make sure Students are Selected.
- Click on the Actions dropdown list.
- Click on Enrol to Services.

Figure 4
Once you have clicked on Enroll to Services the following pop-up window will appear (Figure 5).

Figure 5
- In the pop-up window, you can see all the _Students_ you have chosen (Figure 5).
- Below Students is the Category, Service and Time dropdown boxes. You must choose a Category of Services e.g. School Trips, a Service e.g. 3 Day Trip to Rome and Time e.g. without time (Figure 5).
You can enrol the selected students to more than one service at a time (Figure 6).

Figure 6
- You fill in the fields with the choices you want to make e.g. School Trip, 3 Day Trip to Rome etc (Figure 6).
- You click on the +Add button to add a Service (Figure 6).
- Once you have added service you can change the fields again e.g. Activity Clubs, Volleyball etc. Click on the +Add button to add the different Service you entered in the fields Category, Service, Time (Figure 6).
- You now have chosen two Services and by checking the boxes underneath each service you select them to Enrol the chosen _Students_ (Figure 6).
- Click on the ‘Save’ button to finalize enrolment of Students to Services (Figure 6).


