

Watch the How-to Video

The starting point for all activities will be the Classter Dashboard page (Figure 1).
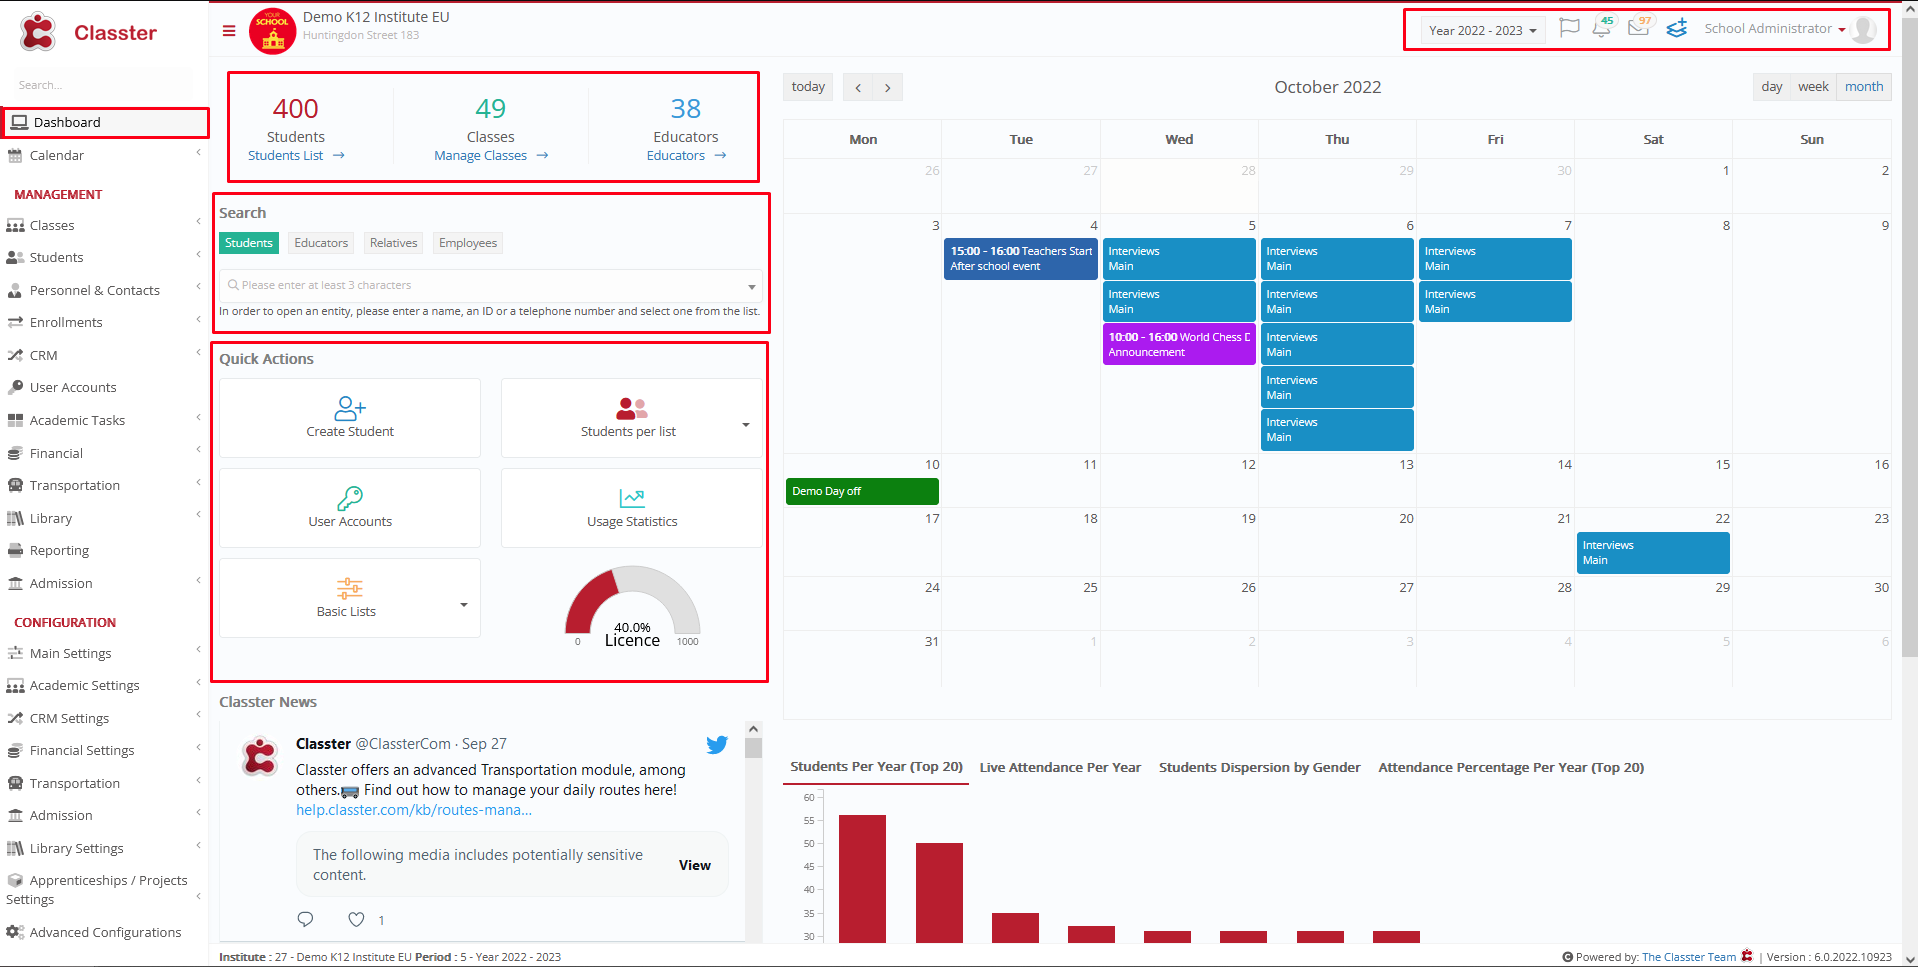
Figure 1
On this screen, you can see the following (Figure 1):
- Here you can view your events and announcements Calendar, Classes, Exams, Assessments etc.
- You can view the number of active Students, Classes, and Teachers.
- You can search for Students, Teachers, Relatives, and Employees.
- Use the quick action buttons to create Students or Teachers, view messages, User Accounts, and Attendances.
- In the top right corner of the screen, you can view the User Actions Menu.
Some Available Actions: Change Institute, Academic Period, Language, view and send messages from the Message Center, view announcements, use the Quick Actions menu, and manage your profile. - On the left side of the screen, you can use the main menu to navigate through all the existing sections of the platform.
If you click on the Manage Profile dropdown list, you will find (Figure 1a):
- My Profile: You can add a photo, manage personal info, edit security settings, default meeting settings, choose default theme, add signatures, view files and much more.
- Manuals & Videos: You will be able to find user manuals and videos to help you familiarize yourself with Classter and its functions and features.
- Support (Ticketing System): Here you can submit tickets to our support team, so they may assist you with any issue you may encounter.
- Manage License: On this page, you will be able to see the license activation for your Classter account and view other available licenses.
You can see information about payments, about your active modules, license expiration dates, info about free and paid features of Classter.
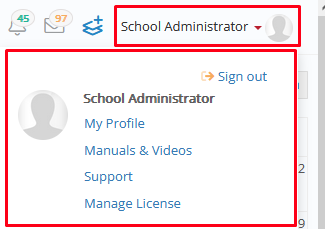
Figure 1a
My Institute
Follow the path: Dashboard > Configuration > Main Settings > My Institute (Figure 2).
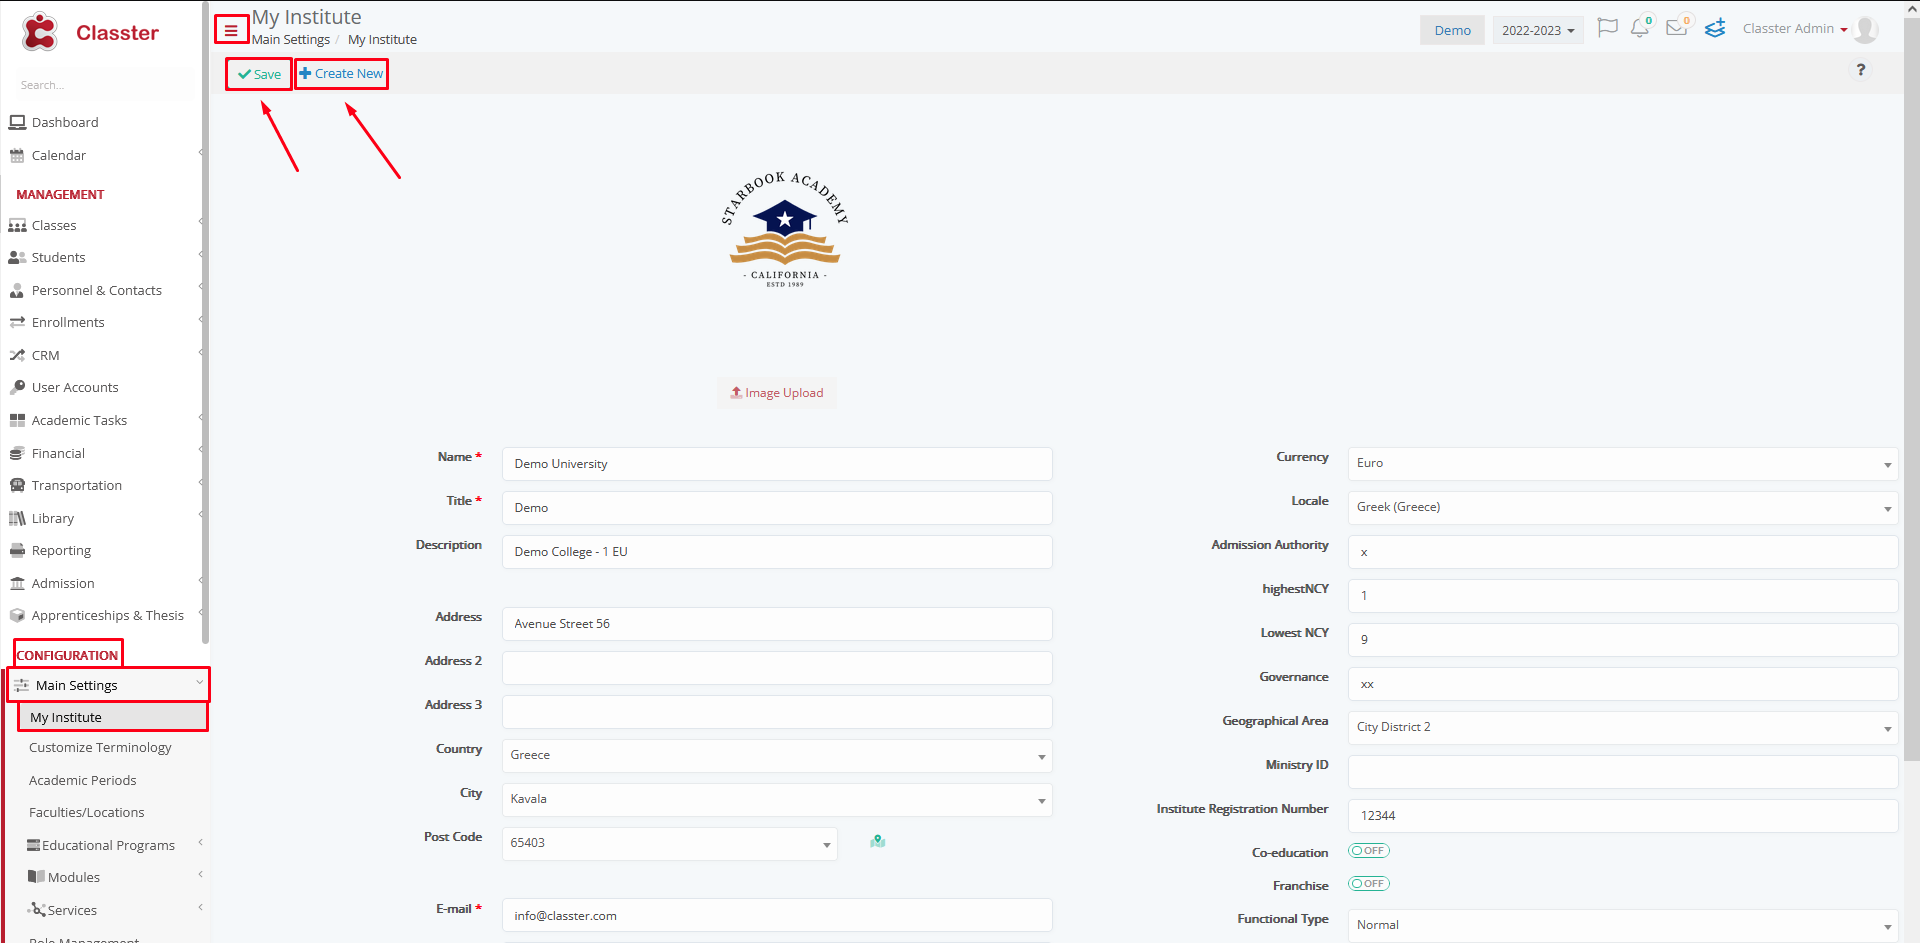
Figure 2
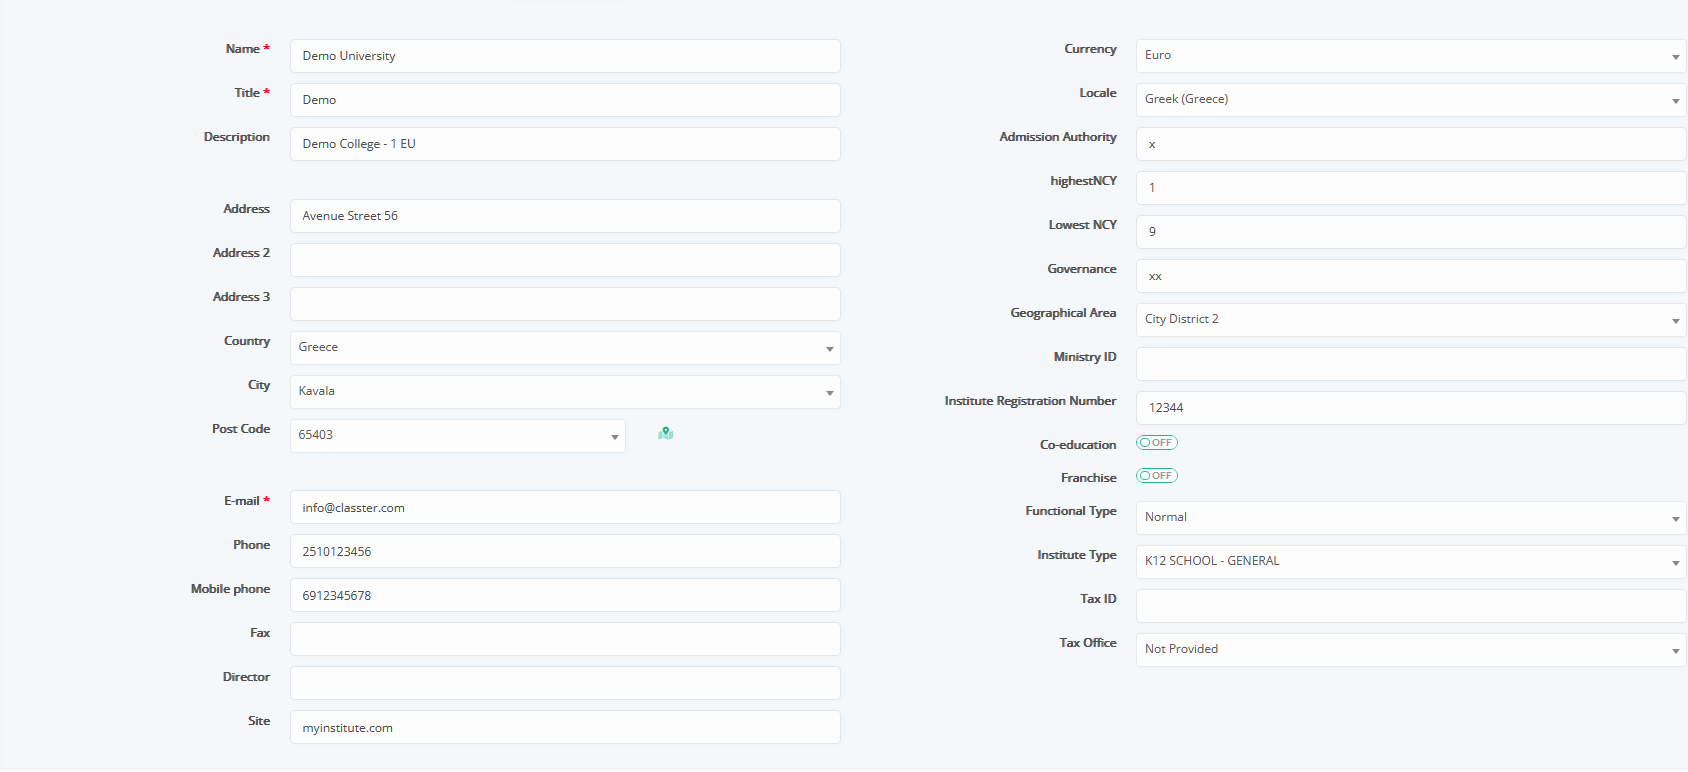
Figure 2a
On this screen, you can see the following (Figure 2a):
- Image Upload: Upload your institution’s logo (Process described at the end of this section).
- Name: your institution’s name, e.g., St. Nicolas.
- Title: your institutional title, e.g., St. Nicolas.
- Description: a description of your institution, e.g., St. Nicolas Primary School.
- Address: your institution’s address, e.g., 55 Sesame Street.
- Address 2: your institution’s alternative address, if applicable.
- Address 3: your institution’s alternative address, if applicable.
- Country: choose your country, e.g., Greece.
- City: select your city, e.g., Kavala.
- Post Code: type in your post code number, or select by clicking on the map button next to the field.
- Email: the institution’s email address, e.g., info@stnicolas.com.
- Phone: your institution’s phone number, e.g., 2106785443.
- Mobile: your institution’s mobile phone number, e.g., if applicable to your institution, 6943750034.
- Fax: your institution’s Fax number, e.g., 2143254456.
- Director: the name of the institution’s director, e.g., Jim Beam.
- Site: the institution’s website address, e.g., www.stnicolas.com.
- Currency: pick the currency your institution operates with, e.g., Euro.
- Locale: choose your country, e.g., Greece.
- Admission Authority: the institution or organization responsible for Admissions administration/management.
- Highest NCY (National Curriculum Year) : the highest curriculum year, in the case of a K12 School the answer is 12.
- Lowest NYC (National Curriculum Year): the lowest curriculum year, in the case of a K12 School the answer is 1.
- Governance: the organization or ministry that oversees your Academic Institution.
- Geographical area: select your institution’s location/area, e.g., District 9.
- Ministry ID: the institution’s Ministry ID (if applicable).
- Institute Registration Number: your institution’s registration number.
- Co-education: if your institution is part of a greater organization of institutions, and you offer education in co-operation with other institutions, turn this switch on.
- Franchise switch: switch this on if your institution is a franchise of another institution.
- Functional Type: choose if your institute is only for Admission.
By choosing a functional type you define a role for your institution, e.g., Normal or Admission (this sets the institution as Admissions only so you can manage applications separately). - Institute Type: type of your institution, e.g., K12 – General.
- Tax ID: your tax ID.
- Tax Office: select the tax office that is responsible for your institution.
Uploading your Institution’s Logo (Figure 3):
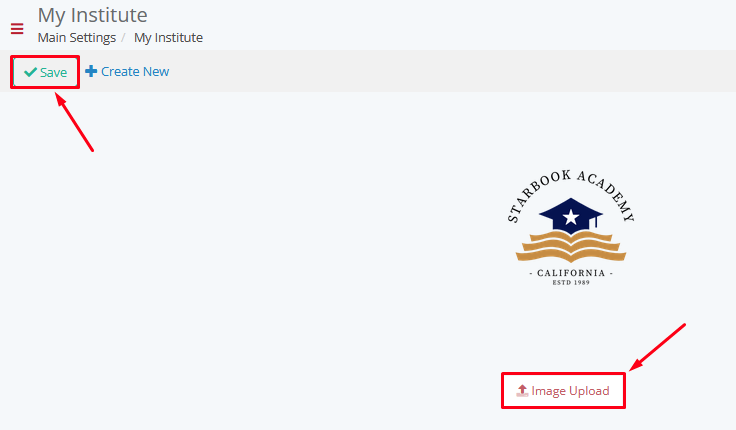
Figure 3
- Click on the upload button (pointed out by red arrow), language for this function depends on your windows or other operating systems language settings (Figure 4).
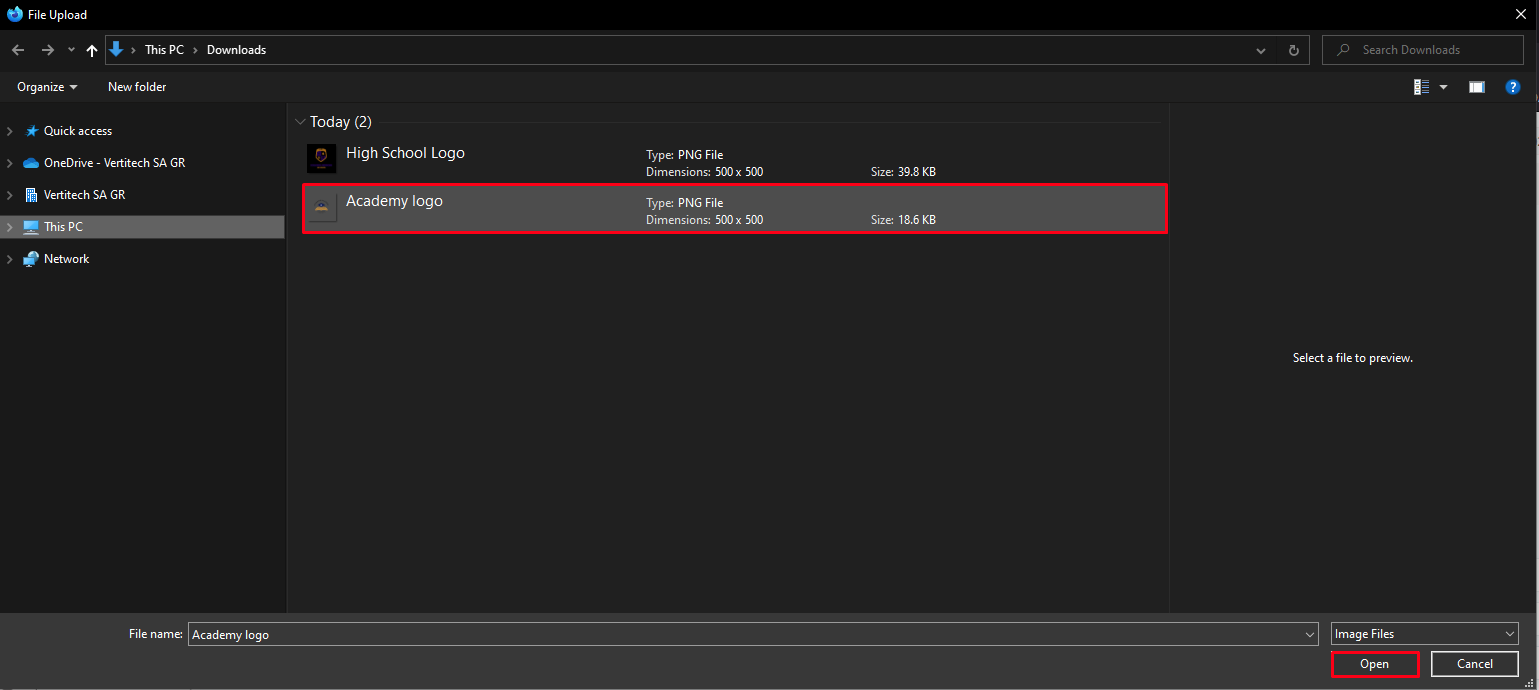
Figure 4
- Once you have clicked on the upload file button, you will see a pop-up window asking you to select a file to upload (Figure 4)
Note: File size cannot exceed 10 MB. - Click on the file you want and then click on the open button (Red arrows).
Note: Language depends on your Windows language (Figure 4).
You can see the logo has changed on the page and in the Dashboard (Figure 5).
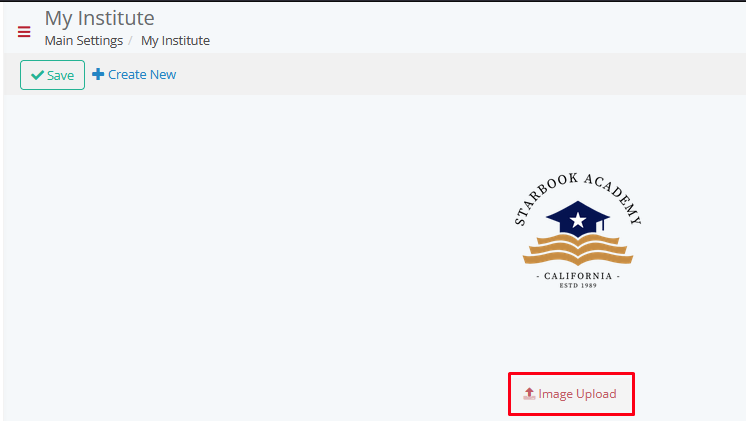
Figure 5
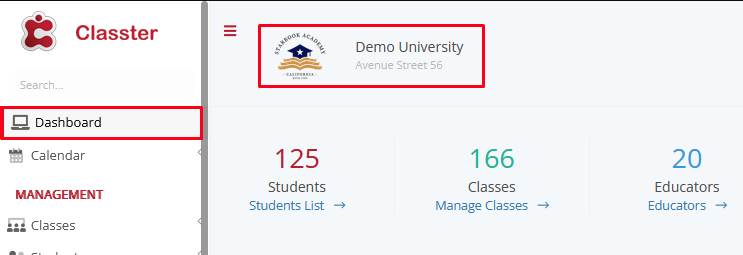
Figure 5a
Once you have filled in the information, click on the ‘Save’ button to save your information.
Create New Institute
Creating a new institute is a very easy process. Click on the ‘+Create New’ button (Figure 6) to open the creation page (Figure 7).
Note: Cross Institutional Management is not Available on Classter Free Edition, you can only create many unrelated institutions.
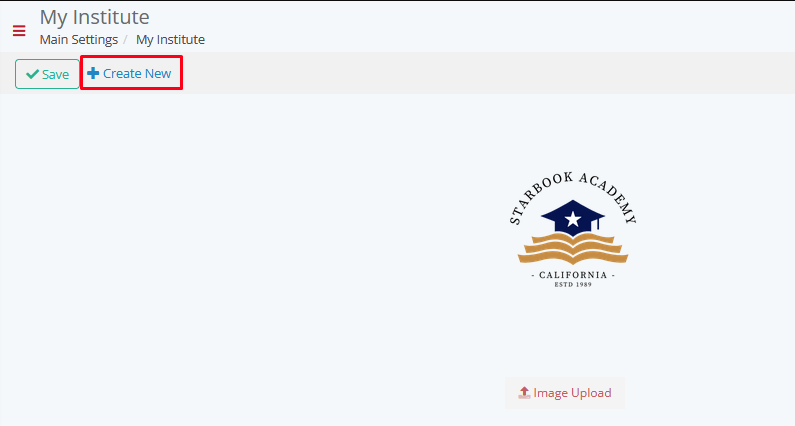
Figure 6
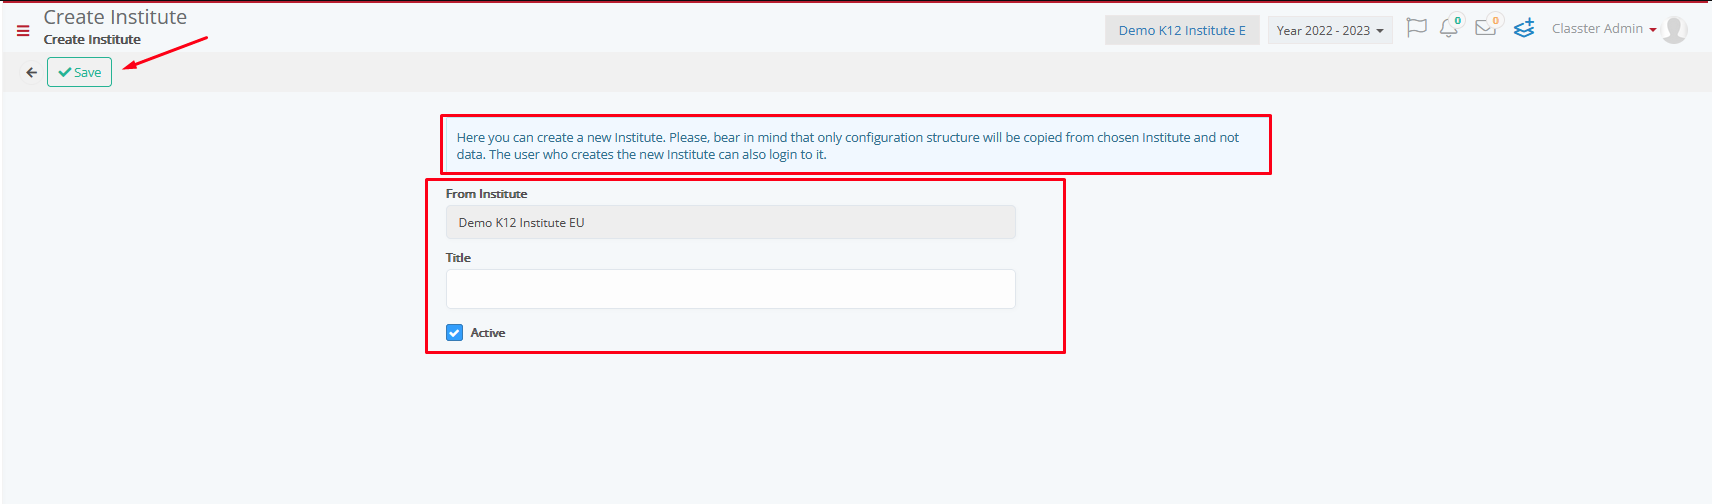
Figure 7
On this screen, you can see the following (Figure 7):
- You can choose an existing Institute as a template for your new institute. Select an institute from the dropdown box.
- Set a title for your new institution, e.g., St. Peter High School.
- Click on the Active check box to make this new Institution Active.
- Click on the ‘Save’ button to create the new institution.
- It may take a couple of minutes to be generated, but it will appear in the Change Institute dropdown button (Figure 8).
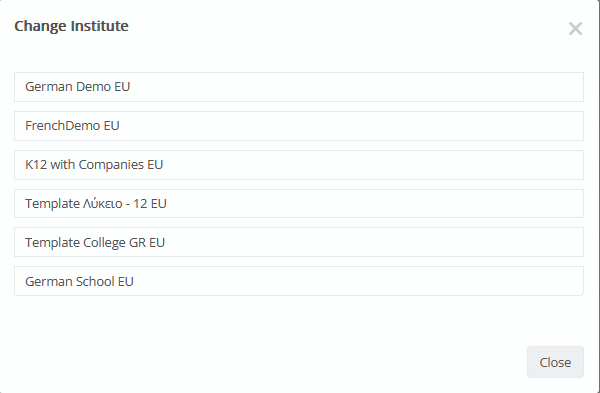
Figure 8
General Note: All fields or options with a red asterisk next to them are mandatory fields or options. If you do not fill them in, you will be unable to save your creations or edits.
Creating Academic Periods
Academic periods can be created according to the needs of each institution. In general, it is advised to keep all educational activities within the Academic Period, but there is no restriction.
You can create an Academic Period for the year e.g., 2022-2023, you can create shorter Academic Periods for half a year or per semester (4 months).
You may create the Academic Periods to your institution’s exact specifications.
In this section, we will be seeing how we can create academic periods. These are the Academic terms that your institution operates in.
To reach this page, please follow the path: Dashboard > Configuration > Main Settings > Academic Periods (Figure 9).
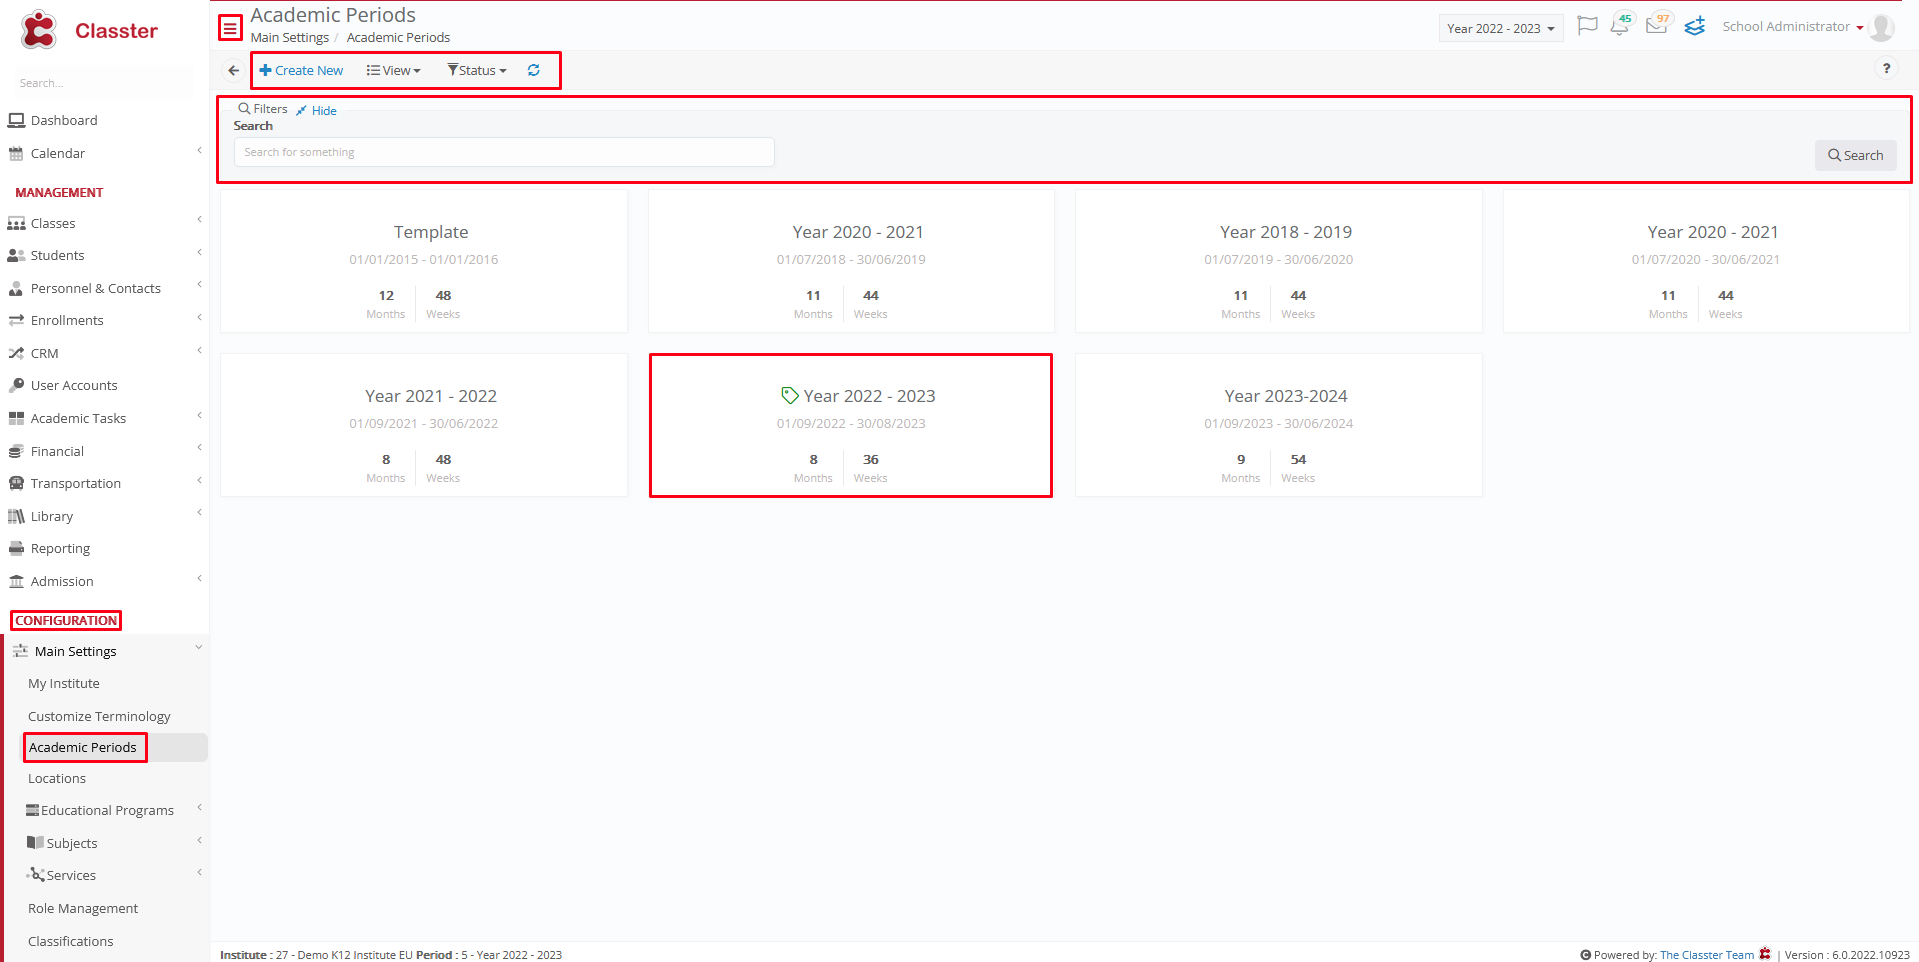
Figure 9
On this page, you will see the following (Figure 9):
- View academic periods in a Card or Grid view by clicking on the View button and choosing either option.
- You can filter periods by using the Status dropdown button, e.g., Active or Inactive.
- By using the search field, you may locate the Academic Period you wish to change.
- Click on the +Create New button to create a new Academic Period.
- By clicking on a Period Card, you can edit it.
- Click on the refresh button to refresh the page.
Create a New Academic Period
Once you click on the create a new button, you will be transferred to the creation page (Figure 10).
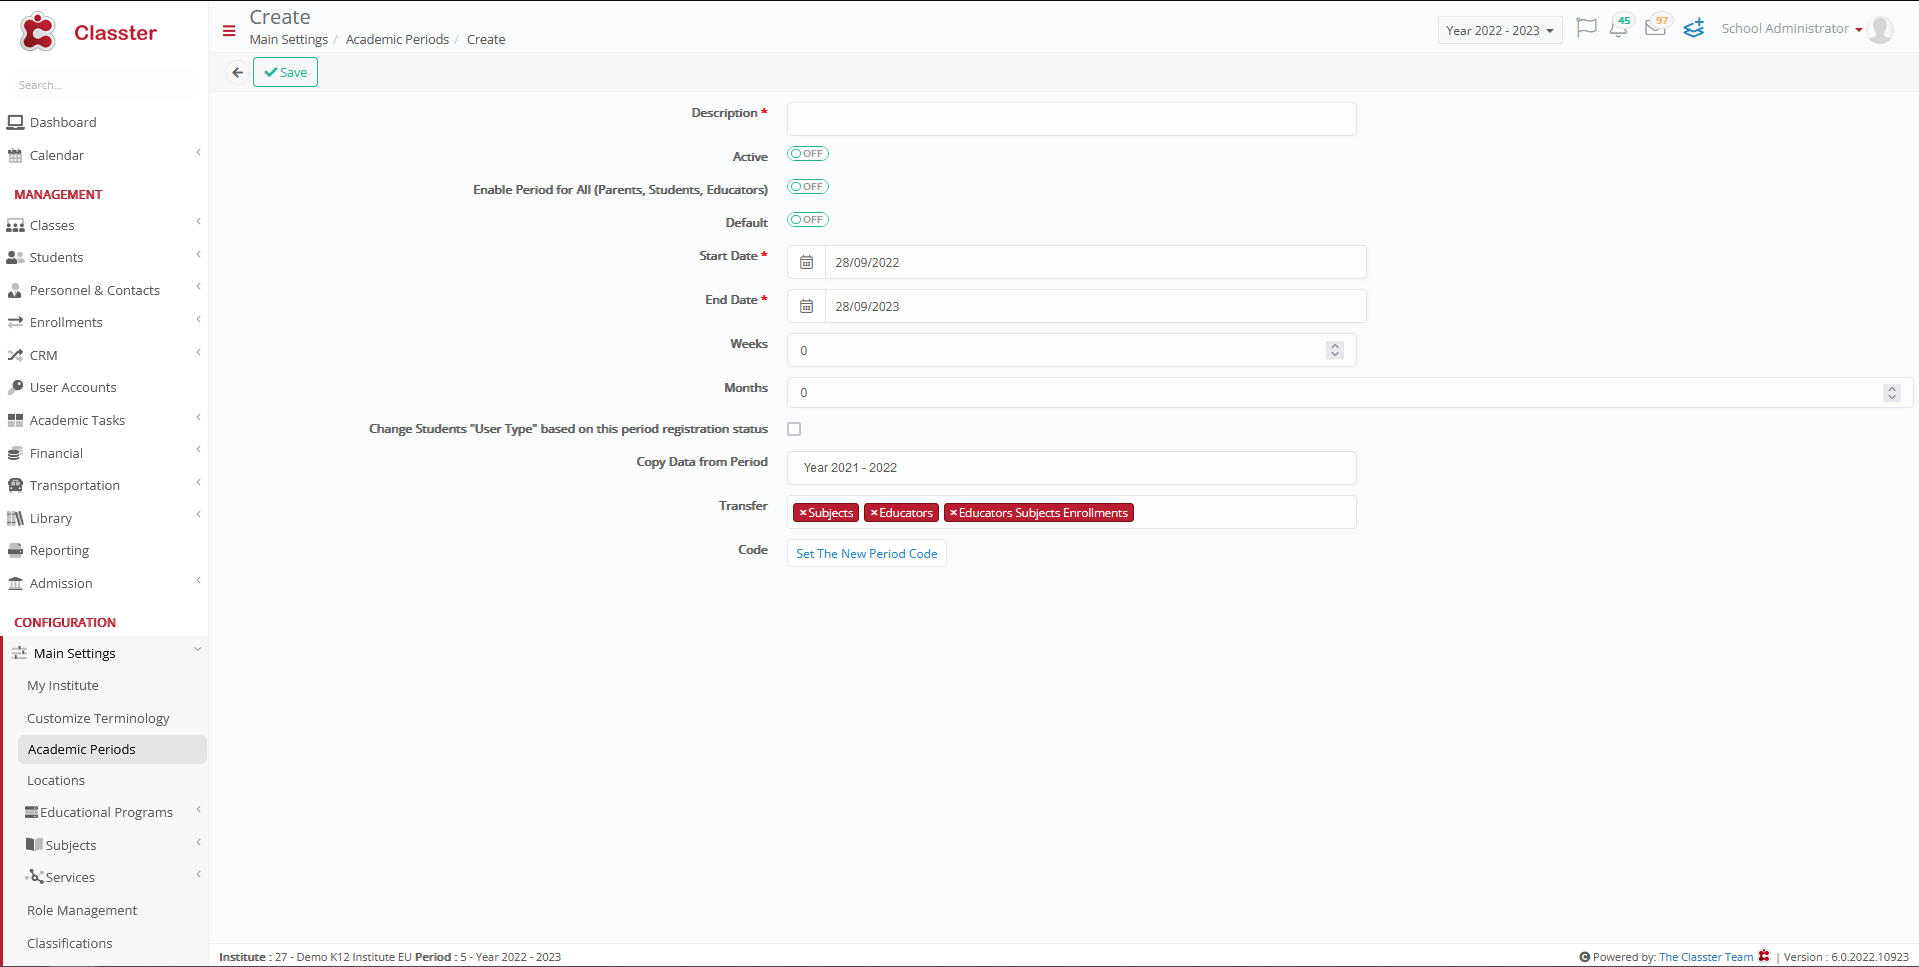
Figure 10
On this page, you will see the following (Figure 10):
- Description: here you must enter the description of the period, e.g., Year 2022-2023.
- Active Switch: if this switch is on, then you enable this period to be available for use in institution planning.
- Enable Period for All (Parents, Students, Teachers) switch: If you switch this option on then you will enable the Period as available to Parents, Students, and Teachers portals.
- Default switch: if you turn this switch on, the Period that you created will be the Default Academic Period that the institution will use, and all users will be able to see.
- Start Date: Enter the start date for this Academic Period, e.g., 20.01.2022.
- End Date: Enter the end date for this Academic Period, e.g., 20.01.2023.
- Weeks: Enter the number of weeks contained in this Academic Period.
- Months: Enter the number of months contained in this Academic Period.
- Change Students “User Type” based on this period registration status : If active, Classter will set the new Period as the default one, also will check if a Student has status “Registered” and user type not “Student” (e.g. Alumni) will change his user type to “Student”.
Also, will check if a Student has status “Admission” and user type not “Admission”, Classter will change his user type to “Admission”.
Additionally, will check if a Student has status “Alumni” and user type not “Alumni”, Classter will change his user type to “Alumni”. - Copy data from period: this option copies the data from the selected period to the new one. The data that is copied is Teachers, Settings, Classes, Subjects, and Enrolments.
Note: Students will not be copied by using this option. - Transfer: allows the user to choose which data will be transferred to the new Academic Period (it is generally avoided to include “Educators Subjects Enrollments” because most of the time Teachers will probably be assigned to different Lessons each Period).
- Code: allows the user to set the Academic Period code, if left empty, the system automatically sets the value of Active Period ID +1.
e.g. Let’s say Academic Period with description Year 2021-2022 has the unique ID of 10, by clicking save the system will create the new Academic Period with ID of value 11 (10+1).
Once everything is correct, click on the ‘Save’ button to create a new Academic Period.