

The bulk request process has been enhanced to include email notifications, detailed completion messages, and date filters for logs, making it easier to track and manage requests efficiently.
How to Configure and Use it
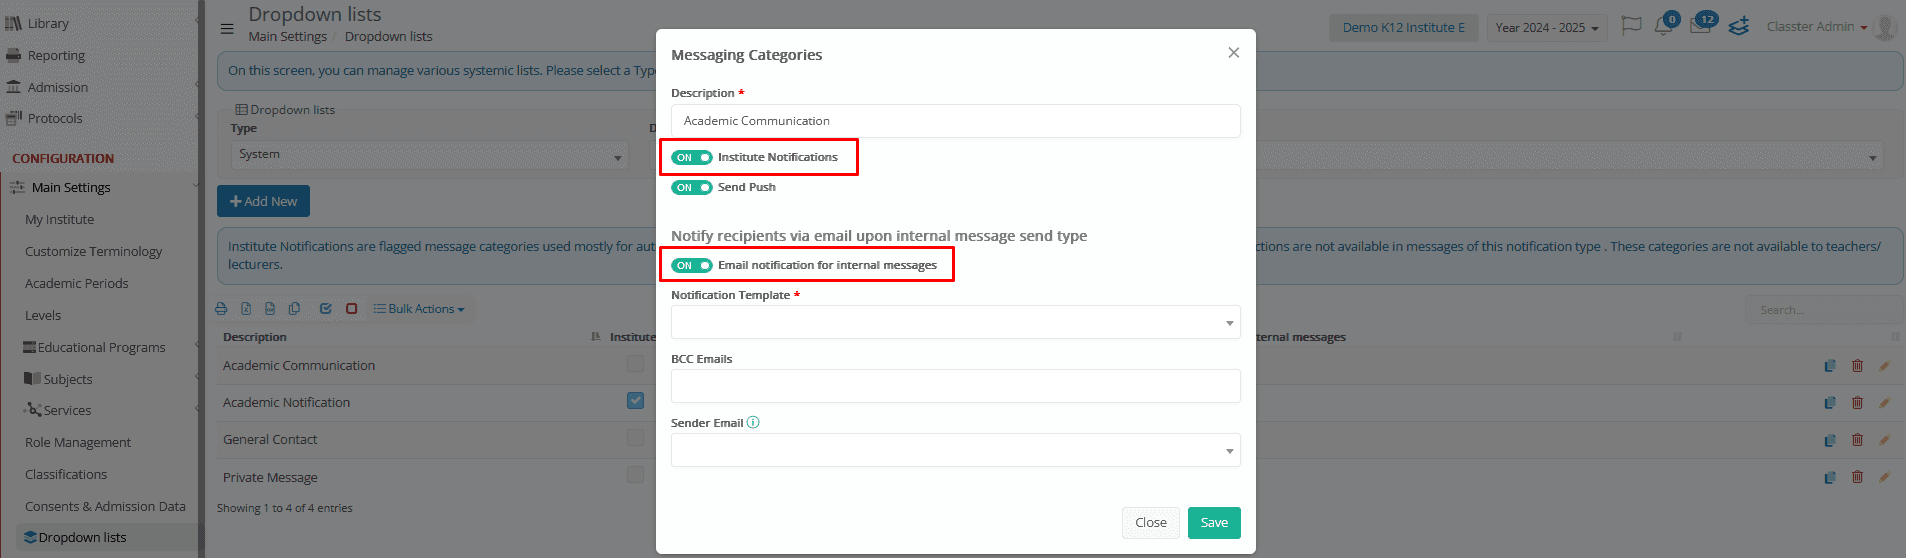
Step 1: Prepare the Messaging Categories
- Go to Main Settings > Dropdown lists > Type: System & Dropdown lists: Messaging Categories.
- Review existing categories or create new ones for bulk requests, such as “Academic Notification”.
- Enable “Institute Notifications” for the categories you plan to use, so they appear in the bulk request configuration dropdown.
Configure Email Notifications
- Enable the email notification option for the chosen category.
- Review and update the email templates associated with the category to include relevant details about bulk requests.
- Save the configuration.
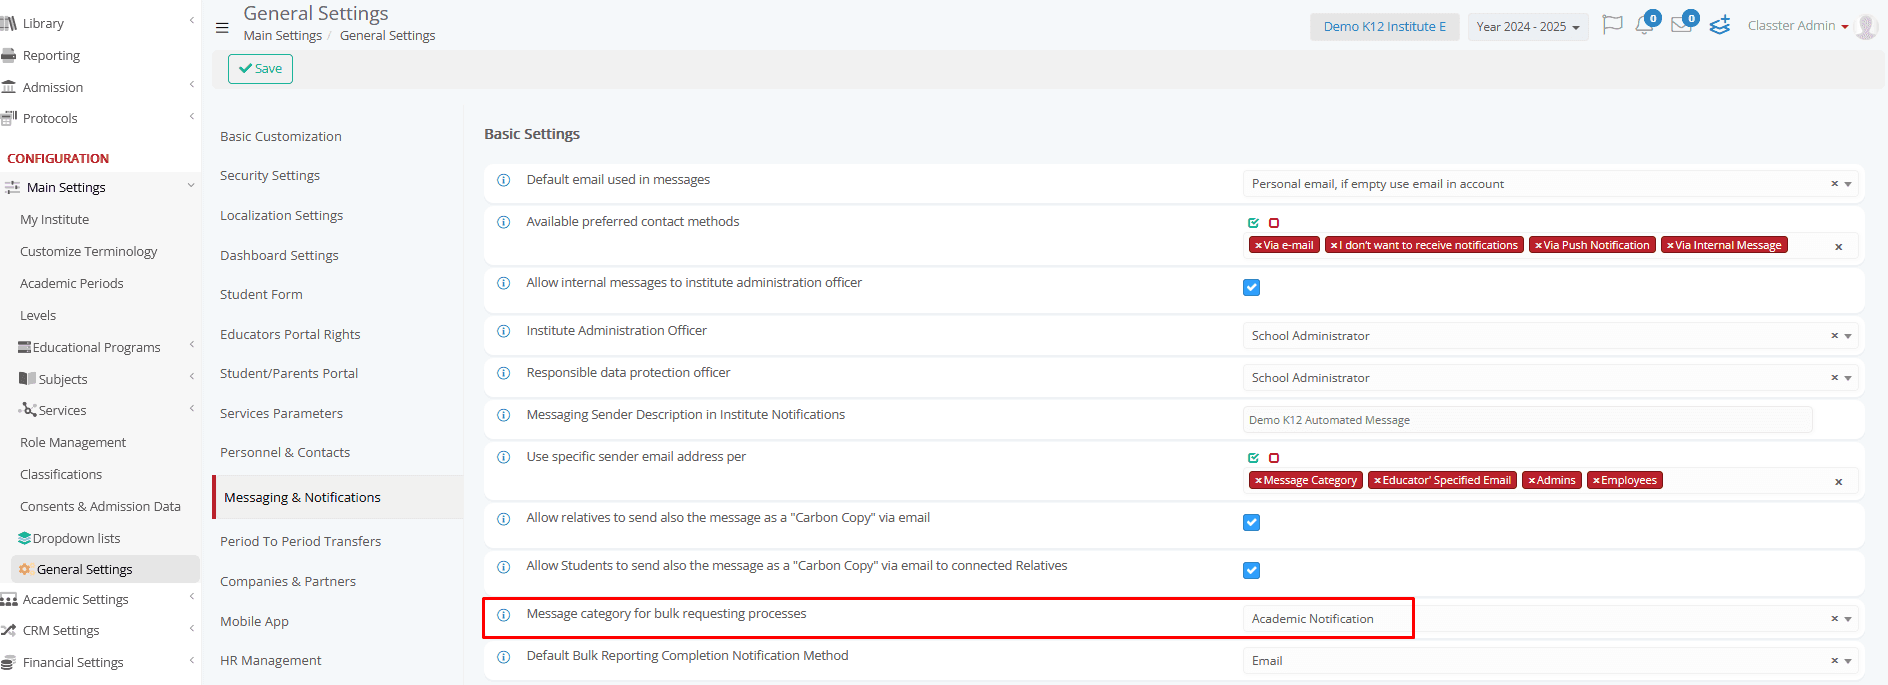
Step 2: Assign a Category to Bulk Requests
- Navigate to Main Settings > General Settings > Messaging & Notifications > Message Category for Bulk Request Processes.
- Select a category (e.g., “Academic Notification”) from the dropdown list.
- Save your selection.
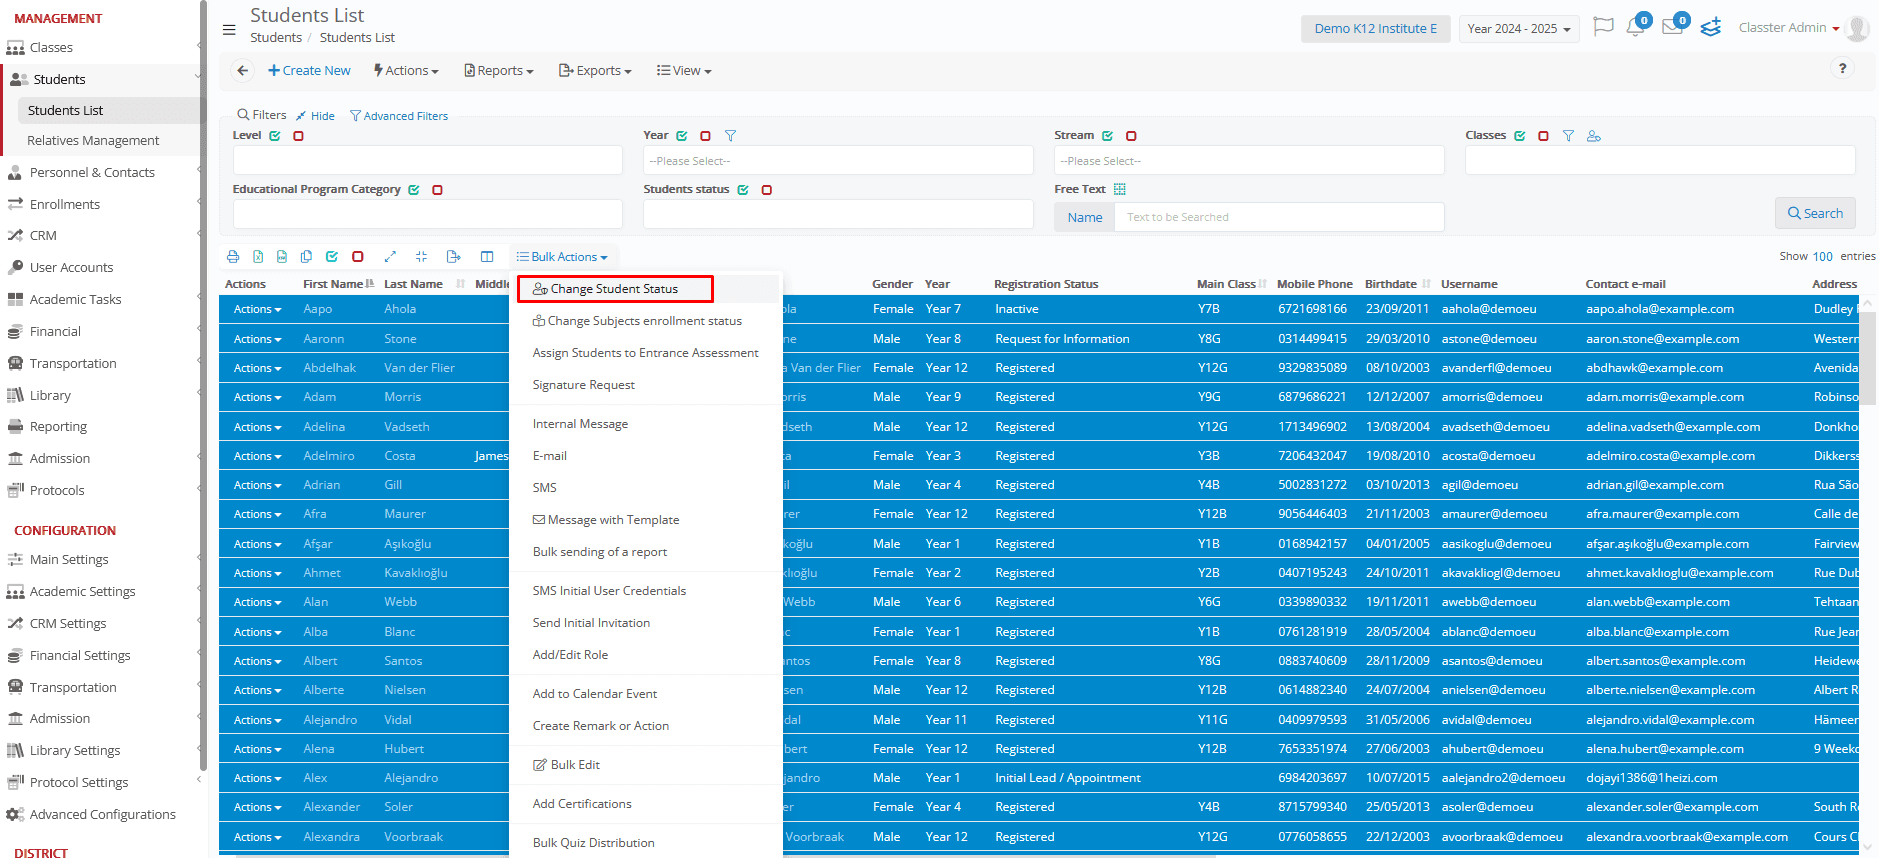
Step 3: Send Notifications
- Create a bulk request for Change Student Status.
- Confirm:
- An internal message is sent with the correct category.
- If emails are enabled, the creator receives a notification email.
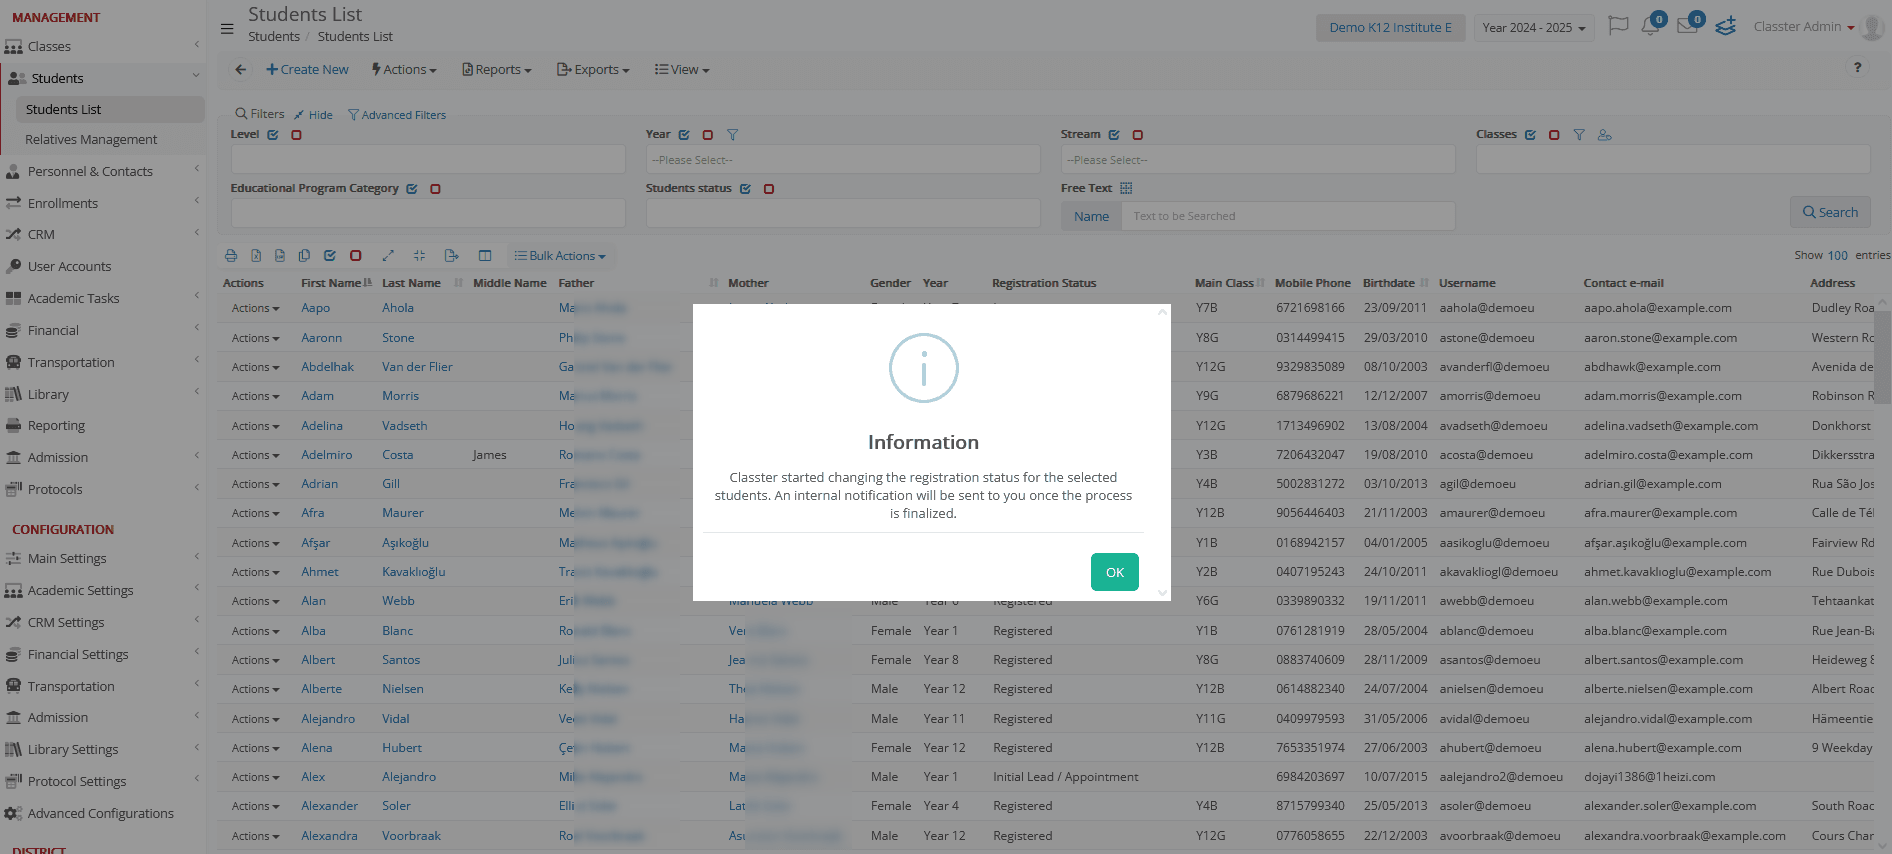
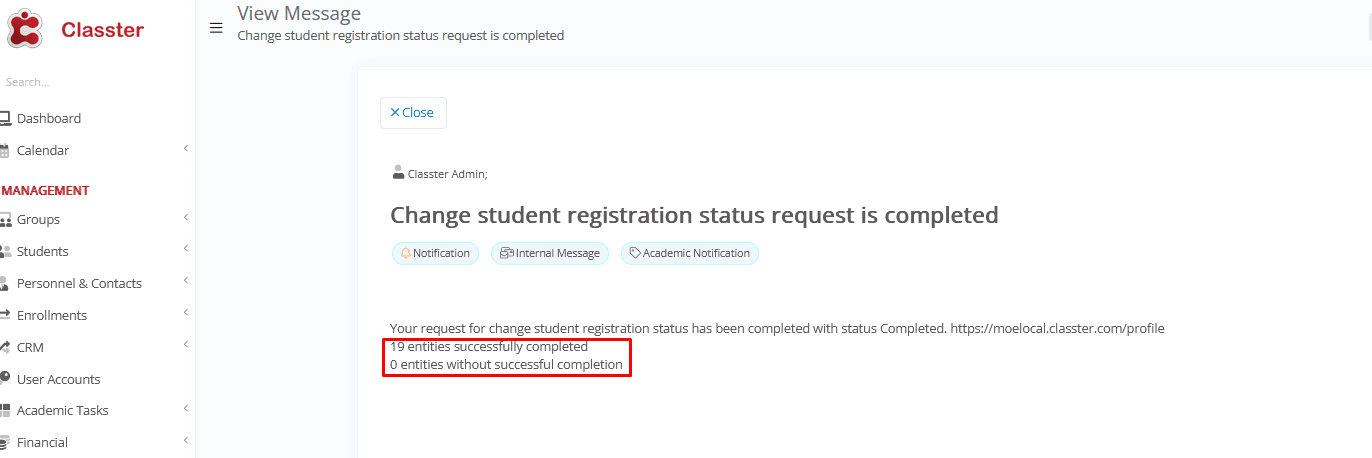
The completion message includes:
- Number of successful actions.
- Number of failed actions.
Step 4: Bulk Request Log
- Open the Bulk Request Log.
- Use the new Start Date and End Date filters. Adjust the date range to check for entries from other periods.
- Verify that the log accurately reflects the selected date range.
