This manual provides step-by-step guidance on creating and personalizing an Institution, including uploading a logo, understanding My Institute form fields, and generating reports.
Create a New Institute
To create a new Institute, navigate to: CONFIGURATION > Main Settings > My Institute > + Create New.
Note: This option only appears if you have a Single DB (Single Database in your agreement/license).
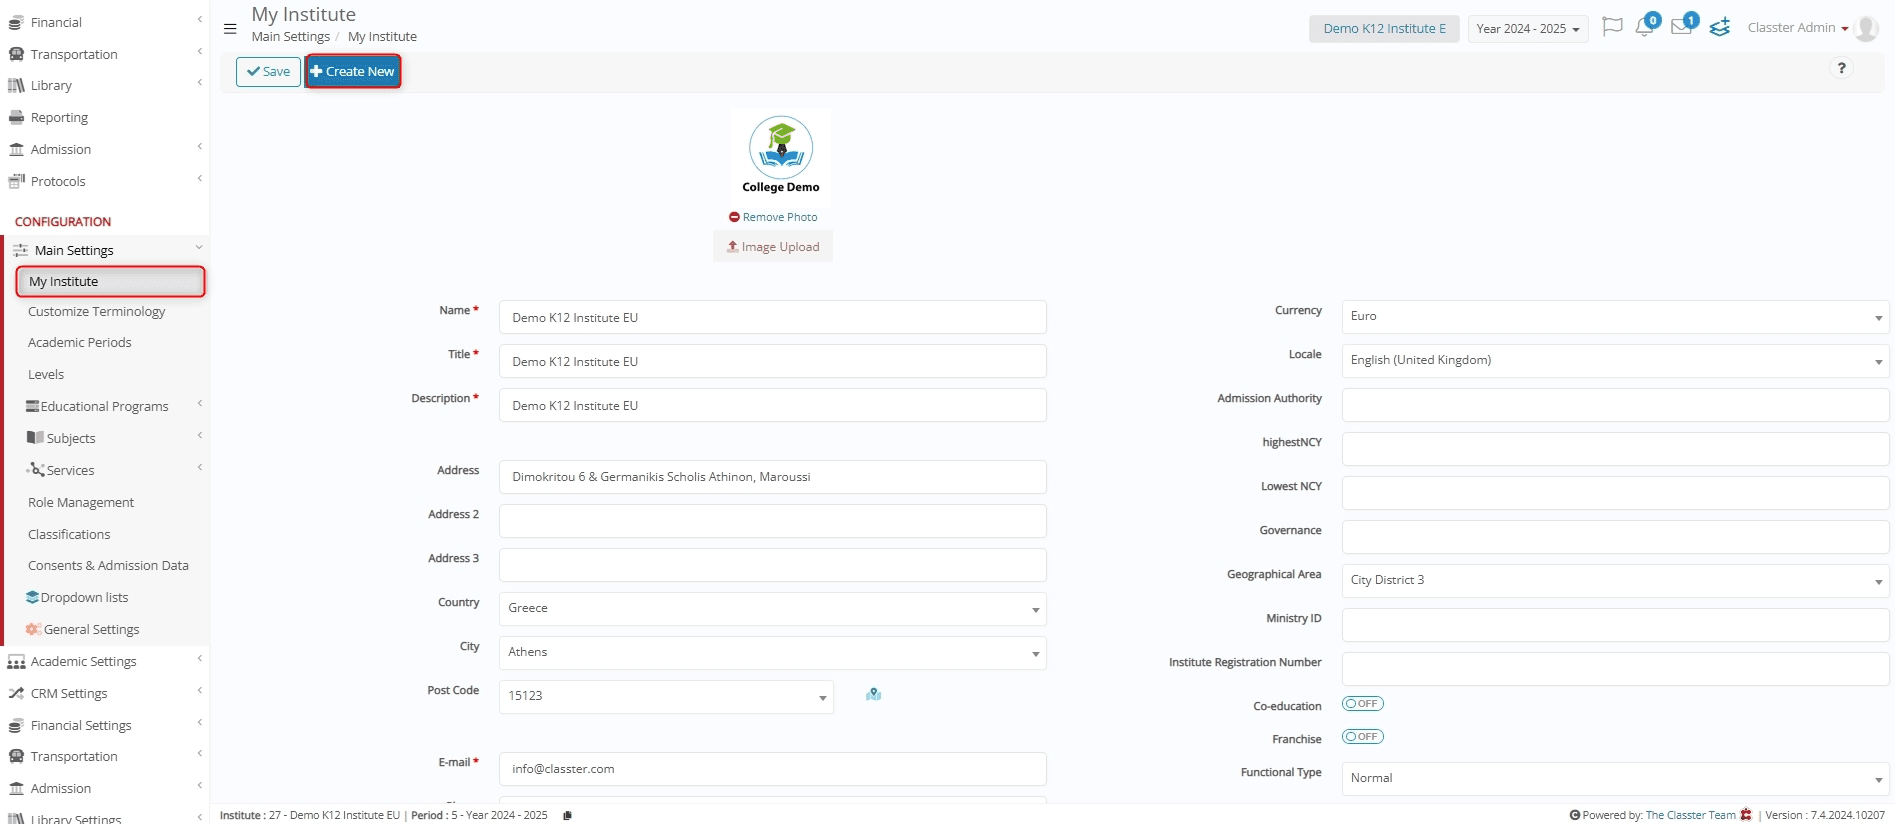
- Specify the Title of the new Institute.
- Mark the Active checkbox.
- Click Save.
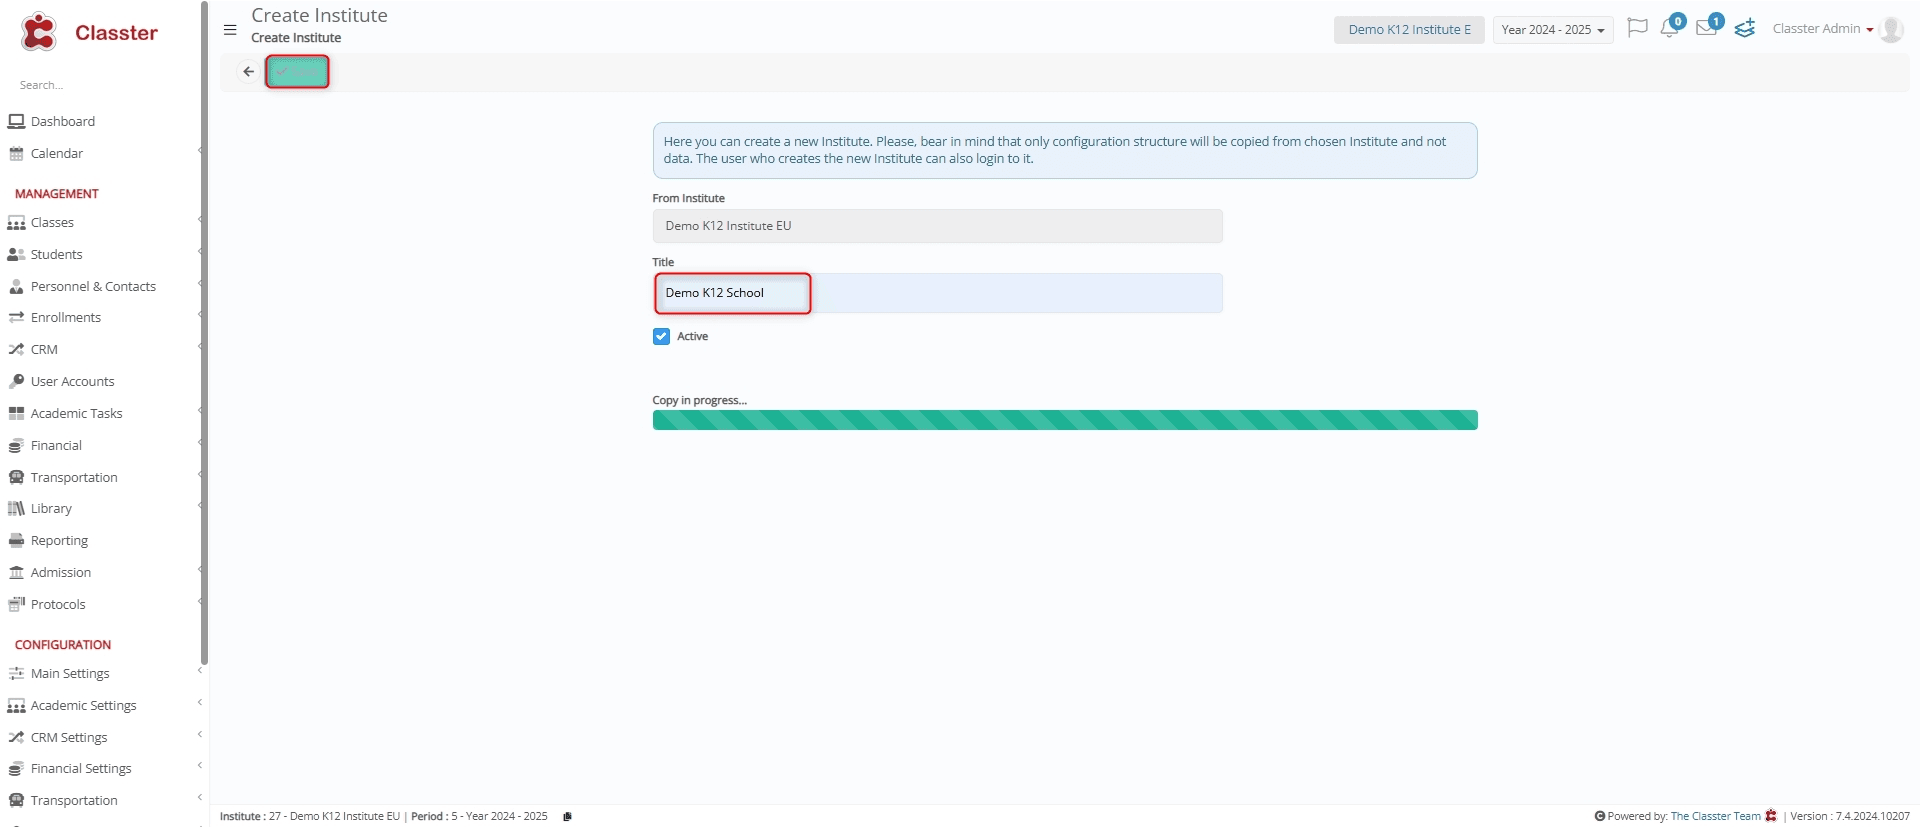
Note: Only the configuration structure will be copied from the selected Institute; no data will be transferred. Moreover, the user who creates the new Institute can also log in to it, but other users may need to be transferred if there is a need.
Once the configuration structure is successfully copied, a confirmation dialog box will appear. Click Yes to close it and proceed.
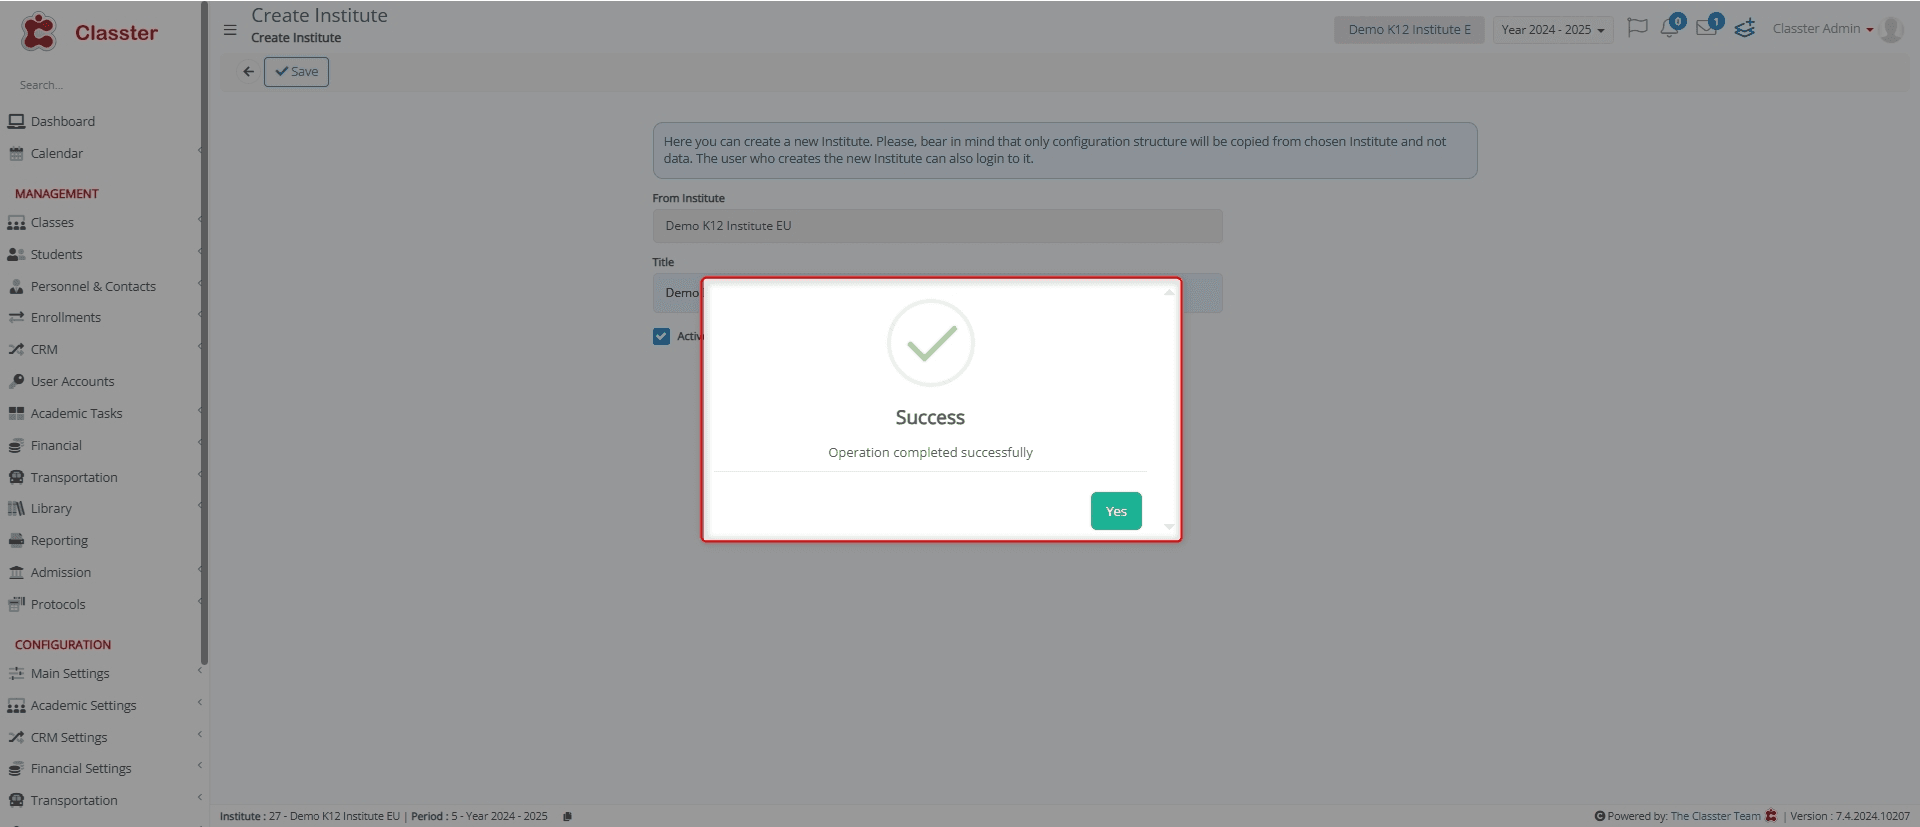
Note: The newly created Institute will not have any data. So, you can mass import the data related to _Students_, _Teachers_, etc., from another Institute or add new records.
Customize My Institute
Institute Basic Data
Firstly, log in to your Institute and go to: Main Settings > My Institute.
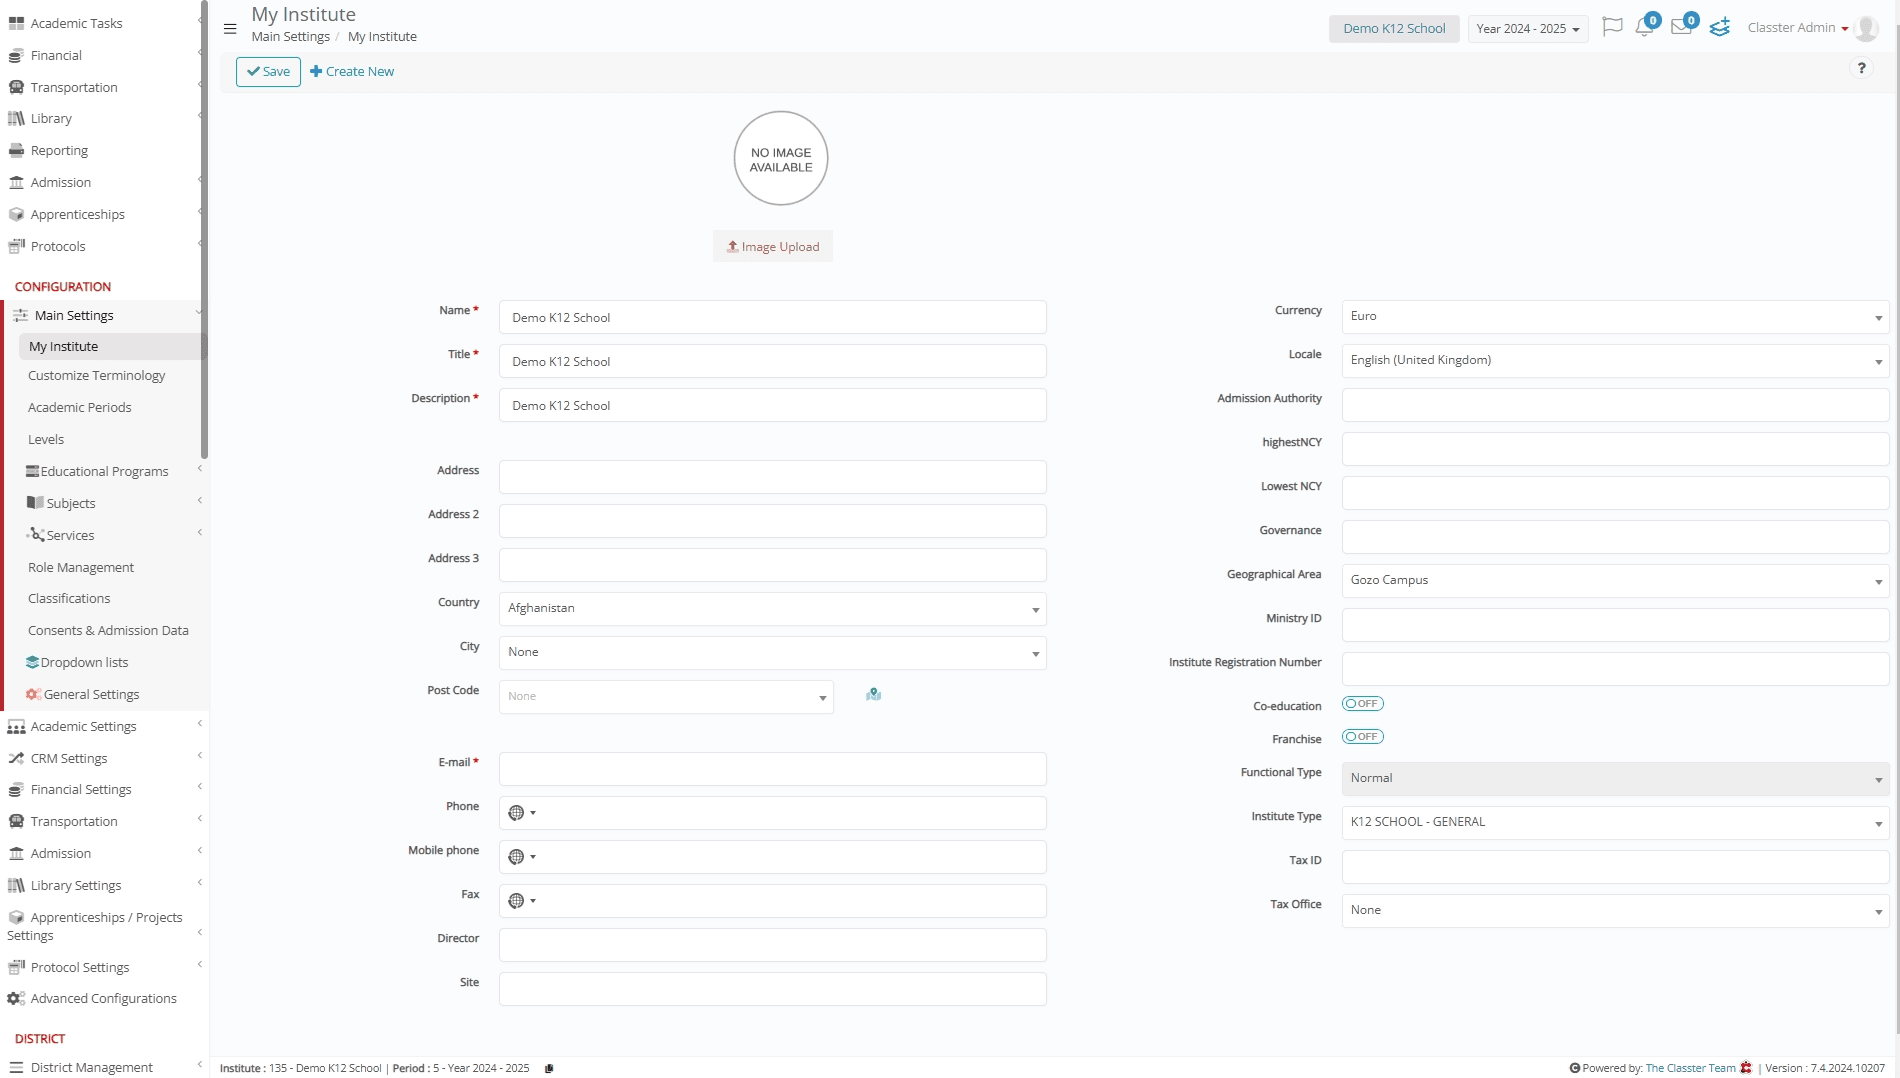
Upload Logo
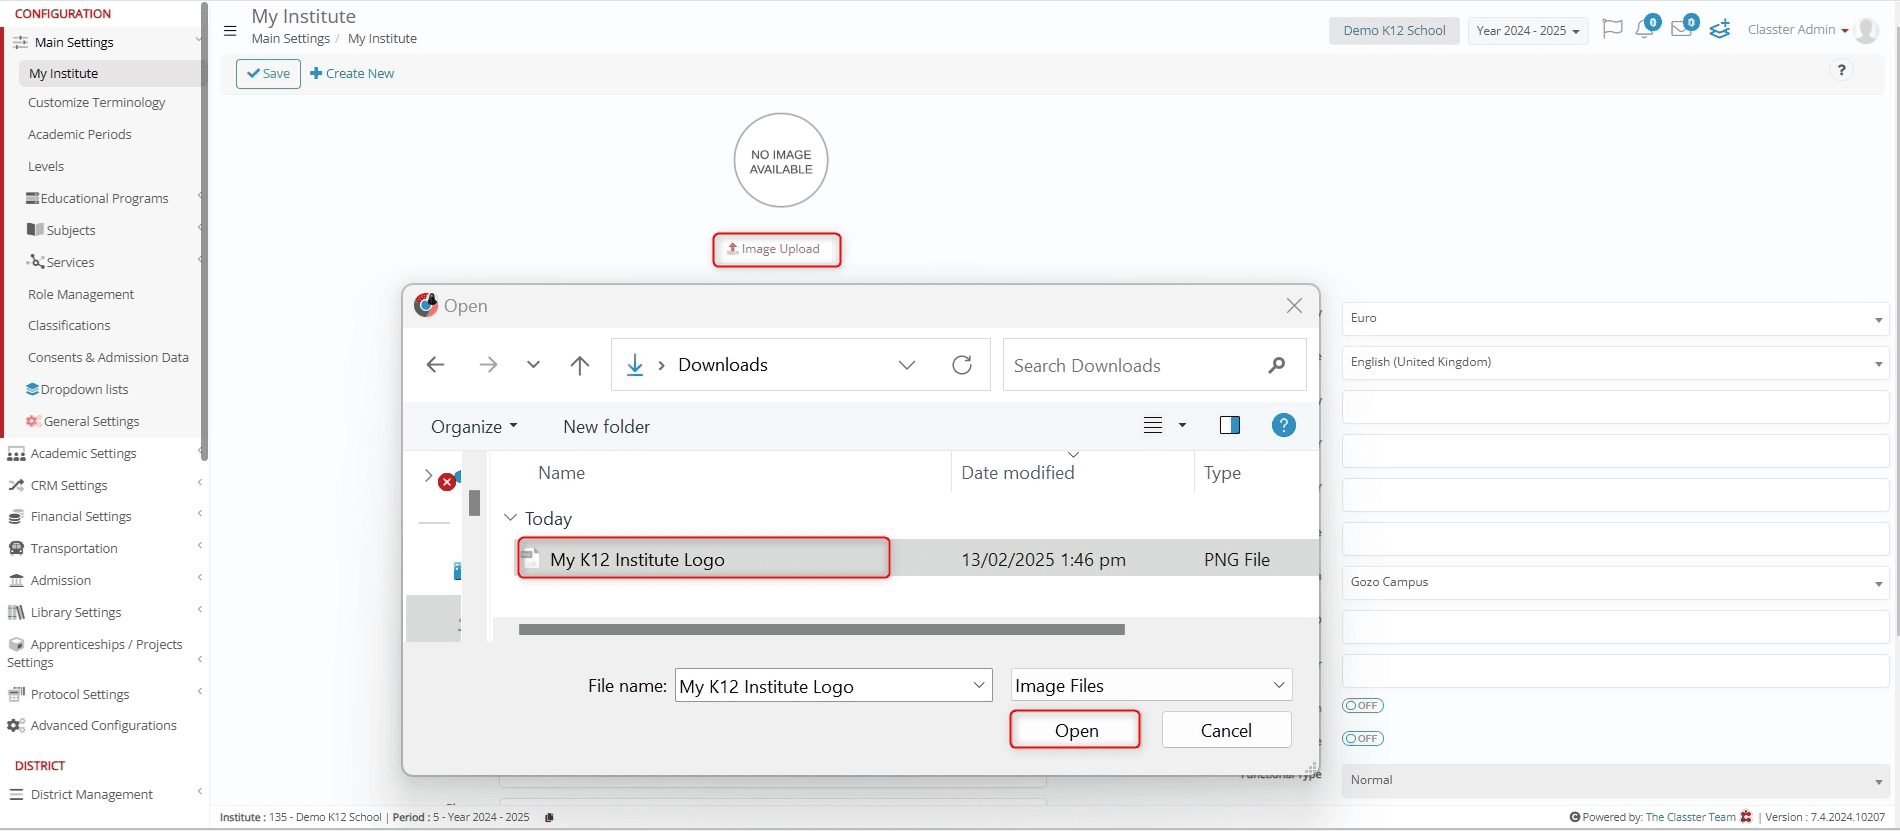
To upload your Institute’s logo:
- Click on the Image Upload button.
- Select the logo image from your device.
- Click Open to upload the image.
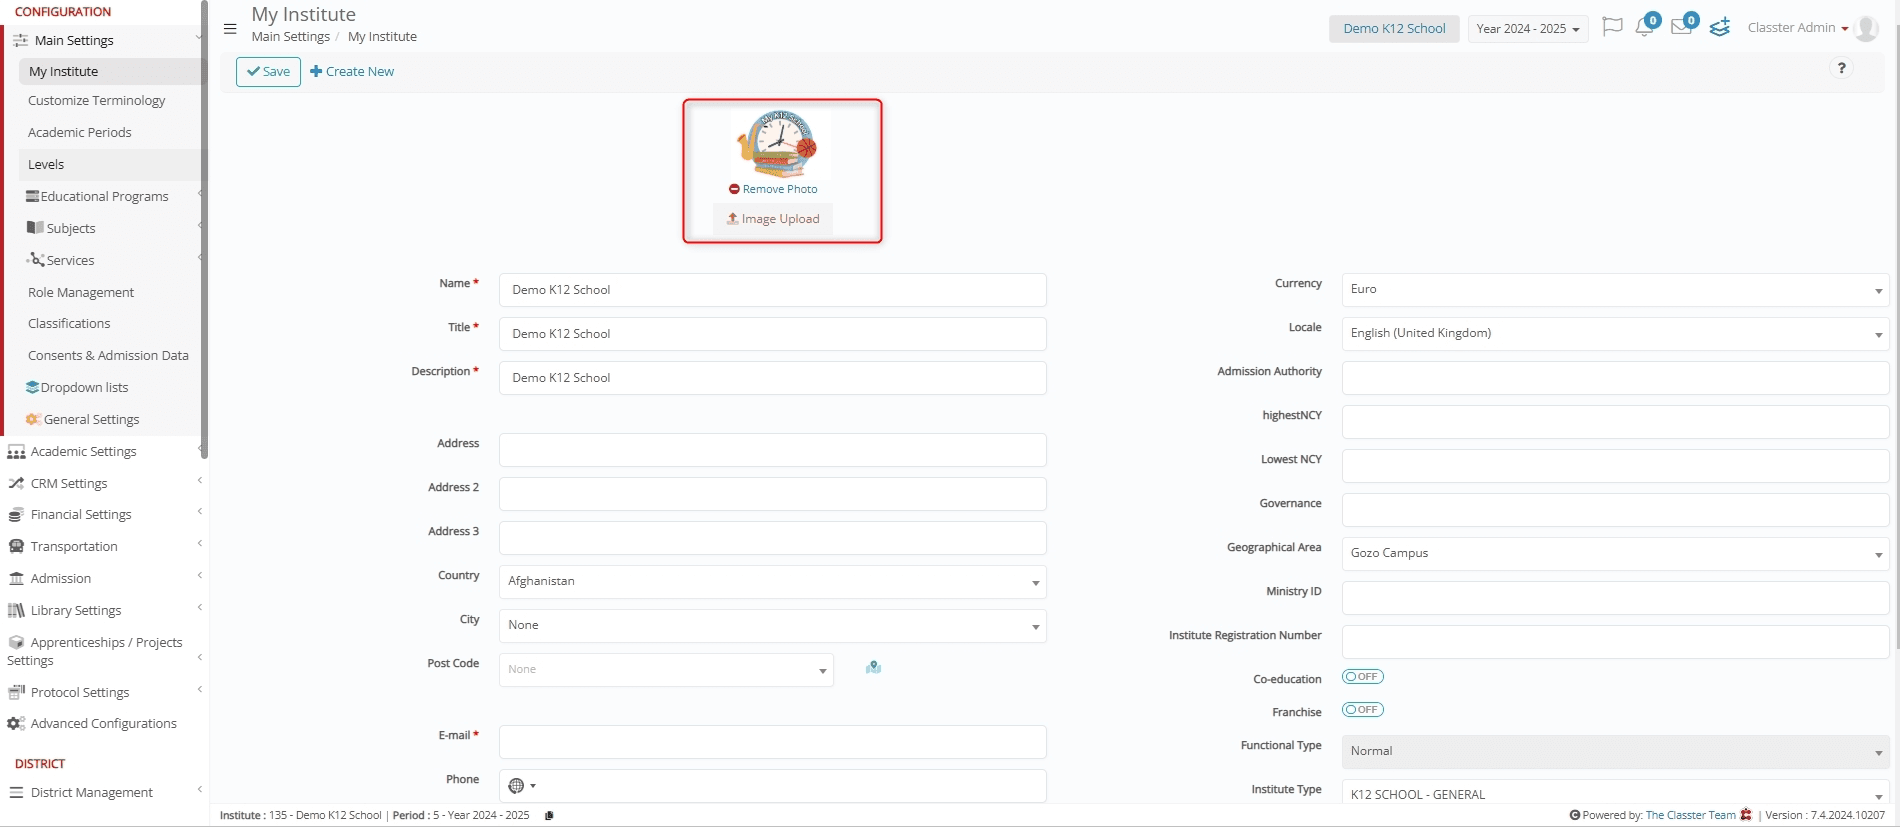
This is what the uploaded logo image looks like.
Data Fields definitions
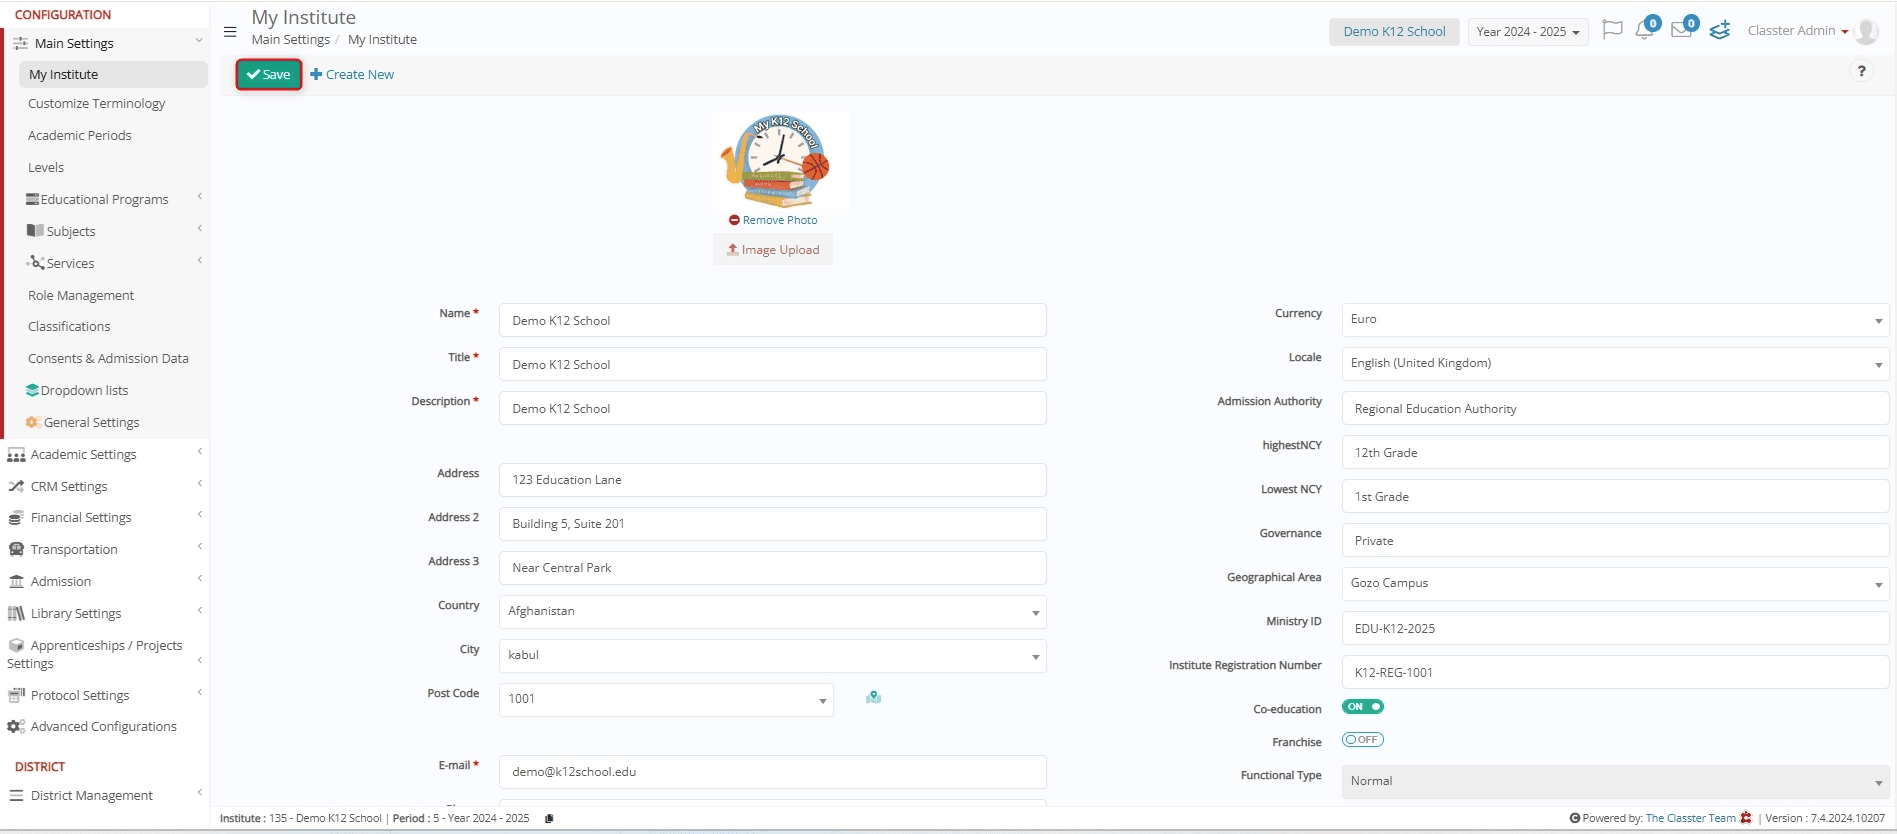
Along with the logo customization, you can configure the following fields of the My Institute page (as per your requirements):
- Name: Enter your Institute’s name, e.g., Demo K12 School.
- Title: Enter the title of your Institute, e.g., Demo K12 School.
- Description: Provide a brief description of your Institute, e.g., Demo K12 School.
- Address: Enter your Institute’s primary address, e.g., 123 Education Lane.
- Address 2: Enter additional or alternative address details if applicable, e.g., _Building_ 5, Suite 201.
- Address 3: Enter any further address details, if necessary, e.g., Near Central Park.
- Country: Select the country where your Institute is located, e.g., Afghanistan.
- City: Enter the city where your Institute is located, e.g., Kabul.
- Post Code: Enter the postal code of your Institute’s _Location_, e.g., 1001.
- E-mail: Enter your Institute’s official email address, e.g., demo@k12school.edu.
- Phone: Enter your Institute’s landline phone number, e.g., +93 20 123 4567.
- Mobile Phone: Enter your Institute’s mobile contact number, e.g., +93 70 987 6543.
- Fax: Enter your Institute’s fax number, e.g., +93 20 765 4321.
- Director: Enter the name of the Institute’s director, e.g., John Smith.
- Site: Enter the Institute’s website URL, e.g., www.demok12.edu.
- Currency: Choose the currency your Institute operates with, e.g., Euro.
- Locale: Select the default language and region for your Institute, e.g., English (United Kingdom).
- Admission Authority: Enter the organization responsible for managing _Student_ admissions, e.g., Regional Education Authority.
- Highest NCY: Enter the highest National Curriculum Year for your Institute, e.g., 12th Grade.
- Lowest NCY: Enter the lowest National Curriculum Year for your Institute, e.g., 1st Grade.
- Governance: Specify whether the Institute is public, private, or follows another governance model, e.g., Private.
- Geographical Area: Define the Institute’s _Location_ or district, e.g., Gozo Campus.
- Ministry ID: Enter the unique Ministry of Education ID for your Institute, e.g., EDU-K12-2025.
- Institute Registration Number: Enter the registration number assigned to your Institute, e.g., K12-REG-1001.
- Co-education: Enable this switch to specify whether the Institute offers education to both male and female students.
- Franchise: Enable this switch to indicate whether the Institute is part of a franchise network.
- Functional Type: Choose the functional classification of the Institute, e.g., Normal or Admission (this makes the Institute an admission entity for managing applications only).
- Institute Type: Select the type or category of your Institute, e.g., K12 SCHOOL – GENERAL.
- Tax ID: Enter the Institute’s tax identification number, e.g., 123456789.
- Tax Office: Enter the tax office responsible for handling the Institute’s taxation.
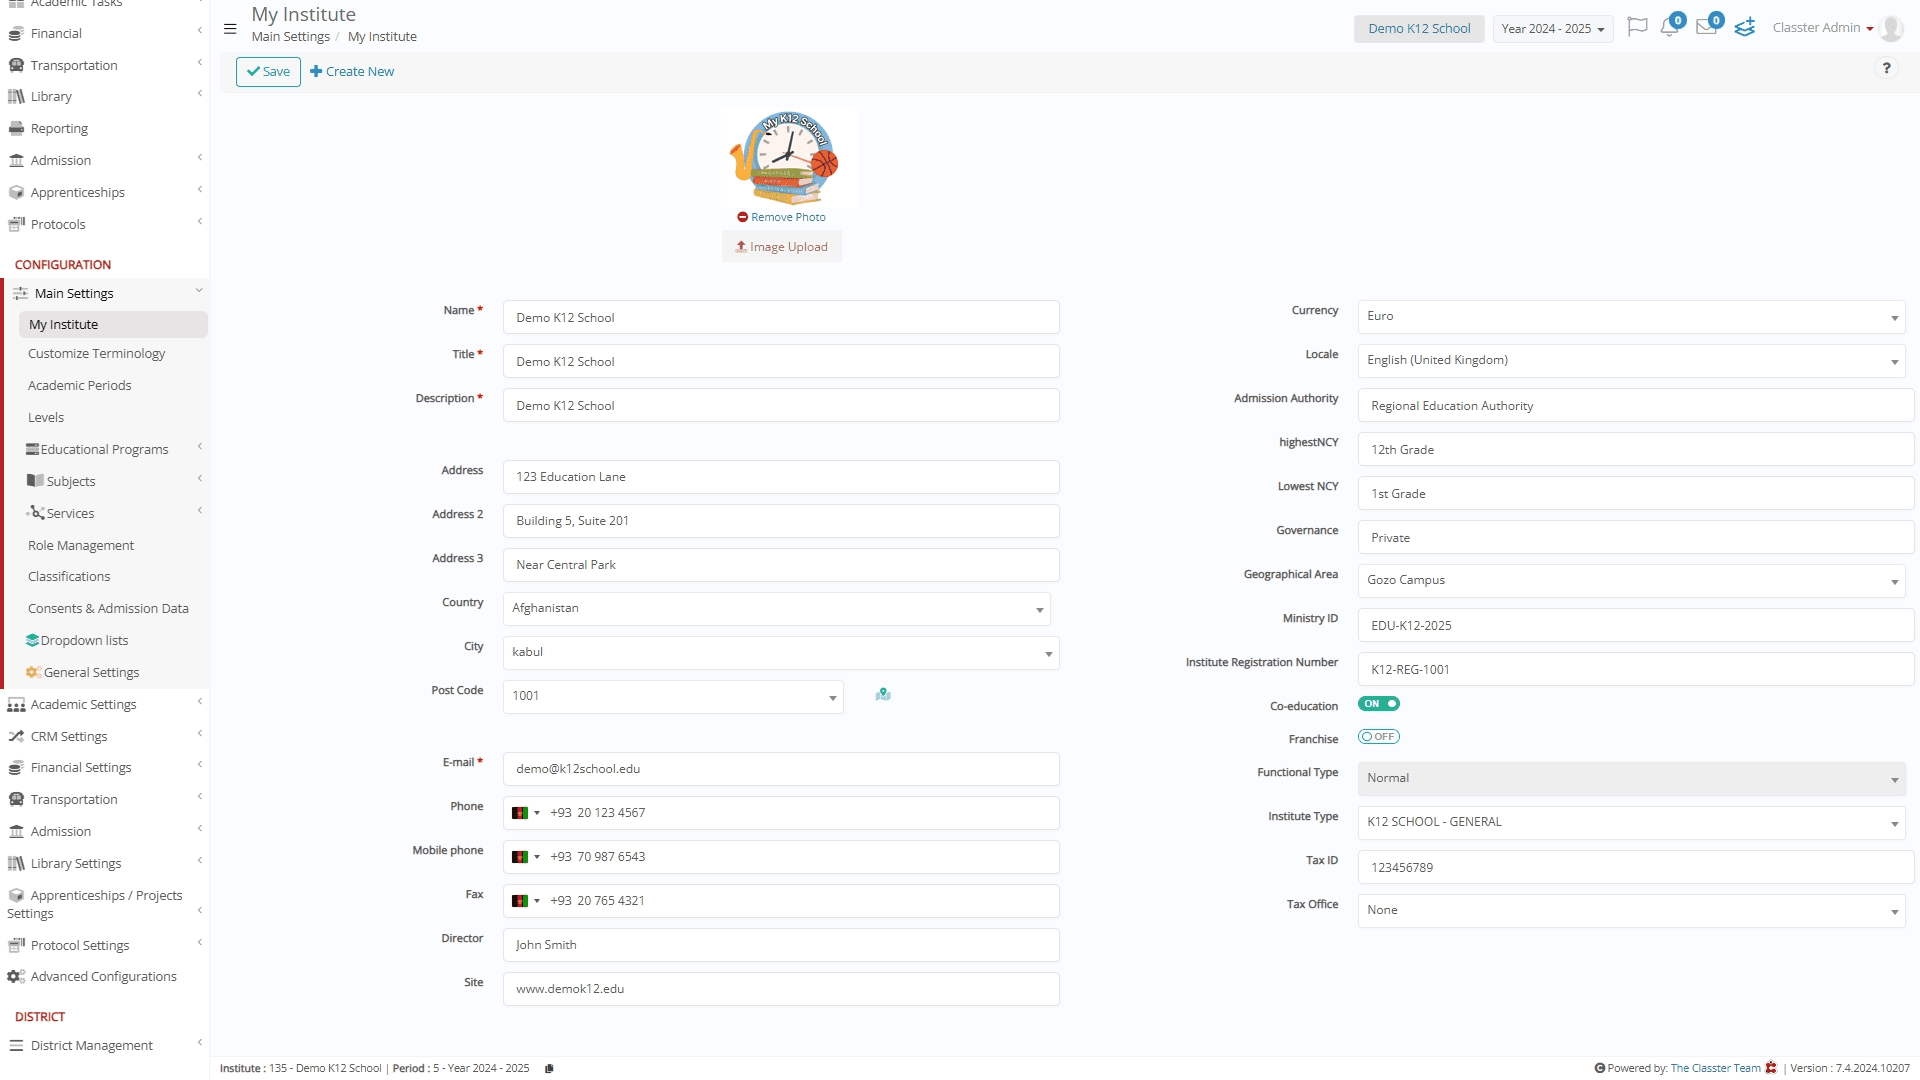
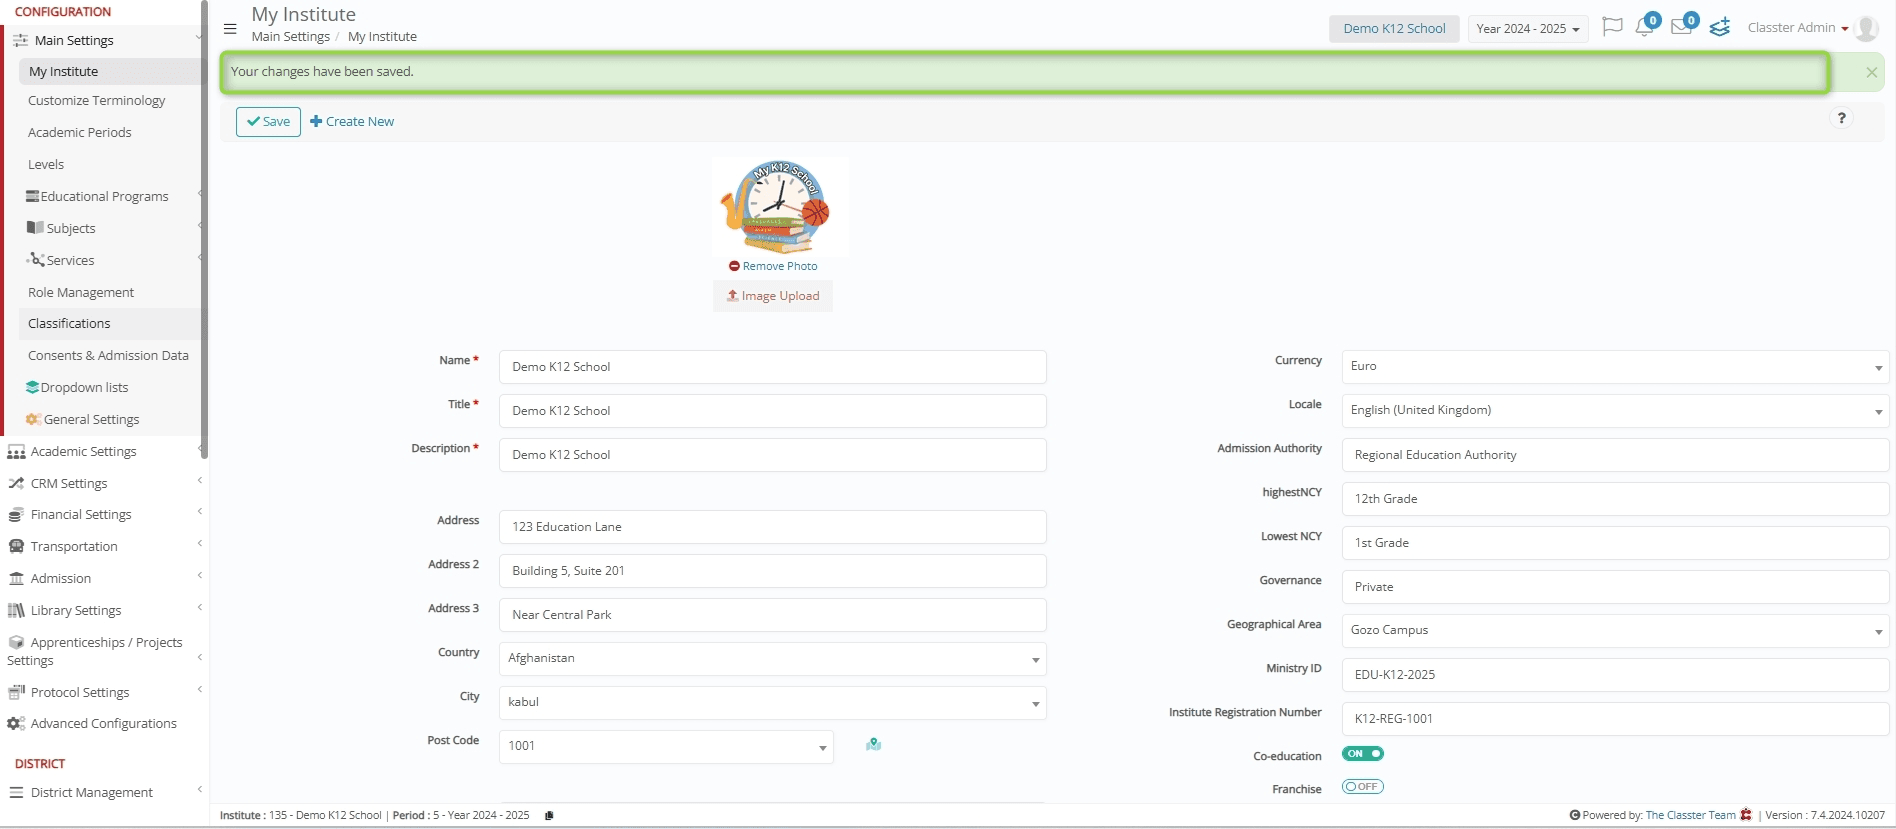
Once all fields are filled in, click Save.
A confirmation message, “Your changes have been saved” will appear.
Benefits – Examples
Customizing your Institution’s details improves branding, organization, and operational efficiency.
Enhancements and Benefits
Strengthened Branding & Identity
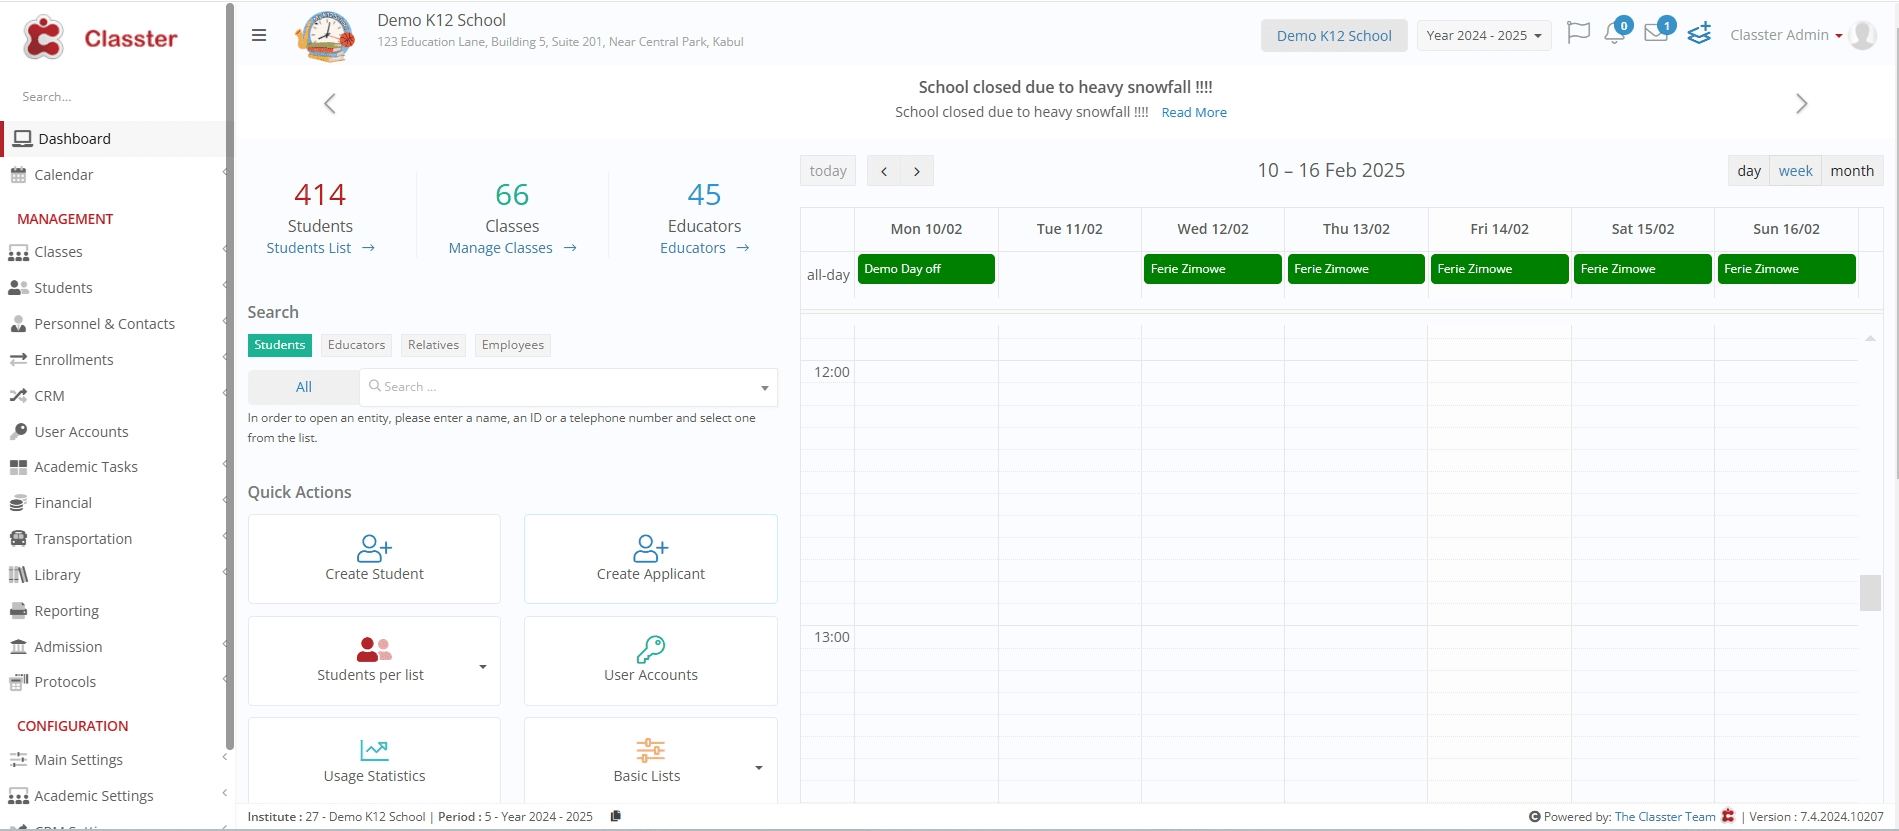
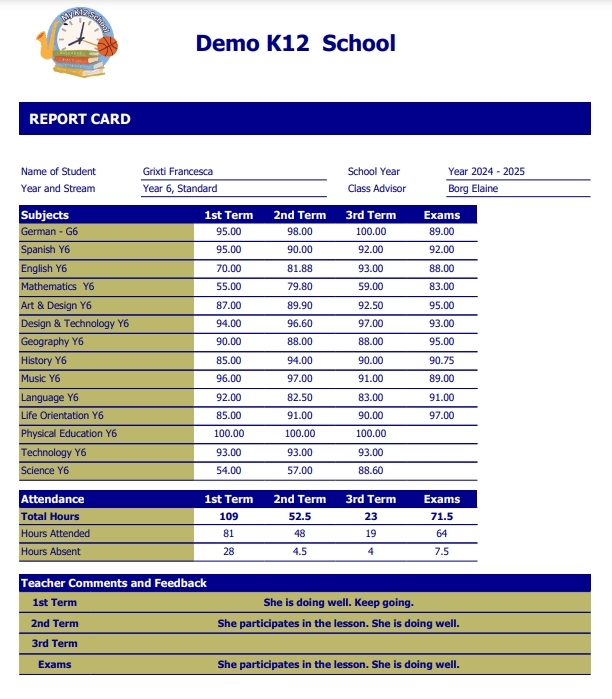
- The uploaded logo and Institute details appear on Student reports, certificates, and documents, ensuring a professional identity.
- Consistent branding improves recognition, credibility, and document authenticity.
Custom Reporting & Accuracy
- Reports like _Student_ Forms, Academic _Grade_ Reports, and Enrollment Records automatically include the Institute’s details.
- Reduces manual errors and ensures consistency across transcripts, ID cards, and certificates.
Better Organization & Administration
- A structured My Institute page centralizes all key institutional details for easy management.
- Simplifies admissions, _Student_ records, and _Teacher_ administration by ensuring coherence across system modules.
Improved Communication & Accessibility
- Adding contact details, website, and _Location_ enables better communication with _Students_, Parents, and Staff.
- Clearly defined governance and regulatory details help in recognition and compliance.
Compliance & Institutional Credibility
- Properly documented Tax ID, Ministry ID, and Registration Number ensure compliance with educational authorities.
- A well-maintained institutional profile enhances trust and professionalism.
Examples
Here are some examples.
Main Dashboard
_Student_ Card
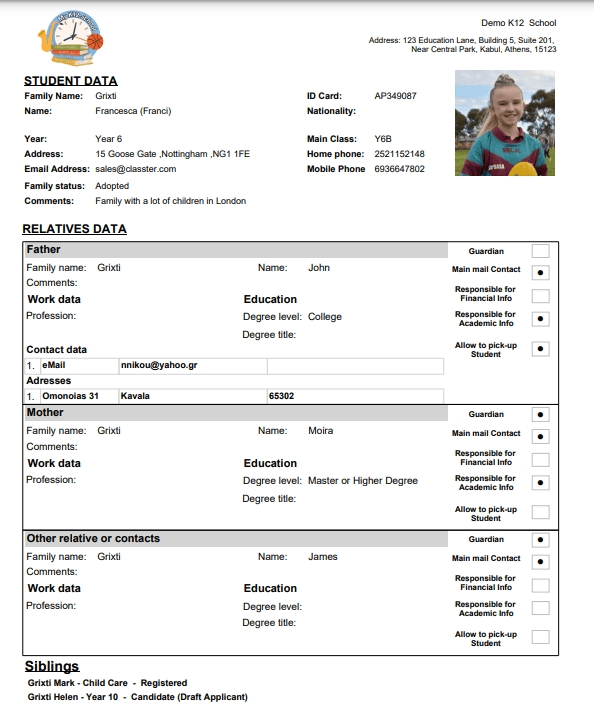
_Student_ Report Card
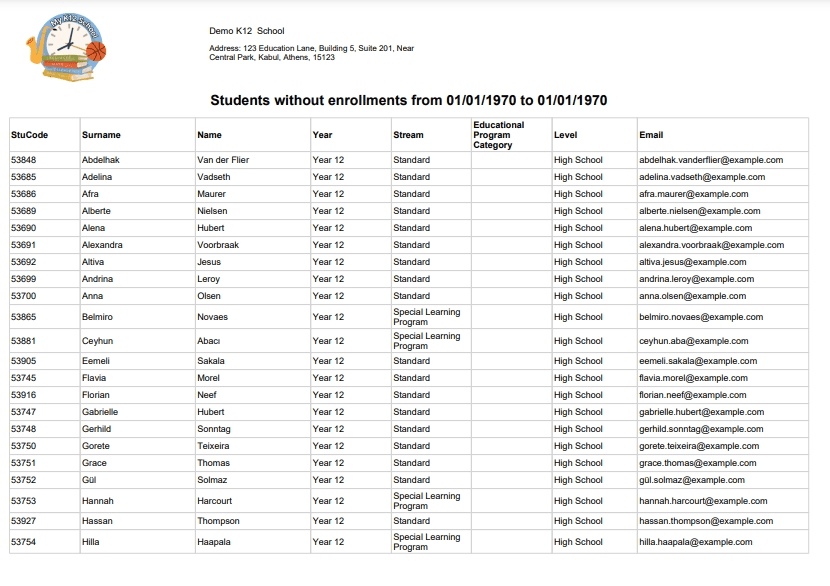
_Student_ Without Enrollment Report
