

To integrate Webex with your Classter platform, you need to have a paid Webex account with licenses for your Instructors/ Teachers and/or Classrooms.
To create the initial connection between the two systems you need to go to your Classter Portal as an admin user and access the Advanced Configurations page. Follow the path: Dashboard > Configuration > Advanced Configuration > Third Party Integrations tab (Figure 1).
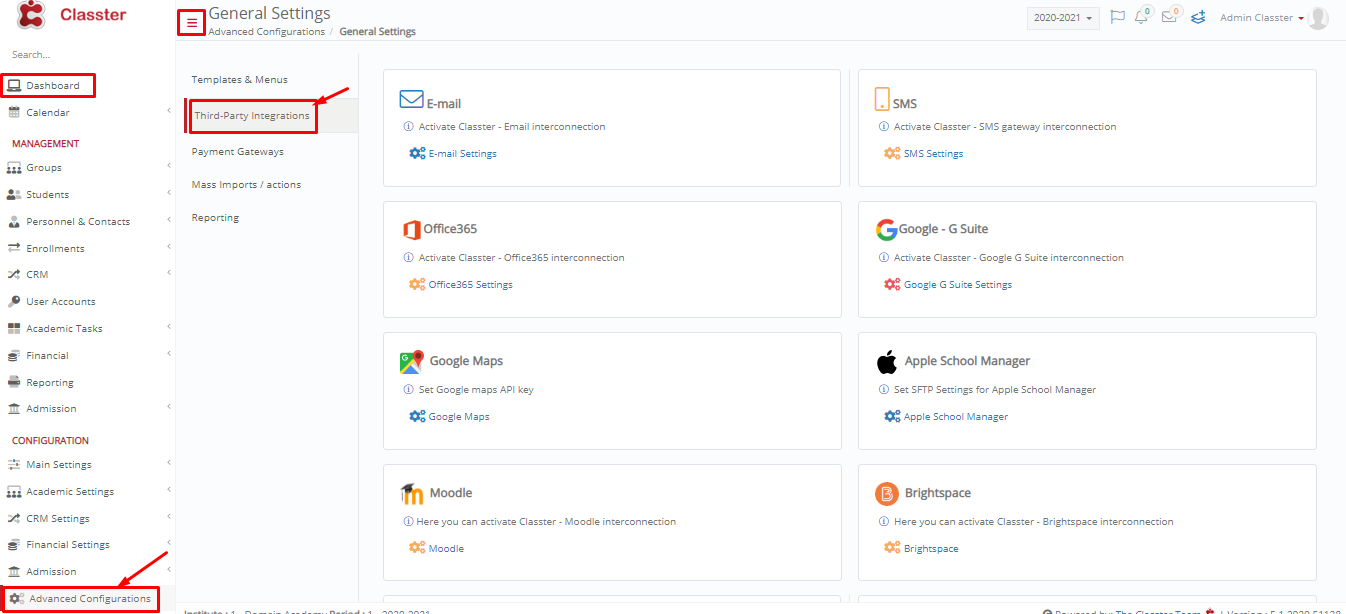 Figure 1
Once you reach the Third-Party Integrations page, scroll down to Cisco Webex and click on the Webex button (Figure 2).
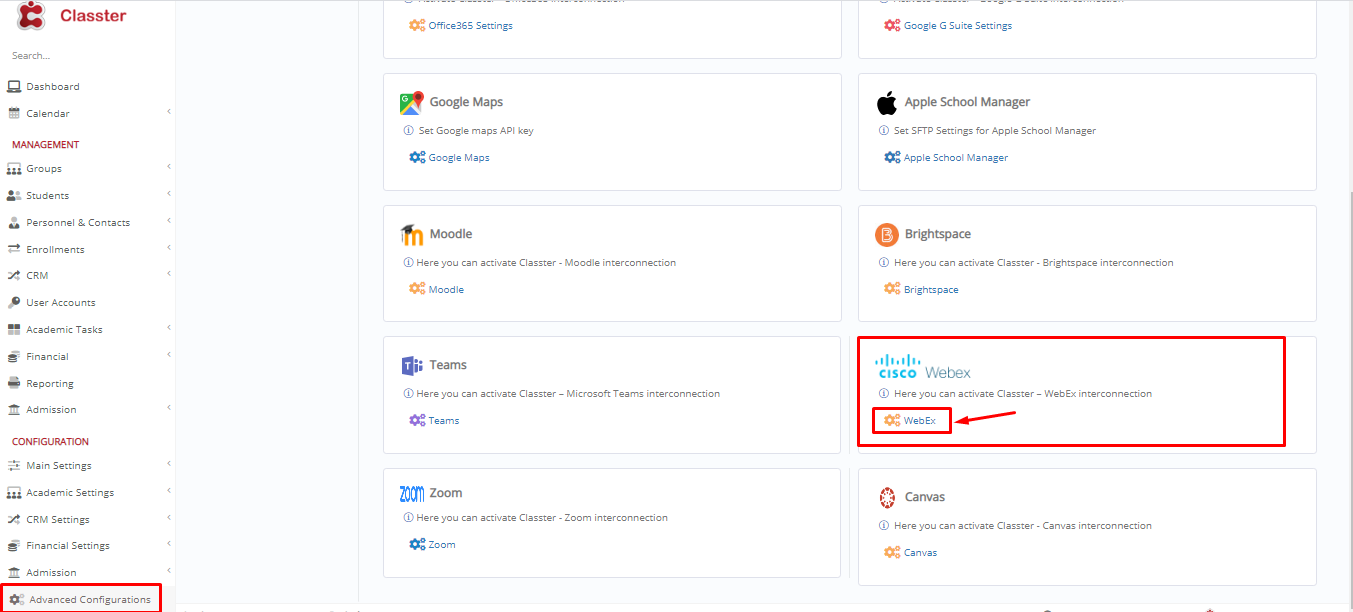 Figure 2
Once you click on the Webex button, you will be transferred to the Webex Connection Page (Figure 3).
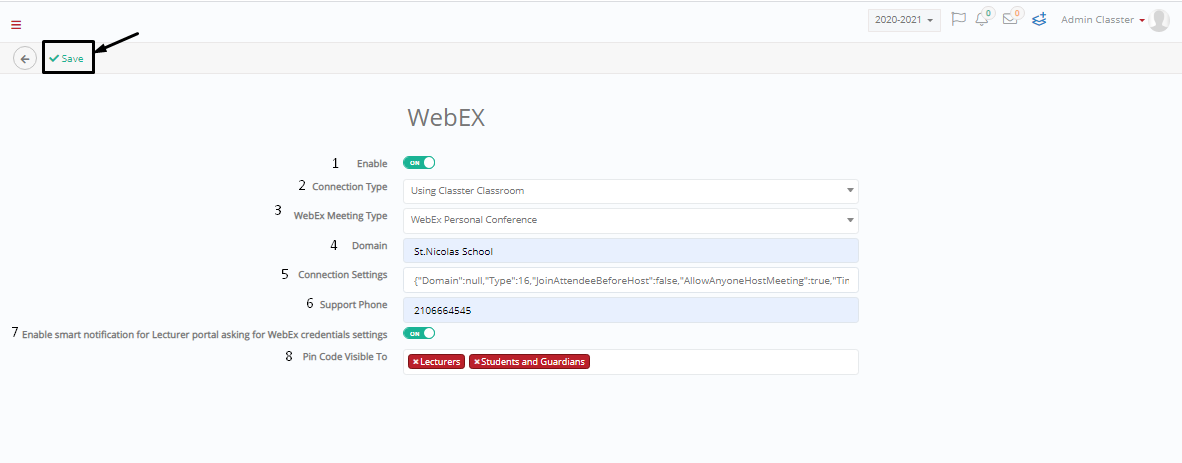 Figure 3
On the Webex Connection Page you can see the following options (Figure 3):
- The Enable Switch: By switching this option on, you enable the connection between Webex and Classter.
- The Connection Type: Here you can choose the type of connection you wish to establish between Webex and Classter. You have three options:
- Using Classter Classroom: this will create a specific link between a specific classroom you create on classter and a Webex license. Every time a session is created with this specific classroom, a Webex meeting will be created.
- Using Lecturer Personal Account: This form of connection will connect a lecturer’s private or institution account with the creation of sessions in Classter. Every time a lecturer creates a session for their subject, a Webex meeting is created. A license is required for each lecturer.
- Using Plain Personal URL: This option is for manual entry of your personal Webex url link to use every time for your sessions. This will require you to copy the url from your Webex account and paste it in the session you are creating.
- Webex Meeting Type: here you can choose the type of Webex meetings you want to use with Classter. You can learn about the various meeting types from the Webex webpage. Note: According to the Webex license you have you may have access to one or more meeting types.
- Domain field: Enter your institutions domain name (on Webex) e.g if your account on Webex is myschool.webex.com the domain name is myschool.
- Connection Settings: here you will see all the information you have entered above in a JSON format. You do not need to change something here.
- Support Phone: in this field, you can enter a phone number for support.
- Enable Smart Notification: this option if switched on will notify the lecturer to update his Webex credentials in the system if he has not done so already. This is if you are using the connection type “Using Lecturer Personal Account”.
- Pin Code Visible To: Here you can define the users that are able to see the Webex meeting pin code e.g Lecturers, Students etc.
Once you are done with setting up the fields the way you want to, click on the “Save” button to save and apply changes.
The next step is to see how you can create Webex meetings on Classter using each connection type available.