

In this section we will be seeing how we can create academic periods. These are the academic terms that your institution operates in. You can create them according to your individual institution’s needs.
Configuration > Main Settings > Academic Periods
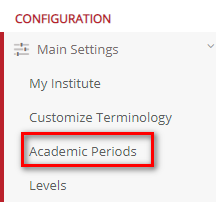
Figure 25
Once you click on the Academic Period button, on this page you will see the following (Figure 26):
 Figure 26
- View academic periods in a Card or Grid view by clicking on the View button and choosing either option.
- You can filter periods from the Status dropdown button e.g., active, or inactive.
- From the search field you may locate the period you wish to change.
- Click on the +Create New button to create a new academic period.
- By clicking on the period card, you can edit it.
- Click on the refresh button to refresh page.
Create New Academic Period
Once you click on the create new button, you will be transferred to the creation page (Figure 27).
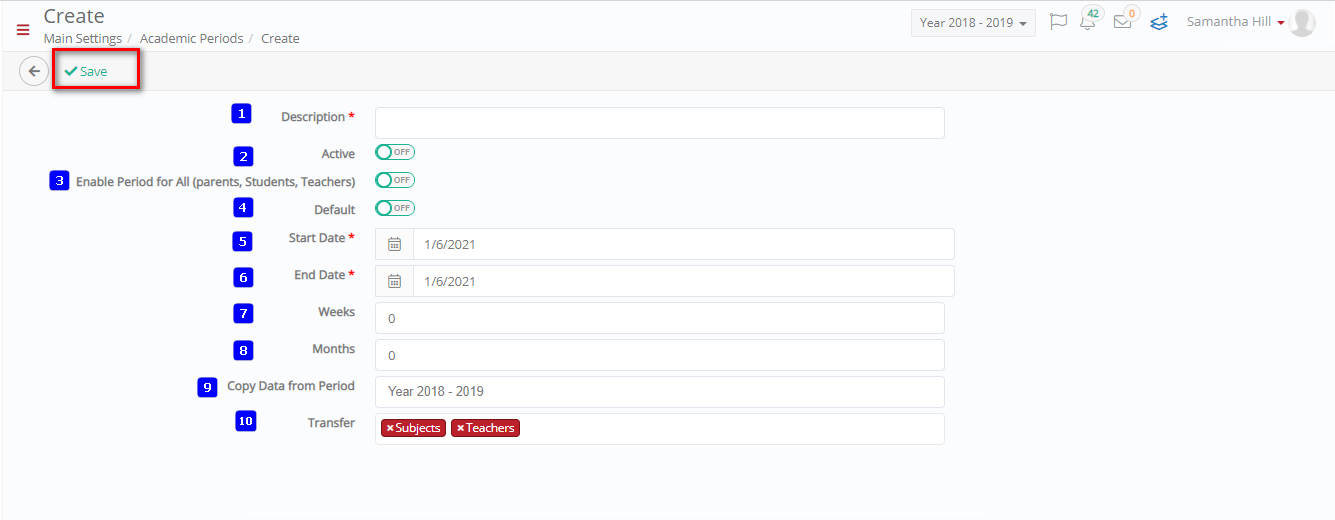 Figure 27
On this page you will see the following (Figure 27):
- Description: Here you must enter the description of the period e.g., Year 2020-2021.
- Active: If this switch is turned on then you will be able to make this period available for use in institution planning.
- Enable Period for All (Parents, Students, Teachers): If you switch this option on then you will make the contents and the period available to the parent, student, and teacher portals.
- Default: If you turn this switch on the period you create will be the default academic period users will see and the institution will use.
- Start Date: Enter the start date for this academic period e.g., 20.01.2020.
- End Date: Enter the end date for this academic period e.g., 20.01.2021.
- Weeks: Enter the number of weeks contained in this academic period.
- Months: Enter the number of months contained in this academic period
- Copy data from Period: This option copies the data from previous periods to this one.
- Transfer: Use this option to select which options, Subjects and/or Teachers to transfer to the new session.
Once you are done click on the ‘Save’ button to save changes.
Edit Existing Academic Period
Once you click on the period card (Figure 26), you will be transferred to the edit page (Figure 28).
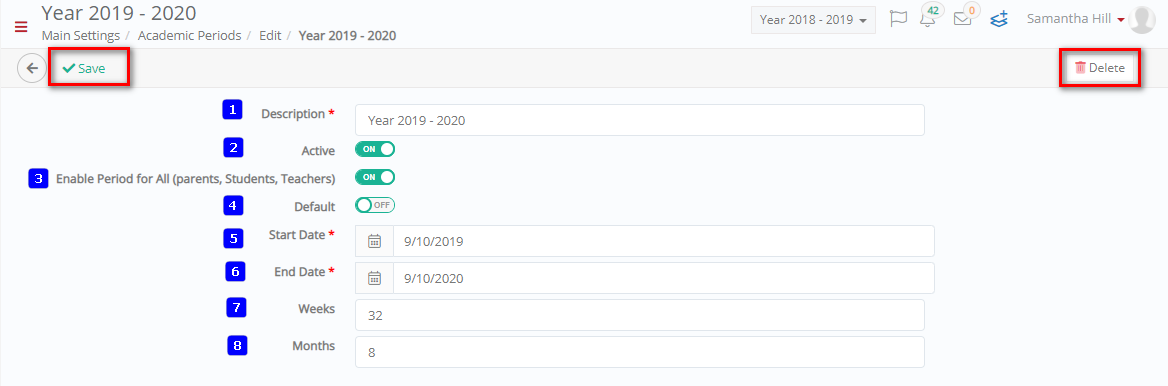
Figure 28
On this page you will be able to edit the following options (Figure 28):
- Description: Here you can change the description of the period.
- Active: If this switch is turned on then you will be able to make this period available for use in institution planning.
- Enable Period for All (Parents, Students, Teachers): If you switch this option on then you will make the contents and the period available to the parent, student, and teacher portals.
- Default: If you turn this switch on the period you create will be the default academic period users will see and the institution will use.
- Start Date: Change the start date for this academic period e.g., 20.01.2020.
- End Date: Change the end date for this academic period e.g., 20.01.2021.
- Weeks: Change the number of weeks contained in this academic period.
- Months: Change the number of months contained in this academic period.
Once you are done click on the ‘Save’ button to save changes. You can also choose to delete this academic period by clicking on the delete button (Figure 28).
Note: All fields or options with a red asterisk next to them are mandatory fields or options. If you do not fill them in, you will be unable to save your creations or edits.