

Students have access to their own portal in Classter. When registering a new student, their credentials i.e. username and password must be communicated to them.
Either you are integrated with Office 365 or not, in this mini manual we will discover how to manage and communicate credentials to students.
Logged in as an Admin, from the management menu go to Students > Students List (Figure 1)
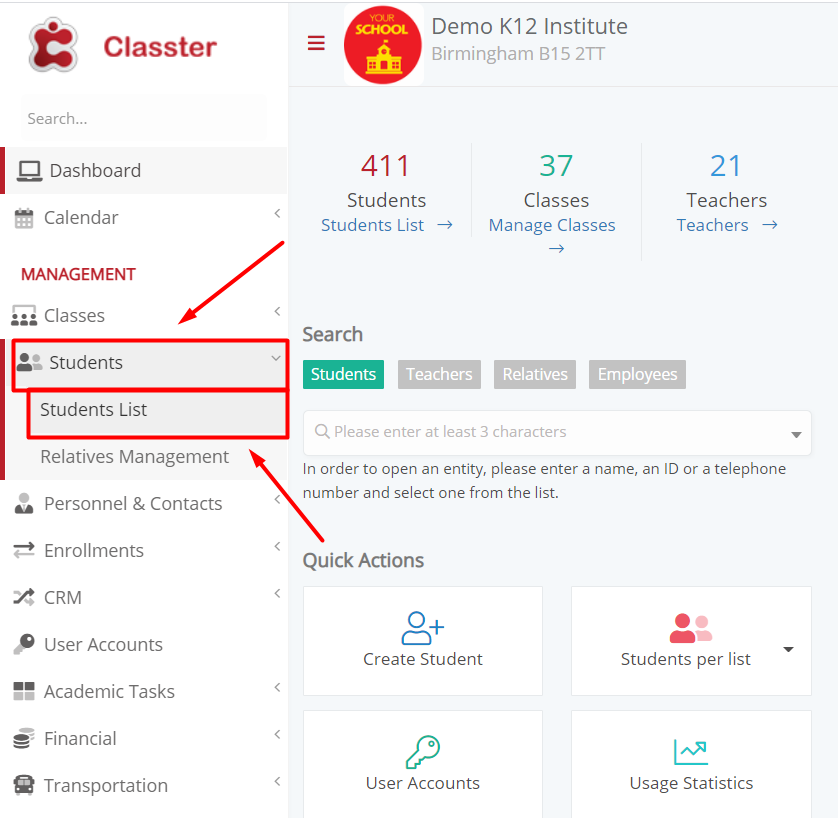
Figure 1
- Without Office 365 integration: Click on the student’s card. In the Student Profile tab, enable the Use Personnal E-mail option (Figure 2)

Figure 2
- With Office 365 Integration: Click on the student’s card. In the Contact section, the field Contact e-mail must be filled with an email address (Figure 3)

Figure 3
Click on the User Accounts menu. Select Student as your User Type from the dropdown list, then click on the Search button. Select the students for who you want to send the user credentials. From the Bulk Actions menu, select the Send Initial Invitation option (Figure 4)

Figure 4
Students will receive the following email (Figure 5). With an Office 365 integration in place, the Username is the O365 email address. They will need to verify their account.

Figure 5
When the account is verified, the student can login their portal by typing in their credentials (Figure 6)

Figure 6
Send Initial Student User Credentials via SMS
There are two methods to initially send user credentials to students via SMS (SMS as a third-party service)
Method 1
Click on the User Accounts menu. Select Student as your User Type from the dropdown list, then click on the Search button. Select the students for who you want to send the user credentials. From the Bulk Actions menu, select the SMS Initial User Credentials option (Figure 7)

Figure 7
Method 2
Click on Students > Students List. Specify the respective fields, then click on the Search button. Select the students for who you want to send the user credentials. From the Bulk Actions menu, select the SMS Initial User Credentials option (Figure 8)

Figure 8
User Accounts Reports
Besides communicating student’s credentials, you can produce relevant reports as well.
Click on the User Accounts menu. Select Student as your User Type from the dropdown list, then click on the Search button (Figure 9)

Figure 9
- Student Account Info
Click on the Reports menu. Select Student Account Info from the dropdown list (Figure 10). You will receive the PDF report in Figure 11.

Figure 10

Figure 11
- User Account Credentials (Students and parents)
Click on the Reports menu. Select User Account Credentials (Students and parents) from the dropdown list (Figure 12)

Figure 12
In the next window, specify the respective fields and click on the Preview Report button (Figure 13). You will receive the PDF report in Figure 14.

Figure 13

Figure 14
- User Account Info
Click on the Reports menu. Select User Account Info from the dropdown list (Figure 15). You will receive the PDF report in Figure 16.

Figure 15

Figure 16