

In Classter, Relatives refer to the family members, guardians, or other authorized contacts associated with a student. These individuals play a key role in student communication, consents, billing, and overall engagement with the institution. Examples of relatives include Father, Mother, Grandmother, Grandfather, Aunt, Uncle, Legal Guardian, or any other person who has a defined relationship with the student in the system.
The Relatives Management page allows administrators to view, edit, create, and manage all relative records and their connections to students across all academic periods.
Accessing the Relatives Management Page
To access the relative’s management page, go to:
Management > _Students_ > Relatives Management
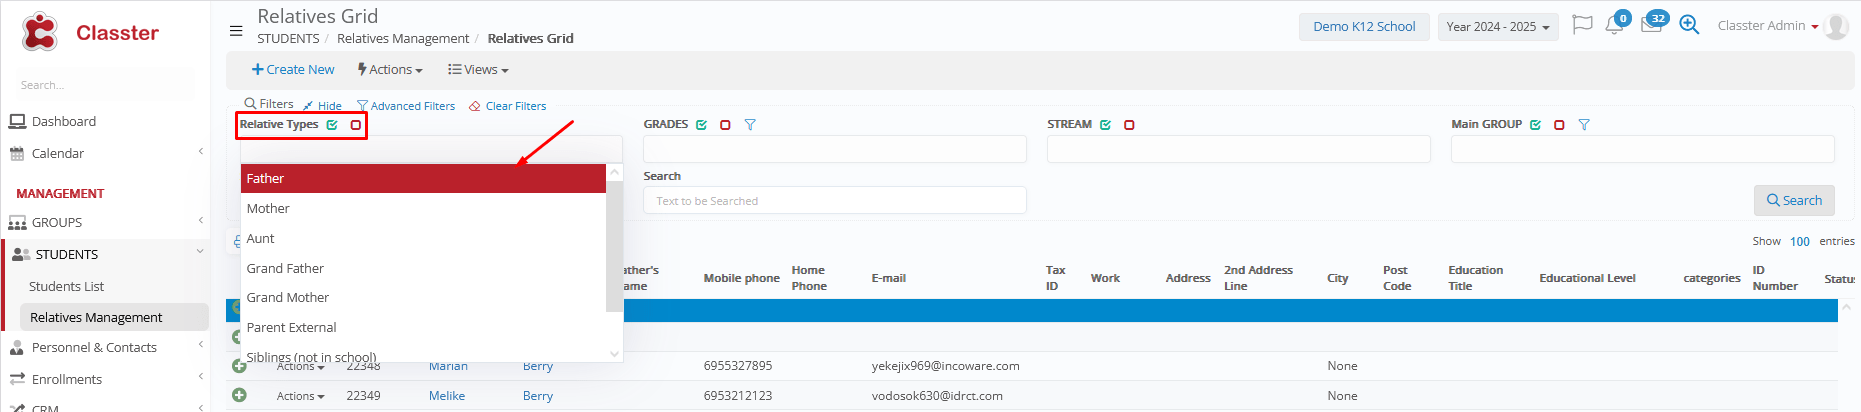
In Relative Management, there are three (3) views:
- Grid View
- Relatives from all periods
- Relatives without _Students_
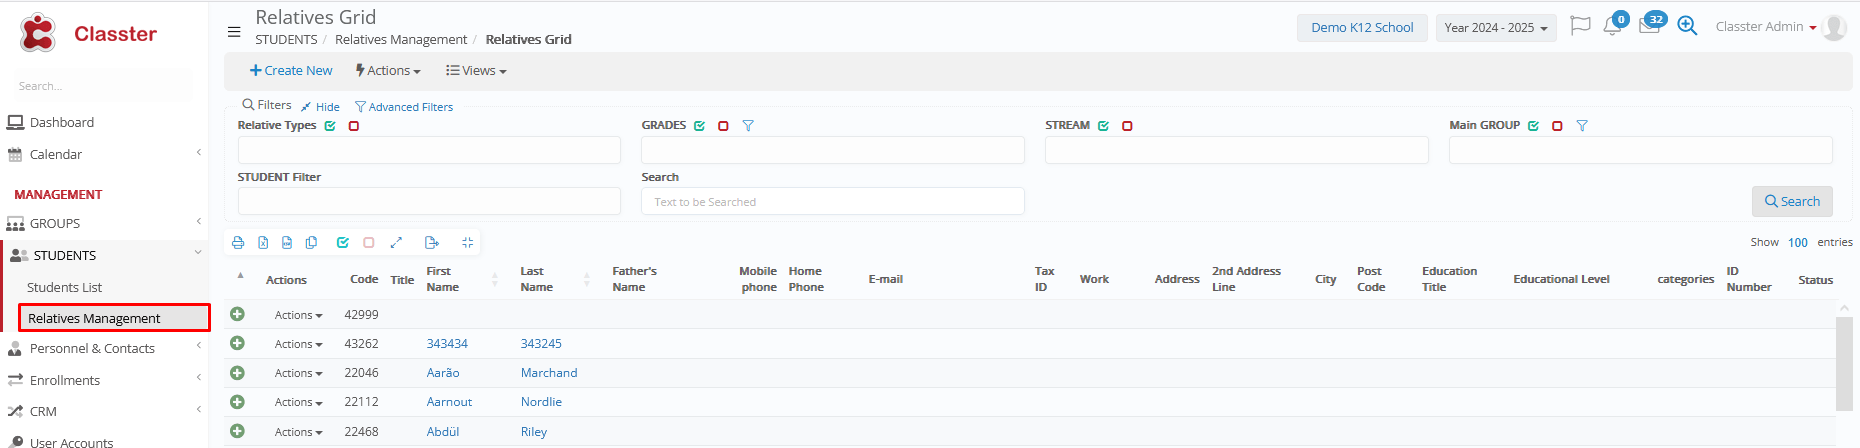
Grid View
To get to the Relatives Management grid view, go to:
Students > Relatives Management > View > Grid View
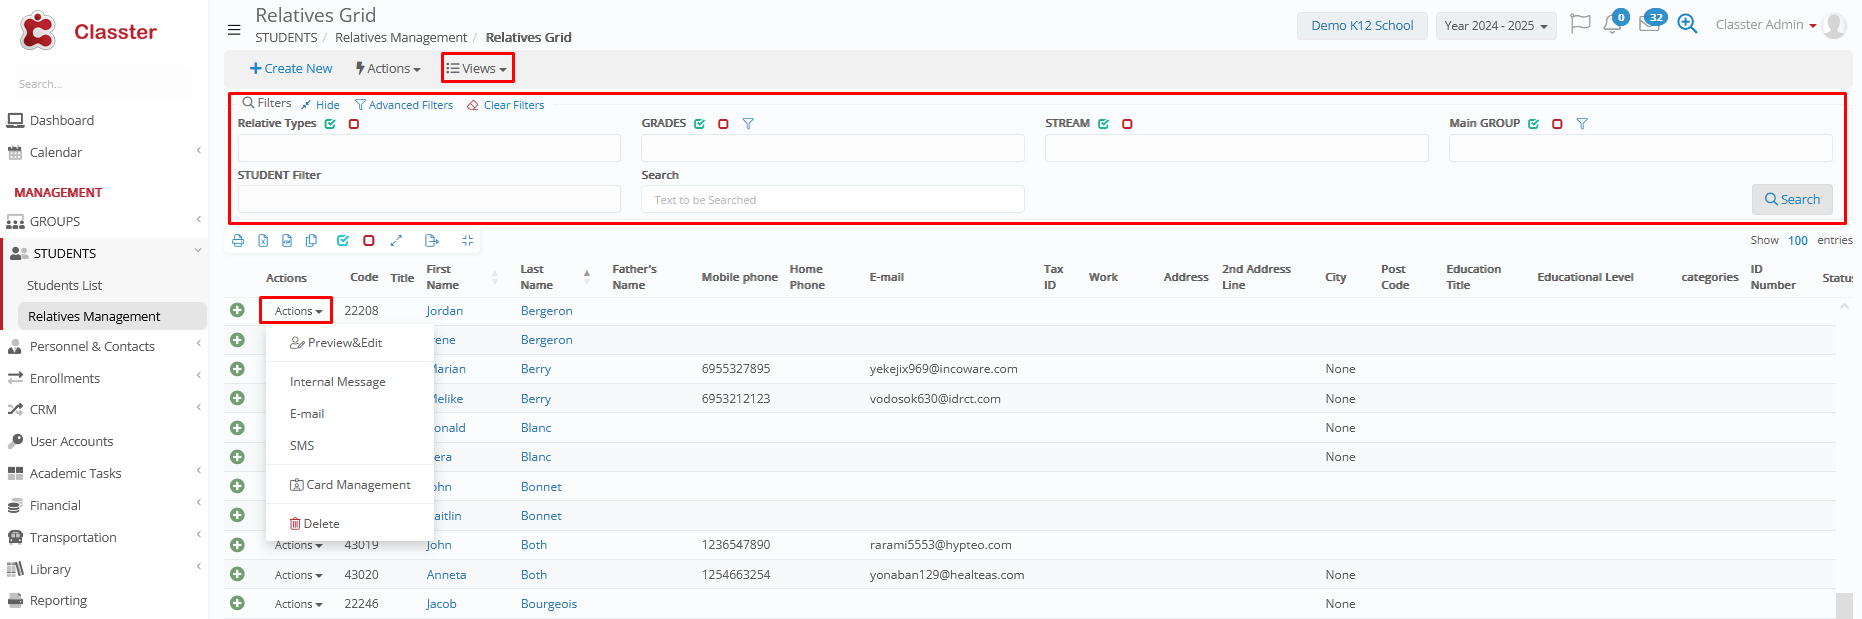
- You can view Relatives in the Grid view by clicking on the View dropdown list.
- You can use the ‘Search’ field by entering the name of a relative.
- You can Print and Export the list of relatives to Excel, Word or in CSV.
- By clicking on the ‘Action’ button next to each relative you can choose to
- Preview and Edit a relative,
- Send an internal message,
- Send an email,
- Send an SMS,
- Manage his/her card
- Delete him/her
- You can create a new relative by clicking on the + Create New button.
Preview & Edit
In Relatives Management, you can either click on a relative name or use the Actions Preview & Edit option to get transferred to the edit page.

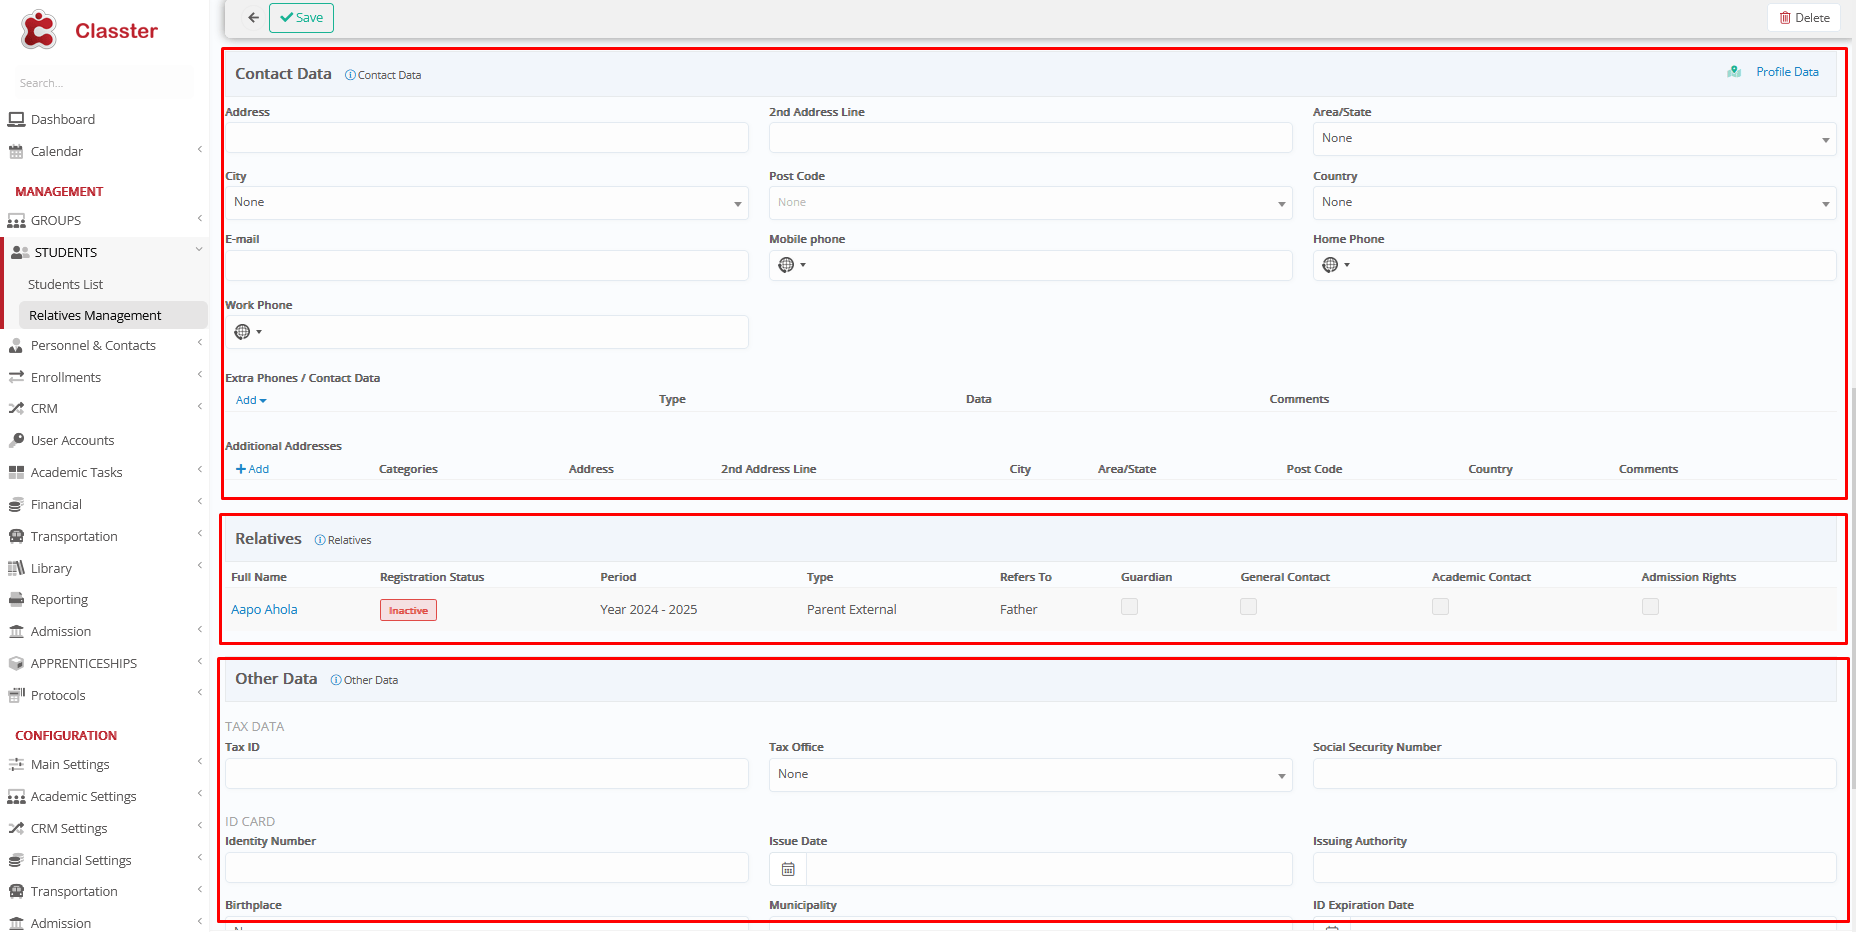
- Modify the information in the fields you want.
- Click on Save button to Save changes or the Delete button to delete relative.
- If you try to delete a relative connected to a _Student_, the following popup window will appear (Figure 14).
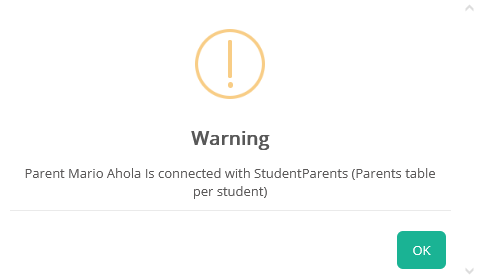
Note: To delete a connected relative, go directly from the Students Card where the connection was originally made.
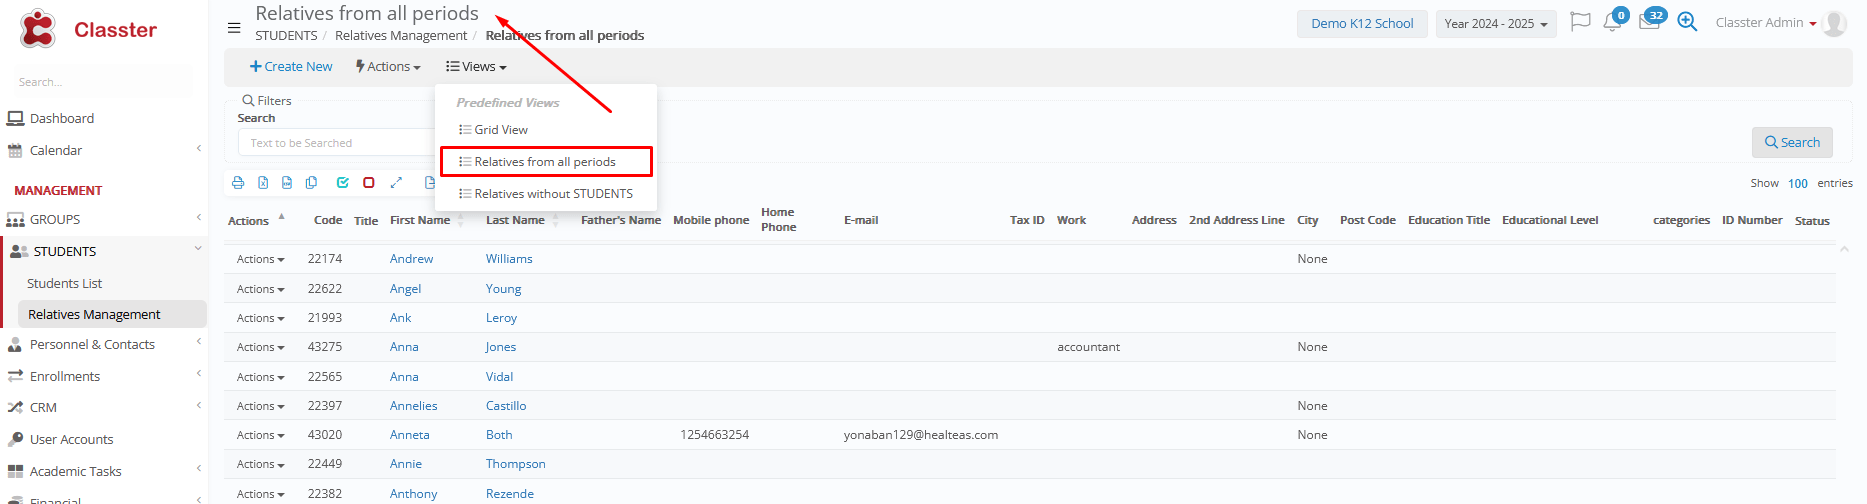
Relatives from all periods
In this view, you get a list of all the relatives from all academic periods.
- By clicking on the ‘Action’ button next to each relative you can choose to
- Preview and Edit a relative,
- Send an internal message,
- Send an email,
- Send an SMS,
- Manage his/her card
- Delete him/her
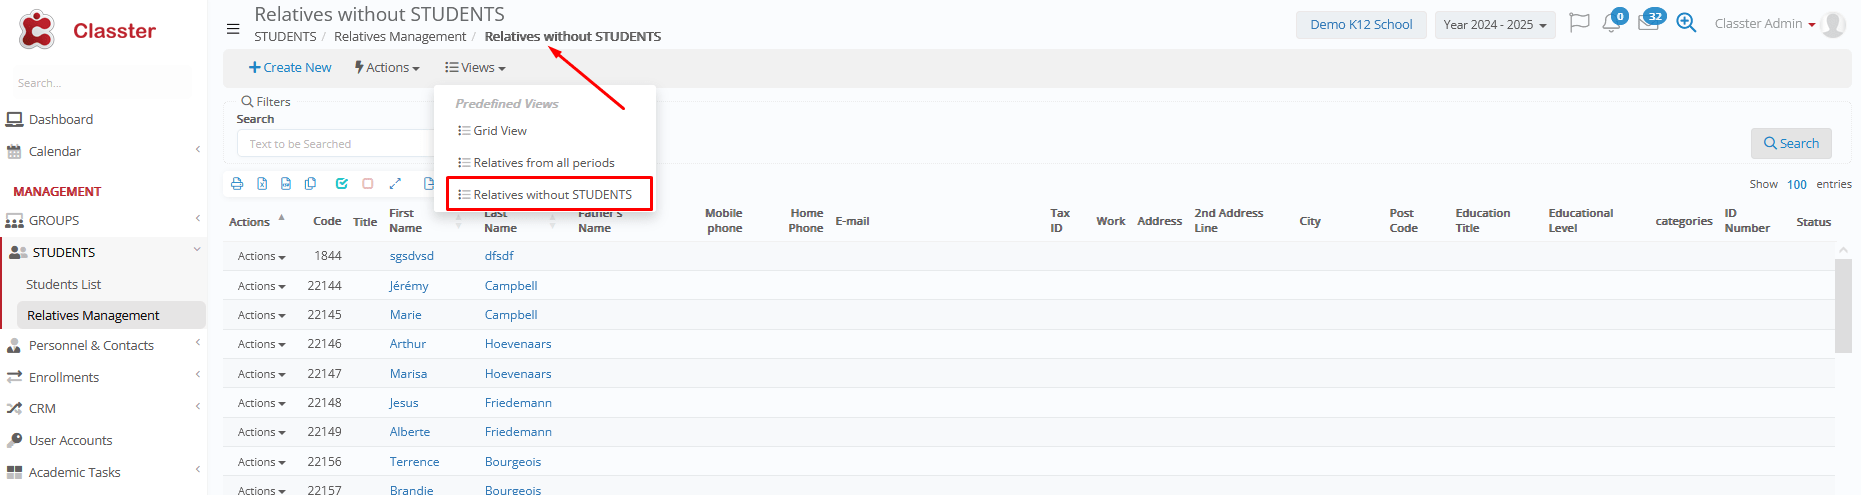
Relatives without _Students_
In this view, you get a list of all the relatives not connected to _Students_.
- By clicking on the ‘Action’ button next to each relative you can choose to
- Preview and Edit a relative,
- Send an internal message,
- Send an email,
- Send an SMS,
- Manage his/her card
- Delete him/her